
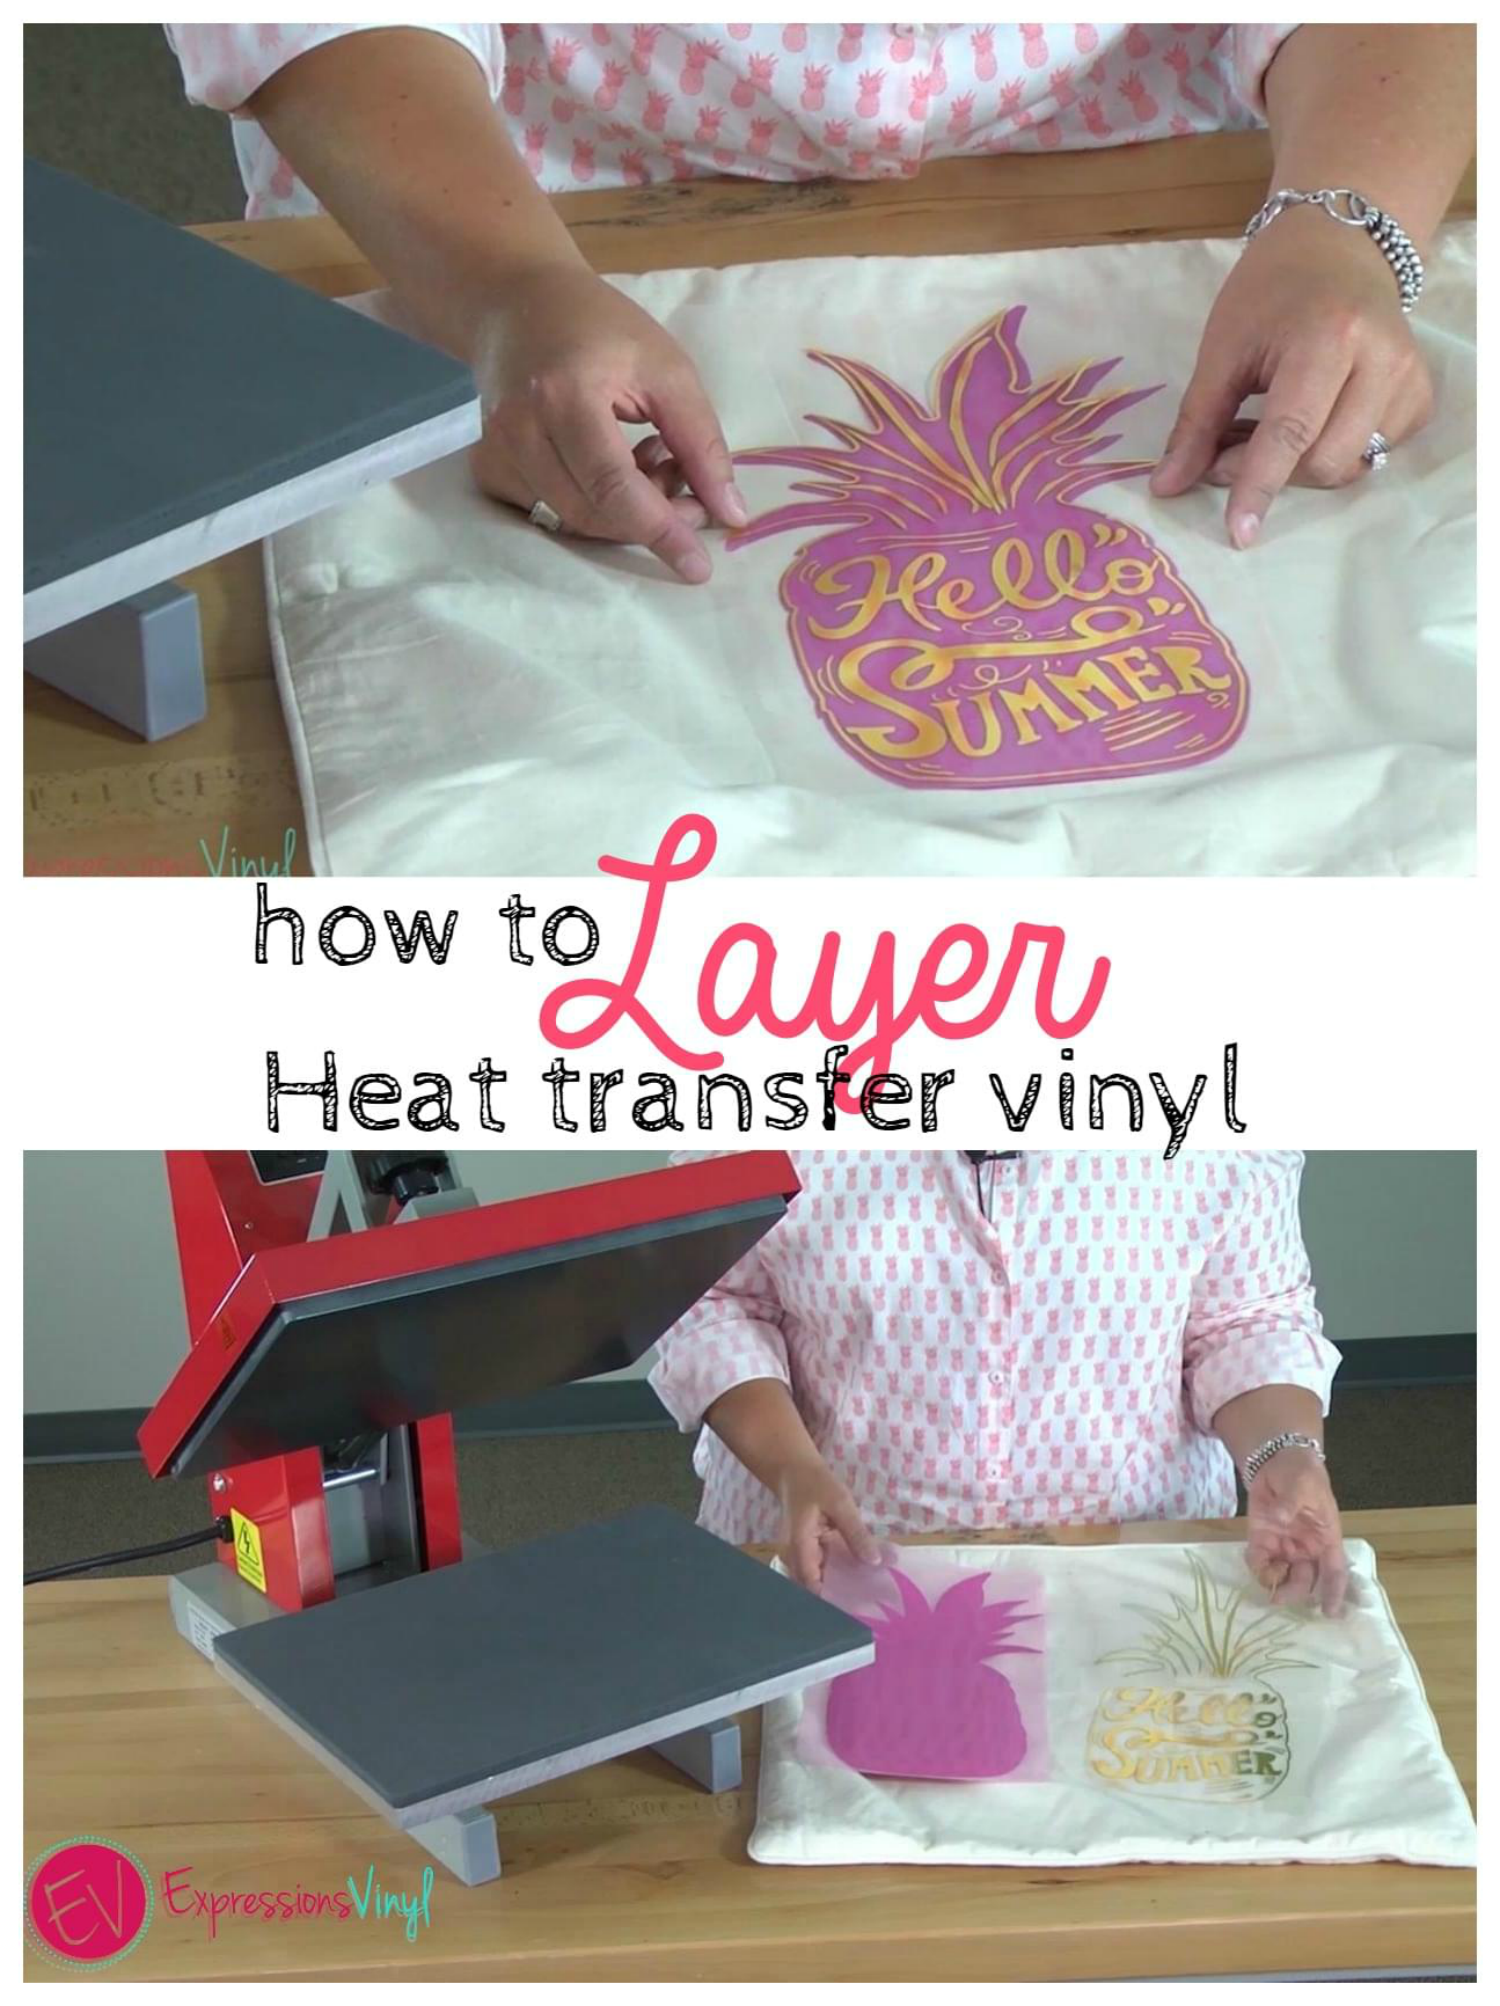
Layering Heat Transfer Vinyl On A Pillow
Hey, everyone! It's Jessica again with this Expressions Vinyl. Today, I'm going to show you how to make your own pillow with heat transfer vinyl. The other day I was in the store, and I found this pillow I loved but it didn't quite match my decor...
Sooo, I took a picture of it with my phone to use as inspiration later. (I'm sure you guys have all done that before.) I loved it, but I wanted it to be pink for my house instead of turquoise. When I got home, I went on Google Images and put in "hello summer pineapple pillow," and found a picture that I liked. As the image was copyrighted, I did have to purchase the picture, but it was only a dollar or two. (Always make sure that the images you use aren't copyrighted or if they are, please buy them! The artists that create these images spend so much time on their art, they deserve to be compensated!)
I opened the image and traced it in my Silhouette Studio software. It had some things that I didn't like that I took out, and I added some others, you can always customize that. (We'll show you how to do that in a later post.)
Let's get started and show you what I did!
Here I have my first layer, and it is the StripFlock vinyl. It is the funnest stuff to work with. My cut settings for my Silhouette Cameo are: Blade at 5, Speed at 5 also, and then the Thickness is at a 12, because this is StripFlock, the material is a little bit thicker than normal, so you've gotta cut it deeper.
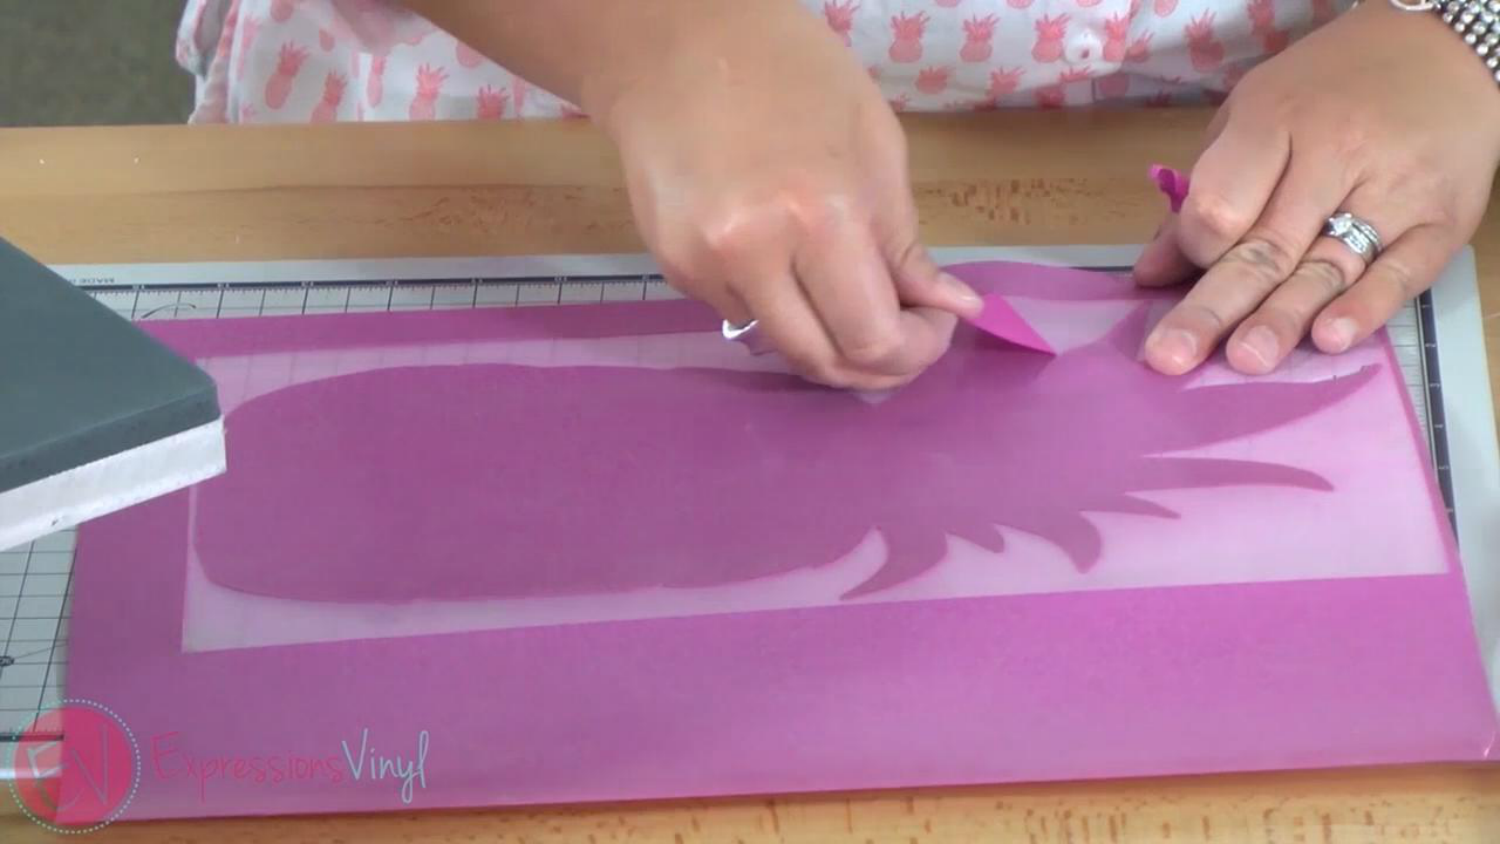
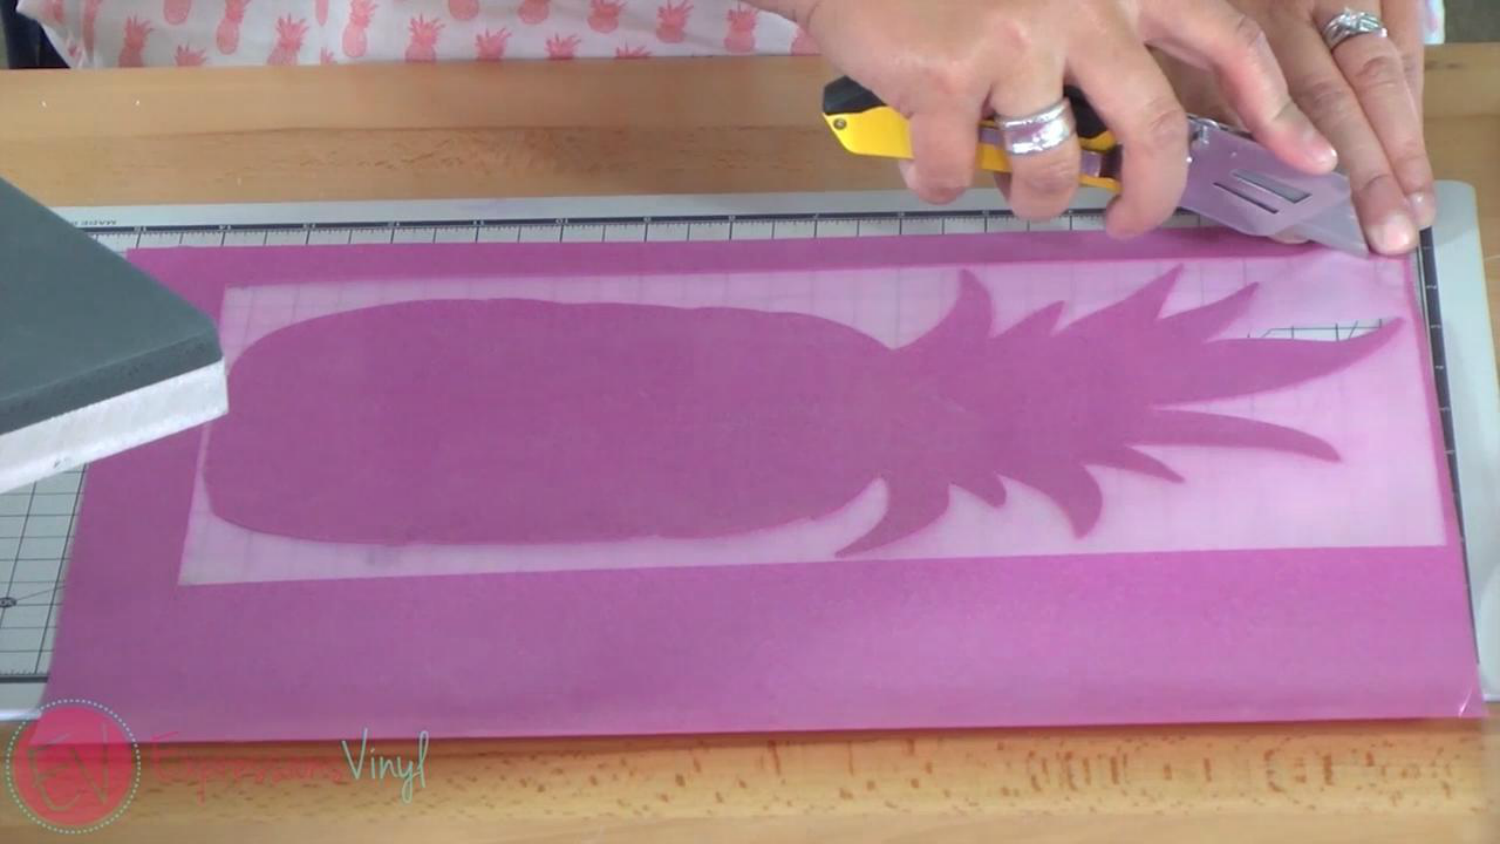
Also, when I was creating my design in the Silhouette Studio software, I created a box around the image, so when I was weeding it, it was easy to trim. I just trim off the excess that I don't need with my knife, and I really like just using a utility knife, but you can use whatever tool you want to do this. You can use scissors, an X-Acto knife, whatever you've got.
After I've got this all trimmed out, I weed my next layer. The vinyl I'm using is our Metallic Gold EasyWeed, and it is really fun stuff because it's super shiny.
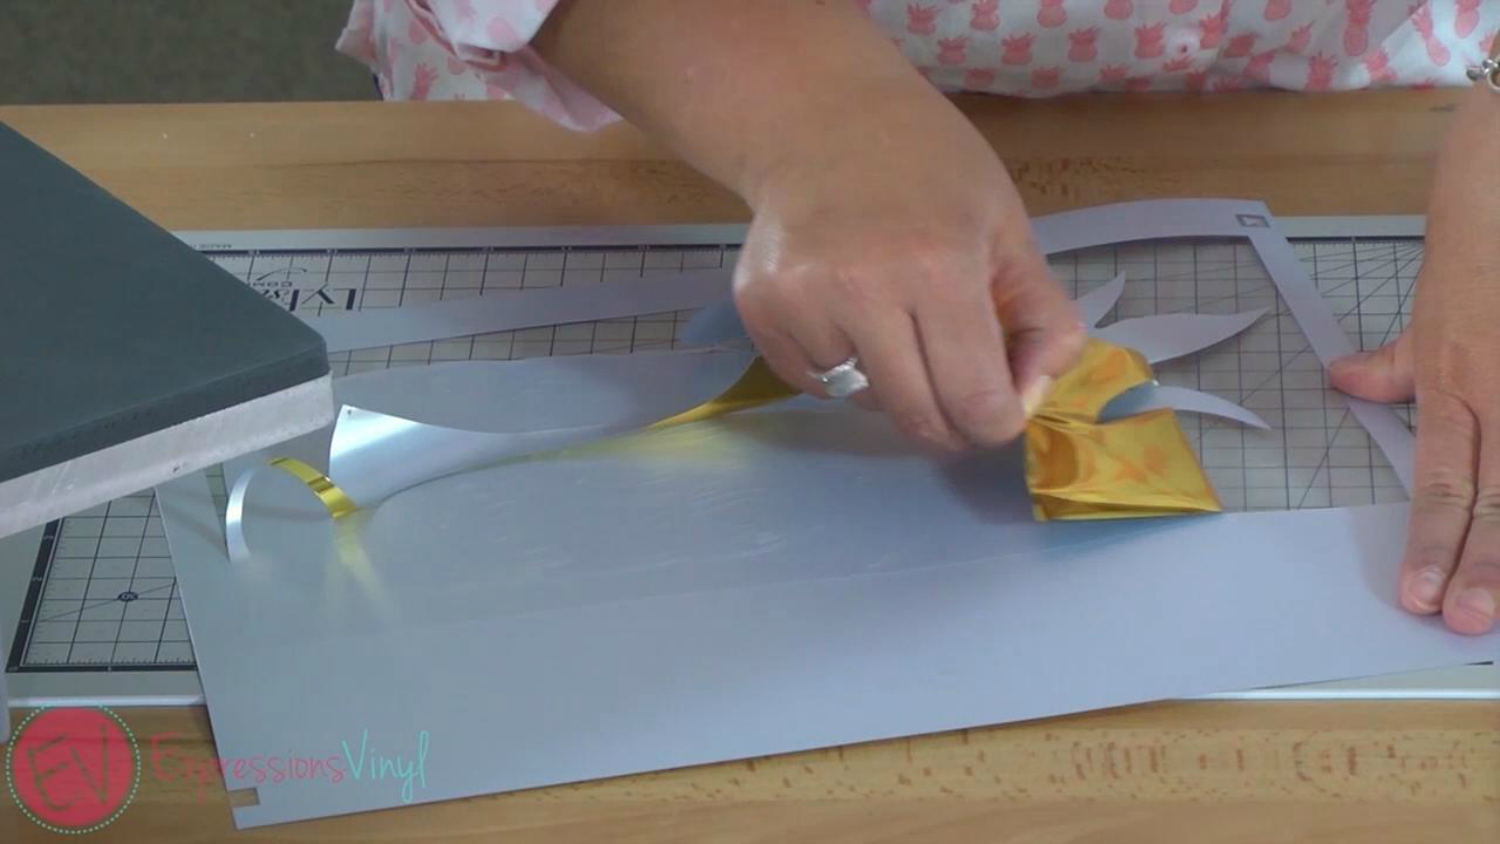
So when I was making this, the original image had lots of swirly things up in the pineapple crown that I didn't really like... It seemed really busy, so I deleted all those, and then hand-drew in these little spikes with the pencil tool.
Sometimes when you're weeding these little things, it gets a little tricky, but if I find a part that's getting too big, I just trim off with my knife and start again. Okay, so I've got my pieces weeded and trimmed down, and I'm going to apply them to my pillow.
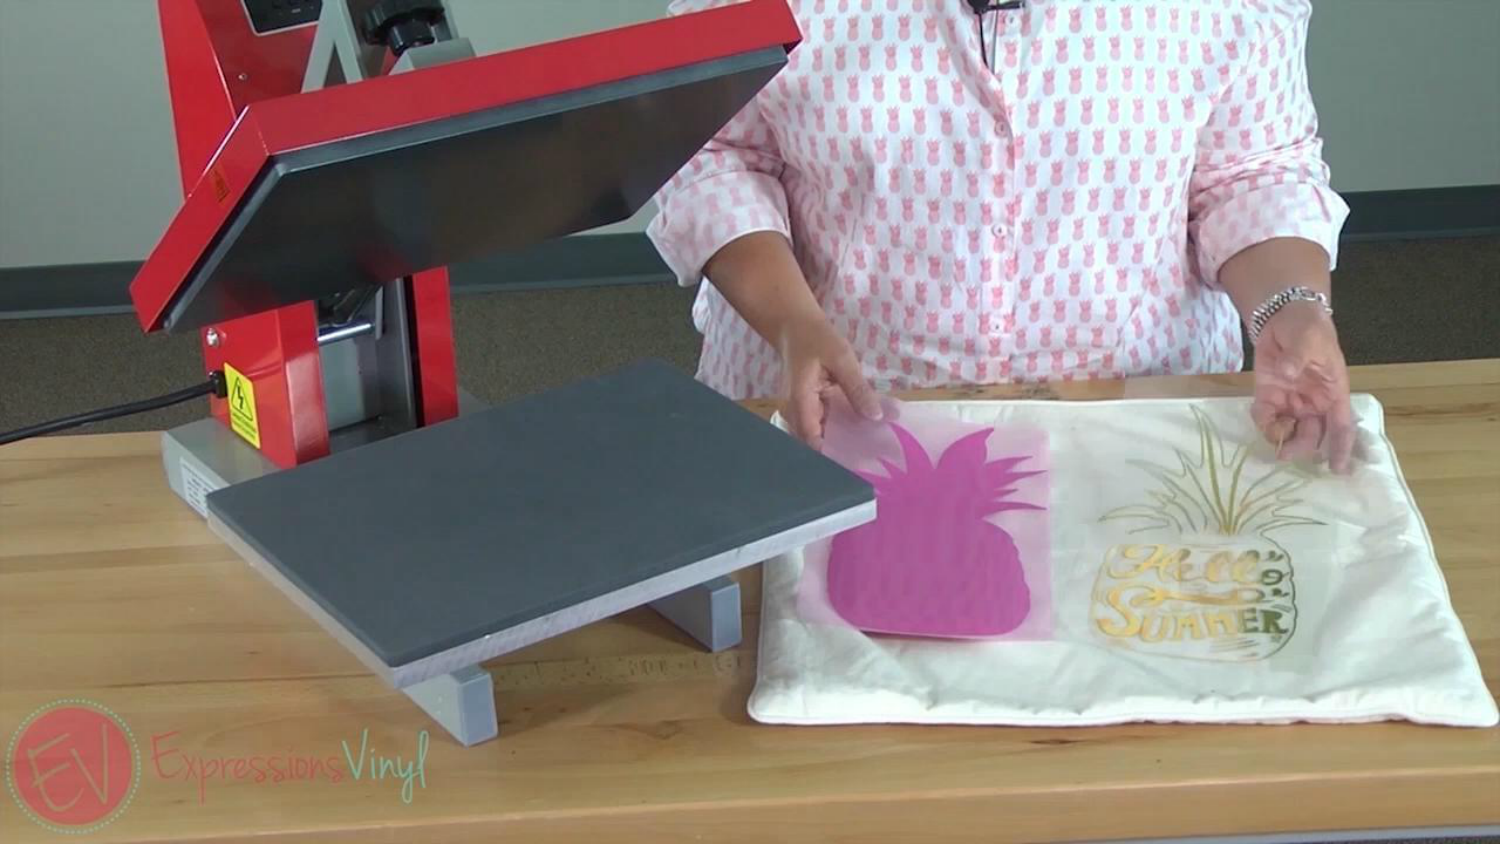
I've got my pillow form here and I want to make sure I have the zipper at the bottom. Then, I'm going to fold it in half so I can get my pineapple centered. I press it for just a second just to get that seam on there.
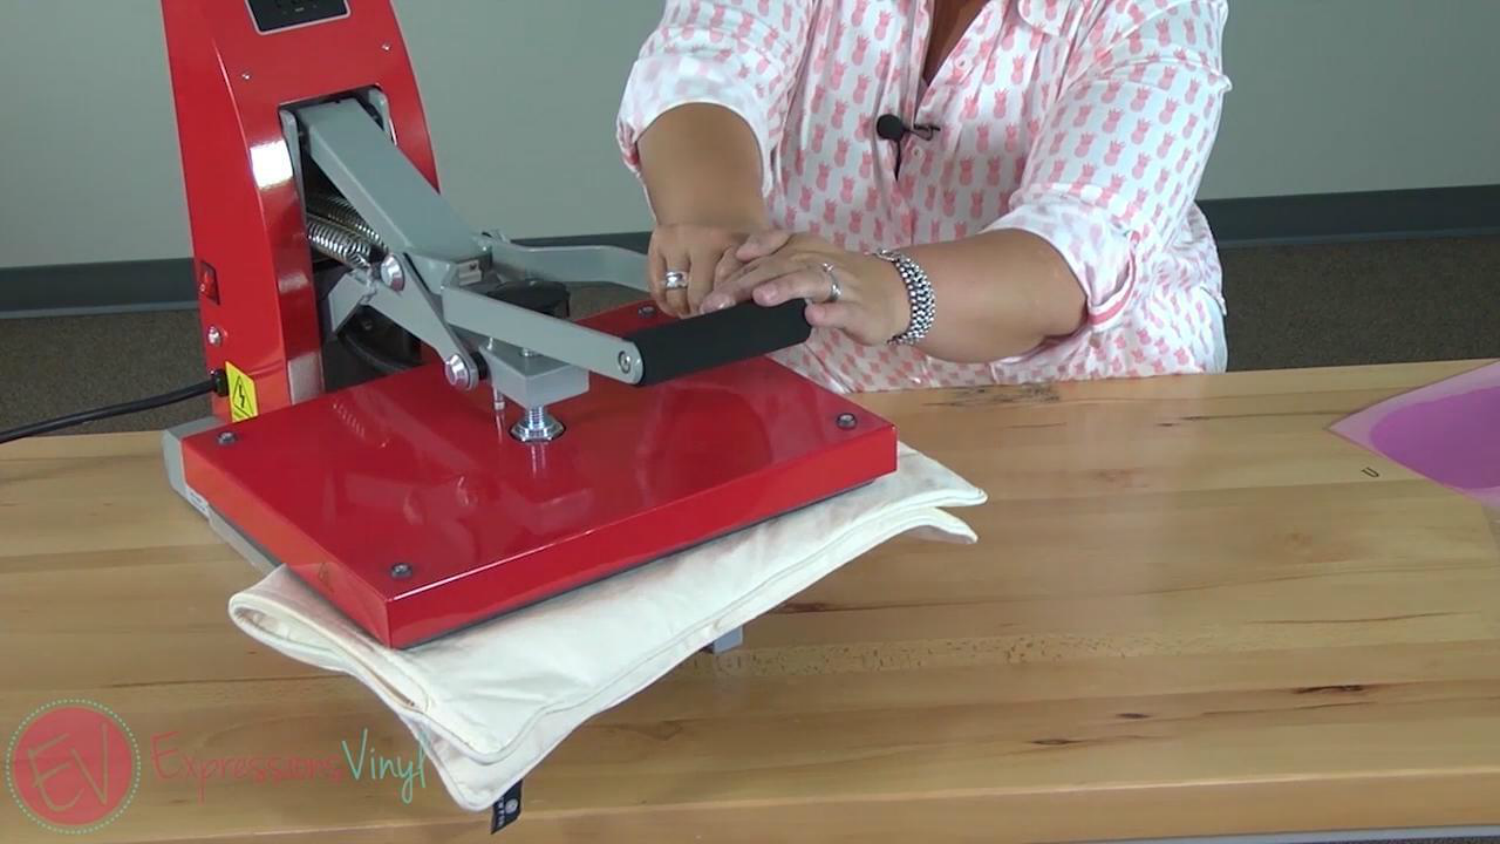
Now I know where the center of my pillow is, and I'm gonna apply my first layer right where I want it.
For this first layer, (the first press) I'm not going to press for the whole time. When I do the next layer, I will do it for the entire recommended time. We just want it pressed long enough for the adhesive to stick. StripFlock is cold peel so I have to wait just a minute before I pull off the carrier sheet.
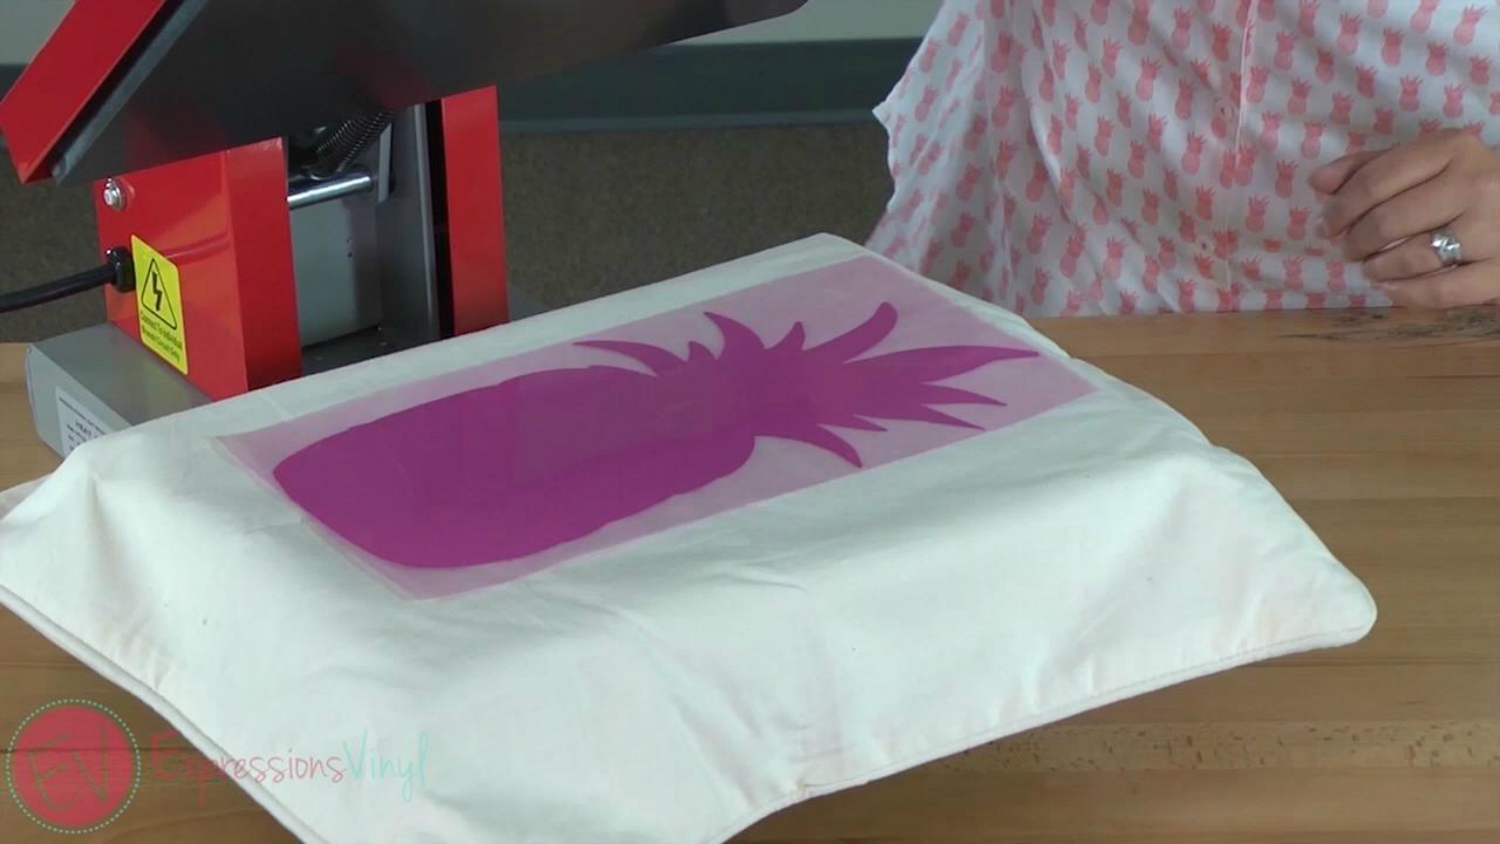
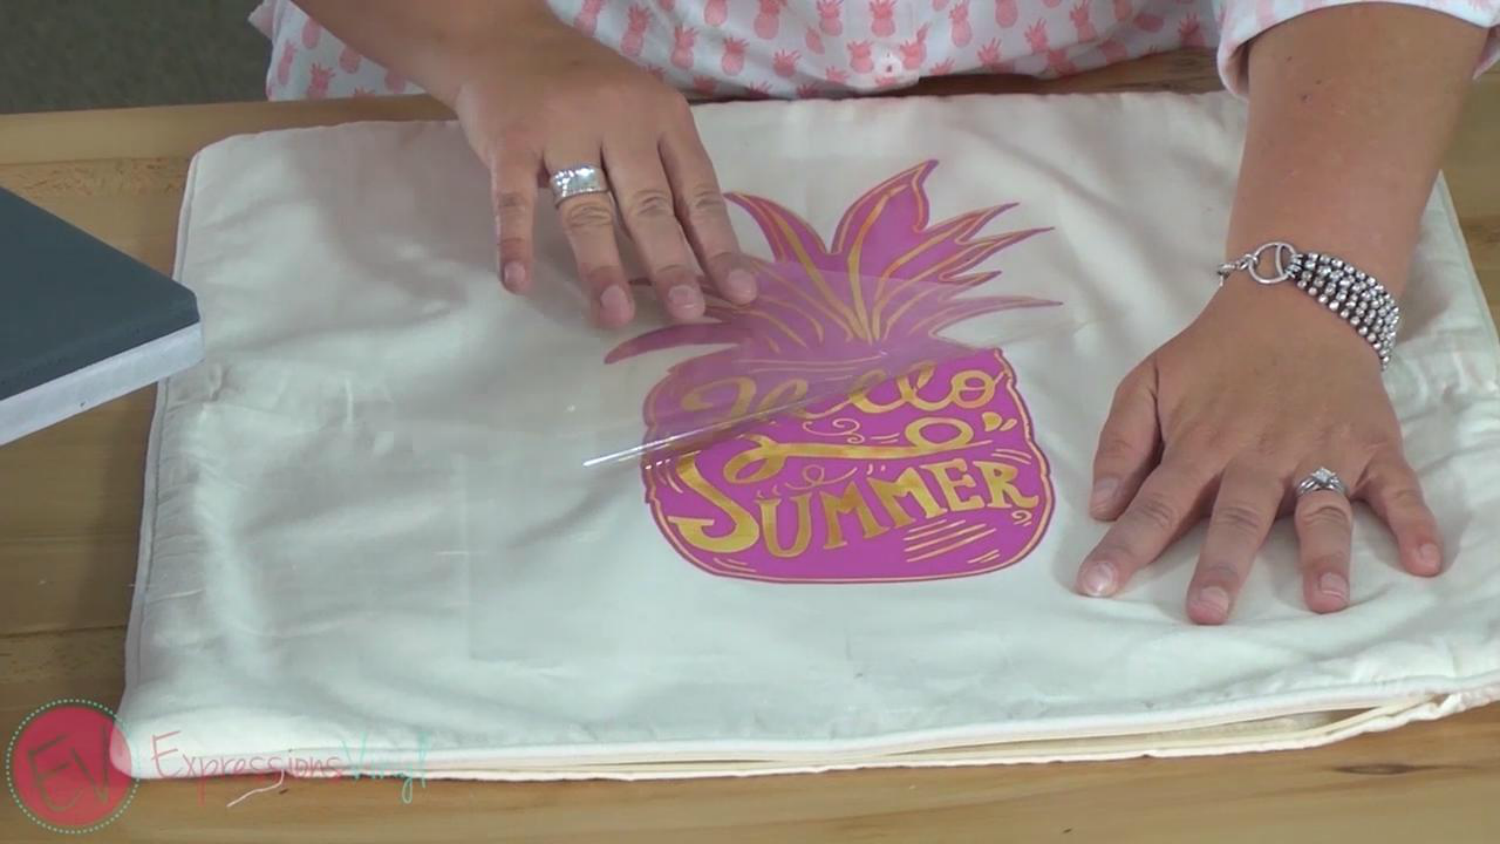
Alright, pull the carrier sheet away. Now we are ready for our next layer. I'm just going to line that up to where I want it. I've got that edge so I gotta make sure I get it just right. Once I've got that just where I want it, and I'm going to do a full press.
My carrier sheet on my second layer is covering everything from my first layer, so I don't need to add anything. So just check that. You don't want any vinyl exposed to the press (your iron) without the protection of a carrier sheet or a heat transfer cover sheet.
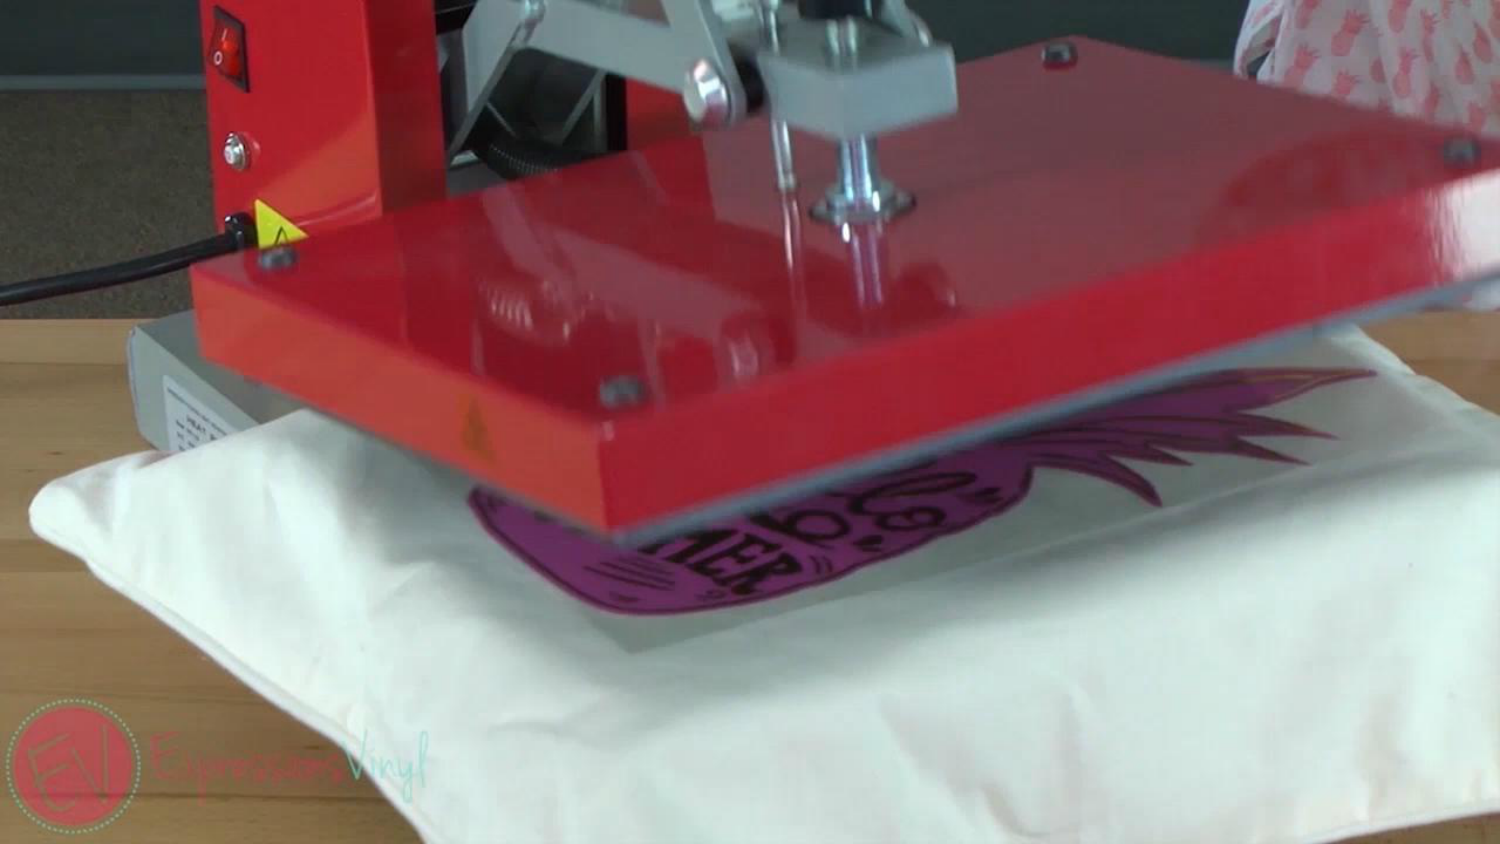
I press this layer for the full 15 seconds.
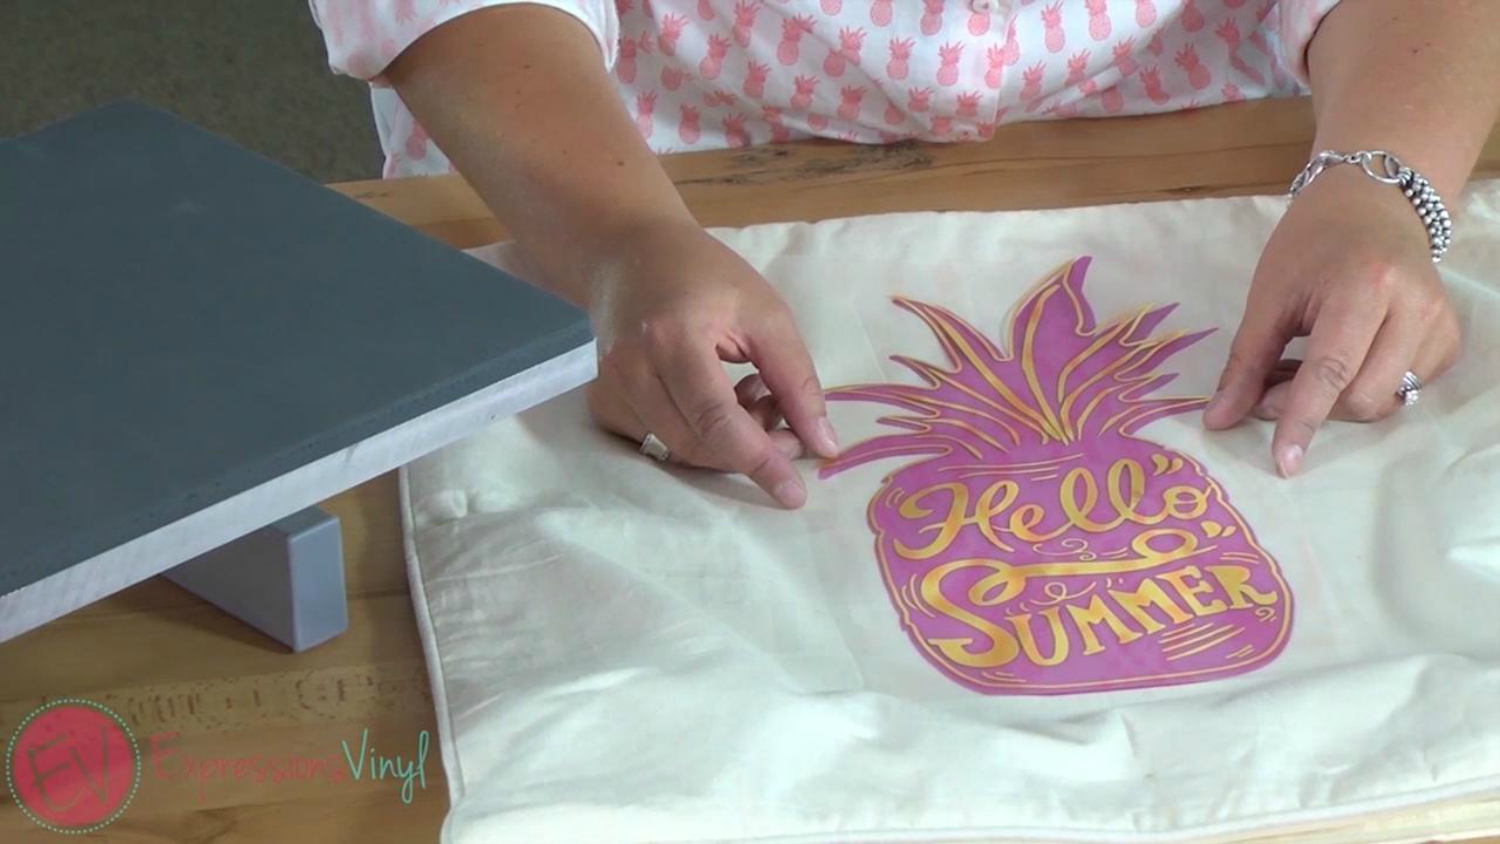
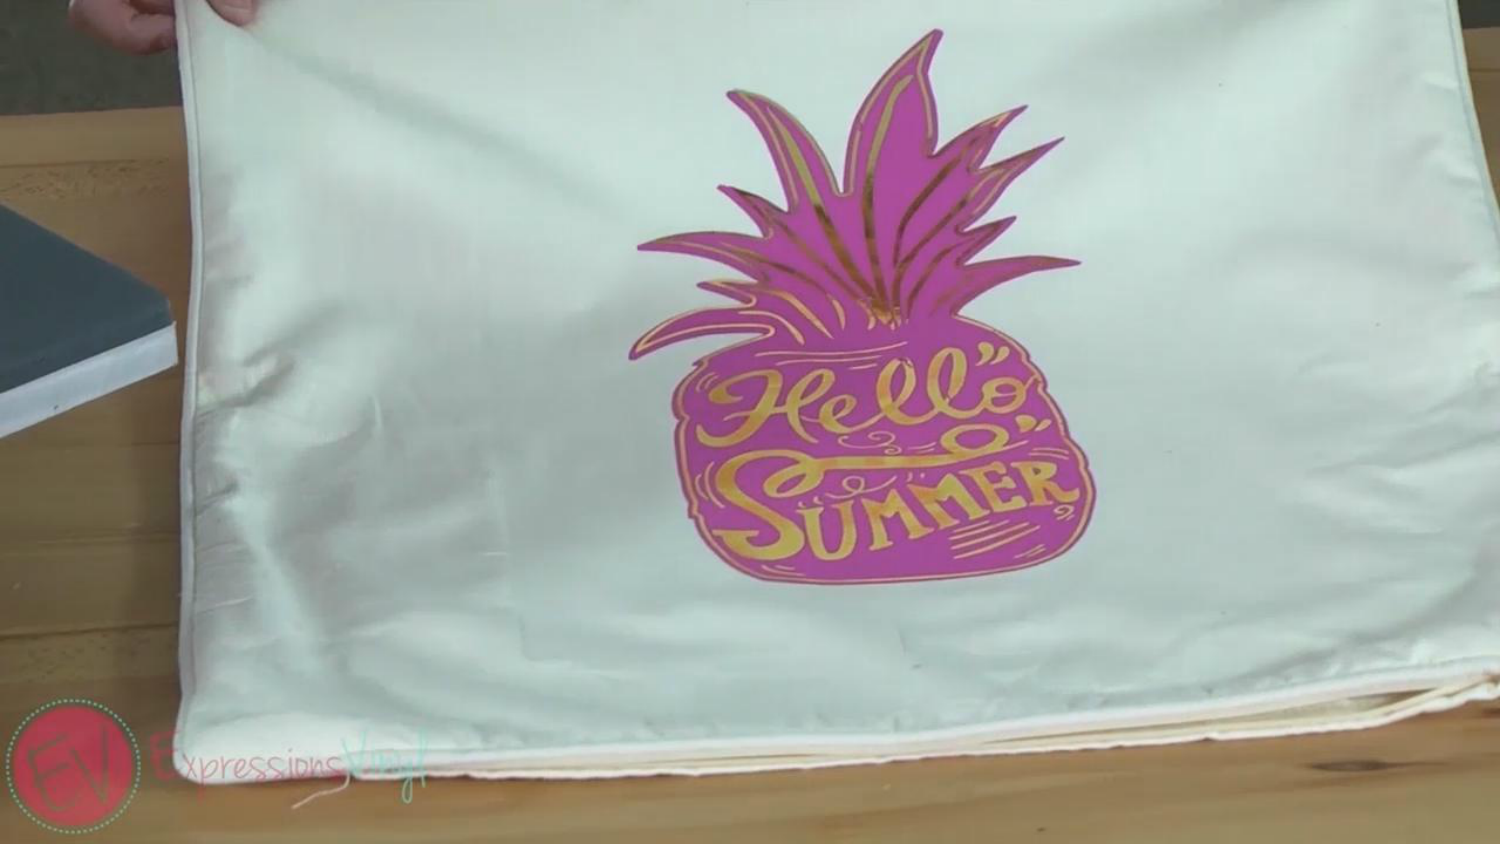
Alright, now we have both layers pressed, and it's cooled off completely, 'cause the gold and the StripFlock both are cold peel, we'll peel off our carrier sheet.
And we have a pink pineapple!
I stuff my pillow back in my form, and I have a finished pillow that I've customized to be my colors and designed just the way I wanted. Yay!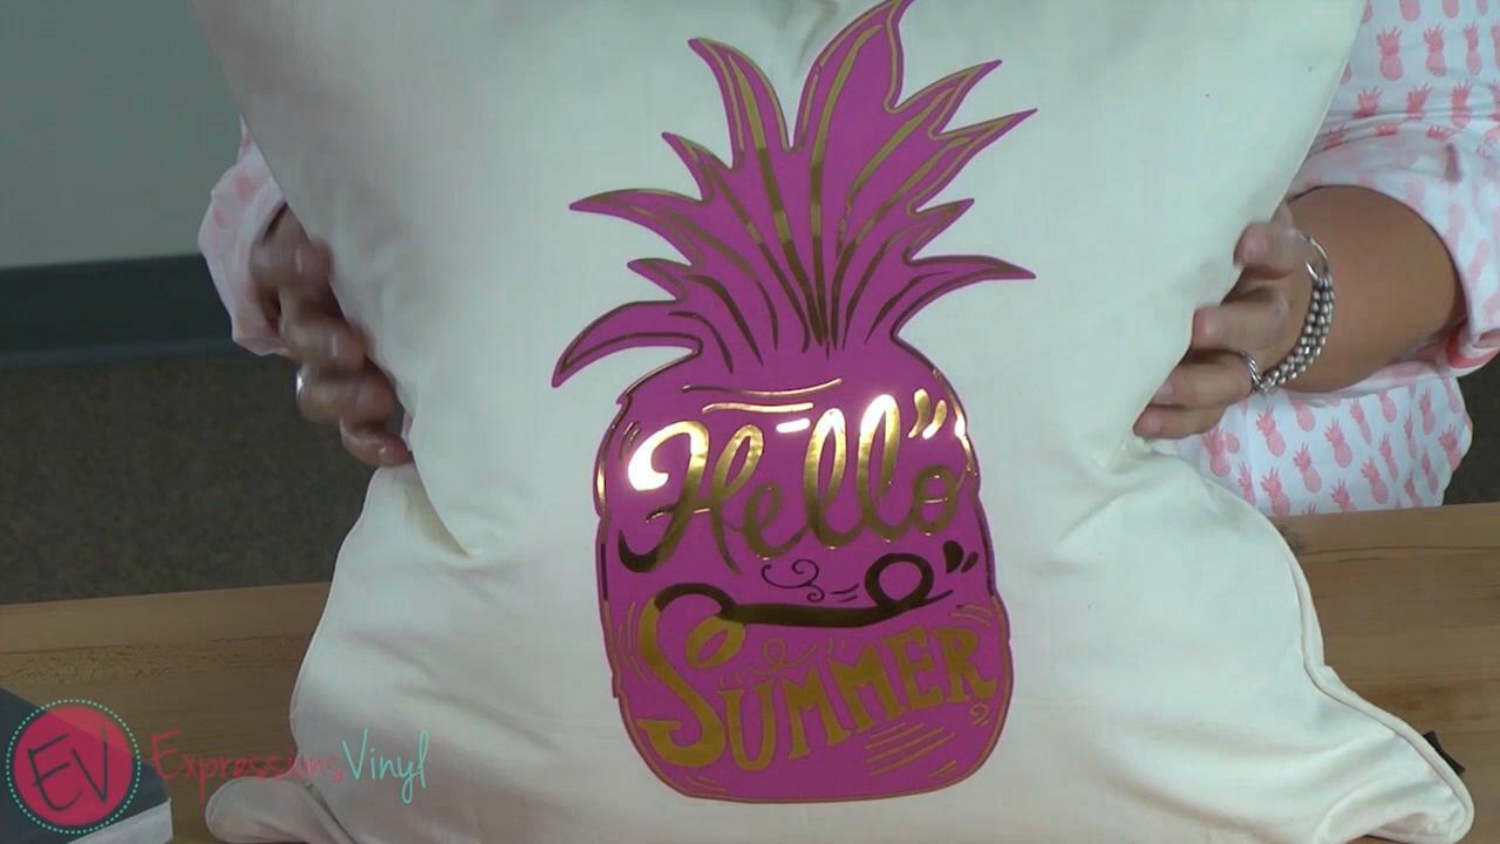
If you have any questions or comments, please let me know in the comments below. And make sure to watch the full video of this project here!
Recent Posts
-
NEW Holographic Eclipse Heat Transfer Vinyl
April 15th, 2024 3 Ways to Use the New Holographic Eclipse Heat Transfer Vinyl from Siser …Apr 29th 2024 -
Hop into Spring with Cute Easter Vinyl Crafts
Do you love our Vinyl? Sign up for Vinyl Club today to get FREE vinyl and save big! …Mar 28th 2024 -

Fixing Wrinkles and Bubbles in Vinyl
How do you get air bubbles out of vinyl? There are a few different ways to ensure a flawless …Mar 26th 2024