Make A Beautiful Vase Using 4 Affordable Items
Hello! I don't know about you but I'm a big fan of the succulent plant trend going on right now. I have a shelf in my bathroom just calling out to me saying "make me pretty!" Who am I not to answer that call?
I originally tried having real succulents but my black thumb killed that idea rather quickly (pun intended). Seriously, my husband is in charge of the yard because my skill-set does not include gardening. Luckily, there is a wide selection of faux plants out there that are beautiful, affordable, and most importantly, I can't kill them.
This leads me to today's tutorial on showing you how I combined an IKEA vase, a faux succulent plant, white rocks, and Expressions Vinyl transparent glitter vinyl to make a beautiful and affordable vase. The total cost for 3 vases was $36.50 so that's about $12 per vase!! You only need 1 sheet of vinyl and 2 bags of rocks so that helps save money.
I used my Silhouette CAMEO to cut my vinyl but since I chose to do simple triangle shapes you could easily do this with a craft knife and ruler or even a shape punch. In other words, you can totally do this!
Let's start making!
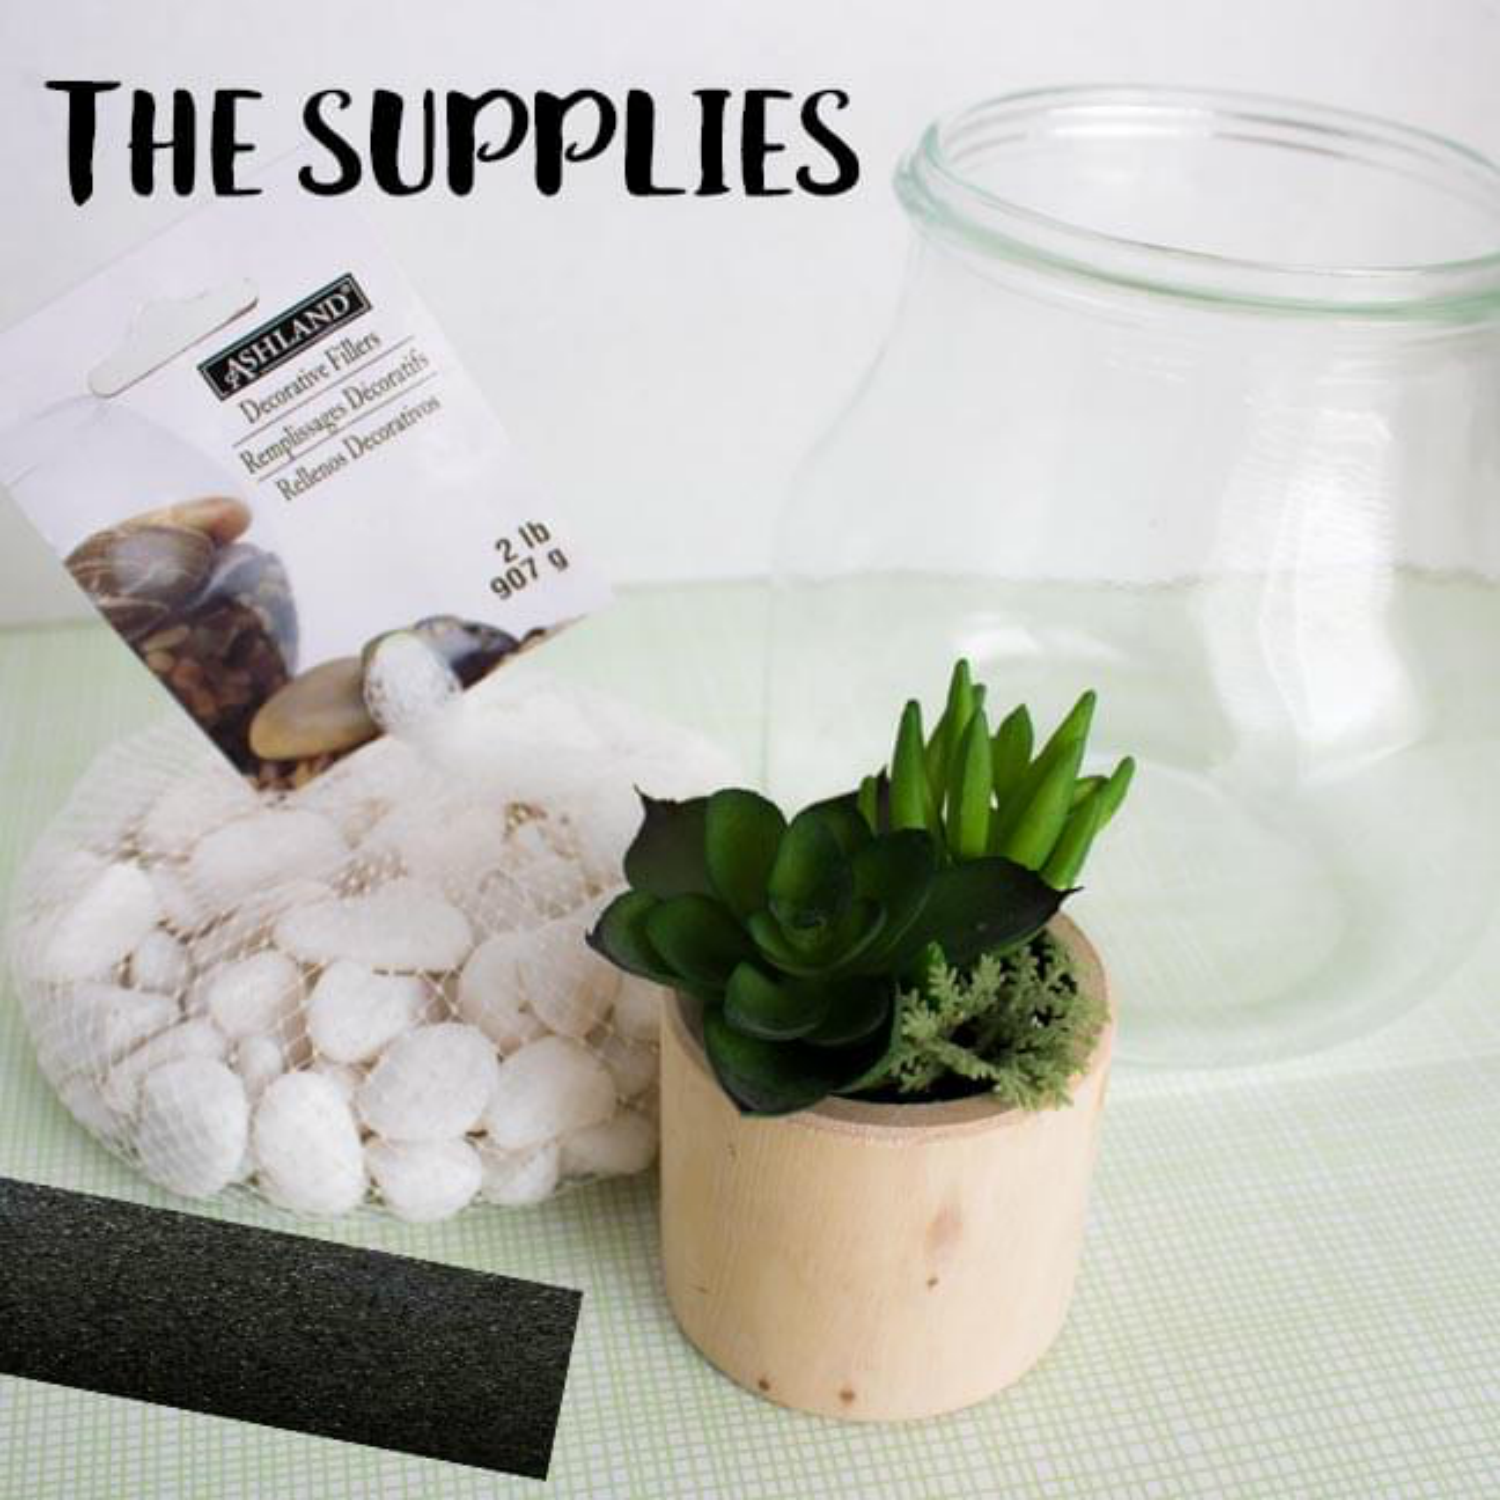
I was inspired by a vase I saw at CB2 and decided to make my own version. I started in my Silhouette Studio™ software and designed my patterns. I chose to do 3 variations so each vase had it's own design.
The designs I used are:
Silhouette Design Store - Silhouette #127163: modern triangle printable pattern
Silhouette Design Store - Hero Arts#56070: triangle background
My own design which I'm happy to share with you for free, please click here to get the link!
To get the modern triangle design as a cut file you need to 'trace' the design and then select 'trace the outer edge'. I only used the top three lines since I'm having 3 lines for the other vases too.
Once I had all three designs ready I fit them all onto a 12" x 12" design page so I could cut everything at once. I have the amazing business edition of the Silhouette Studio™ software so I'm able to easily add weeding lines, I highly recommend it!
As you can see I left a space in the top left hand corner for those all important test cuts! I would hate to waste such a beautiful piece of vinyl by not taking the time to complete that step.
I let my Silhouette CAMEO do all of the hard work and once it was done cutting I used my scissors to cut the various strips apart for easy weeding.
Now the fun part comes with putting the designs on the vases! Instead of taking a million pictures and writing it all out I decided to make my very first video! As you will see attaching it doesn't always go perfectly smooth, you just have to have patience and fix them! None of us are perfect and I wanted you to see that.
Here are pictures of the completed project!
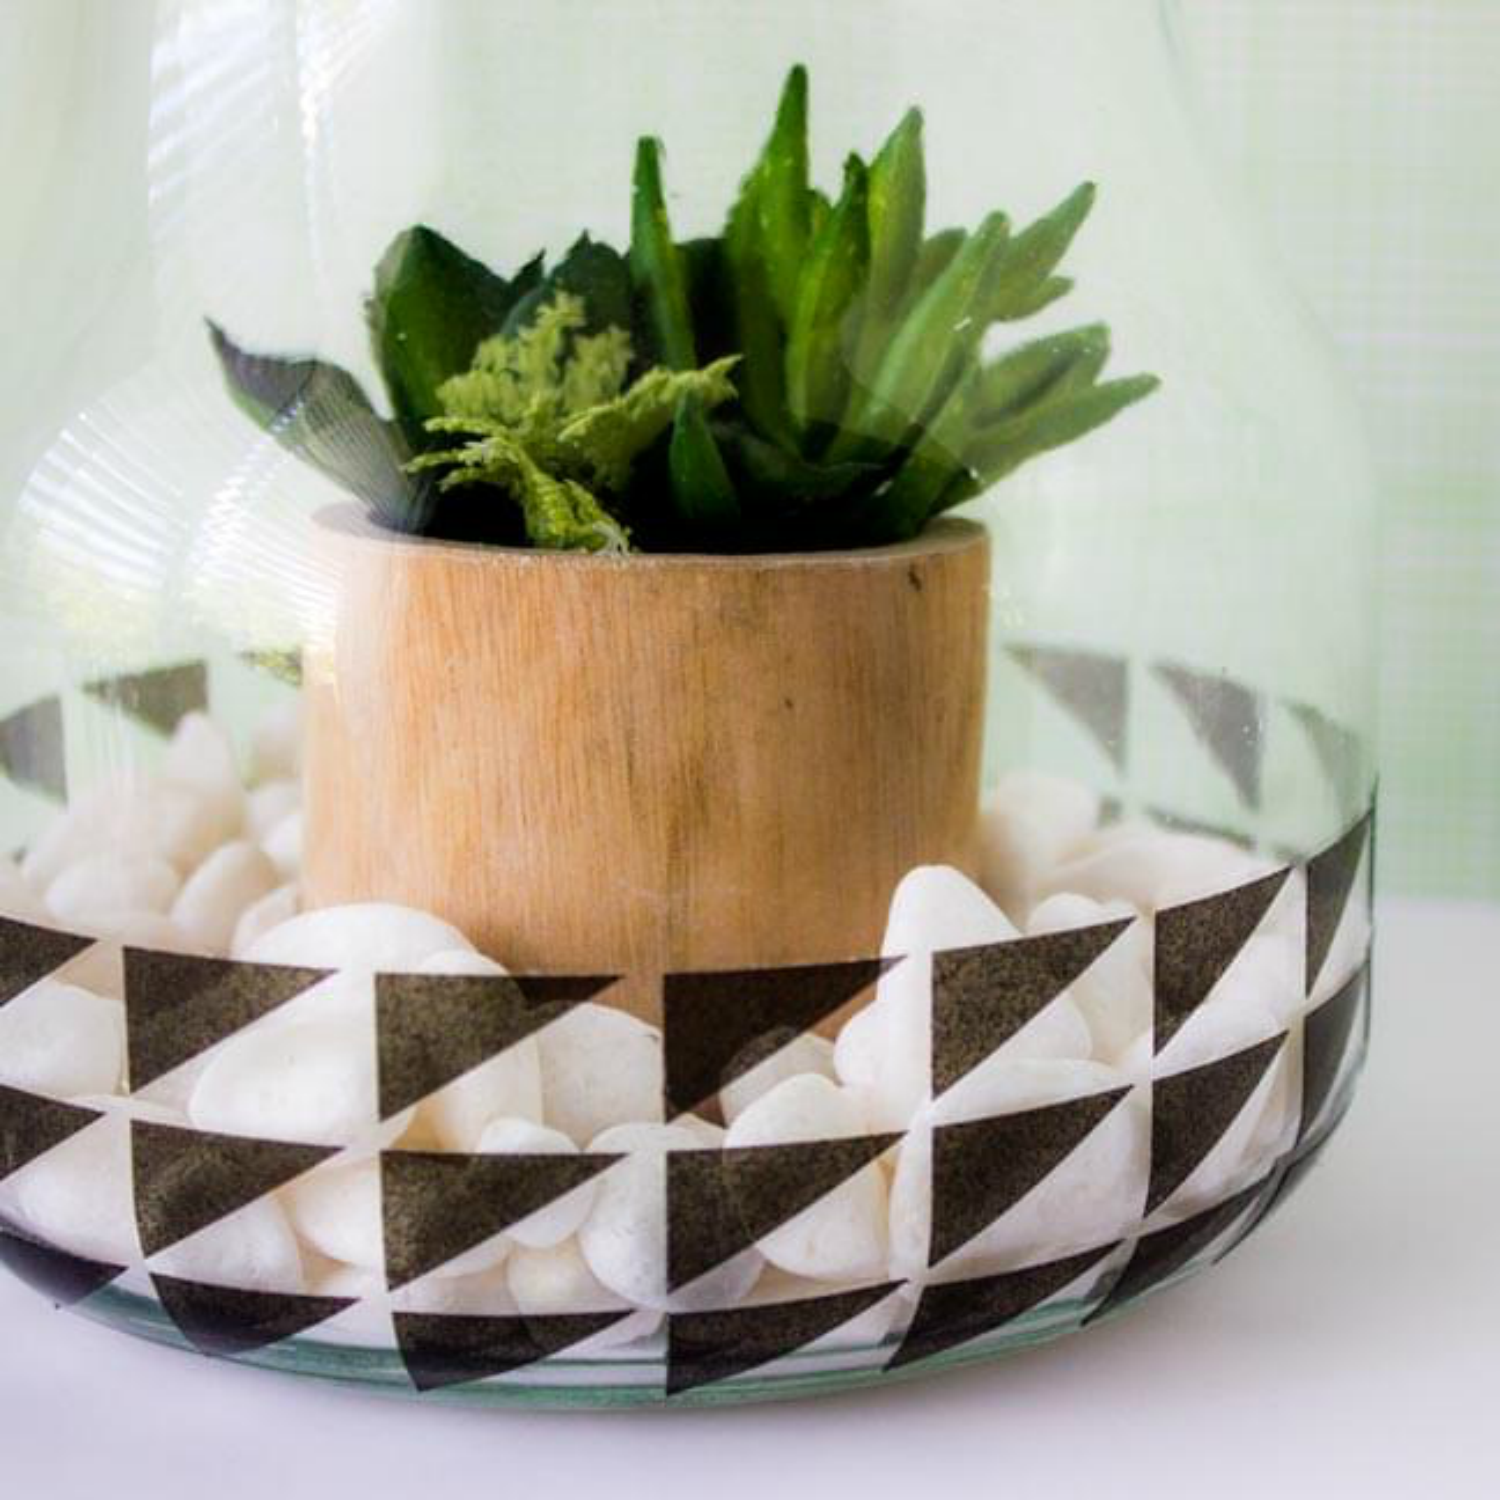
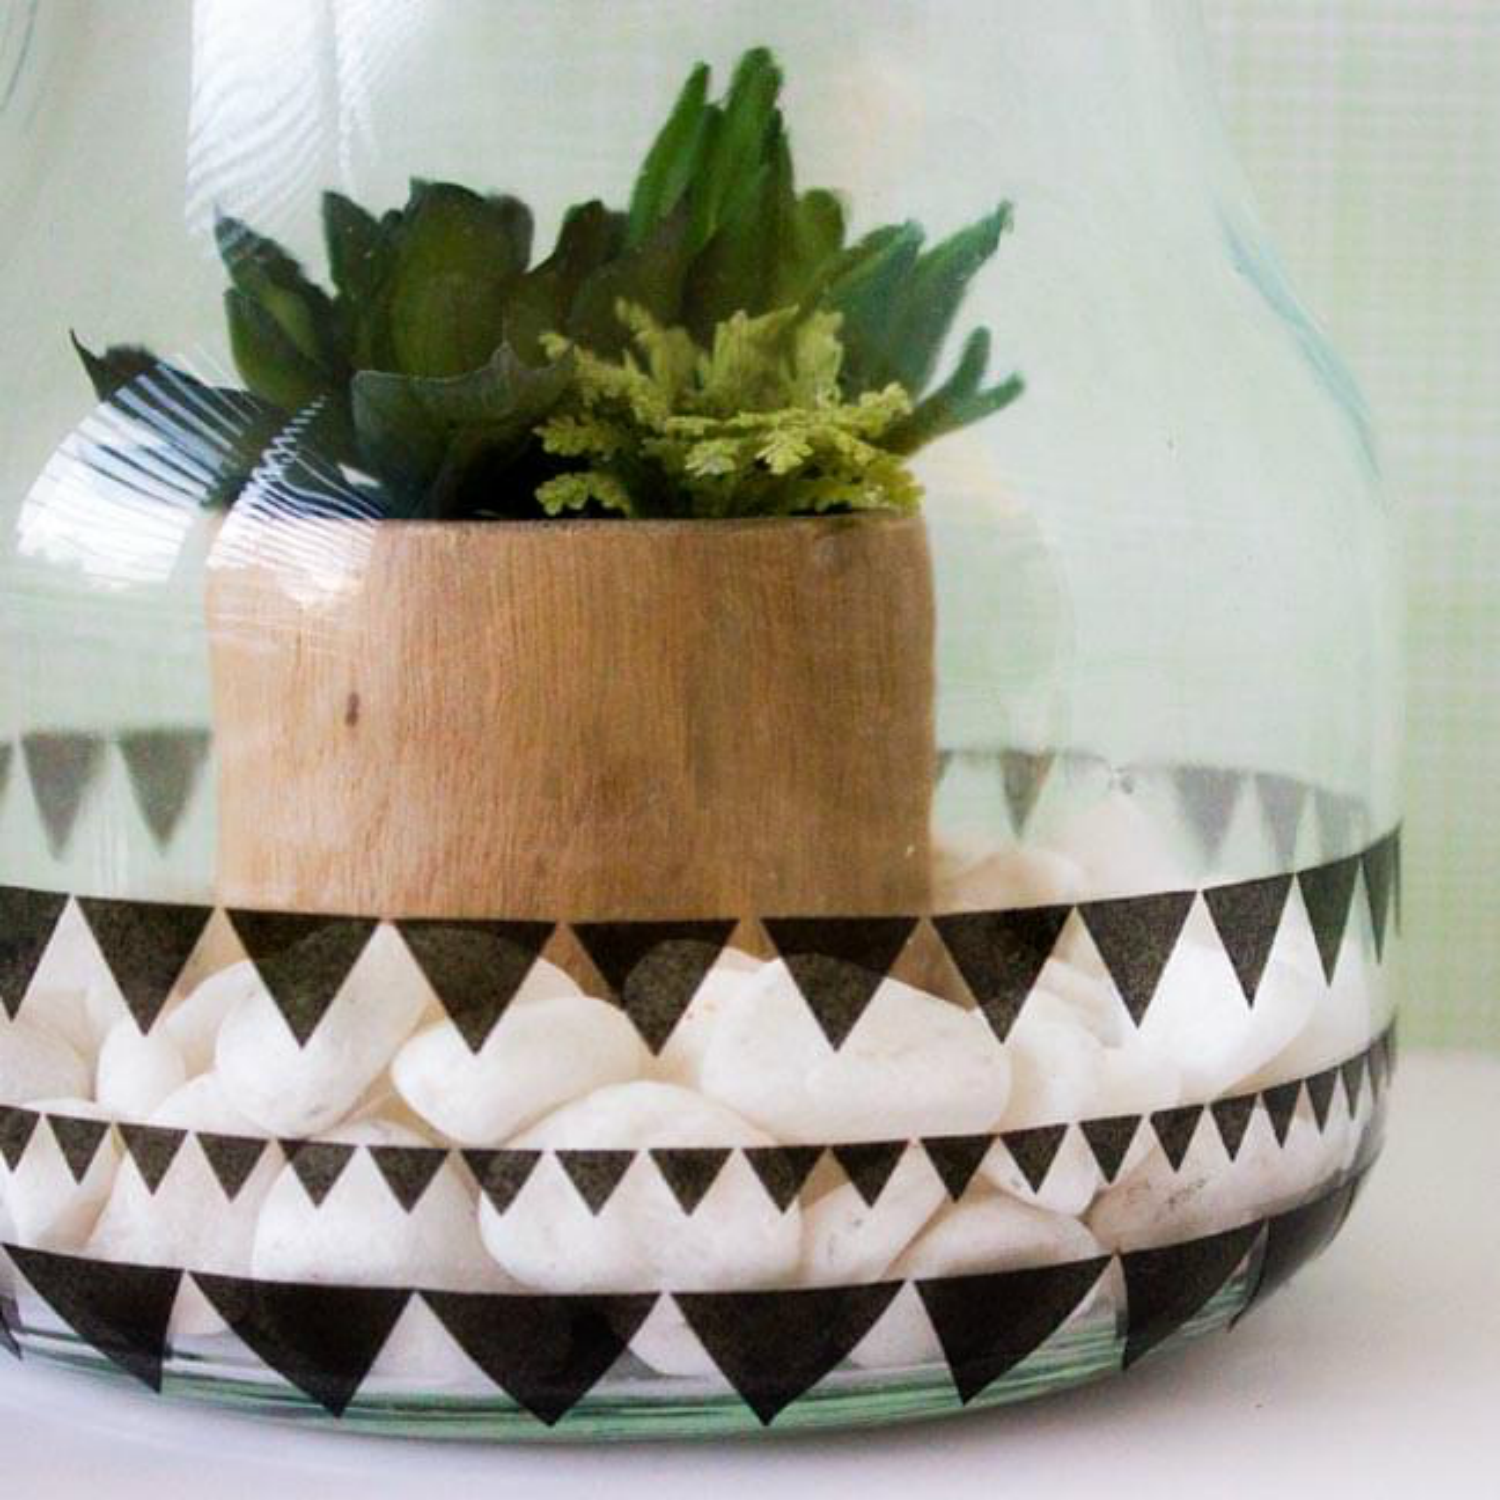
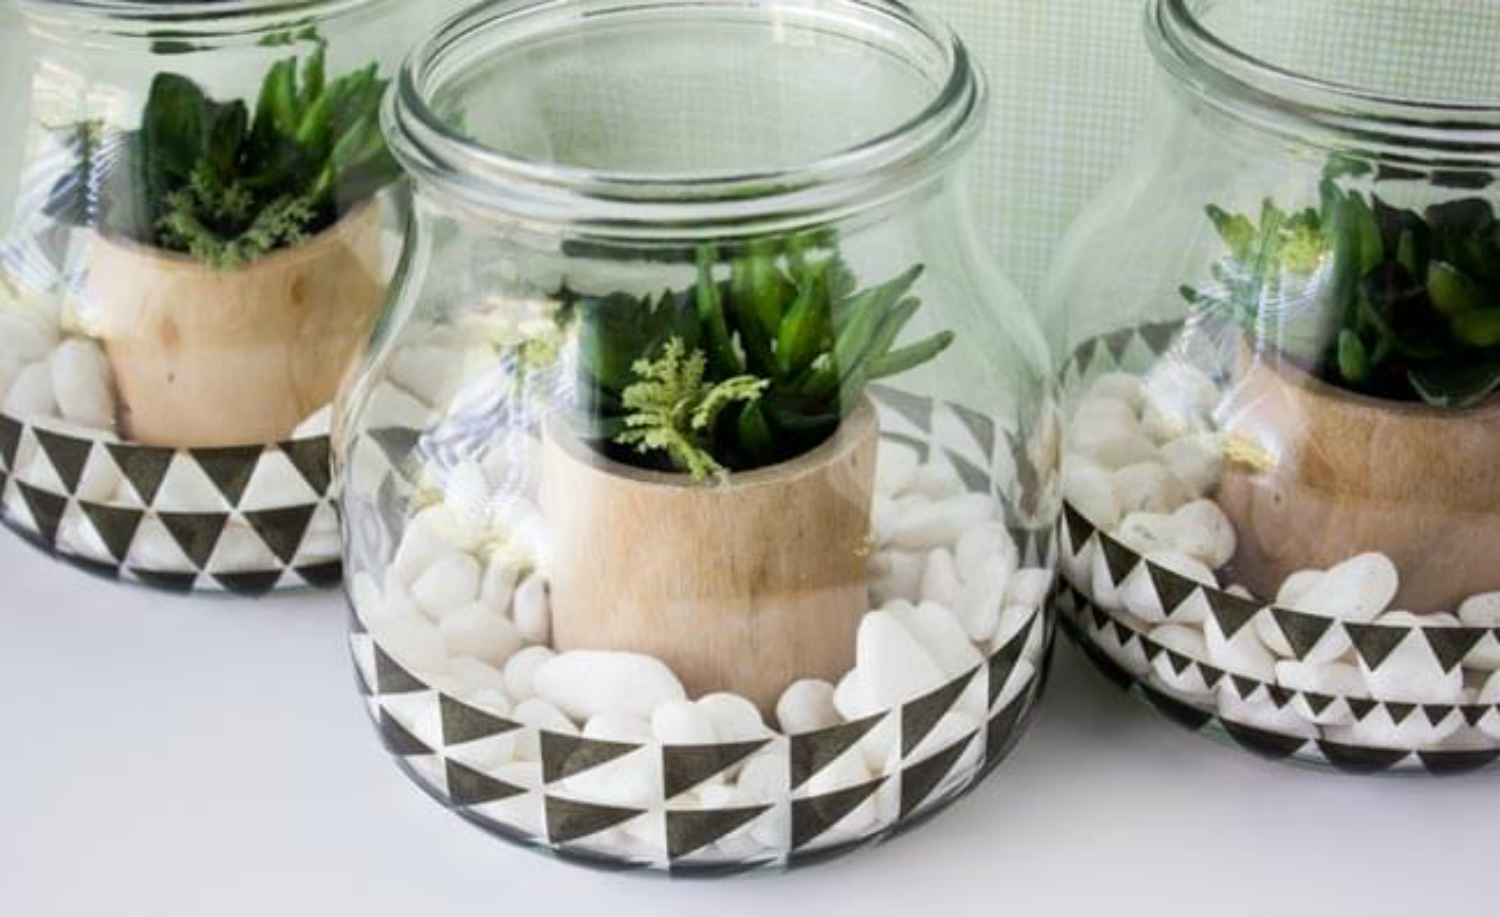
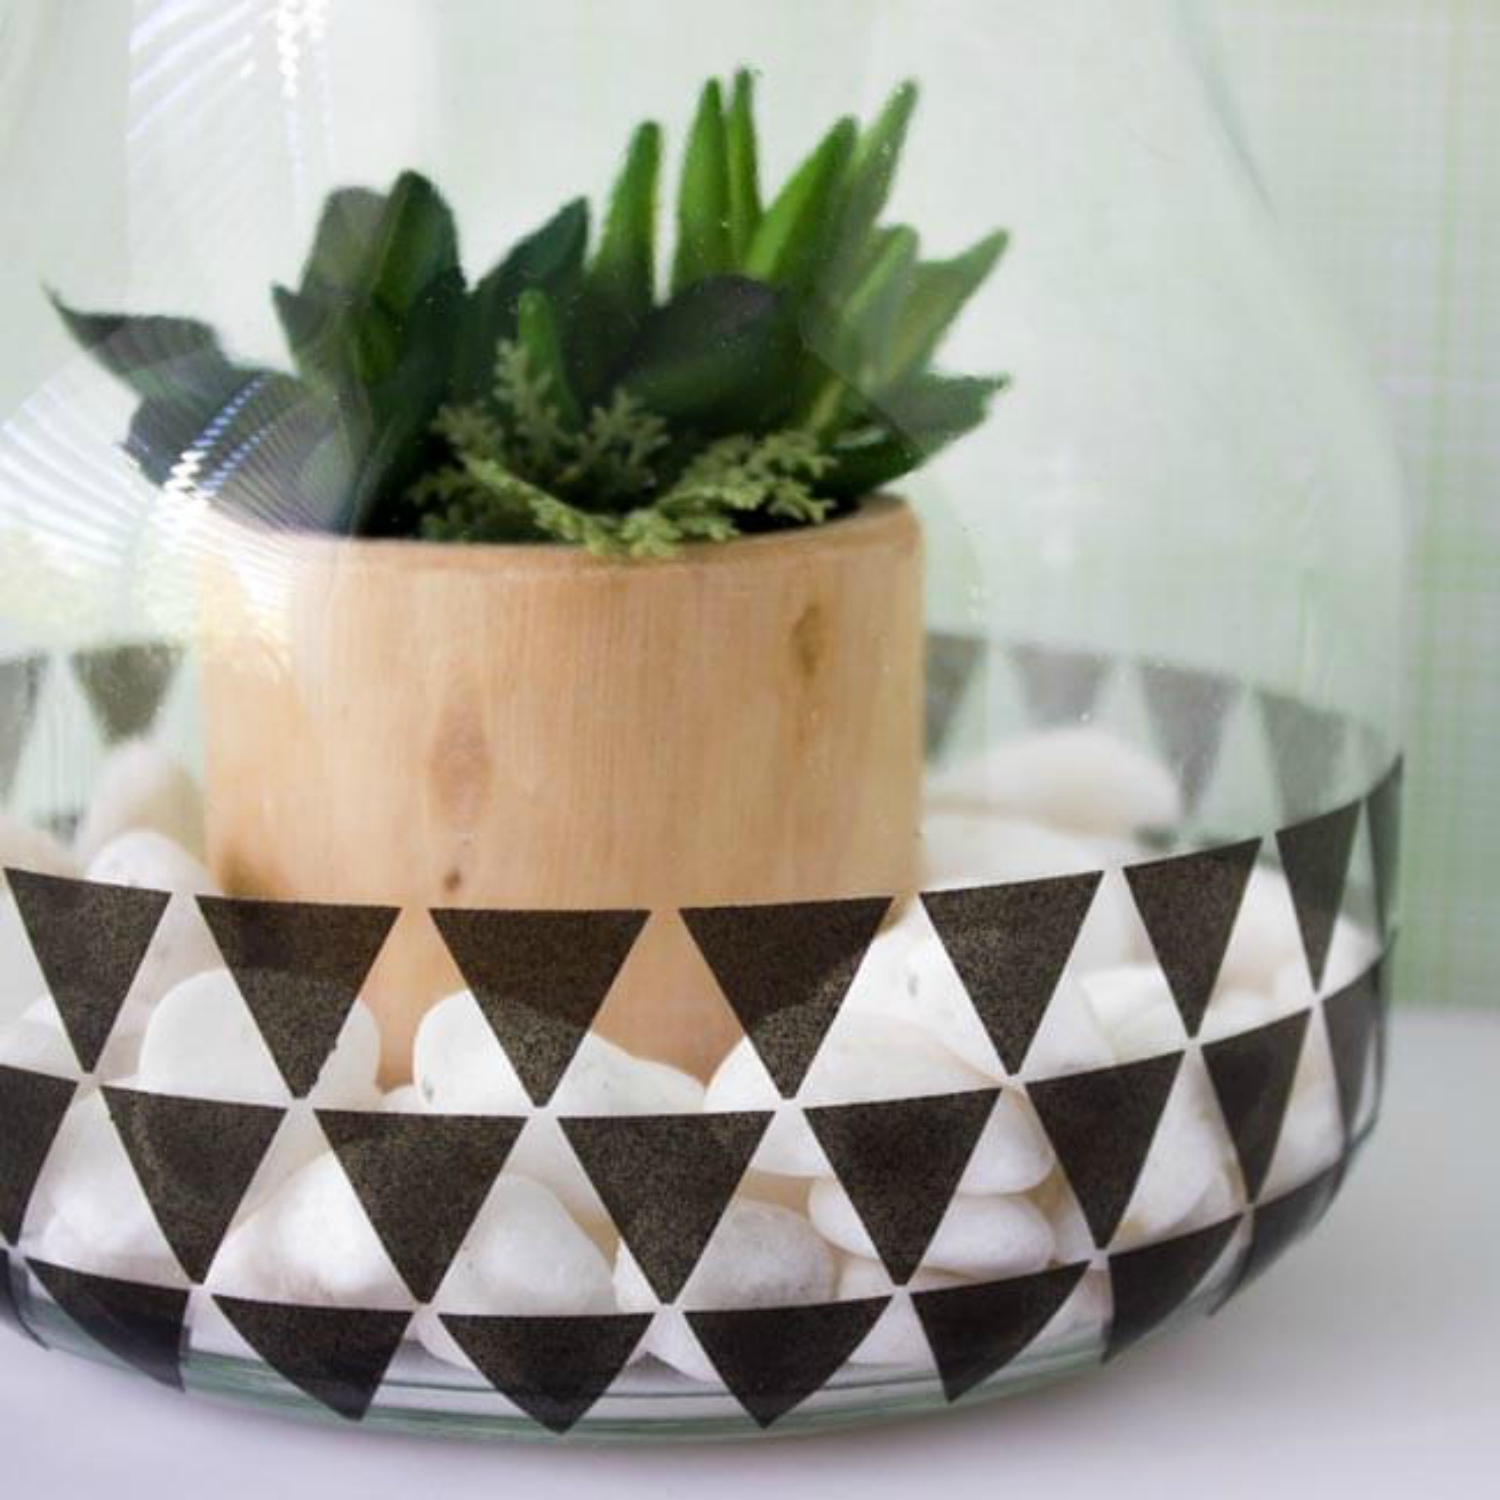
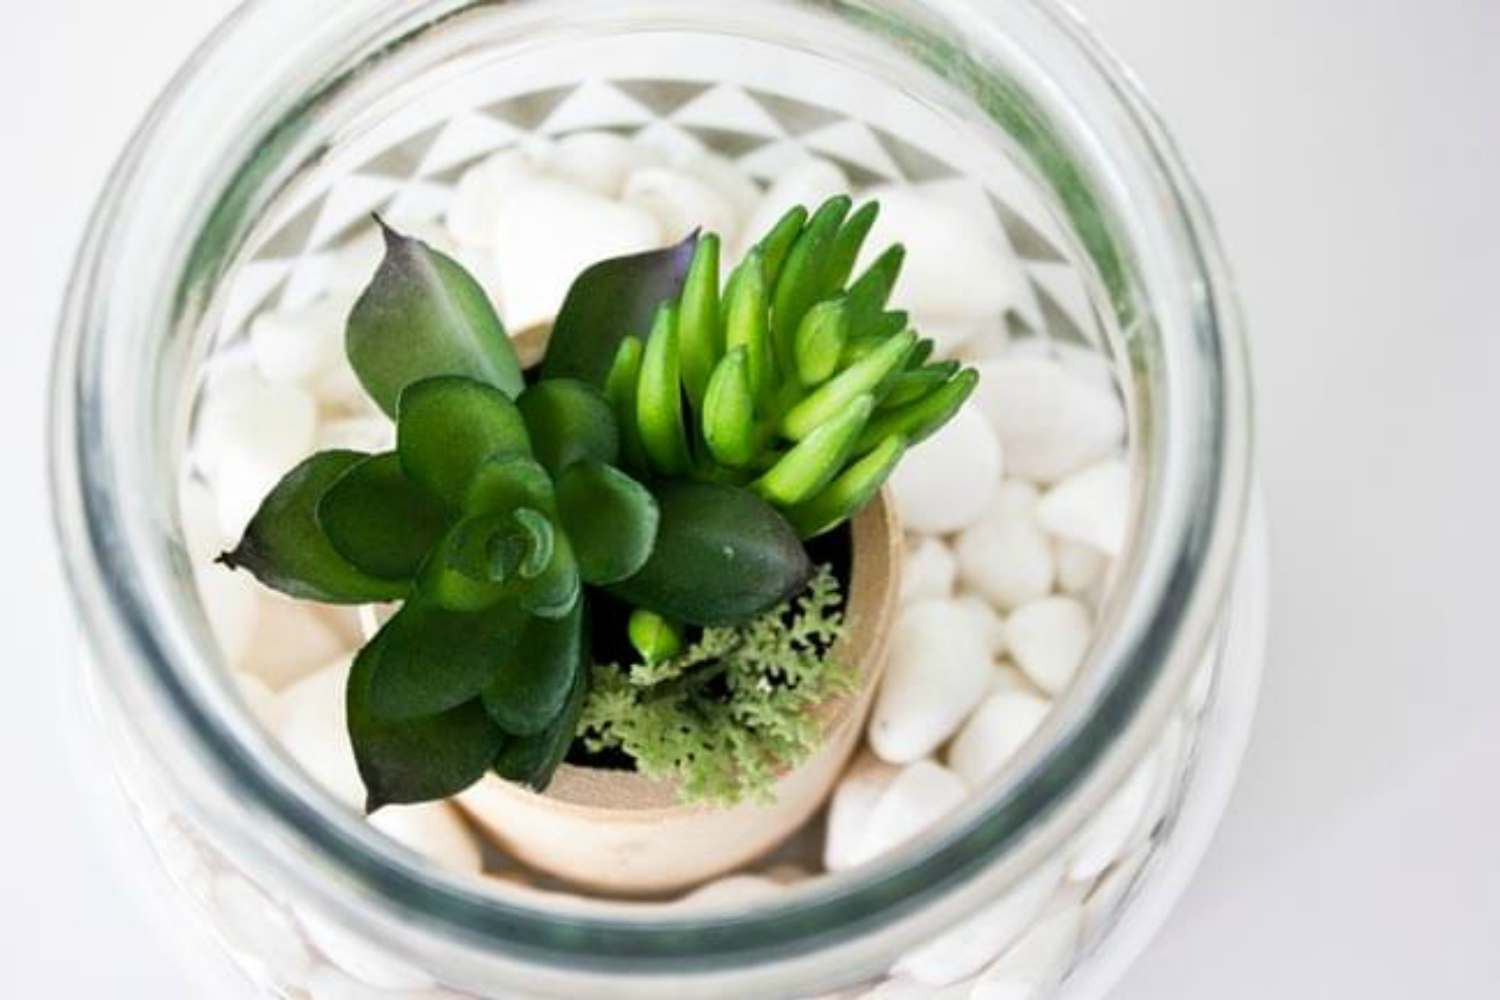
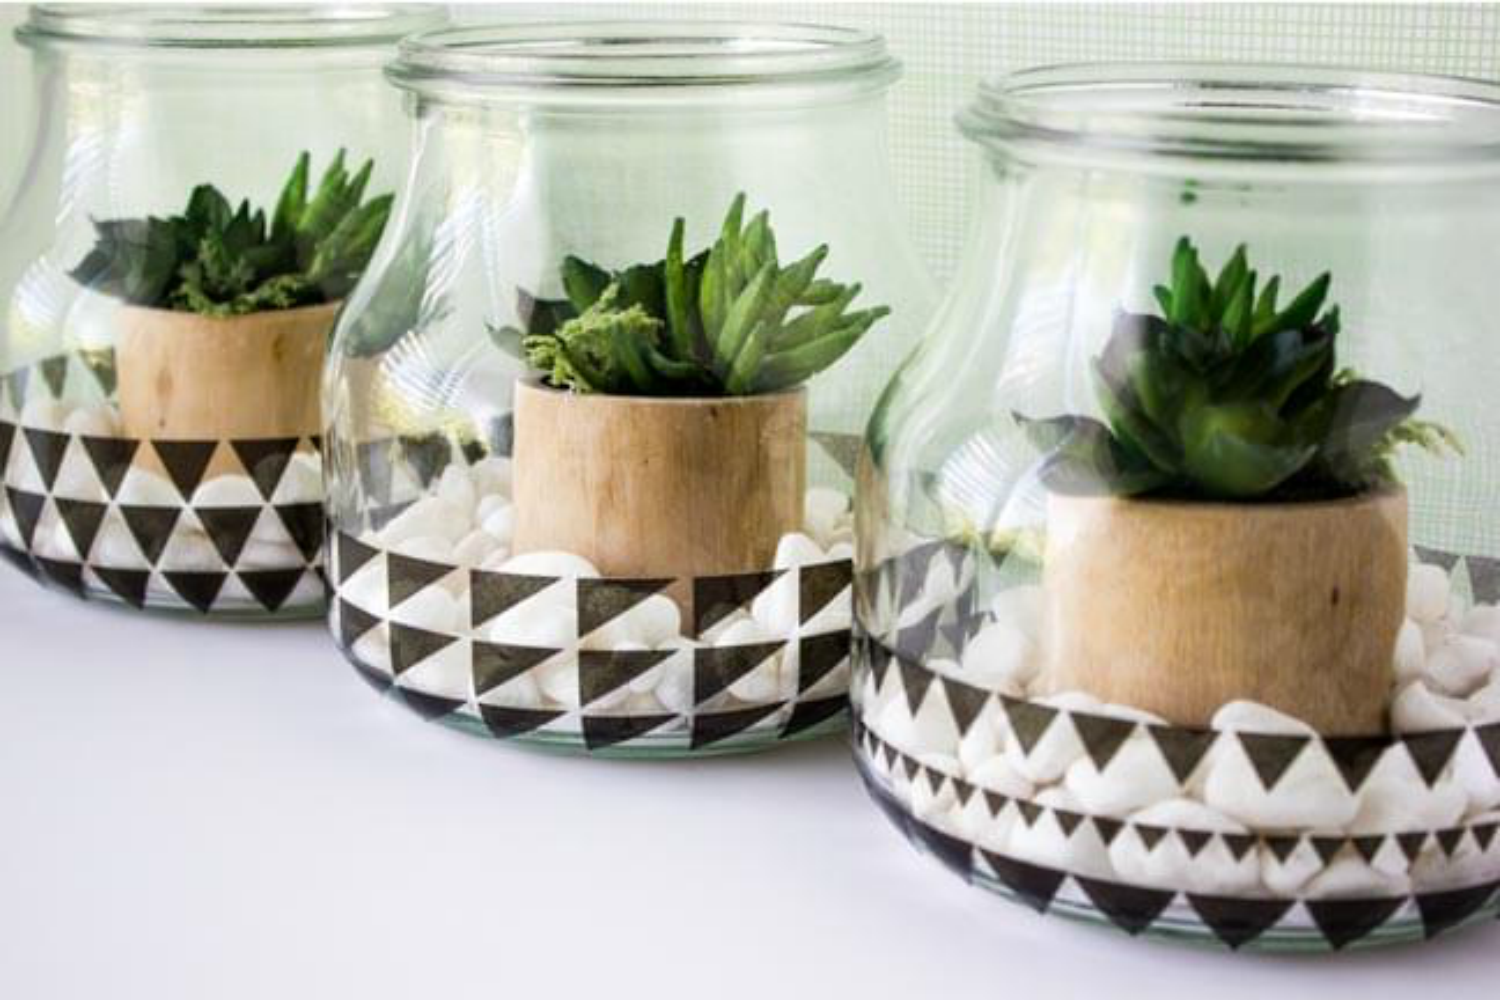
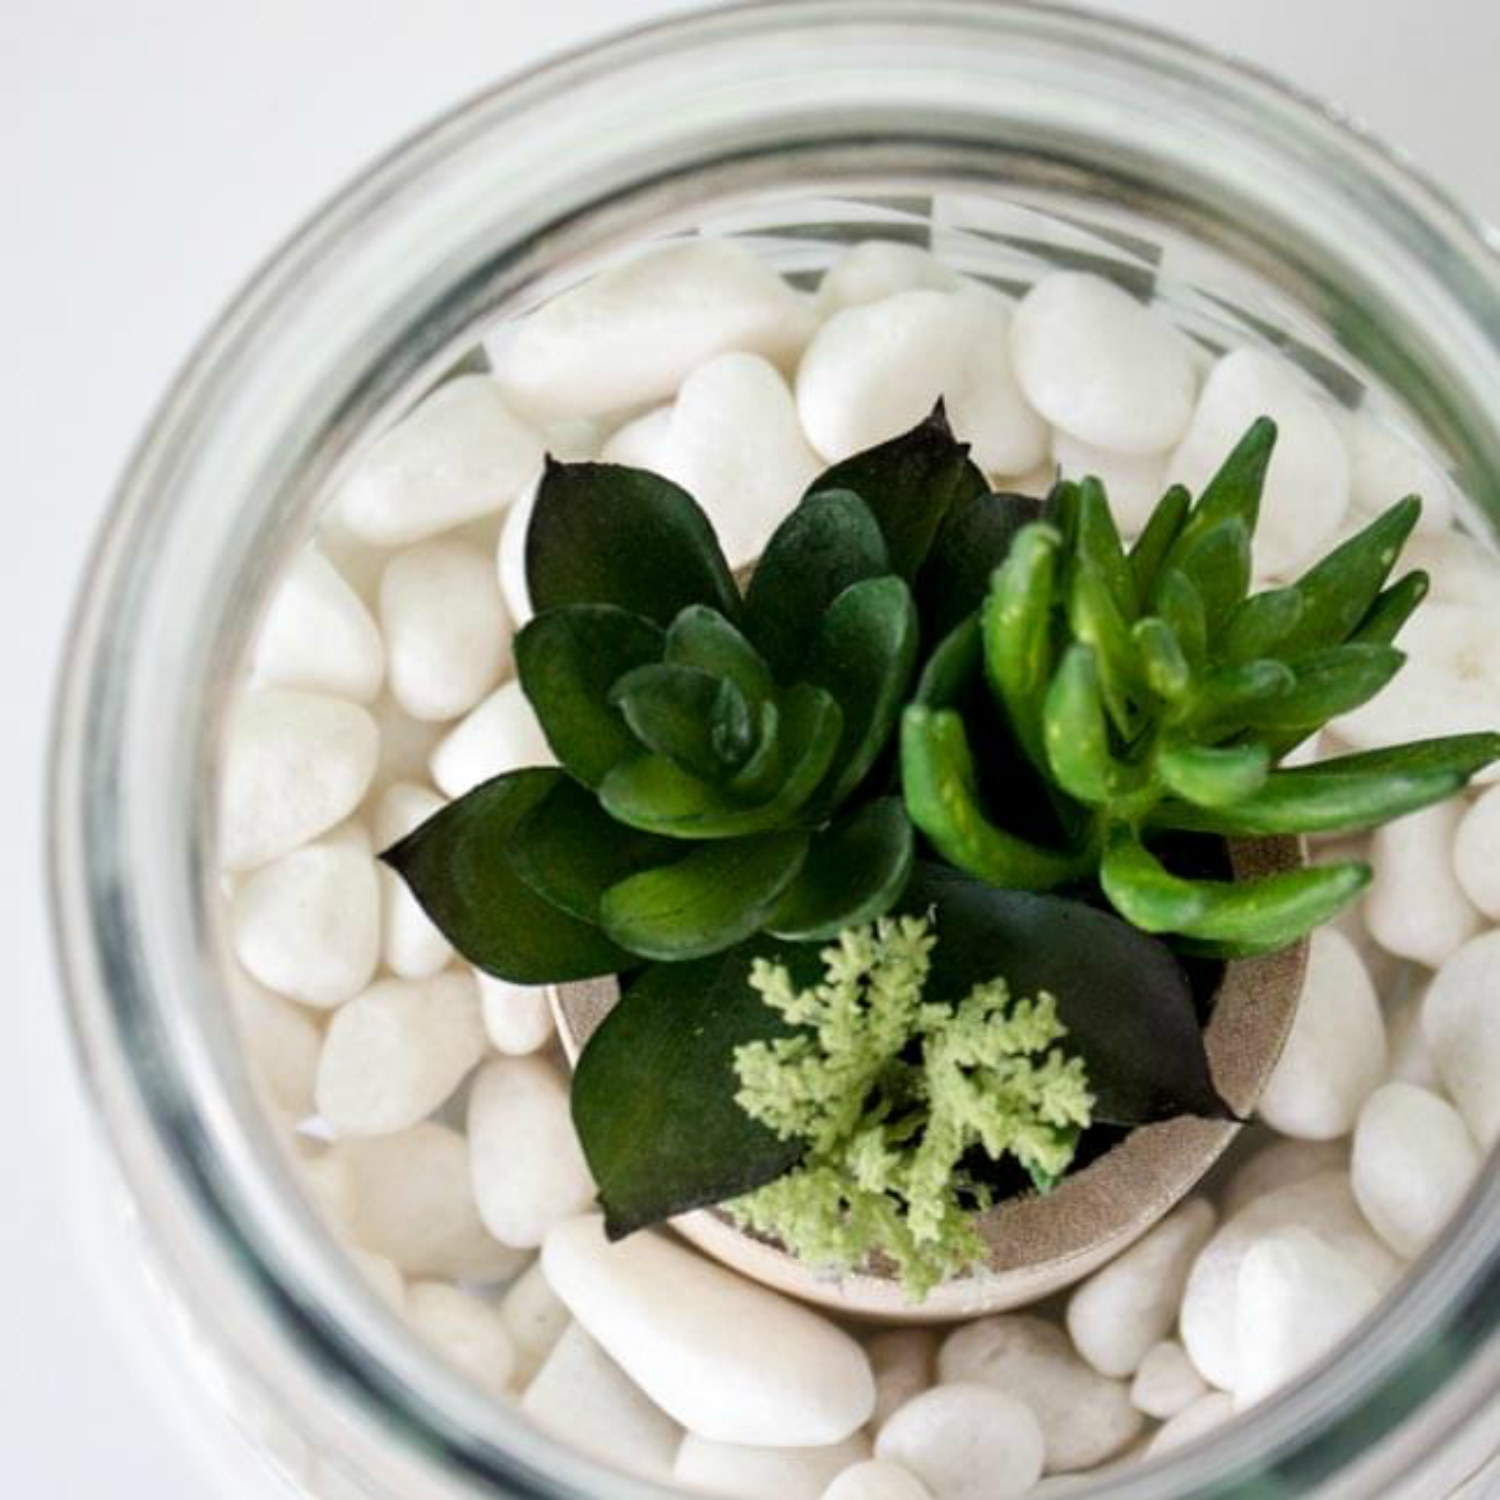
Now go on and make your own beautiful vases. Please tag me on social media (@Project378) so I can see your handmade creations!
Recent Posts
-
NEW Holographic Eclipse Heat Transfer Vinyl
April 15th, 2024 3 Ways to Use the New Holographic Eclipse Heat Transfer Vinyl from Siser …Apr 29th 2024 -
Hop into Spring with Cute Easter Vinyl Crafts
Do you love our Vinyl? Sign up for Vinyl Club today to get FREE vinyl and save big! …Mar 28th 2024 -
Fixing Wrinkles and Bubbles in Vinyl
How do you get air bubbles out of vinyl? There are a few different ways to ensure a flawless …Mar 26th 2024


