
Overcome Your Fears and Make Your First Cut
Hey, guys, it's Jessica with ExpressionsVinyl.com. And today I want to help you overcome your fear of making your first cut on your Silhouette machine!
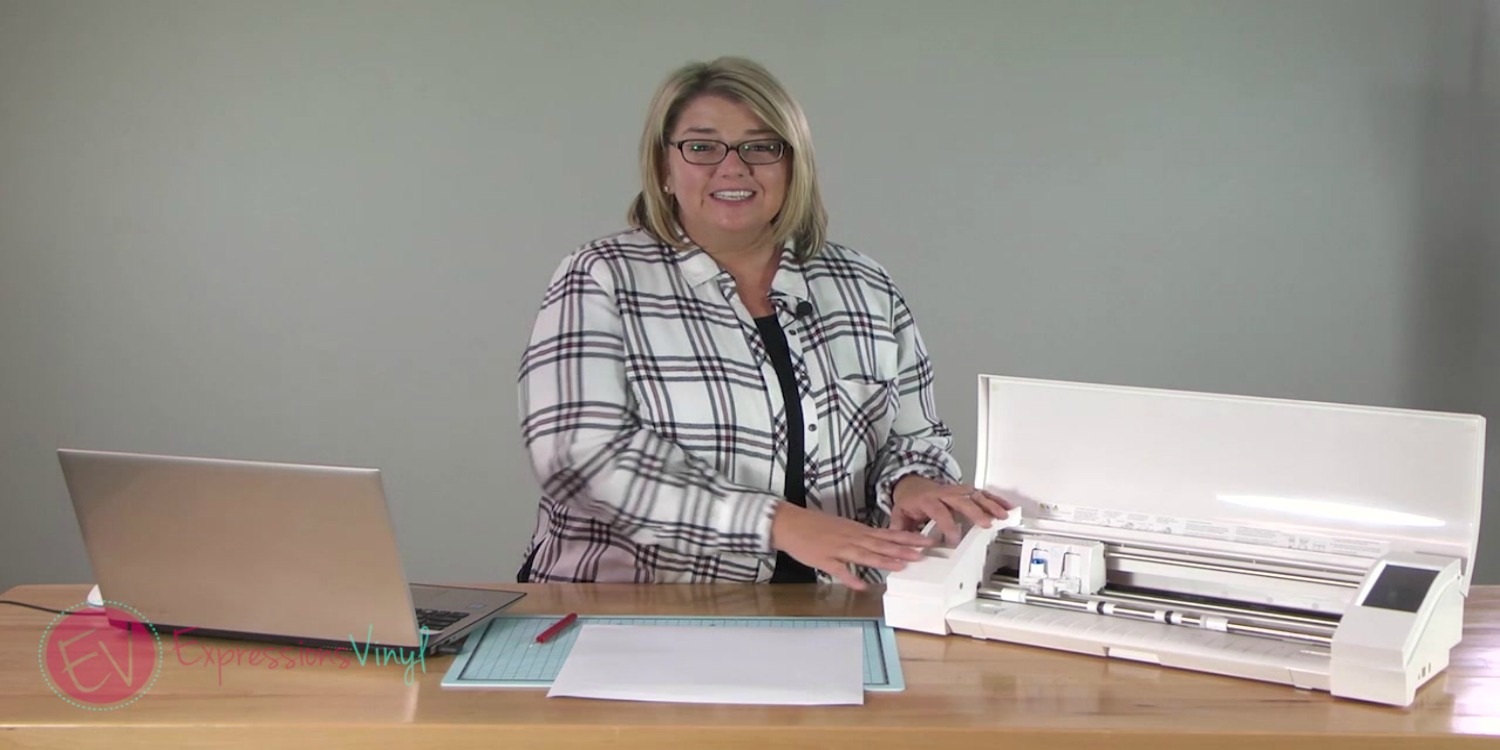

I hear all the time that, "Oh, I have a machine, it's sitting in my closet," or, "Oh, I'm too scared to pull it out. "I don't know what to do."
So we're going to get you over that today because I don't want your machine just collecting dust. You want to be creating and crafting and finding the pleasure that is in that. I'm going to hold your hand and we are going to get you over the fear of making your first cut.
The worst thing that's going to happen is if you mess up when making your cut, you're going to ruin maybe a little piece of vinyl and your machine might make a weird noise. It's no big deal. Just try again. Vinyl is cheap, so get some practice pieces, maybe get some colors that you don't love, and practice. That's all it takes!
One of the biggest culprits is your blade. If you have a dull blade, that's going to be really hard to get your cut settings right. If you have a brand new machine, you have a brand new blade, you're good to go. If you purchased your machine used, I would consider purchasing a new blade to start with until you get your settings just right.
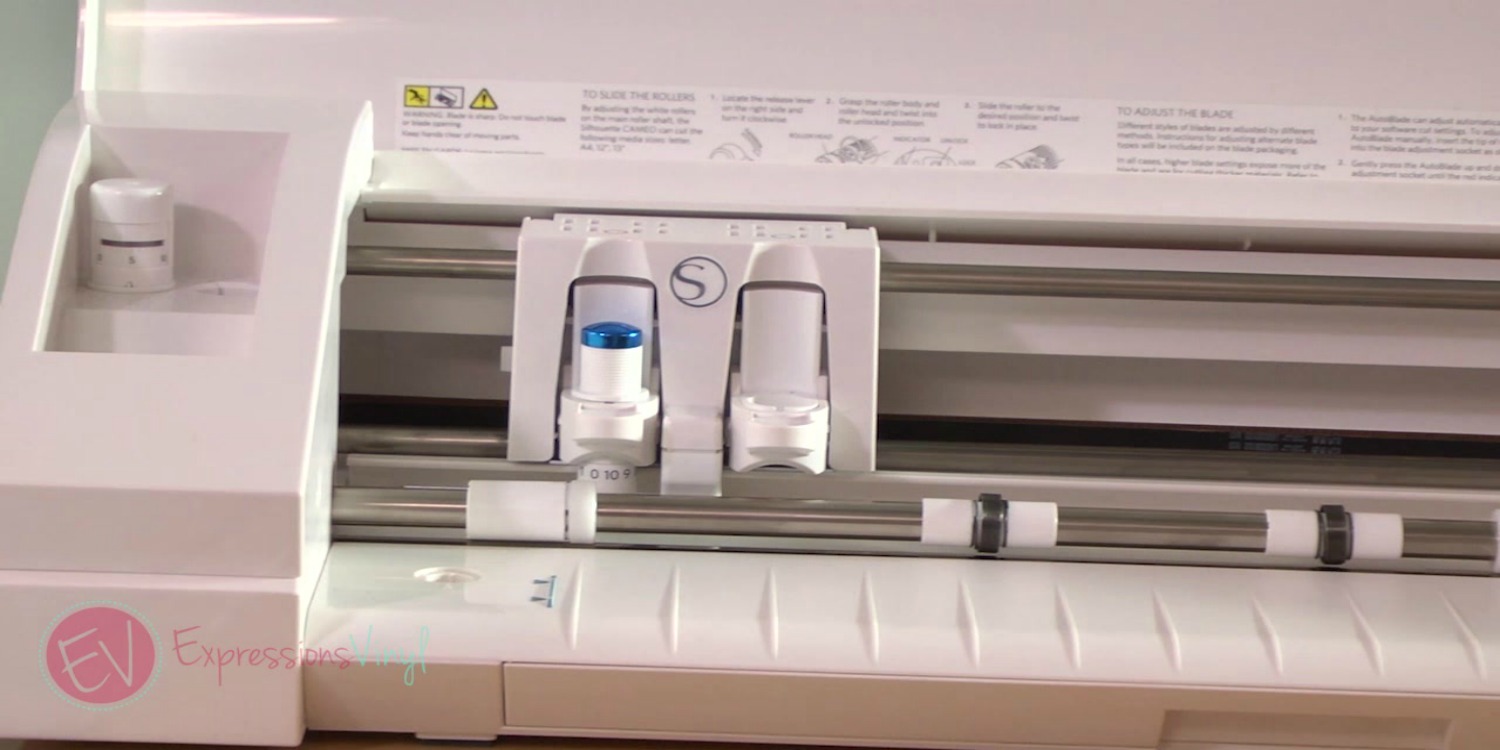

Something else to do is make sure what's happening on your program is what's happening in real life. So if you're using a mat, make sure you have the mat turned on on your program. Your blade settings, if you have your blade set at a five, make sure your blade on the machine is really set at a five.
Let's talk about some settings in the program.
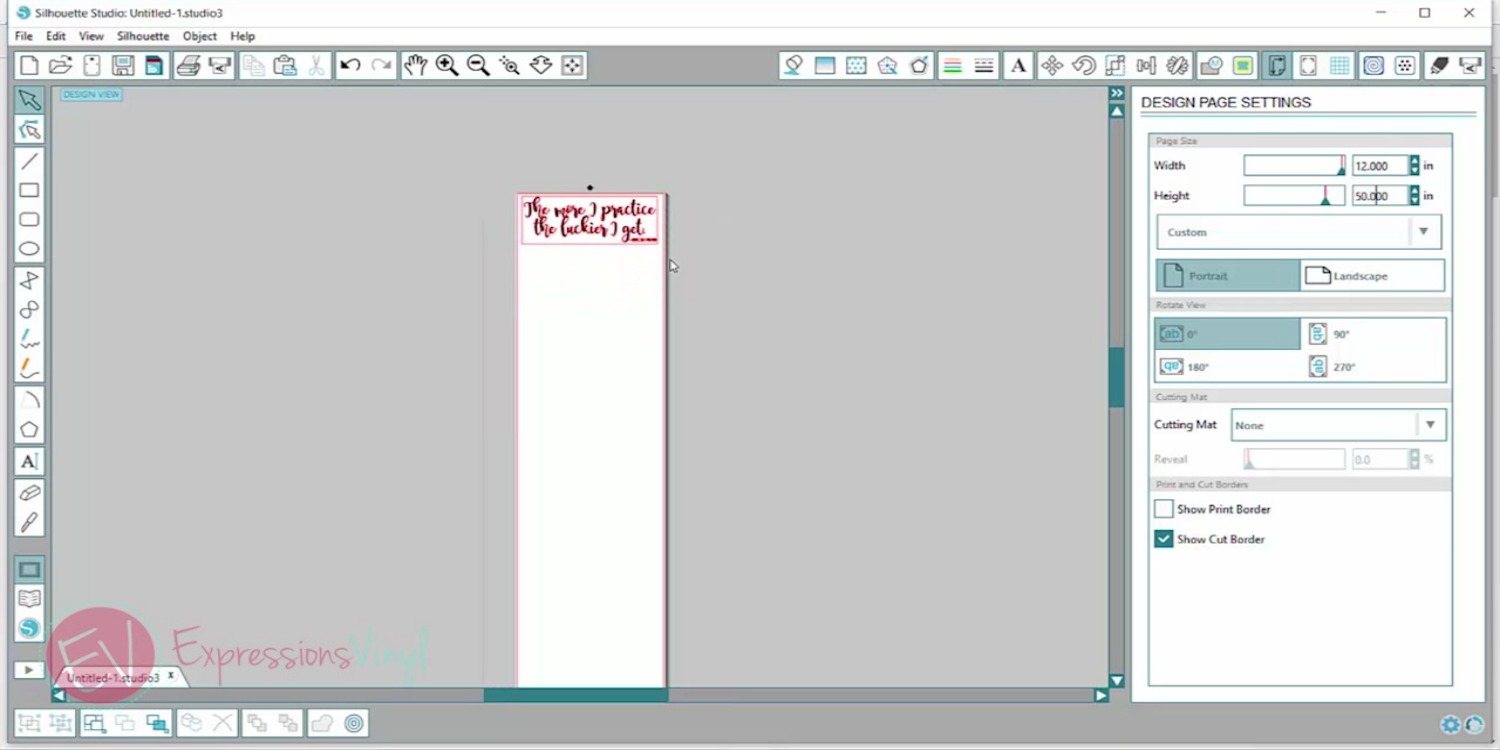
I've got my layout here that I want to cut, and I am going to go up to the top right, Open the Design Page Setting Window.
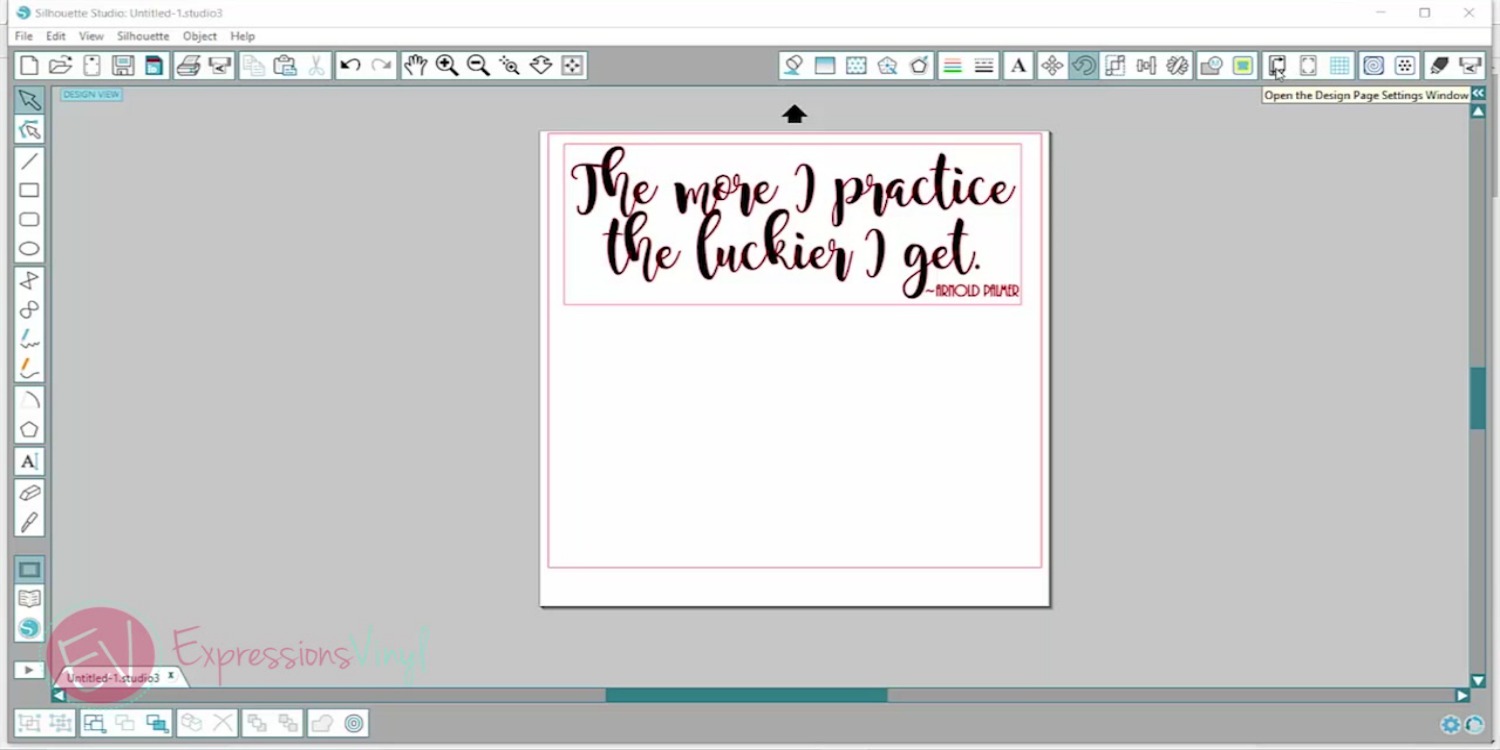

And this is where I'm going to make sure that my width and height of vinyl is the same size as I'm actually cutting. So I have a 12 by 12 piece of vinyl and it's set at 12 by 12.


Now, if I were having a 12 by 24 piece of vinyl, I could just enter in 24, and that is gonna make my mat 24 inches.
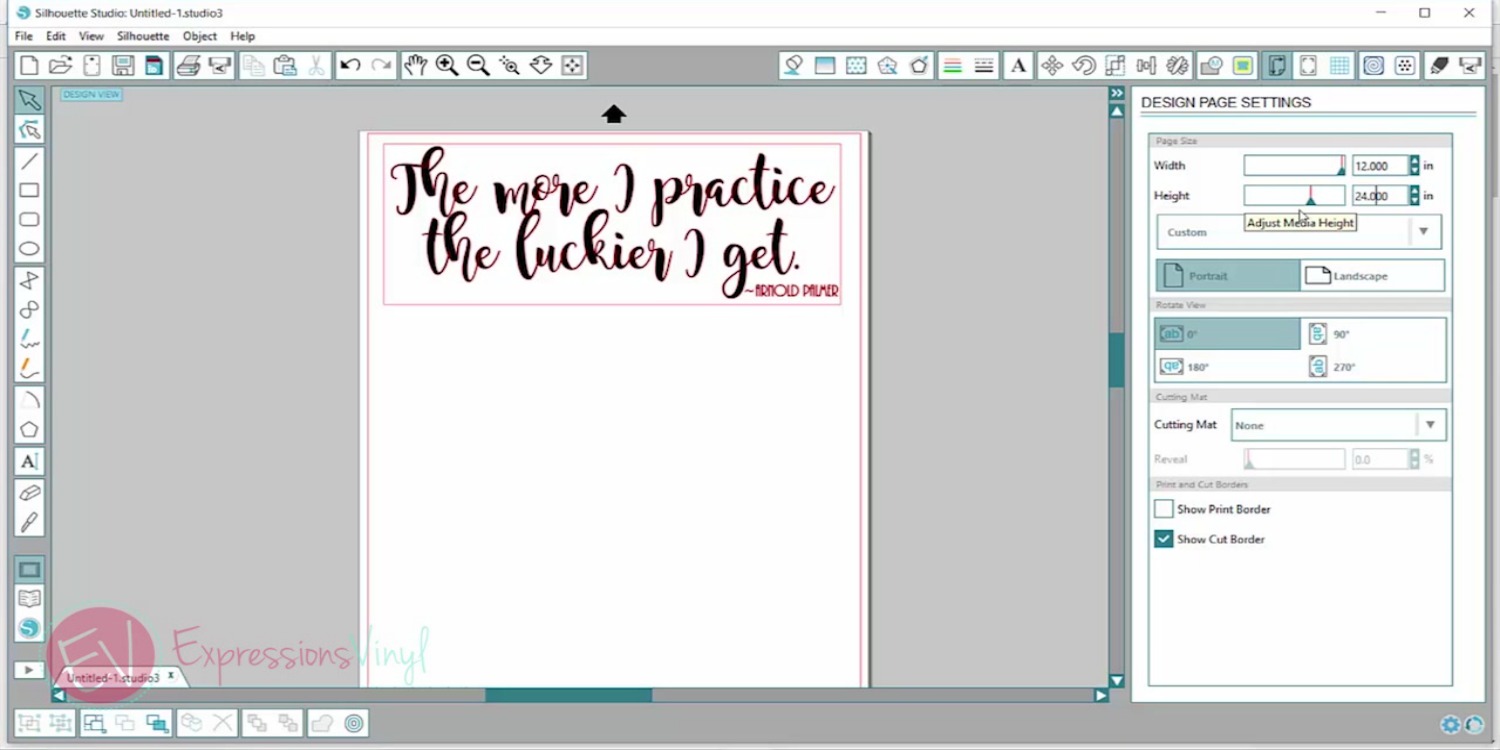

If you had a whole roll of vinyl you wanted to cut really long, let's say 50 inches, you just want to set that at whatever length you need it to be and whatever length your material is.

Something else I want to check for is how my mat is going to go into my machine. So there's this little arrow right here, and that is the direction that my vinyl is gonna go into my machine.
So let's say I have it set this way going into my machine, but on my program I think it's gonna go in this way. So when it cuts, instead of cutting across the top here, it's actually gonna cut along the side because I've got this rotated.
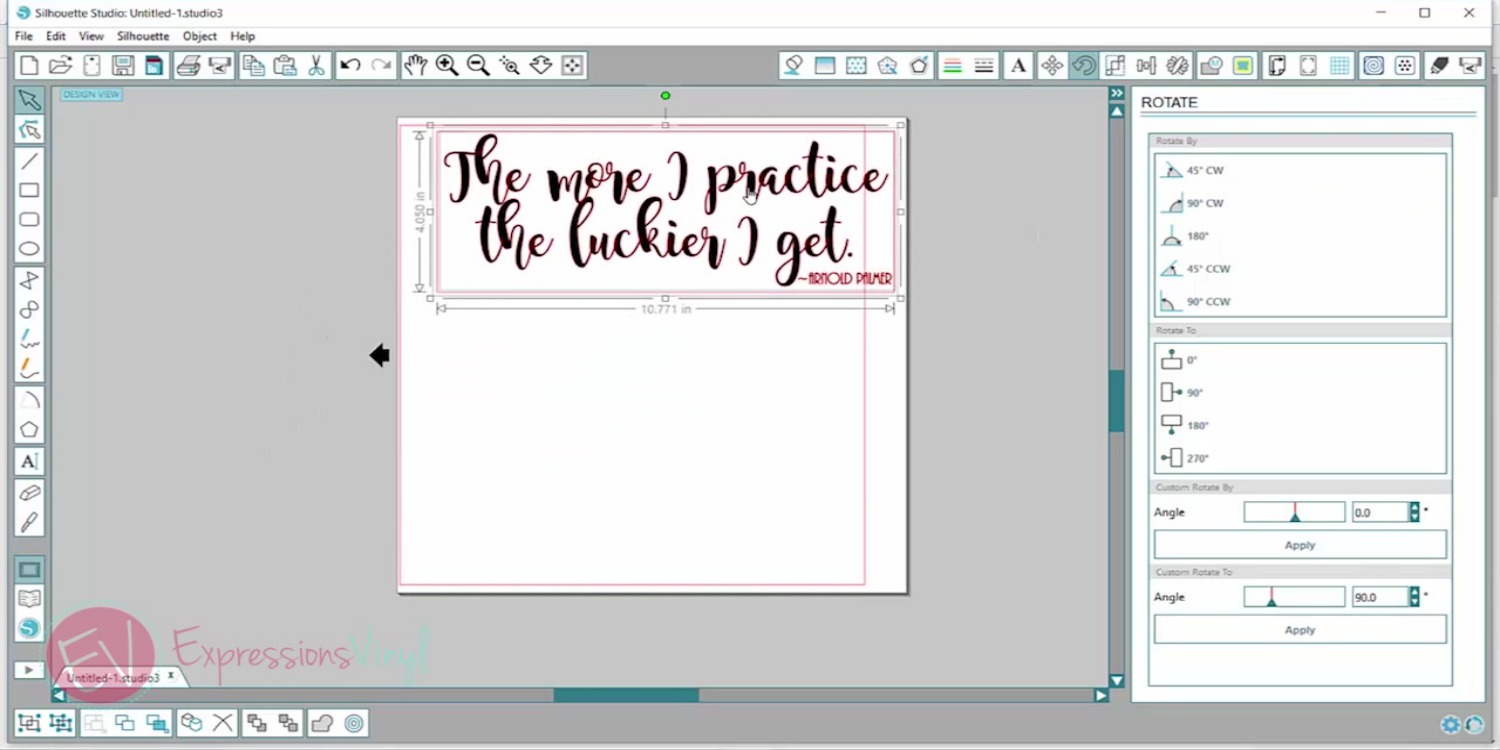

So make sure you've got that rotation on where you want it. And then you've got the placement of what you're cutting in the right place.
And back to the Design Page Settings. Something else you want to check is if you're using a cutting mat. So let's say I am using scraps of vinyl, little pieces that don't fit in my machine, I'm going to want to turn on my mat.
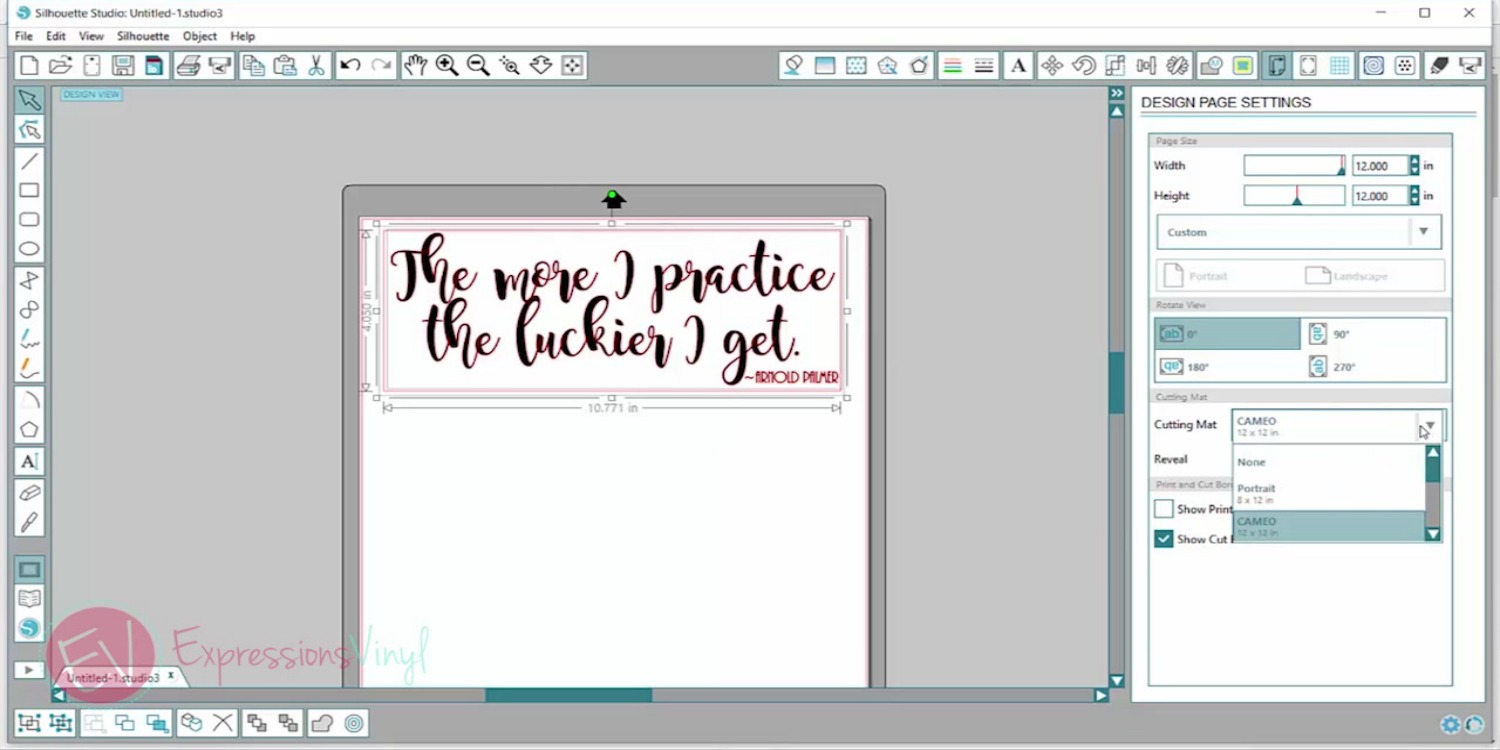

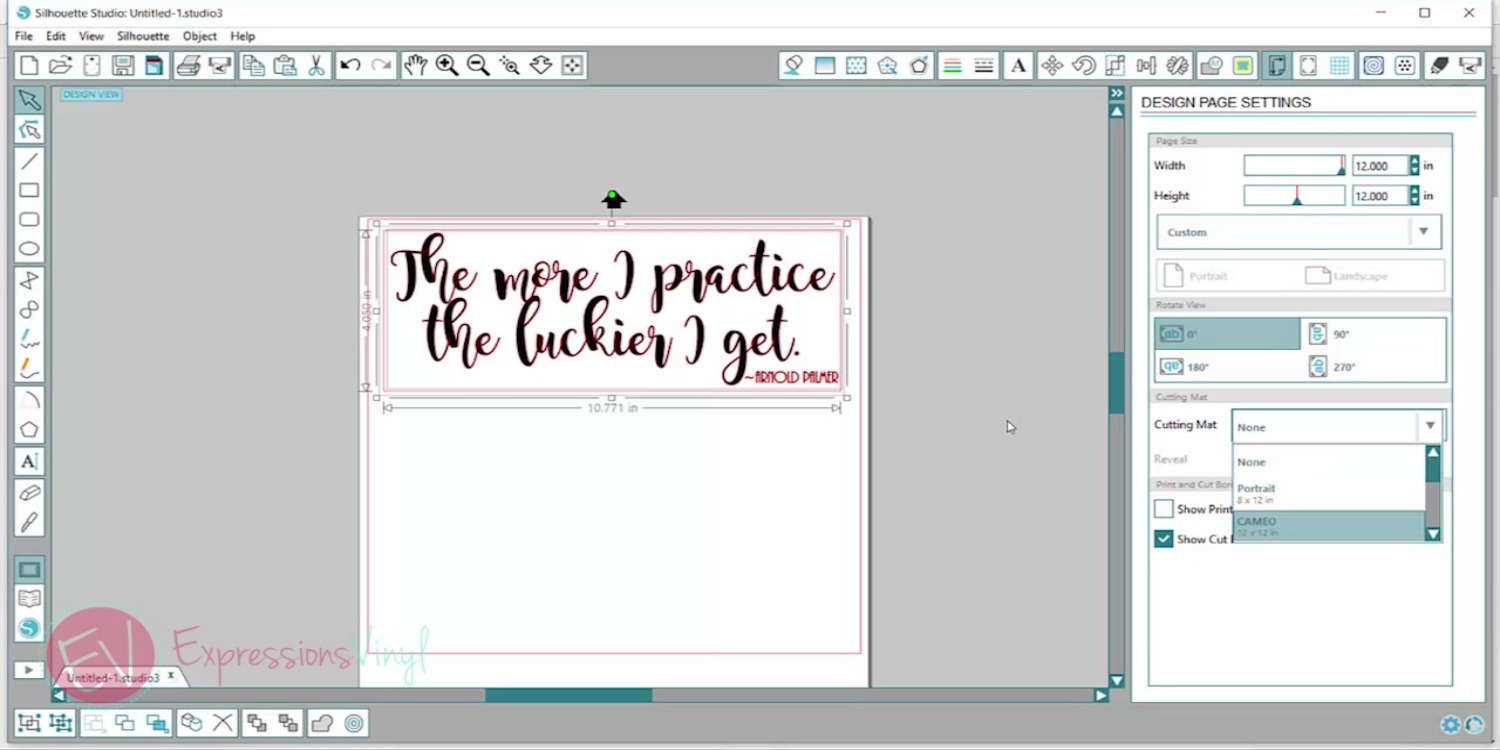
And then I'm actually gonna want to use my mat. If I'm just cutting a 12 inch wide piece of vinyl, I don't necessarily want to use my mat, so I'm going to click None. And then it will know that I'm not using a mat.

You can also turn on your Show Cut Border. (bottom right!)
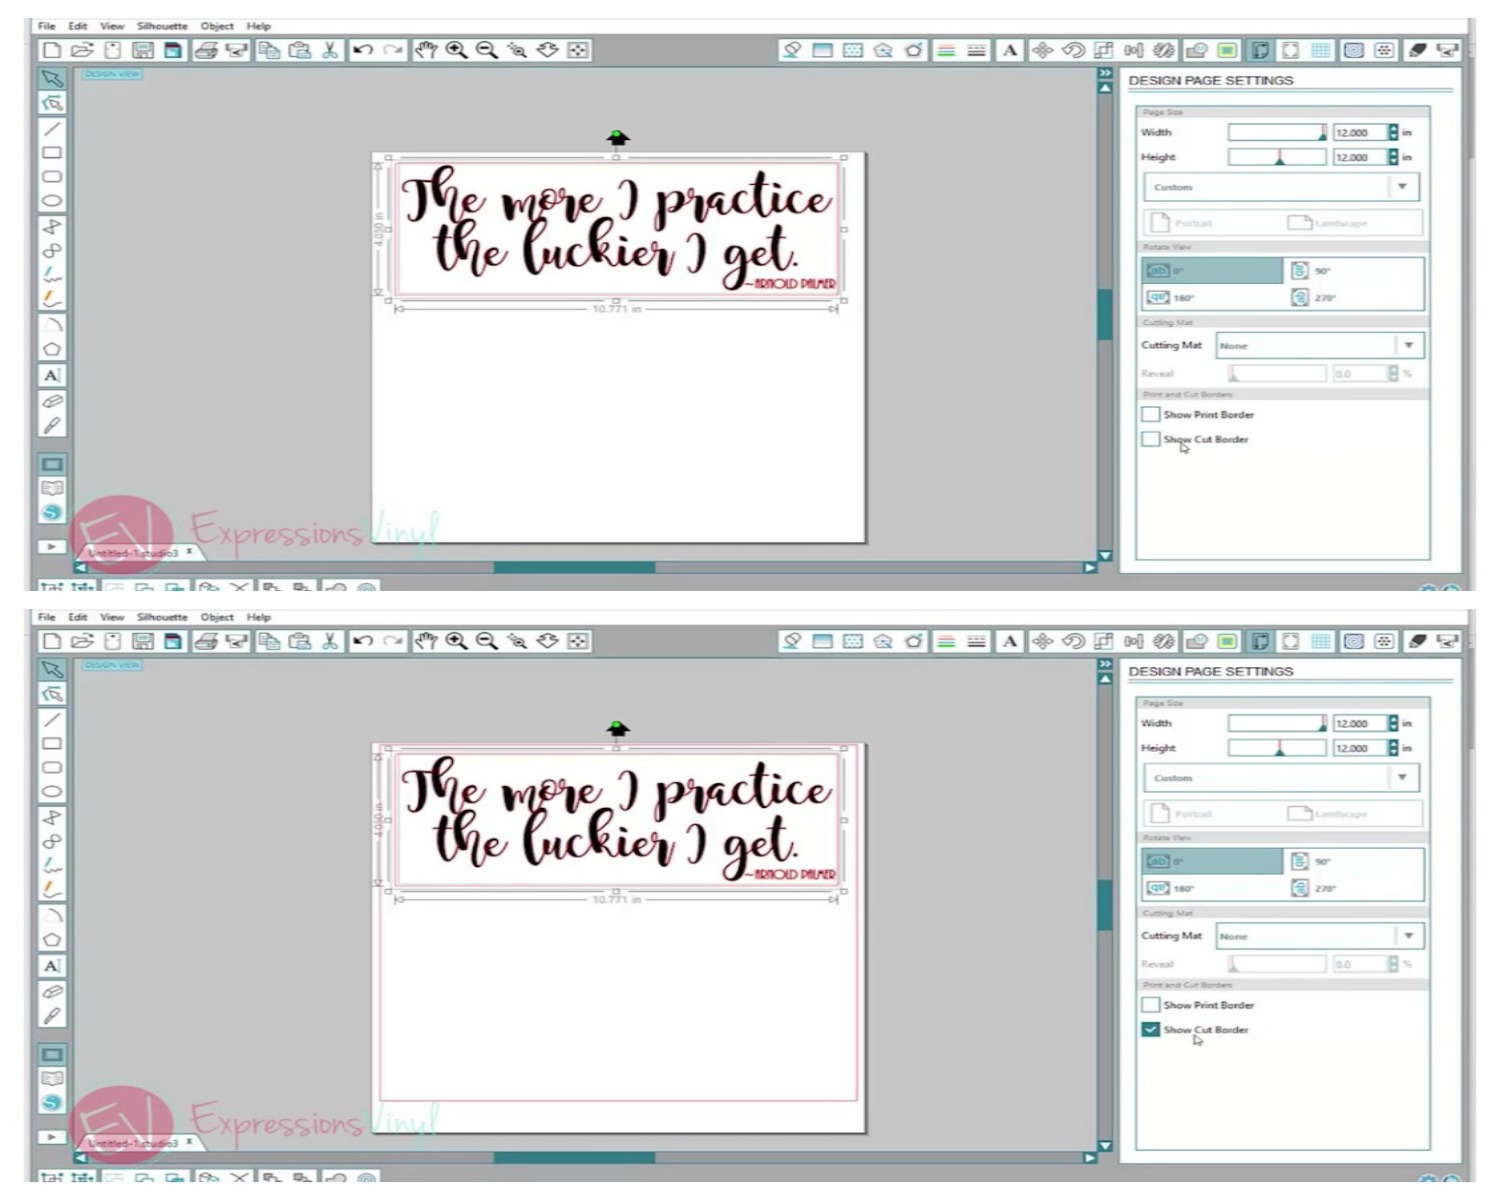

I always have mine turned on. I really like that, because it will tell you. It pops up these red lines that you don't want to have your image past those. So just make sure you check that as well. (notice the red lines around the edge in the bottom photo!)
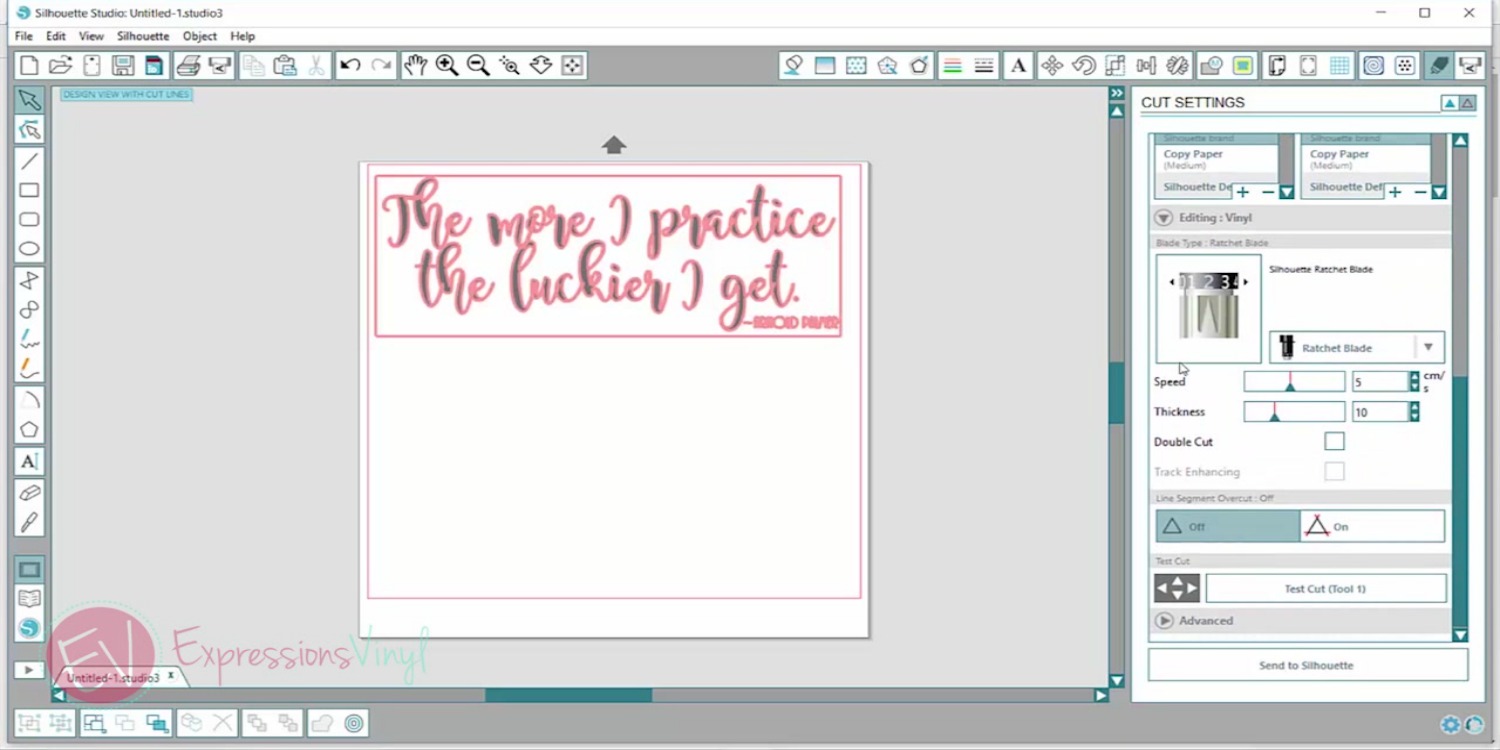
All right, another thing I want to show you is our Cut Settings. So if you go click on this blade up in the right corner, this is where you're going to choose your Cut Settings.
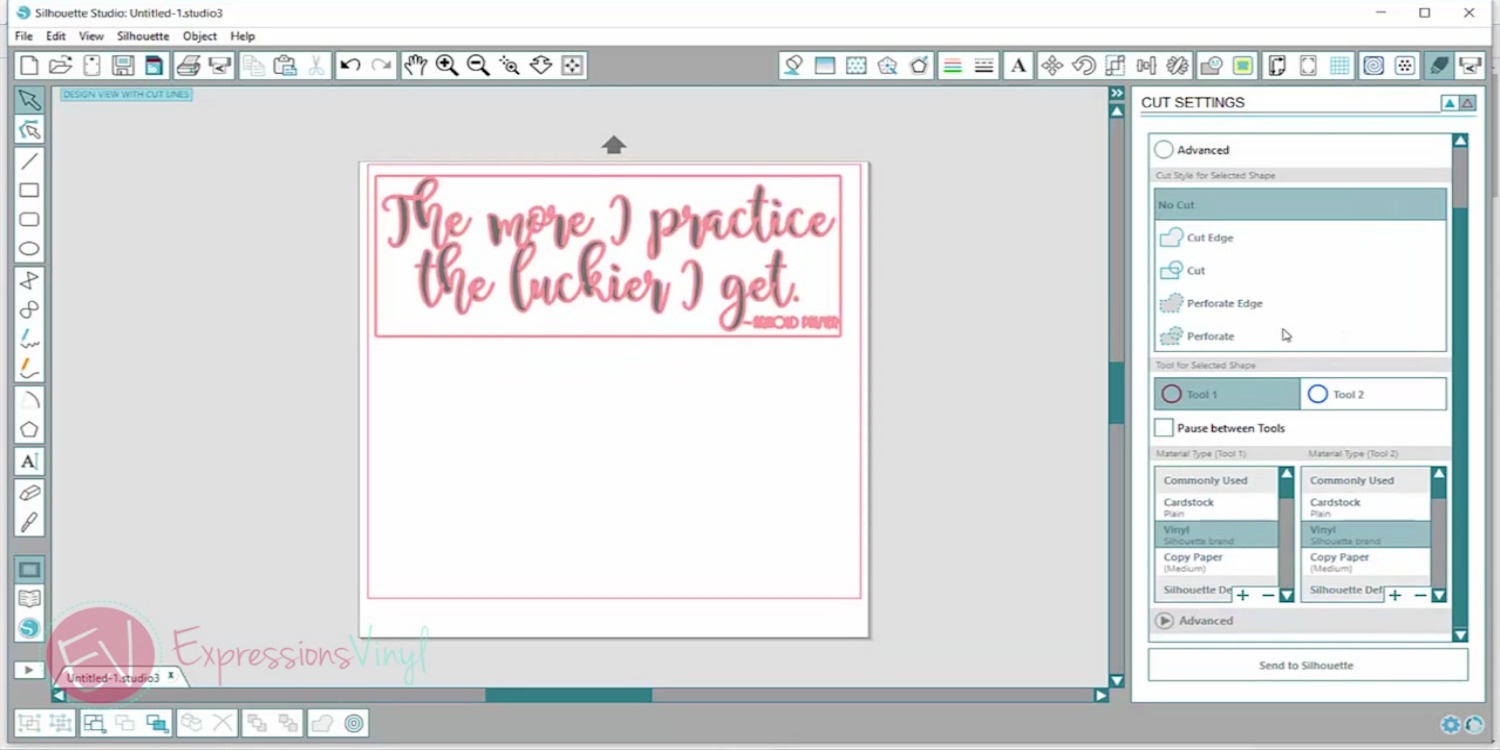

You can choose what material you're cutting. And Silhouette already has them programmed in for you. So I'm cutting vinyl. And it'll pop up the settings. I can change these. So if you have a brand new blade, I would tone down your thickness a little bit because your blade's gonna be nice and sharp. If you have a duller blade, you'll want to make that a little thicker.

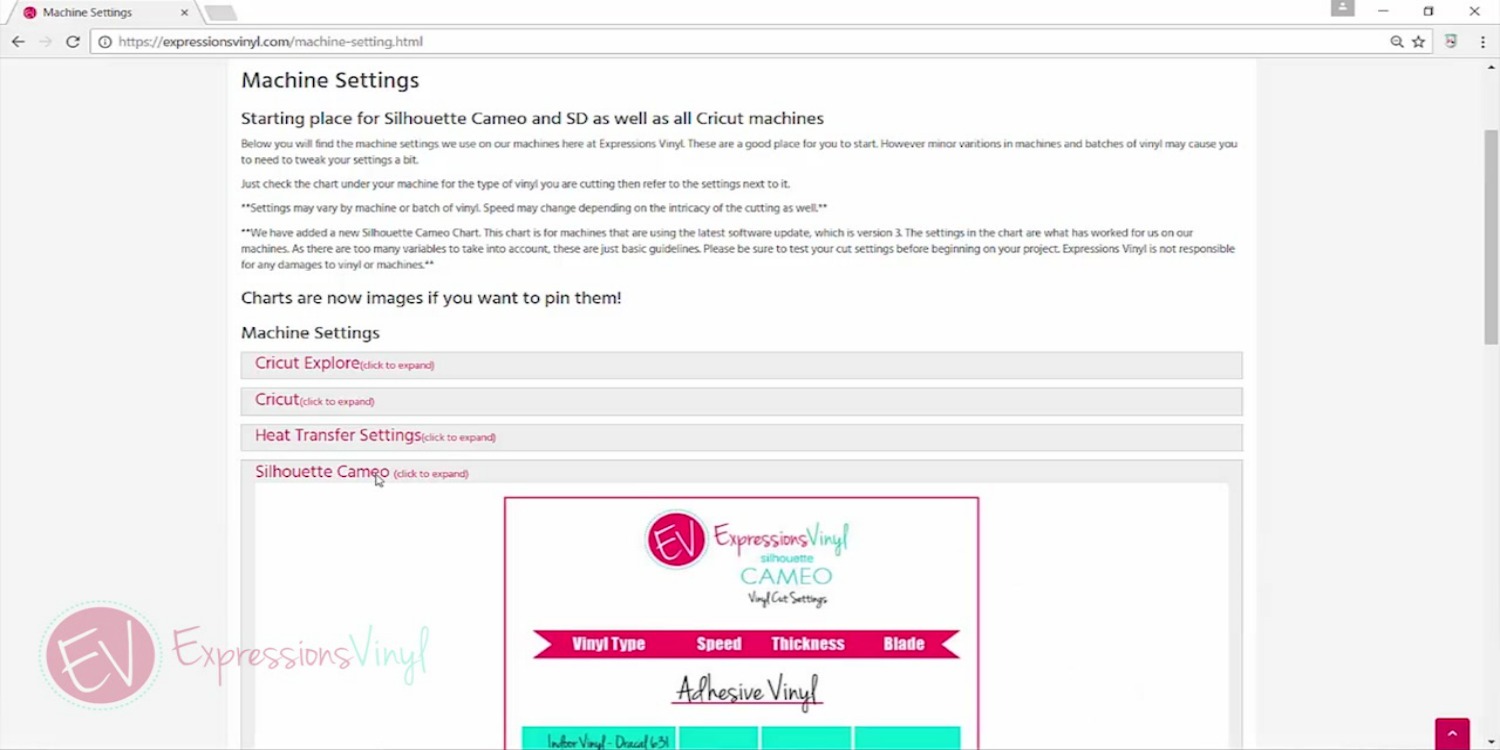
So we do have Cut Settings on our website. So if you go to ExpressionsVinyl.com and go to Machine Settings,
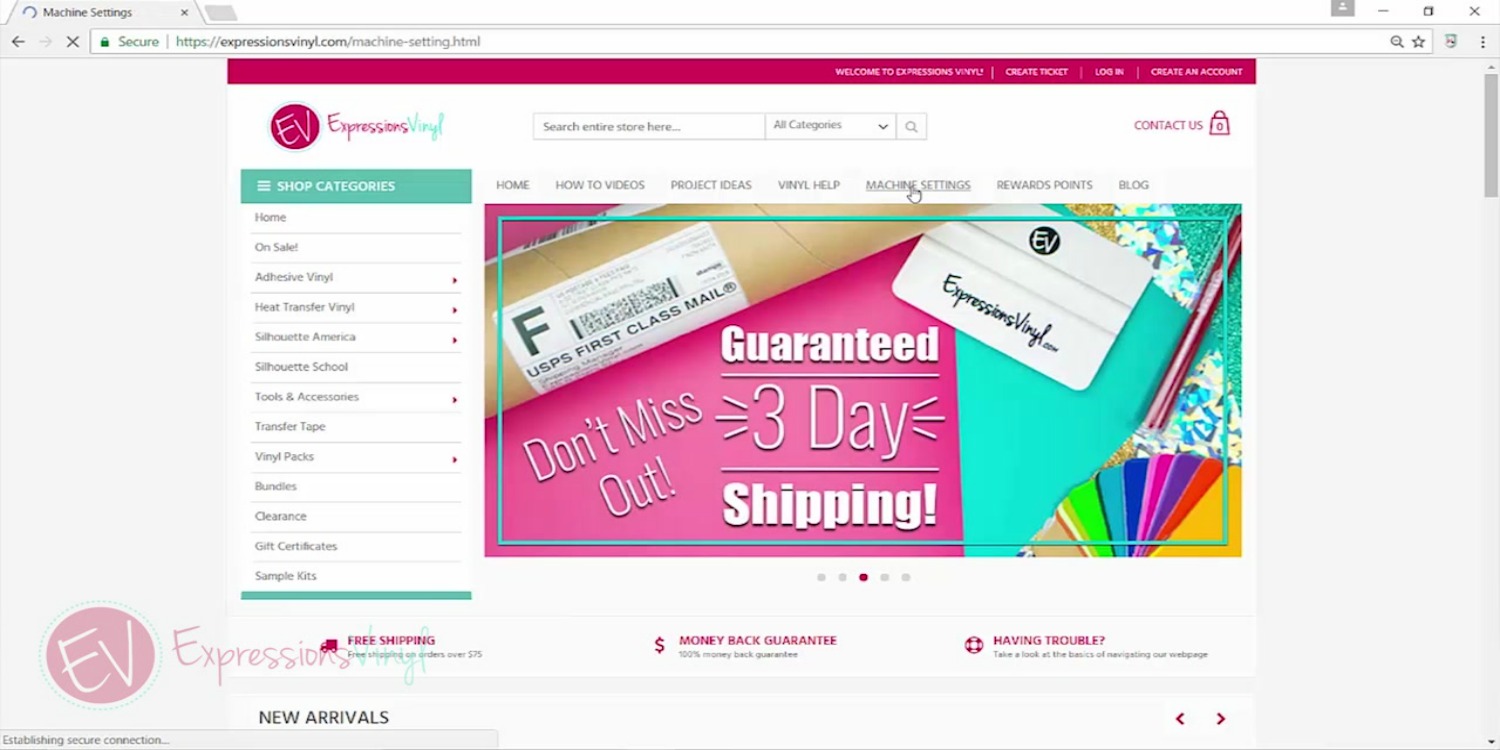

you can click on what machine you have. And we're doing the Silhouette Cameo.

And this pops up all our different types of vinyl, what speed, what thickness, and what you want your blade set at. So this is a good place to start and it will all depend on your machine and your blade.
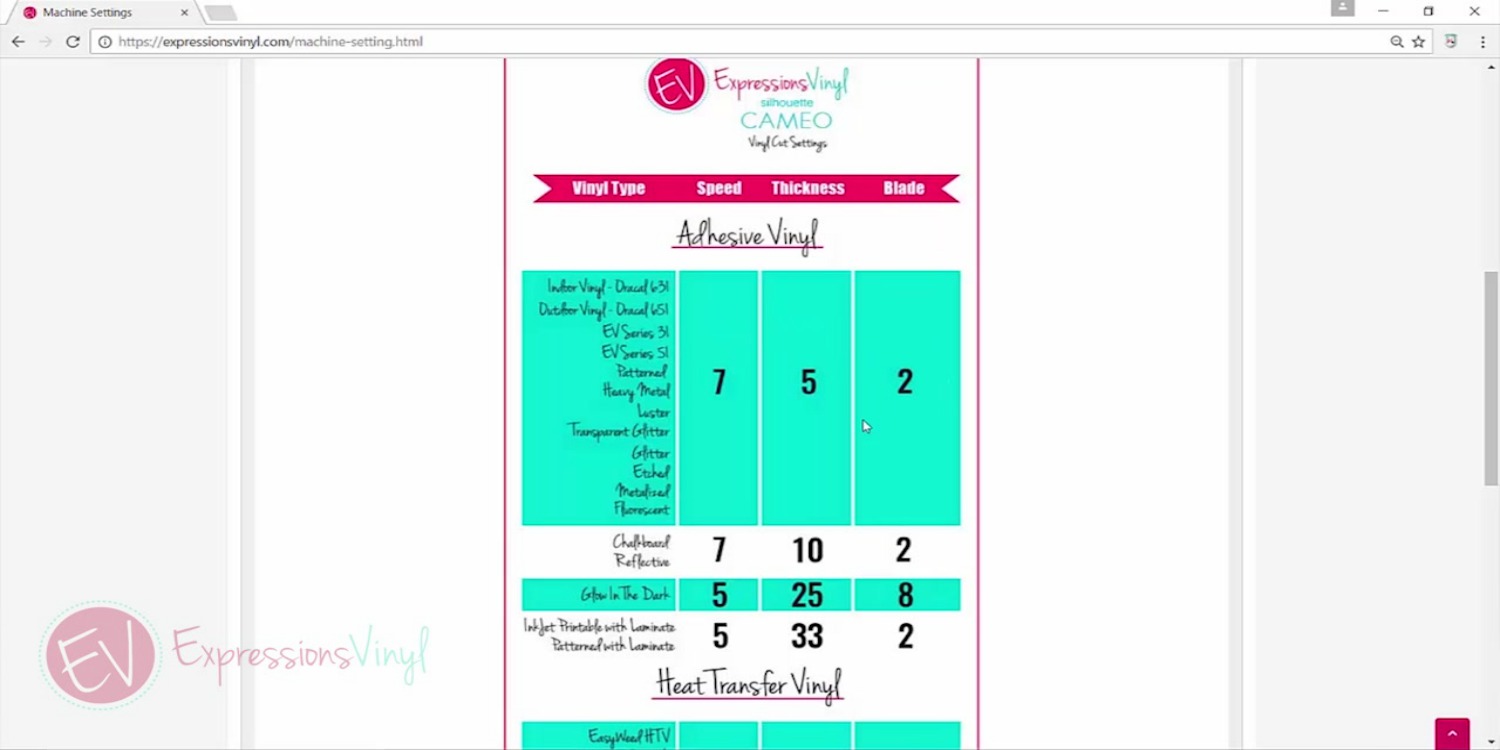

So start with these and adjust as you need to.
If we go back to Cut Settings, something else I love is this Test Cut button, Test Cut tool right at the bottom.
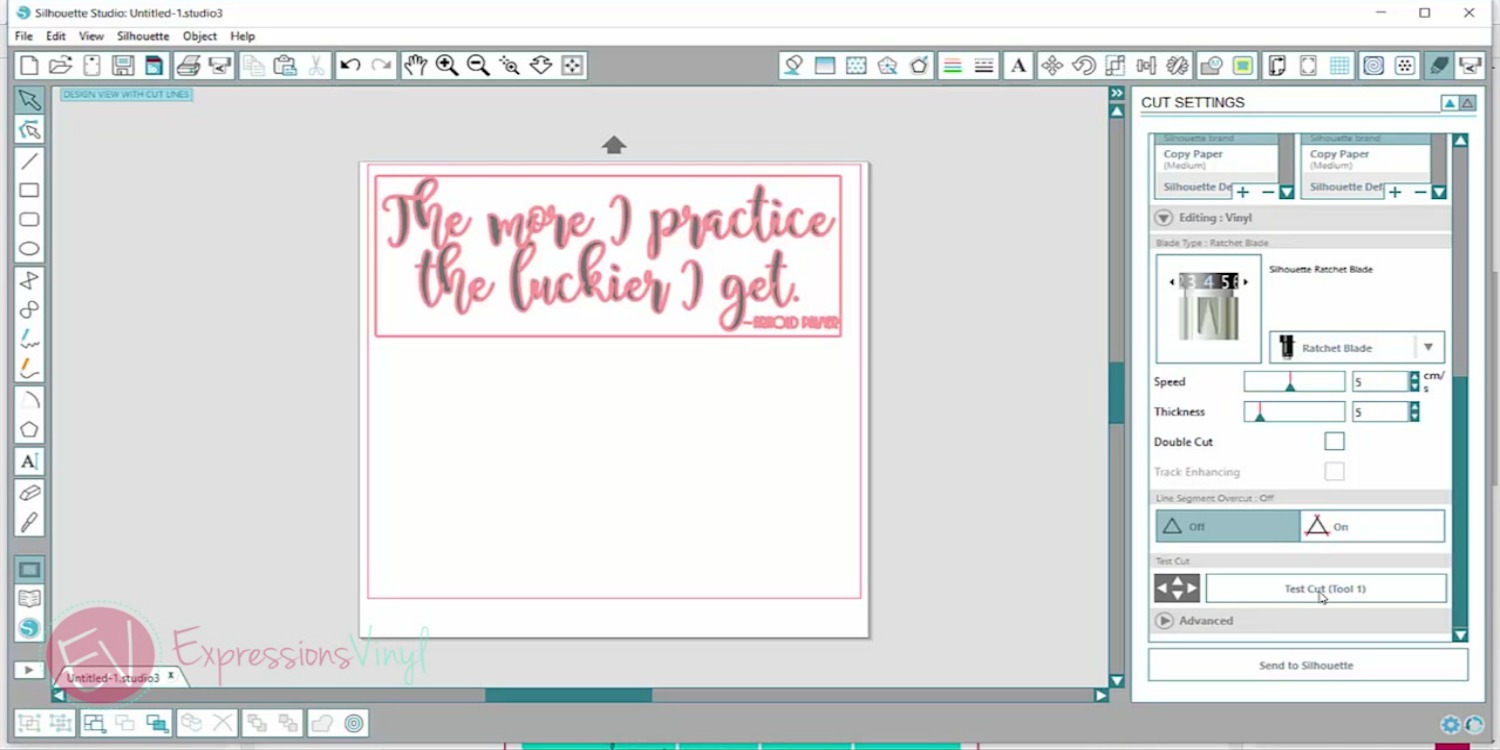

This just makes a little triangle and a square in the corner of your vinyl so you can test out and see if it's cutting right. When you cut vinyl, you only want to cut through the top layer. You don't want to cut through the backing sheet. So it's important that you get your cut settings right because it really helps in the weeding process.
So this one here is cut too deep, and you can see that it's cut into my backing paper.
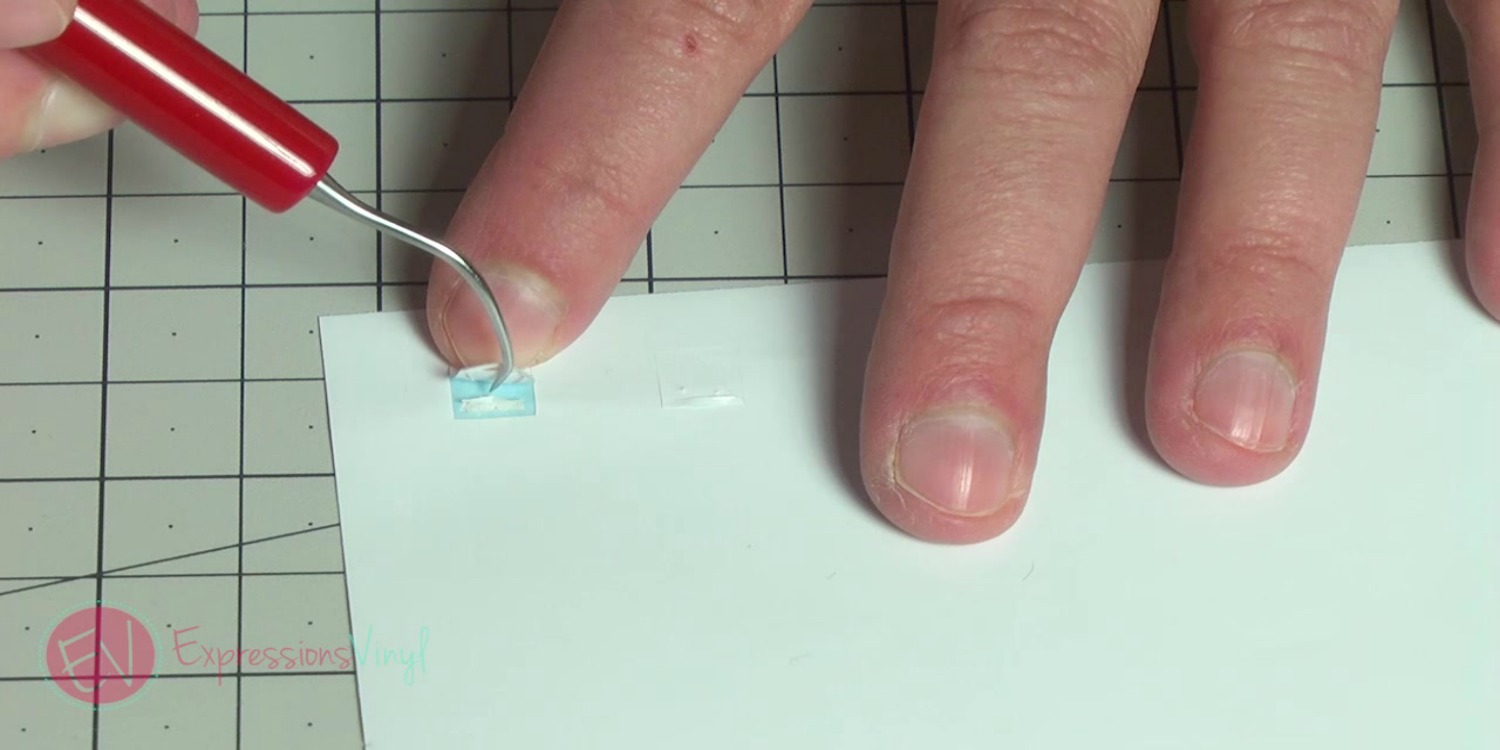

And then this one here isn't cut quite deep enough, so I'm going to have a hard time separating the triangle and the square.
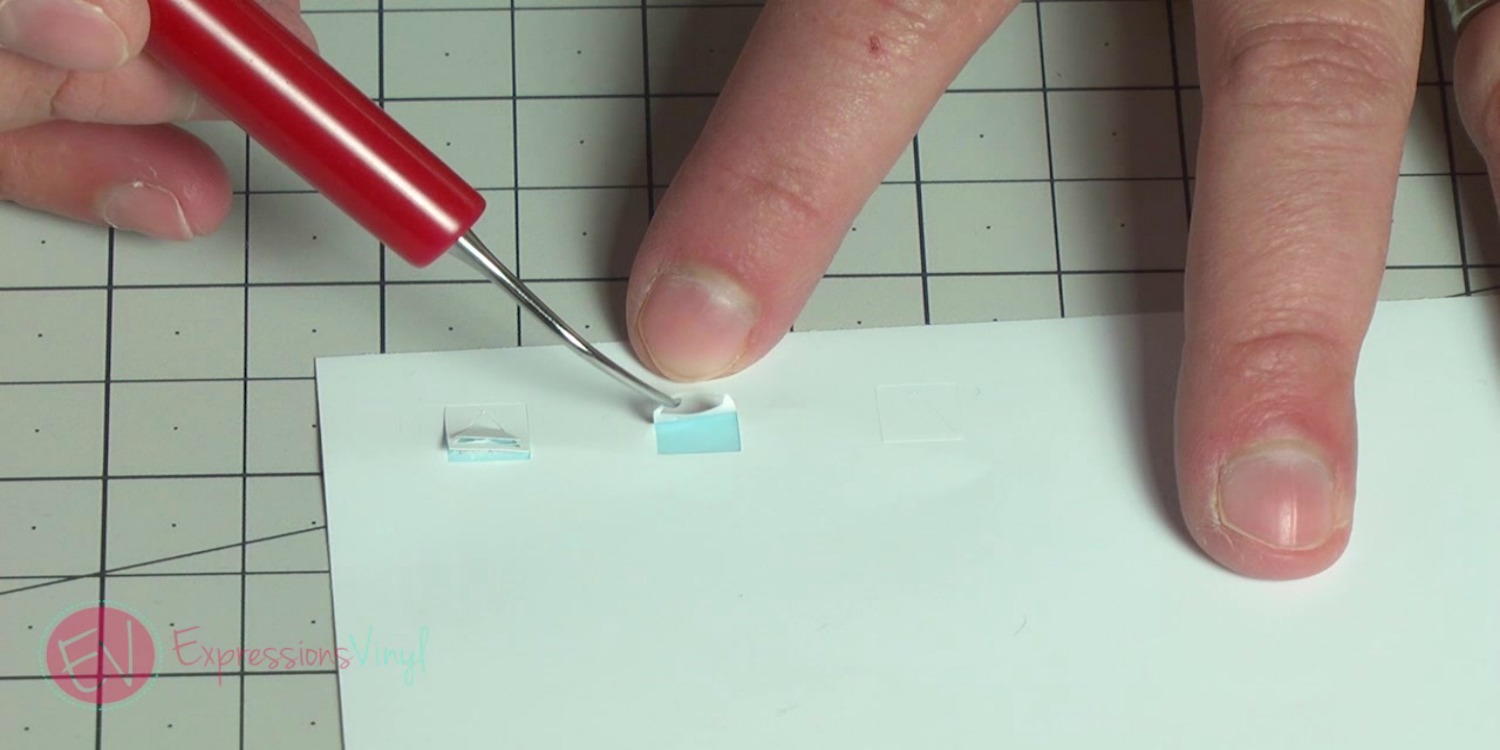

And then this one here is cut just right, and you can see weeding it is a breeze.
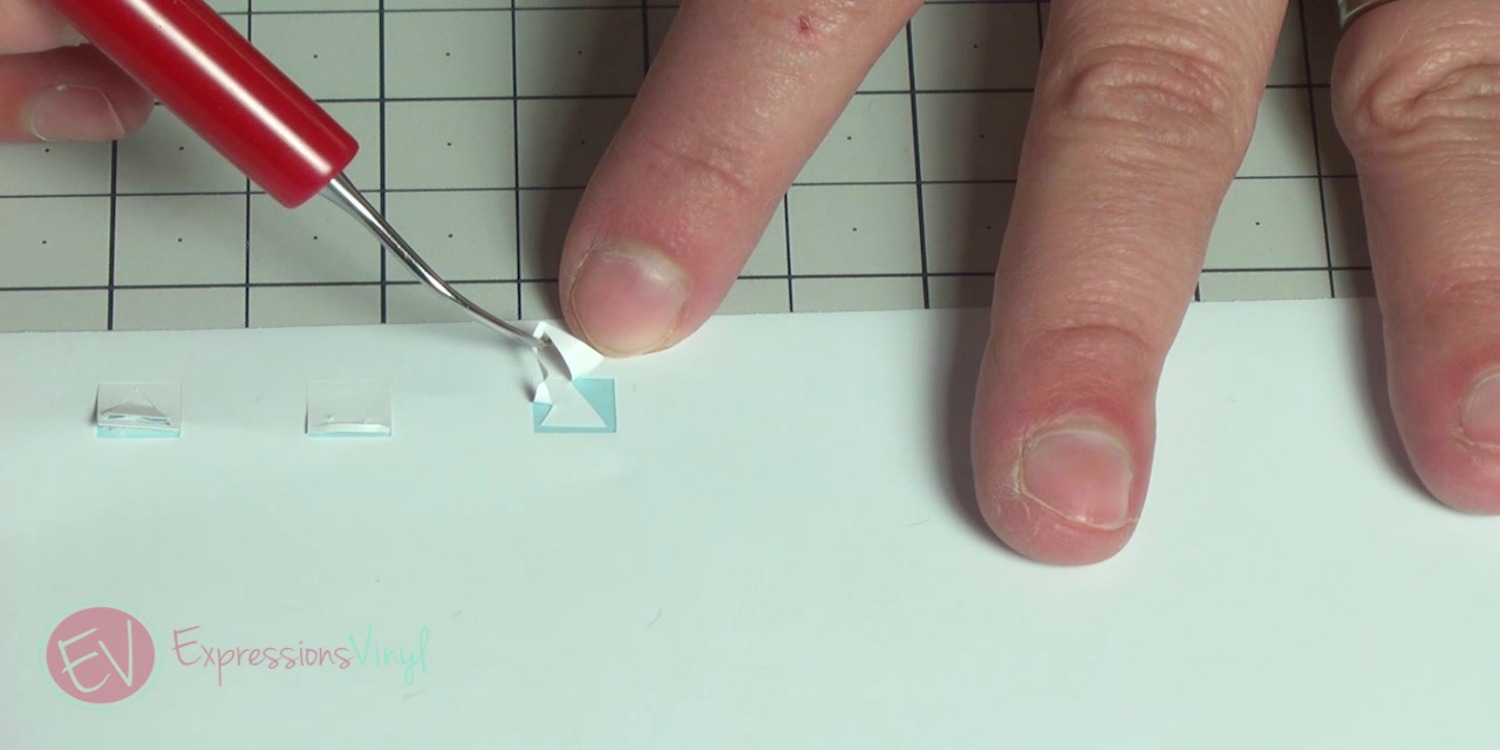

Comes off just right. So if you cut too deep, you want to lighten up the number on your thickness, so tone that down to a four or a three. If it's not cutting deep enough, you wanna make that number higher, so bump it up to five, six, whatever you need depending on your blade.
Okay, so I don't want you guys to be afraid to make your first cut. Go try it. You're going to mess up, it's okay. Just try again. Practice makes perfect. So there is a quote from Arnold Palmer that I love, and it says, "The more I practice, the luckier I get," and it's so true. The more you practice, the better you get. So go make your first cut. Don't be scared, you'll be a pro in no time.
Let us know any questions you have!
Recent Posts
-
NEW Holographic Eclipse Heat Transfer Vinyl
April 15th, 2024 3 Ways to Use the New Holographic Eclipse Heat Transfer Vinyl from Siser …Apr 29th 2024 -
Hop into Spring with Cute Easter Vinyl Crafts
Do you love our Vinyl? Sign up for Vinyl Club today to get FREE vinyl and save big! …Mar 28th 2024 -

Fixing Wrinkles and Bubbles in Vinyl
How do you get air bubbles out of vinyl? There are a few different ways to ensure a flawless …Mar 26th 2024