
State Love with Printable Vinyl
State love is so trendy these days!
And why not?! You should love where you live! I know I do. There is nothing
that I love more than living in the deep South and all the southern charm and
tradition that comes with it. Sweet tea, handpicked peaches, and good old
fashioned manners make my heart oh so happy! What better way to show off love
for your state than with a little DIY project? The best part about this project
is that you get two for the price of one.
Come on y'all, let's get started!

What You'll Need:
- 12x12 wood sign (or whatever size you want to use!)
- Small canvas (I used an 8x10)
- Paint
- Printable vinyl
- Oracal 651
- Silhouette CAMEO®
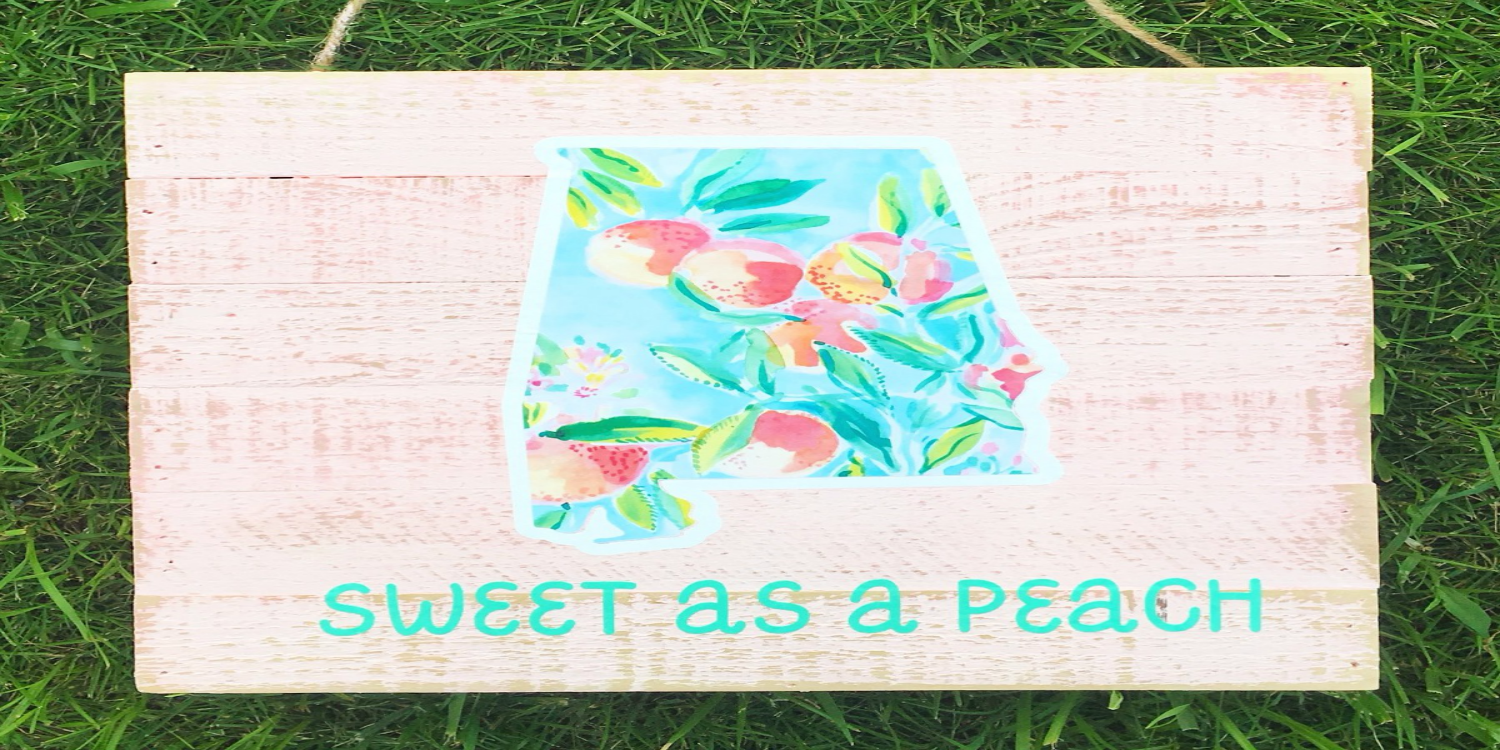
The first thing you will do is paint your canvas and your wood sign. I used a light pink on the wood and light blue on the canvas. I then distressed the paint on the wood sign. Next you want to prepare your design. Since the wood sign is a 12x12, you can go to page setup and change your page size to 12x12. I like to be able to visualize what my finished product will look like!
I used Design ID #196936 for my state outline. You can right click to ungroup the design and delete everything but the state.
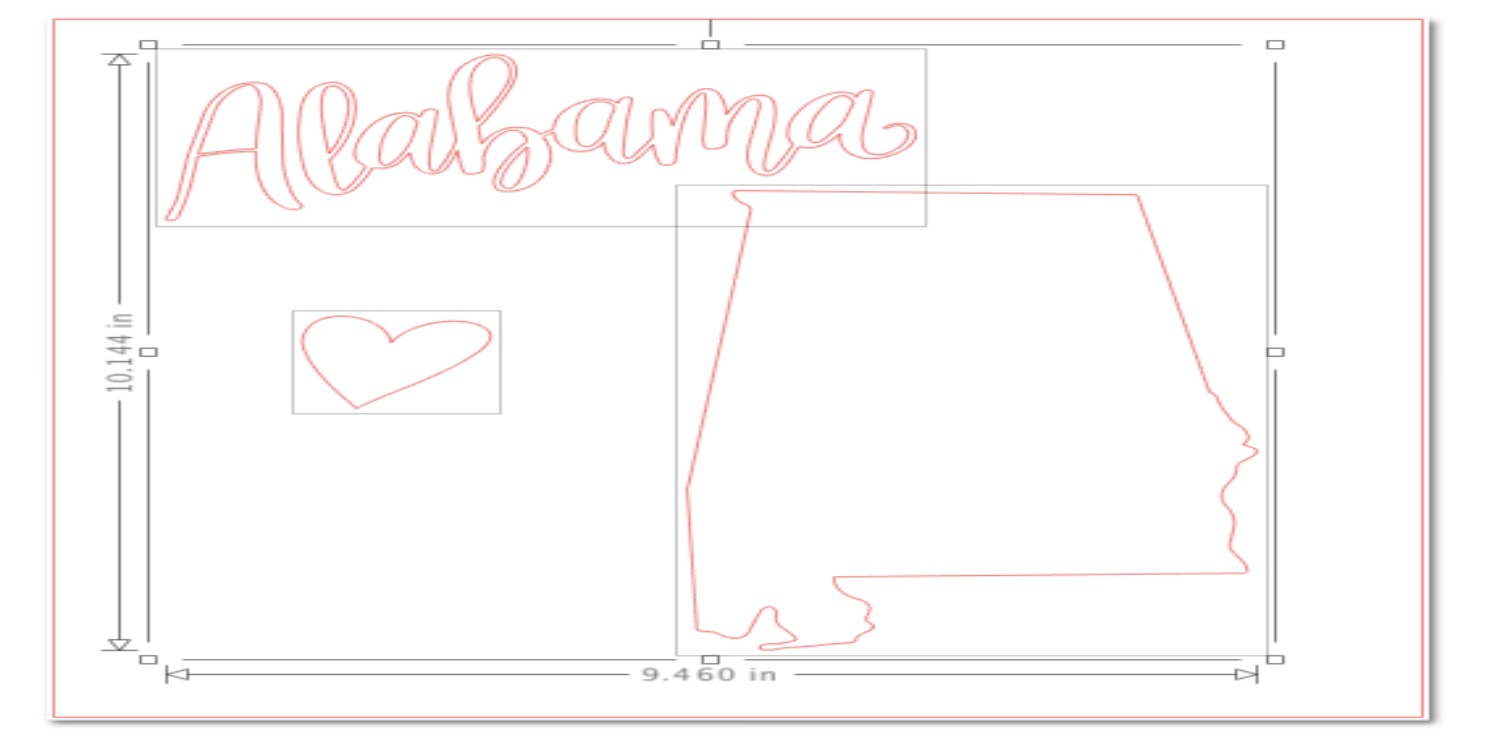

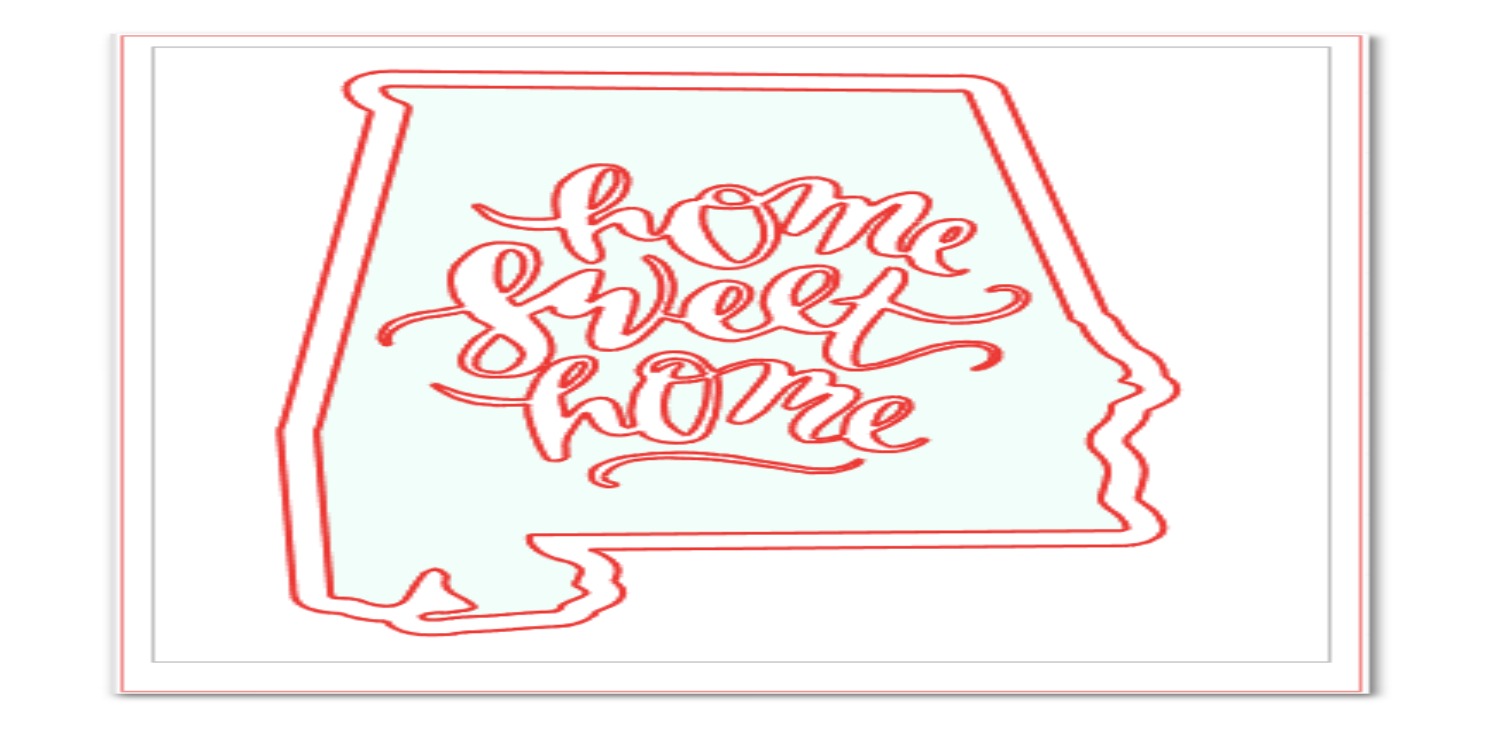
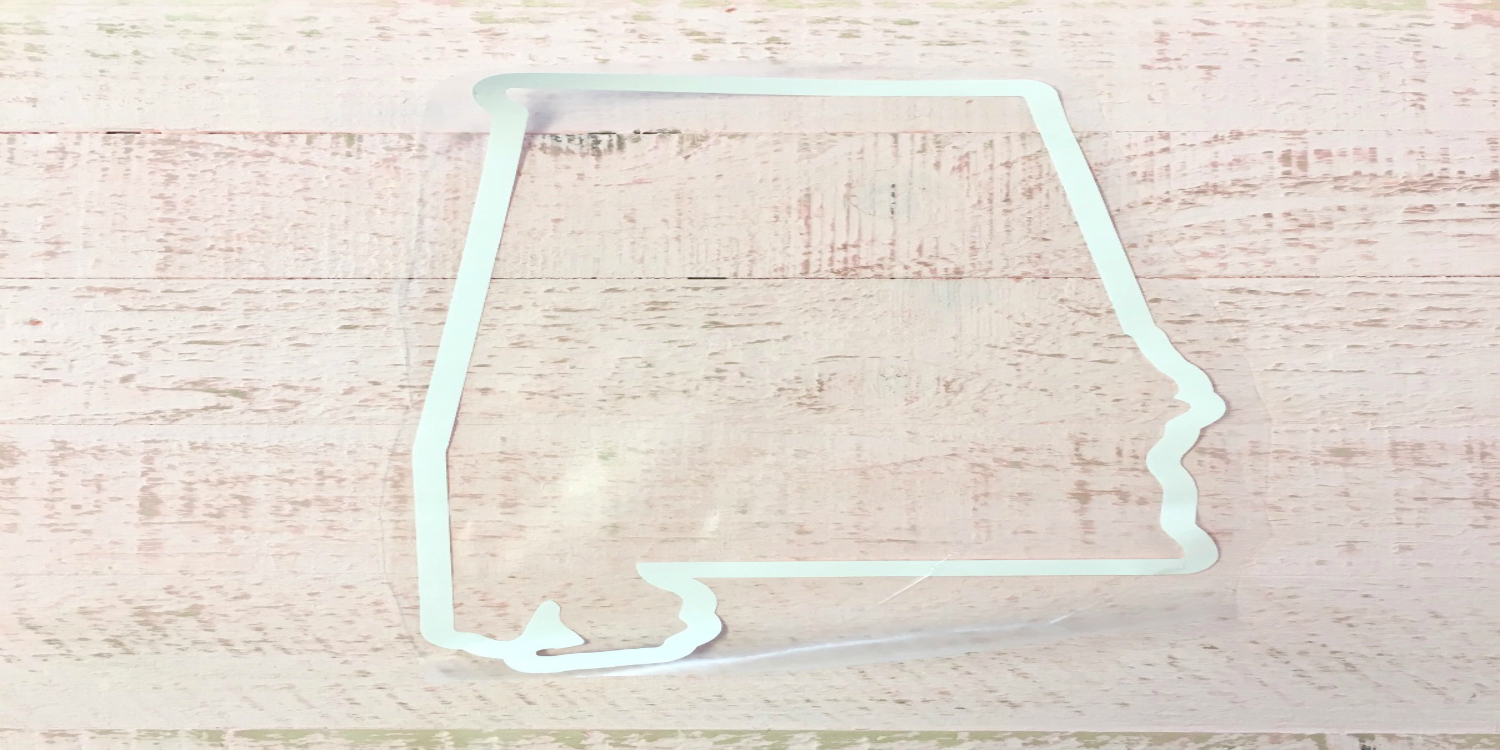
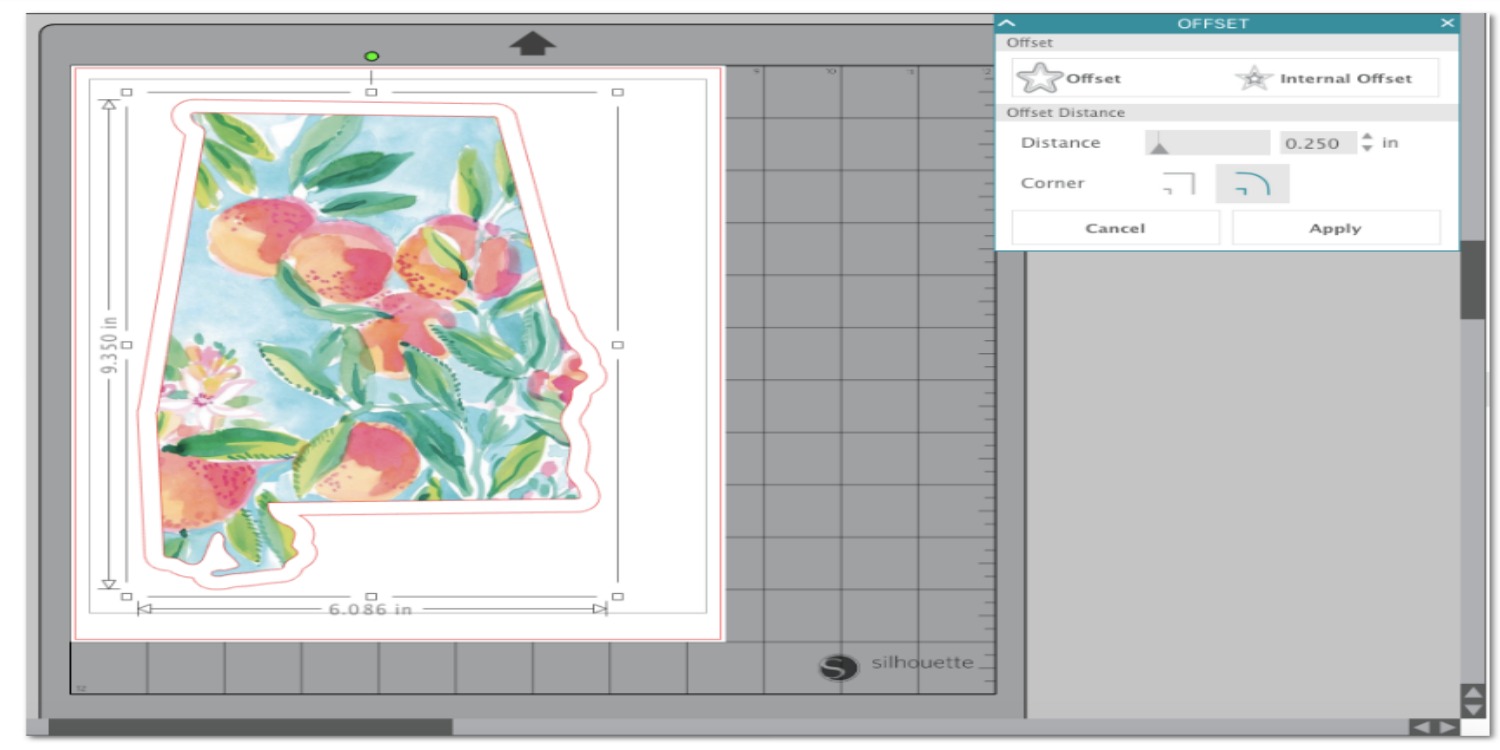
The state itself will be printed on printable vinyl, but I wanted a border, so I used the offset feature. I am using the most current version of the Silhouette Studio®, so in order to offset, select panels--offset--offset (instead of internal offset)--increase the distance to 0.250. The offset will be cut from Oracal 651. Since you will only be using the offset portion for your border, you don't want to waste the vinyl that you would otherwise weed away! You will use the state portion from this step to put on your canvas. Before adding words to the state, make a copy of the design so that you can fill in the state with a pattern in a later step without having words subtracted from it. I added Design ID #86145 to the state, highlighted everything, select object--modify--subtract all. This makes it so the words will be cut out of the state.

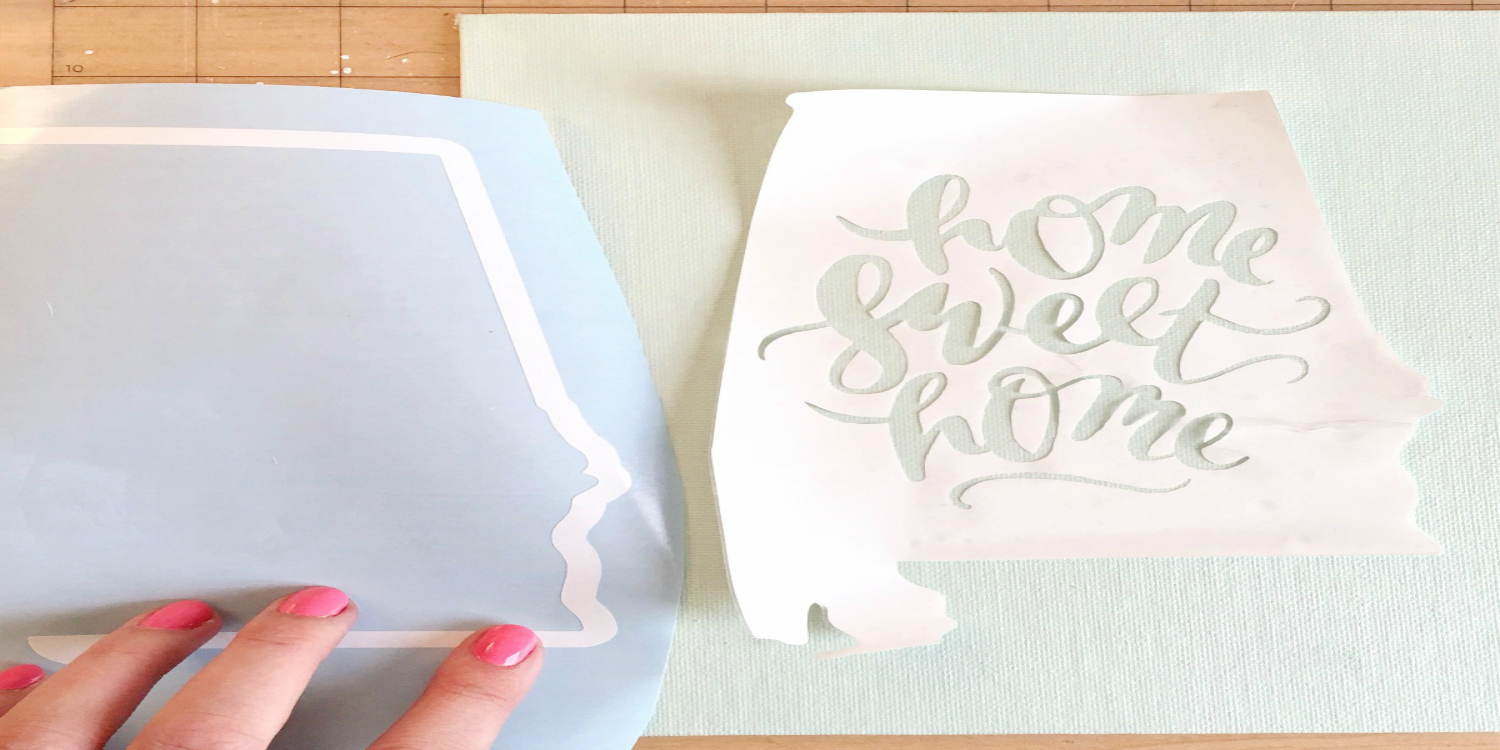
Cut your design your Oracal 651. Using transfer tape, place the border on your wood sign. Weed away the letters from inside of the state and place the state on your canvas.
Tip: Place your transfer tape on your cutting mat with the grid side facing down and cut just the shape of the state from it. This will make it much easier when you go to transfer the offset border separate from the state outline.


Now for the printable vinyl part. Take the design that you copied earlier and remove the offset portion by simply dragging it away and deleting it. I downloaded a peach pattern from Google and dragged it from my downloads into the state. Add your registration marks, load printable vinyl into your printer, print, and then cut with your CAMEO®.

Place your printable vinyl state inside of the offset border that you already applied. No need to use transfer tape here. I decided to add words to the bottom of the wood sign, so I cut "Sweet as a Peach" from mint Oracal 651. Apply the words to the wood sign using transfer tape.
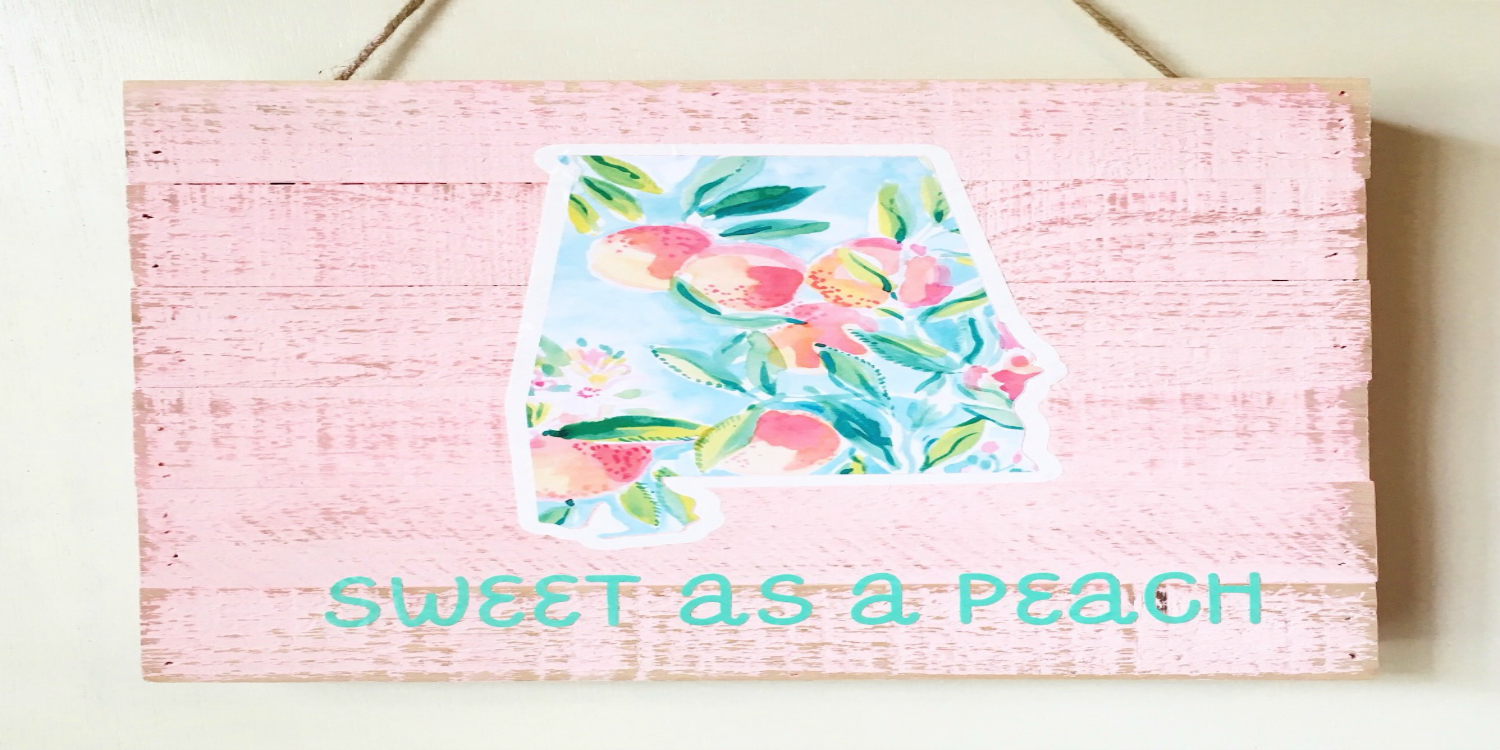

That's a wrap y'all!
Make sure to share your #statelove with me and tag me on Instagram if you make signs of your own!
Happy crafting loves!
xoxo,
Caitlin (themrseverything)
Recent Posts
-
NEW Holographic Eclipse Heat Transfer Vinyl
April 15th, 2024 3 Ways to Use the New Holographic Eclipse Heat Transfer Vinyl from Siser …Apr 29th 2024 -
Hop into Spring with Cute Easter Vinyl Crafts
Do you love our Vinyl? Sign up for Vinyl Club today to get FREE vinyl and save big! …Mar 28th 2024 -

Fixing Wrinkles and Bubbles in Vinyl
How do you get air bubbles out of vinyl? There are a few different ways to ensure a flawless …Mar 26th 2024