
Striped Vinyl Layering- How to Create a Fun Layered Effect
Supplies
- Carrier Sheet (saved from previous HTV)
- Onesie (or any shirt)
- Cutting Mat
- Heat tool (heat press, iron, easypress, etc)
- Butterfly by Sweet Afton ID#25304 Silhouette Store
- Weeding Tool
- HTV Glitter Aqua
- HTV Glitter Old Blue
- HTV Glitter Royal Blue
- HTV Glitter Lavender
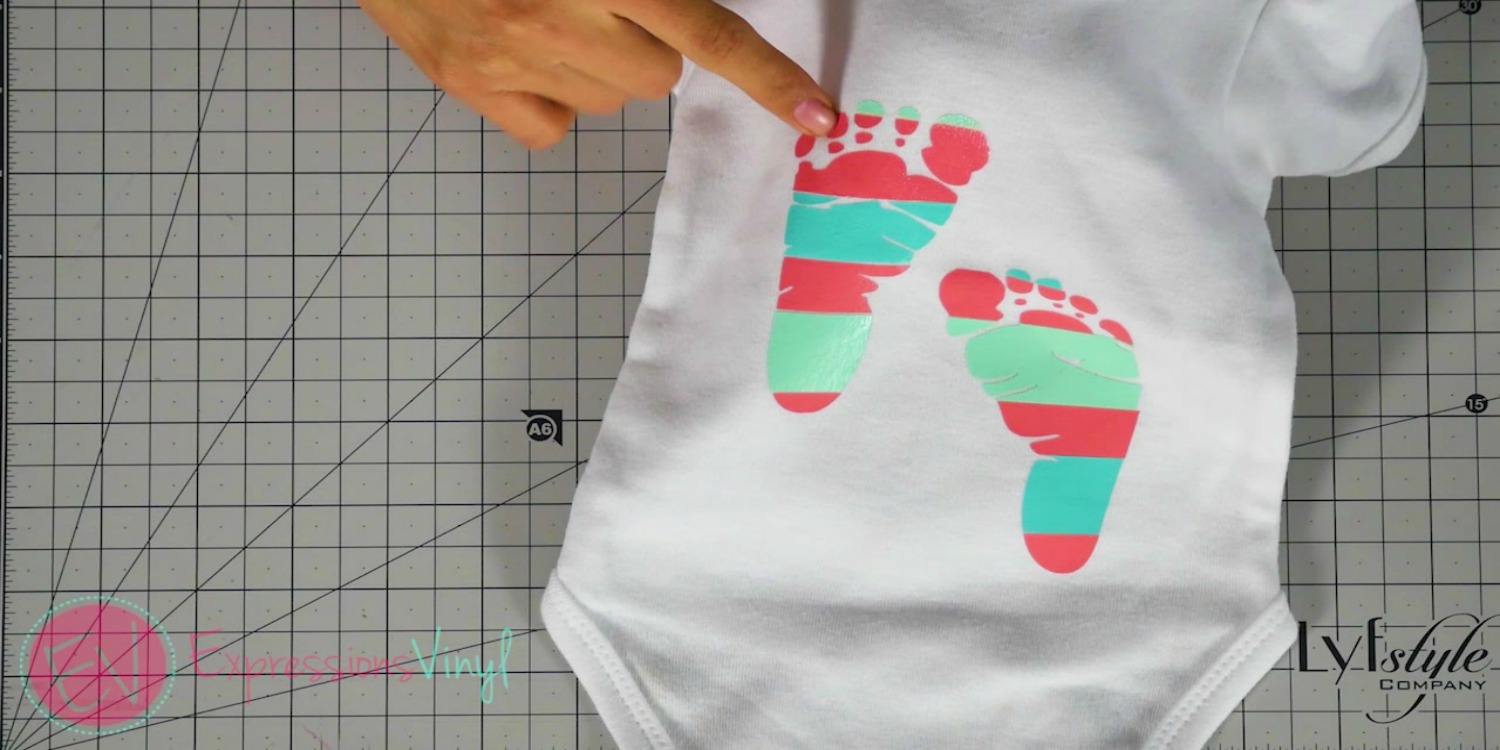
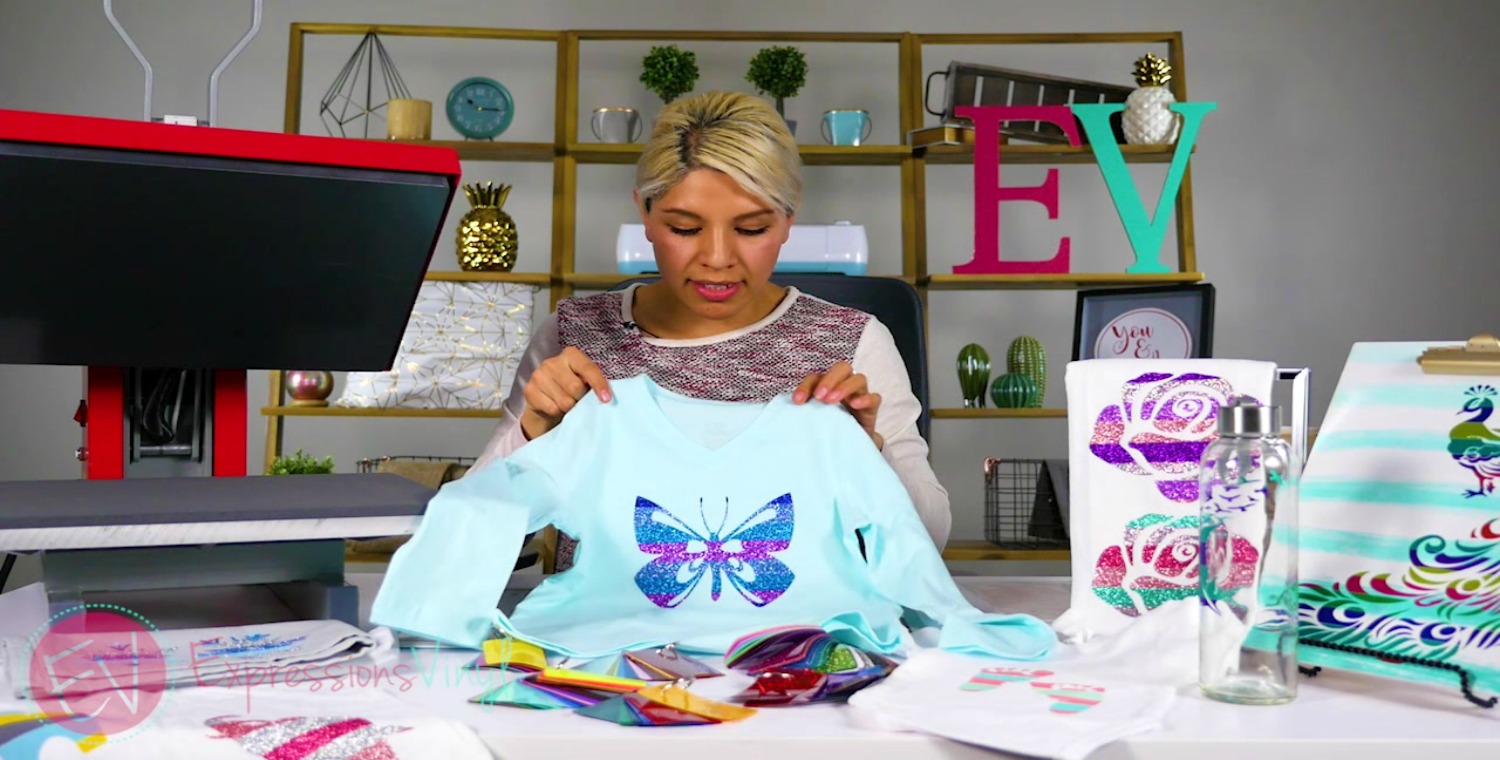
Hello! It’s Amy with expressionsvinyl.com. I am excited to share with you a layering technique called striped vinyl layering. What is striped vinyl layering? It’s an all in one way to layer multiple colors with one cut and one application. This method can be done with adhesive and heat transfer vinyl.
This onesie is one example of striped layering. The vinyl used is Siser EasyWeed Melon, Mint, and Jade. As you can see, it has three different colors. And it looks as if each layer of color was cut and applied separately, but it actually wasn’t!

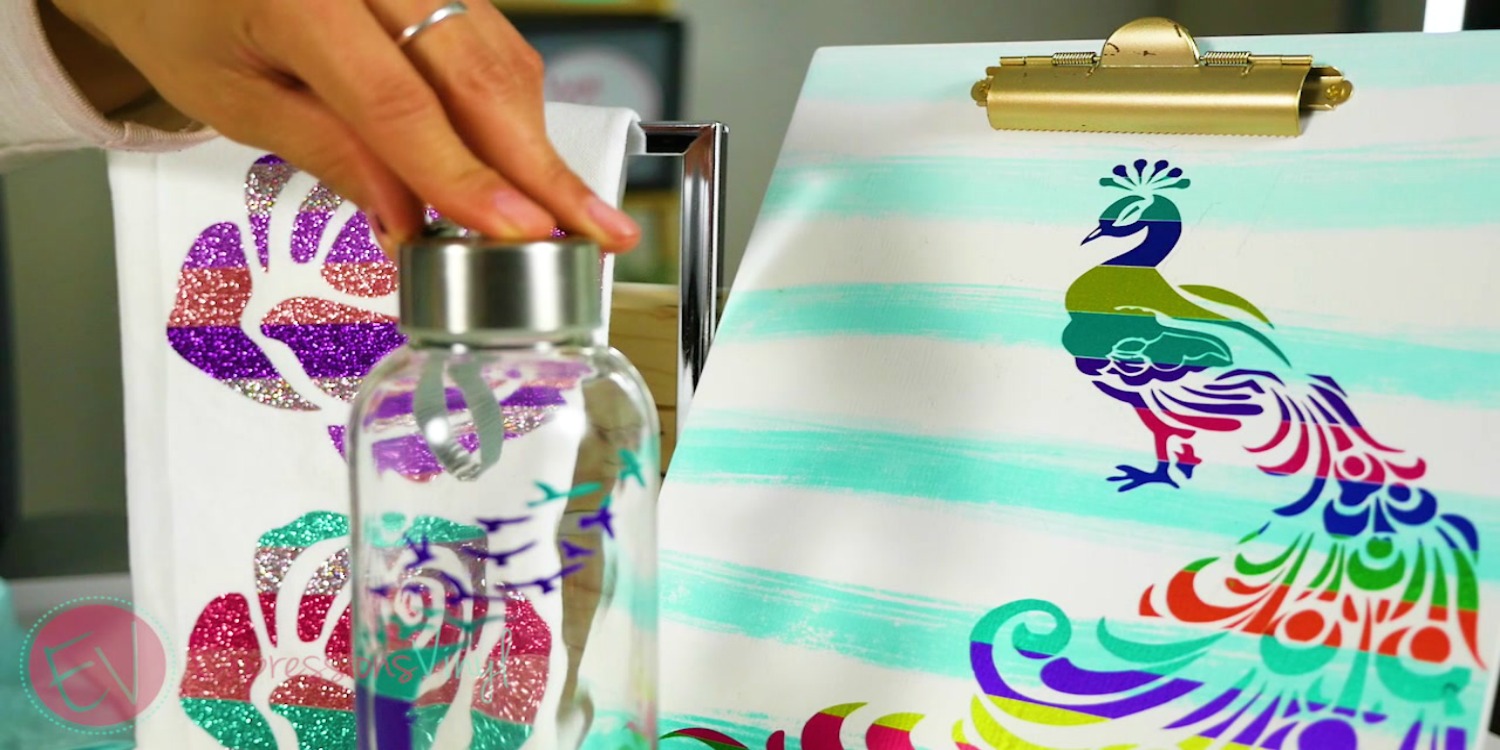
These next two projects, clipboard and water bottle, are done in adhesive vinyl using the luster collection. As a side note, striped layering with adhesive vinyl is done slightly different and you’ll be working with transfer tape.

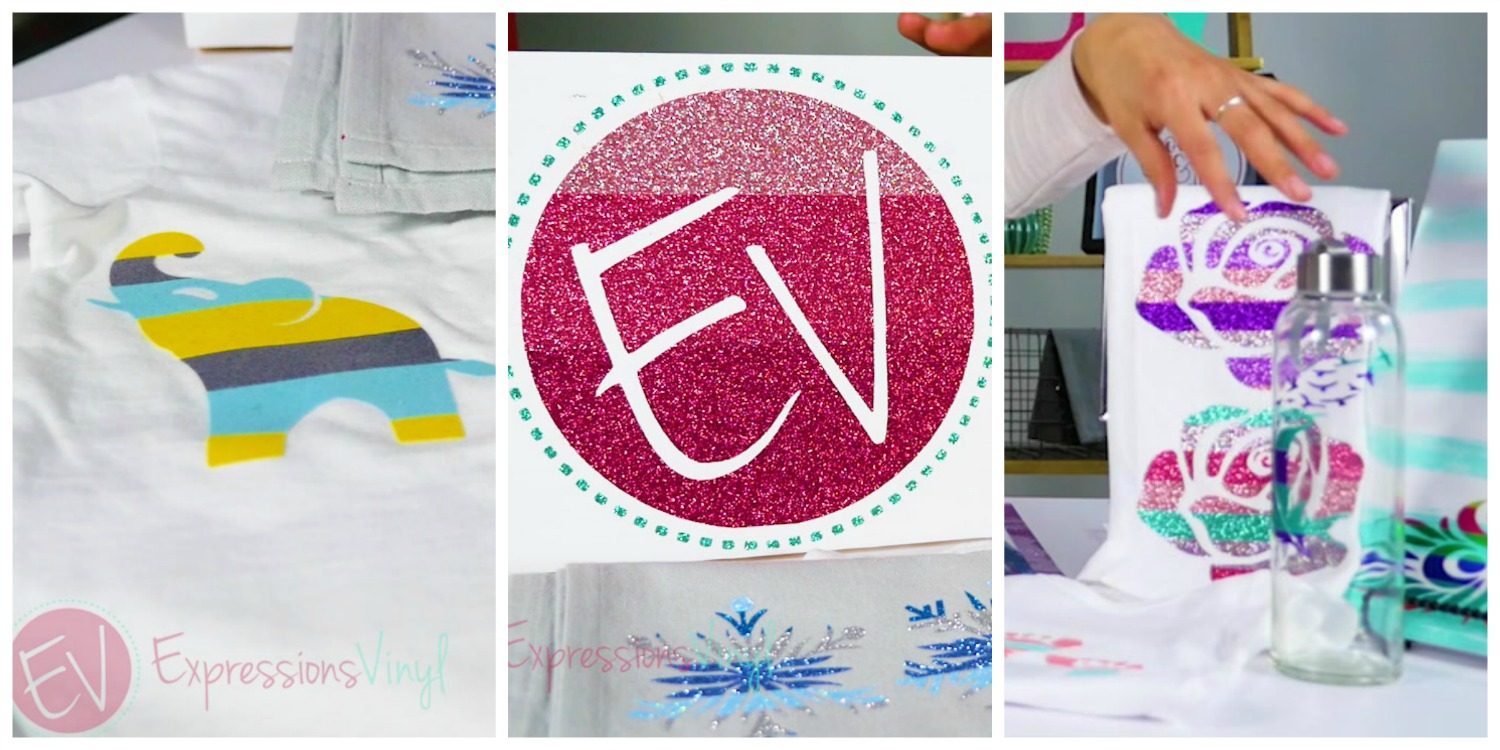
The rest of these projects are done with heat transfer vinyl. The elephant on the left was done using stripflock, the EV sign and roses were done with Siser HTV glitter.

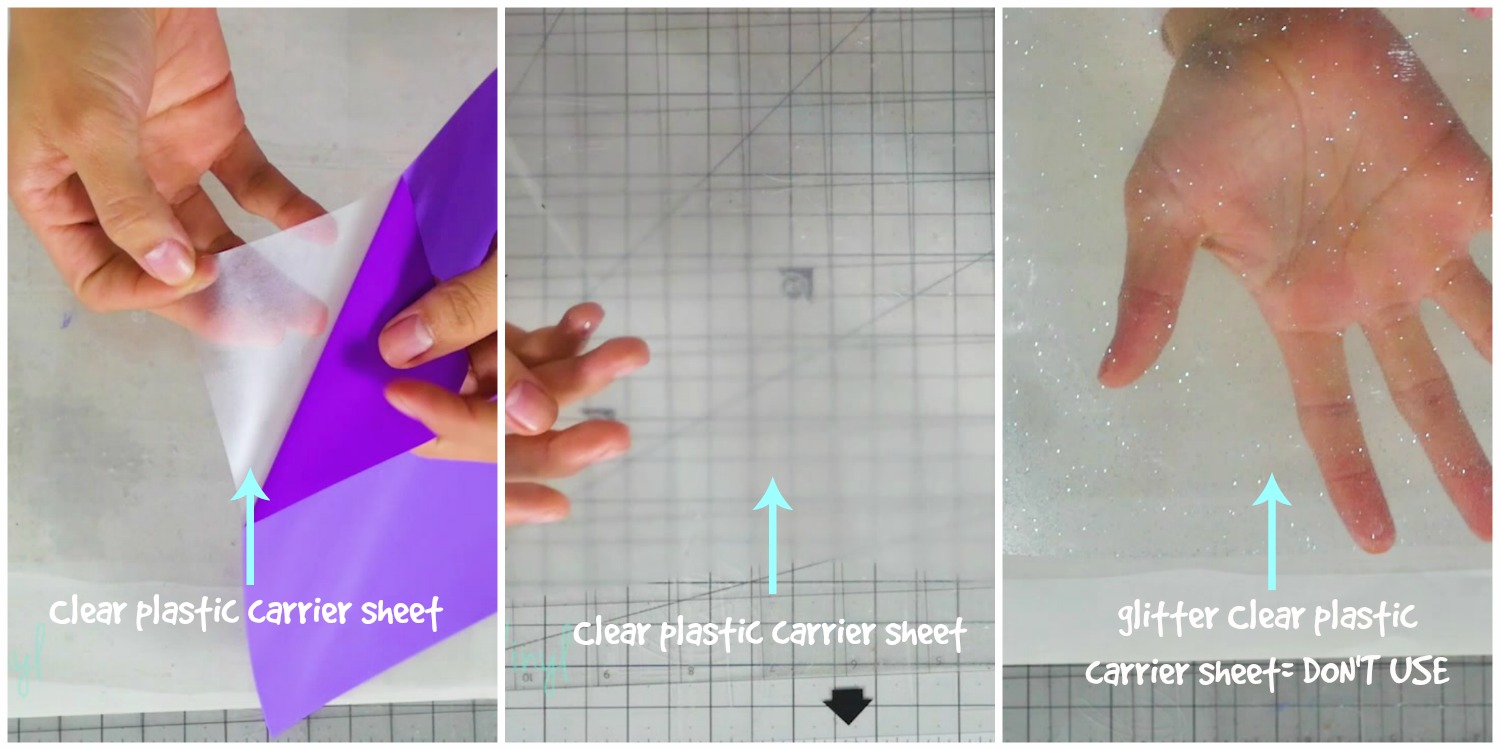
Next, I’ll go over what you need to get started. First, you will need a cutting mat and a clear plastic carrier sheet. You may not realize it but you already have a clear plastic carrier sheet. Those are attached to your HTV before you peel them off after applying heat. So make sure to save those carrier sheets for your striped layering projects! They are not available for purchase separately. The neat thing about them is that you can re-use them multiple times. I do want to point out that carrier sheets from stripflock and glitter don’t do well with this method of layering so it’s ok to toss those carrier sheets. They aren’t sticky as easyweed carrier sheets.

Next, I want to talk about HTV. I recommend using the same type of HTV for each project. So it wouldn’t be wise to mix and match HTV glitter and easyweed together because they have different cut settings. HTV glitter is thicker so the blade would cut through the easyweed strips. Heat settings also vary with the vinyl.


Now to the fun part! The first step is to cut your vinyl into strips. I just used a cutting board and It doesn’t matter how thick or thin you make your strip. I’ve played around with various sizes and it all depends on how many colors you want to use and also how big your image is. For this butterfly shirt, I cut the vinyl strips a little over half an inch. And I’m using four colors of Siser HTV glitter in lavender aqua, old blue, and royal blue.
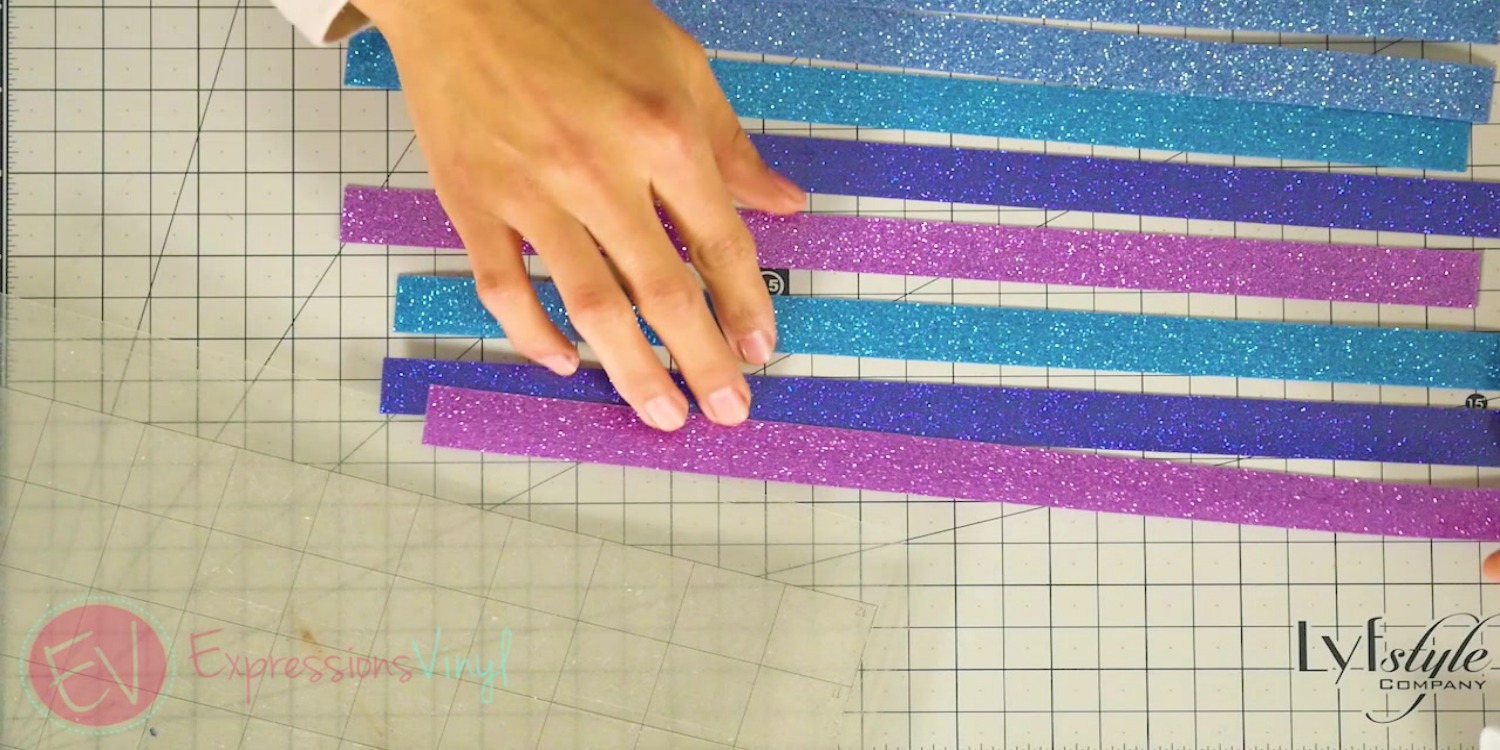

After the vinyl are cut into strips, I like to organize my colors in the order I want them to appear. You don’t have to do it this way. You can randomly place them.
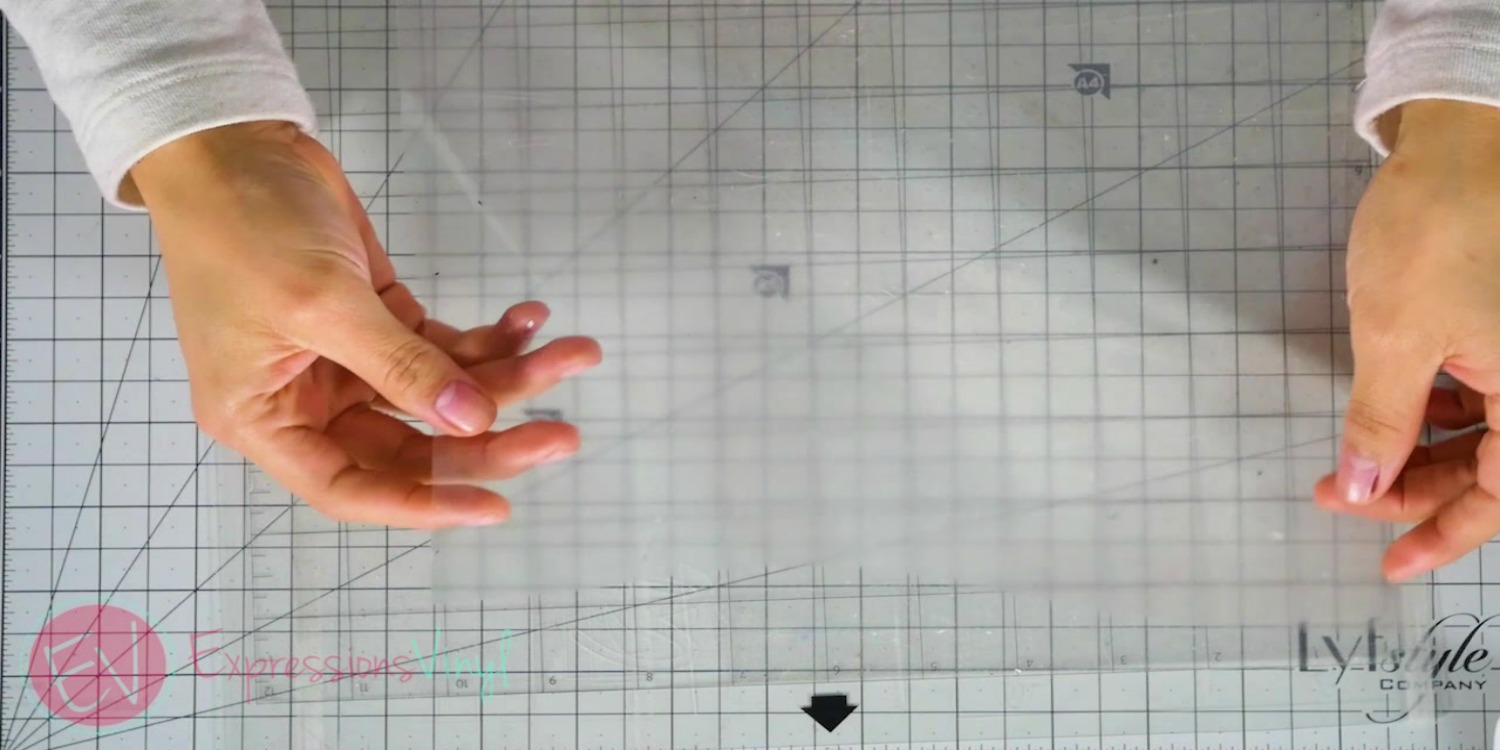
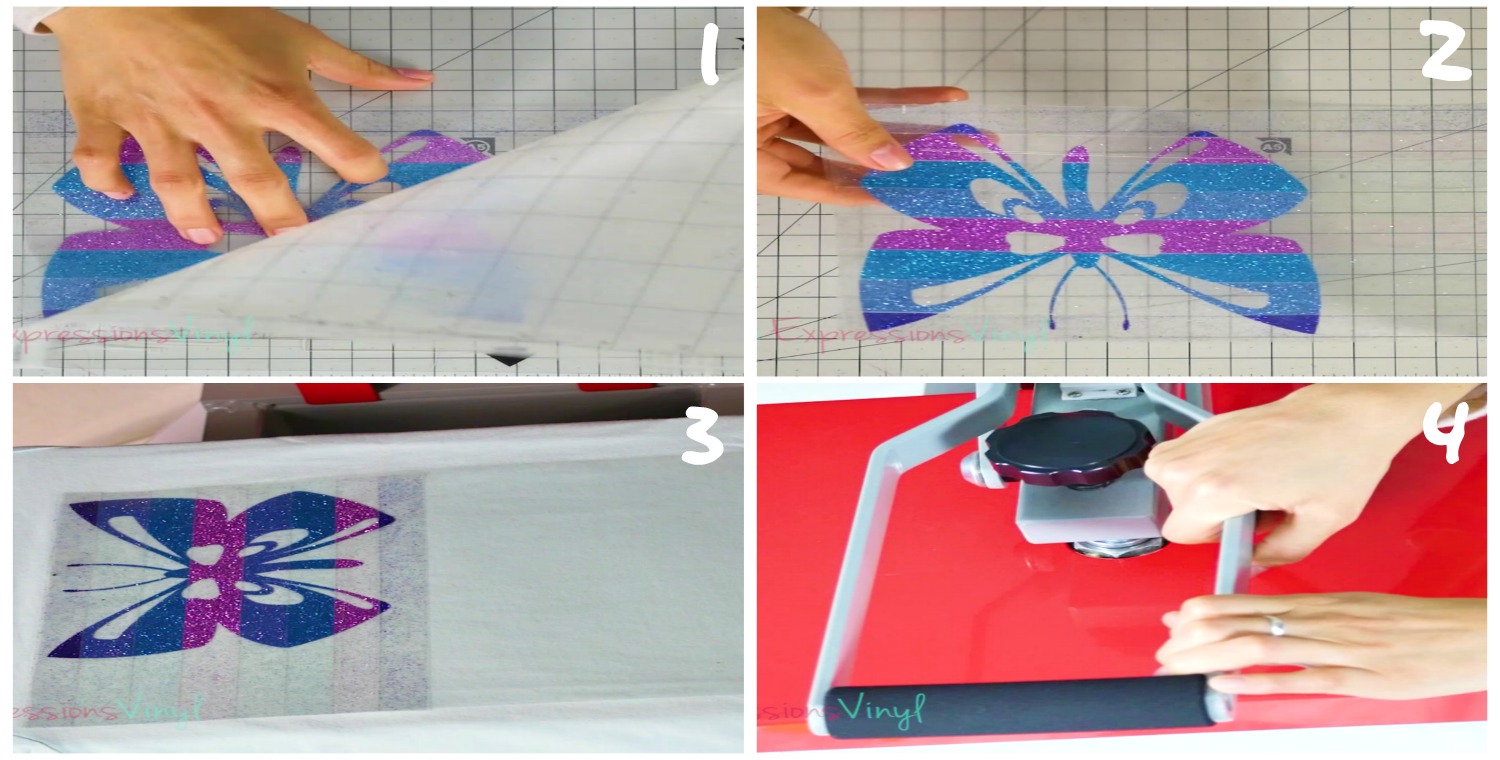
Place the clear plastic carrier sheet (sticky side facing up) on the mat with the non-sticky side down. If you don’t have one big piece, you can always tape your smaller sheets together and go from there.

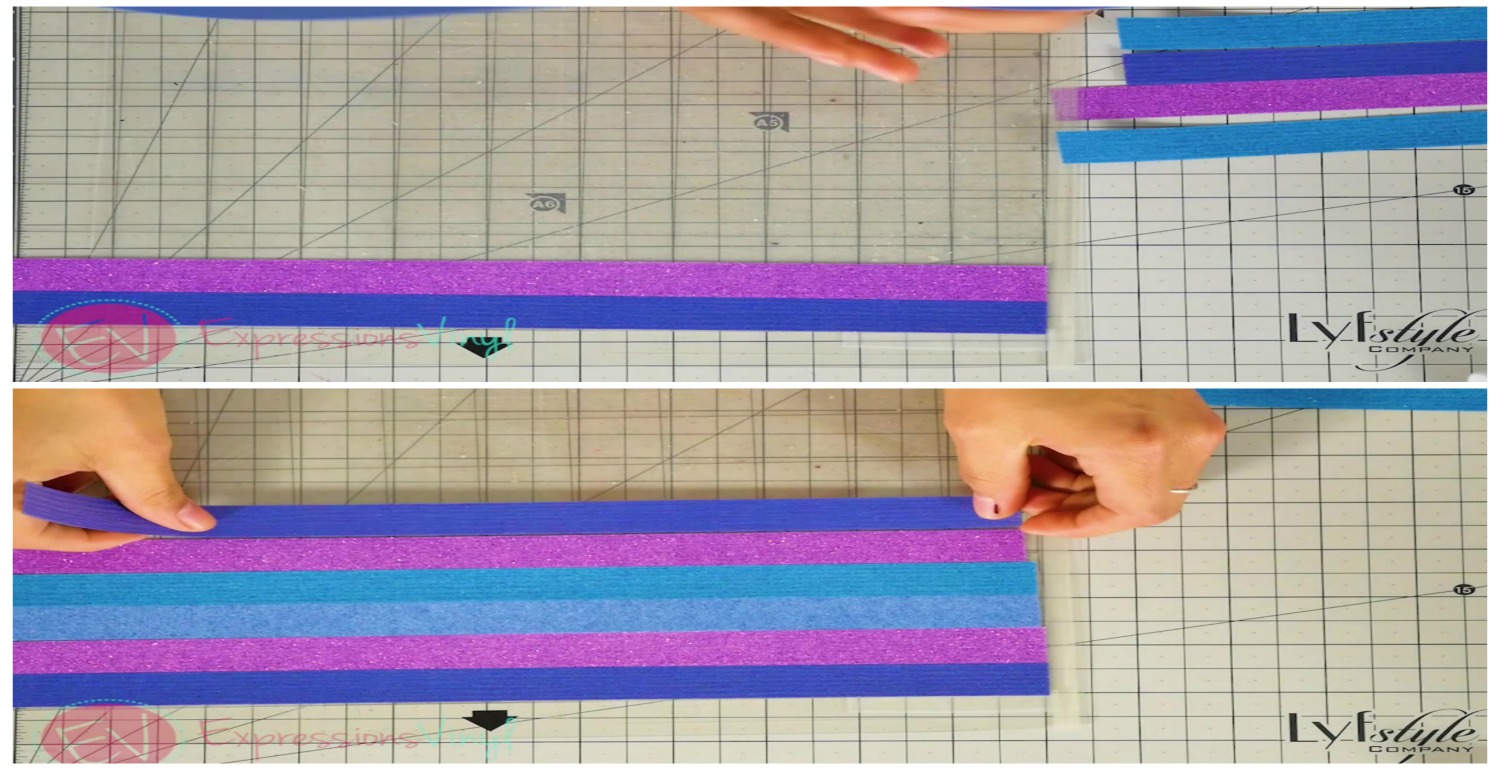
Once, that is complete, begin layering the vinyl strips onto the carrier sheet. This is the normal routine of placing HTV onto the mat with the adhesive side facing up but and the carrier sheet on the mat’s carrier sheet. Make sure to get each strip as close to one another without them overlapping. If the edges of your vinyl poke up, place a piece of transfer tap but remember to remove it prior to applying the vinyl to your material.

After all your vinyl strips are on the mat, press send to cut! Don’t forget to mirror your image. Then it’s time to weed. I always start weeding at one of the top corners and I find it to be easier to remove the outside portion of the weeding box first before weeding the image. Then you weed strip by strip but weed slowly just so all of your needed pieces stay on the carrier sheet.
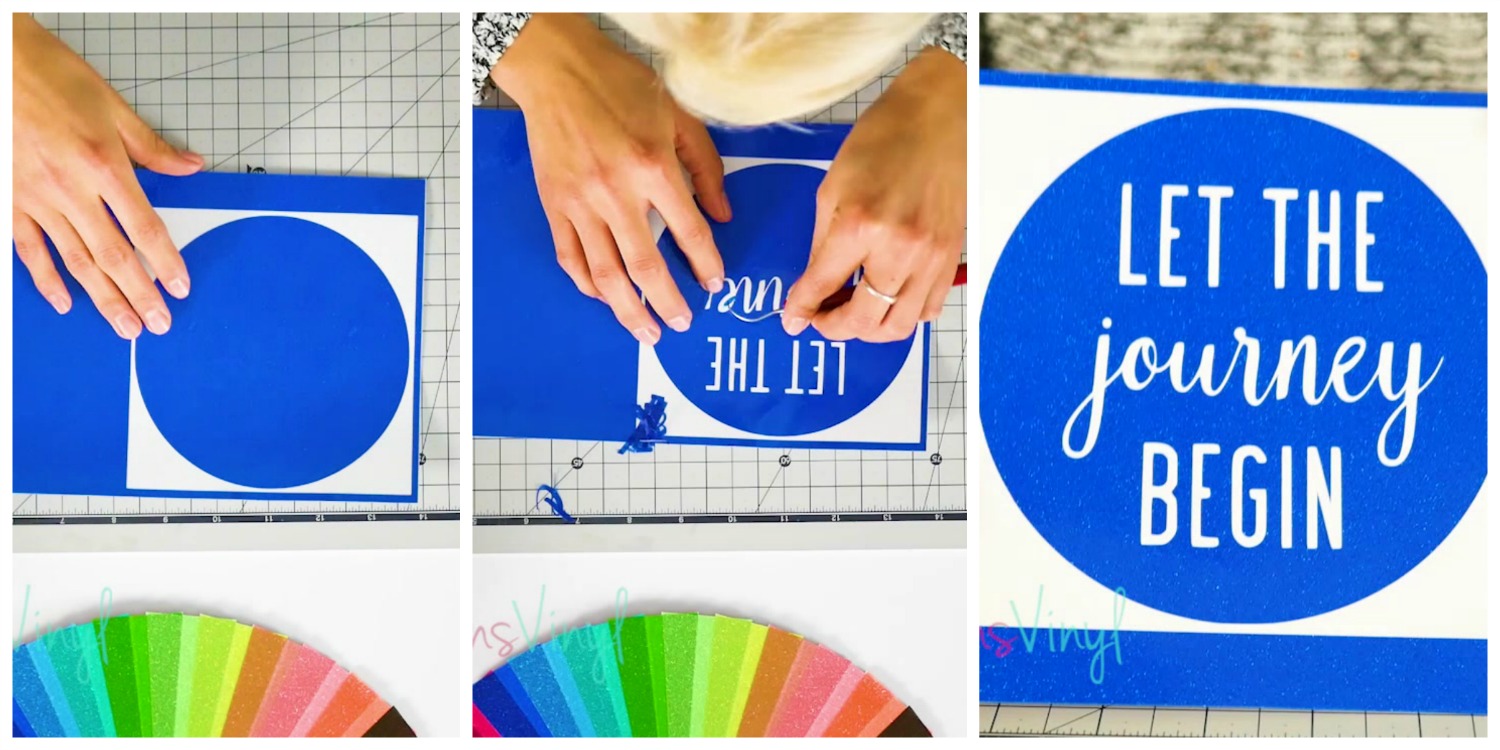

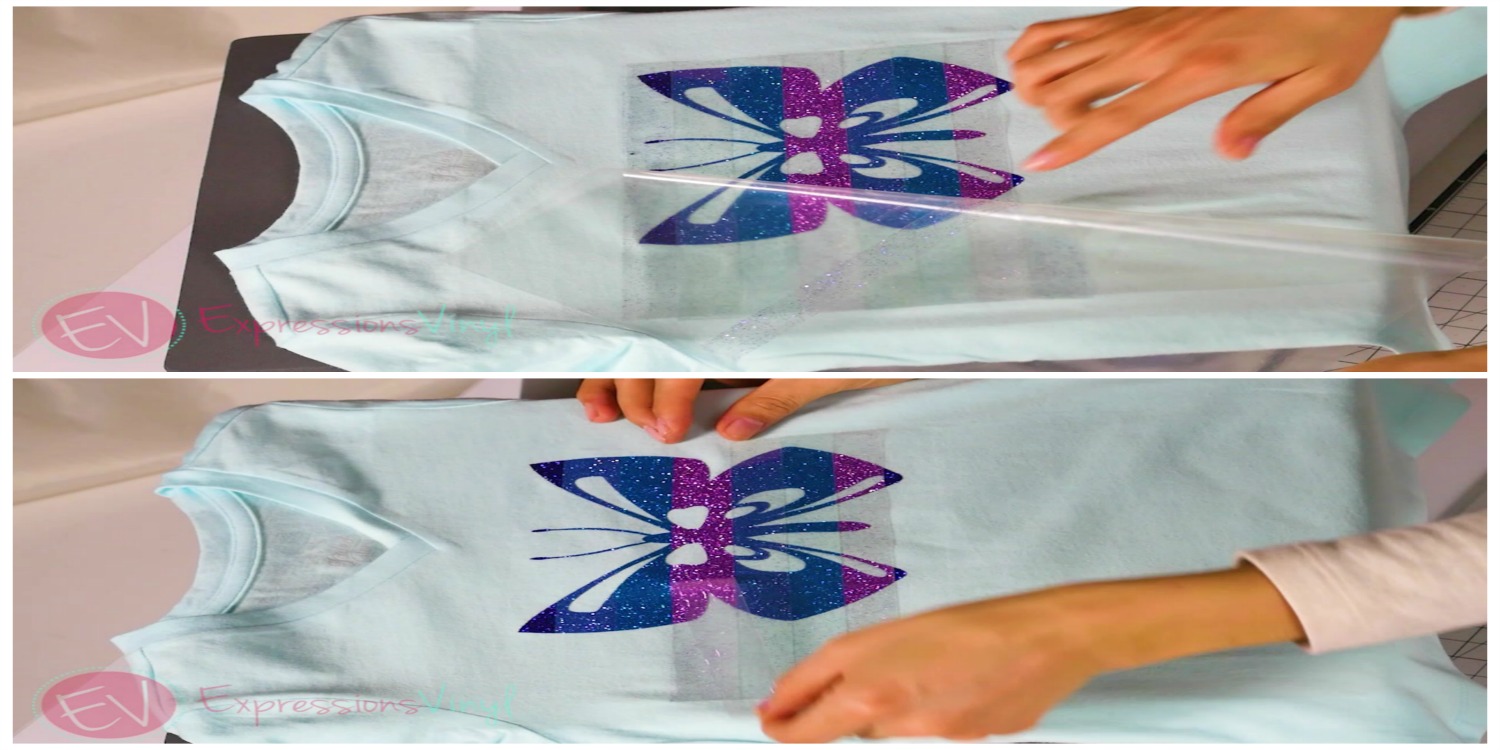
Now that the image has been weeded, turn it over to the back of the mat and peel away the mat from the carrier sheet. Flip the carrier sheet and align it onto your shirt. You can leave the carrier sheet on or remove it. I like to leave mine on so my pieces don’t get separated. Then heat press for 15-20 seconds since we only have one layer in glitter

After it’s pressed, remove the top carrier sheet. It’s the big carrier sheet that was attached to the mat. Then you can remove the individual carrier strips from the vinyl.

And there you go! A fun way to layer with multiple colors without having to cut and apply the vinyl separately!
 Hope you enjoy this fun layering technique as much as I do.
Till next time!
Hope you enjoy this fun layering technique as much as I do.
Till next time!

Recent Posts
-
NEW Holographic Eclipse Heat Transfer Vinyl
April 15th, 2024 3 Ways to Use the New Holographic Eclipse Heat Transfer Vinyl from Siser …Apr 29th 2024 -
Hop into Spring with Cute Easter Vinyl Crafts
Do you love our Vinyl? Sign up for Vinyl Club today to get FREE vinyl and save big! …Mar 28th 2024 -

Fixing Wrinkles and Bubbles in Vinyl
How do you get air bubbles out of vinyl? There are a few different ways to ensure a flawless …Mar 26th 2024