
Use scraps of your HTV's carrier sheet to align images
Hello, this is Starla with ExpressionsVinyl.com. In this blog, I will show you how to use those really skinny scraps of HTV that may or may not be heading to the garbage. Don't toss them just yet, keep those carrier sheets for an awesome alignment tool for HTV. Unlike Adhesive where you can create tabs and keep layering them and remove once done, this is not the case the HTV, so this method is super easy to mimic to the adhesive tab trick.
What you will need:
File:
- Believe in Magic of Christmas-#70884
https://www.silhouettedesignstore.com/view-shape/70884
Vinyl:
- Siser Easyweed Yellow
- Siser Easyweed Stretch Sea Glass
- Siser Easyweed Stretch Silver
- Siser Easyweed Electric Red
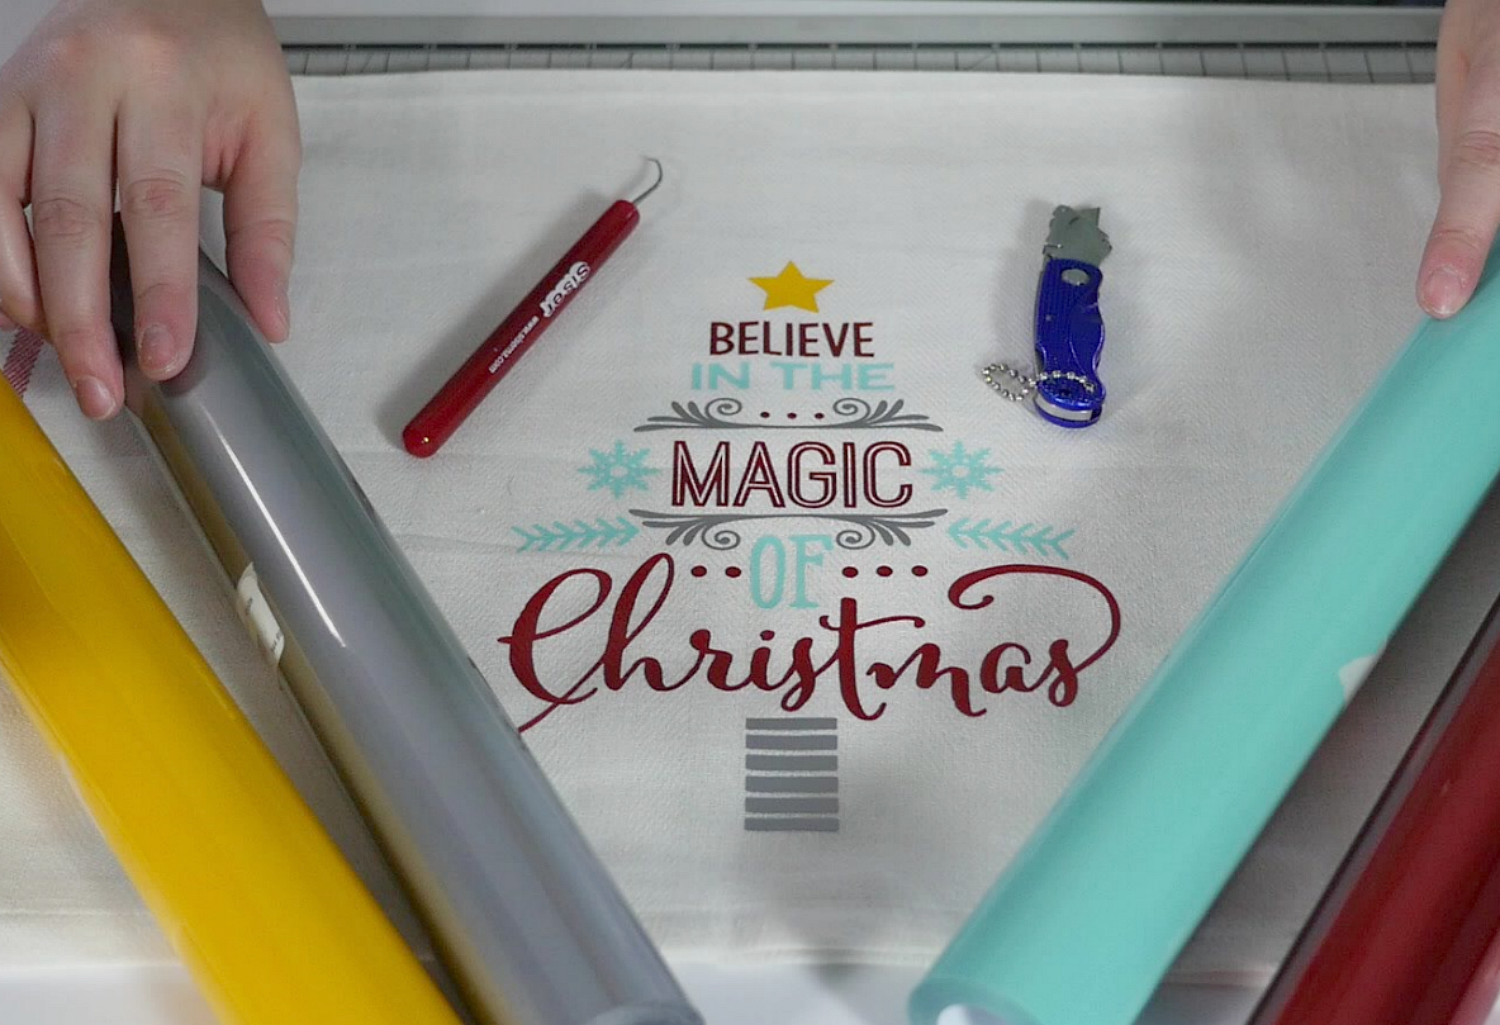
Start off by coloring your image so you can co-ordinate with the Easyweed colors:
Then follow by creating a weeding box around the image.
Since we have 4 different colors, we are going to duplicate this image so we have 4 of the same tree, then keeping them in line, elimate all but one color in all 4 boxes.
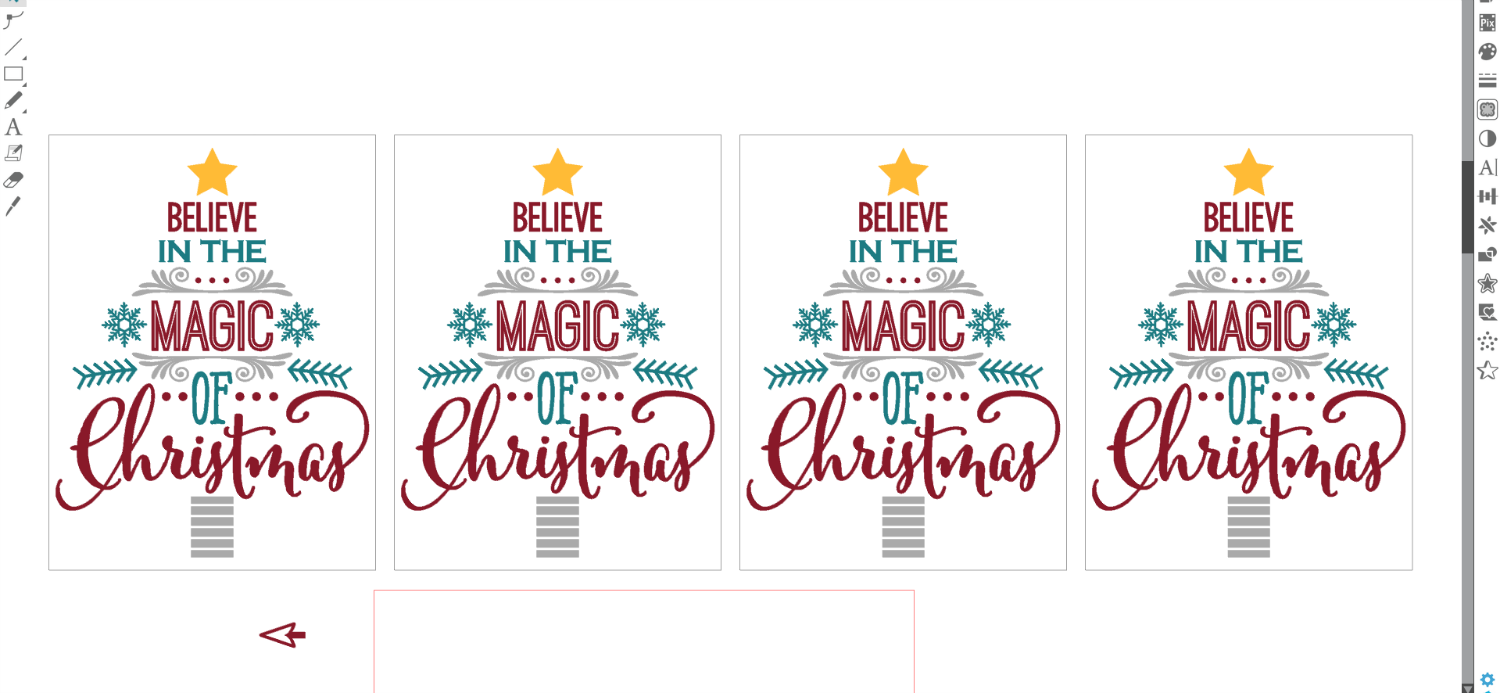
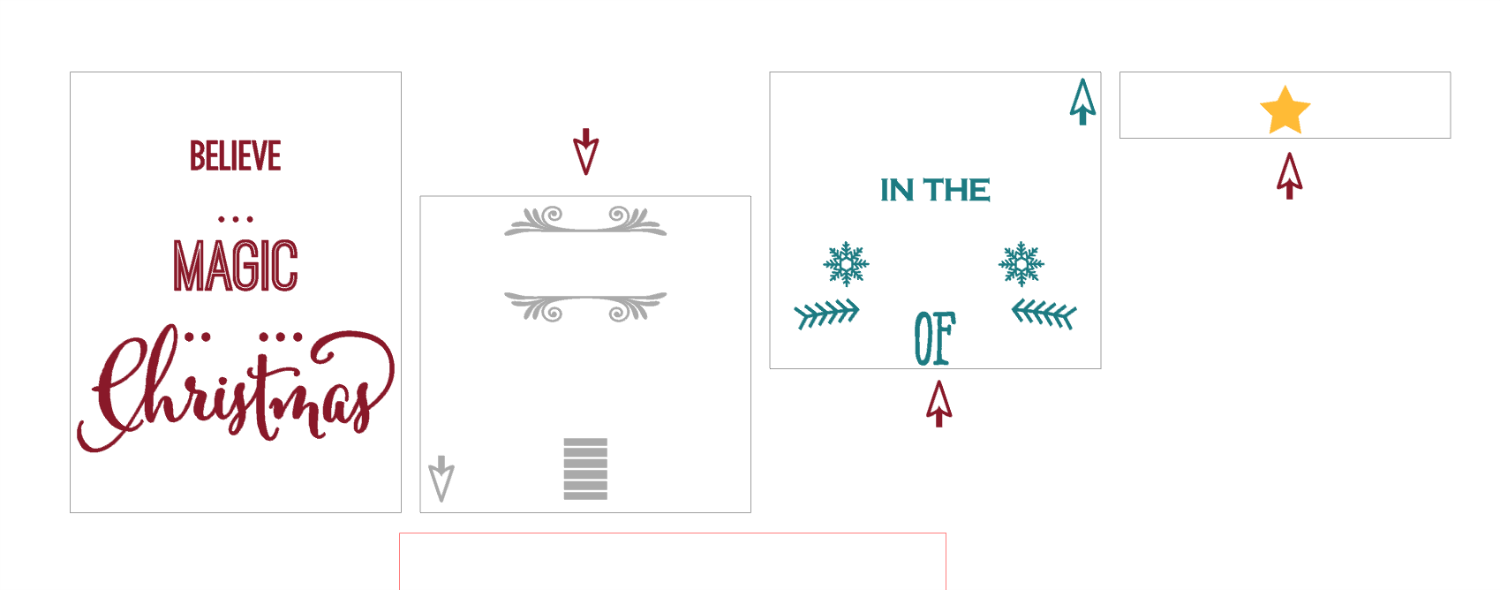
Then to save on some space, keep your first box at its full size, then you can adjust the other boxes. Keep in mind that you still will need a focal point for this alignment to work so I like to add arrows so I know which is the "original" box location. Like so...
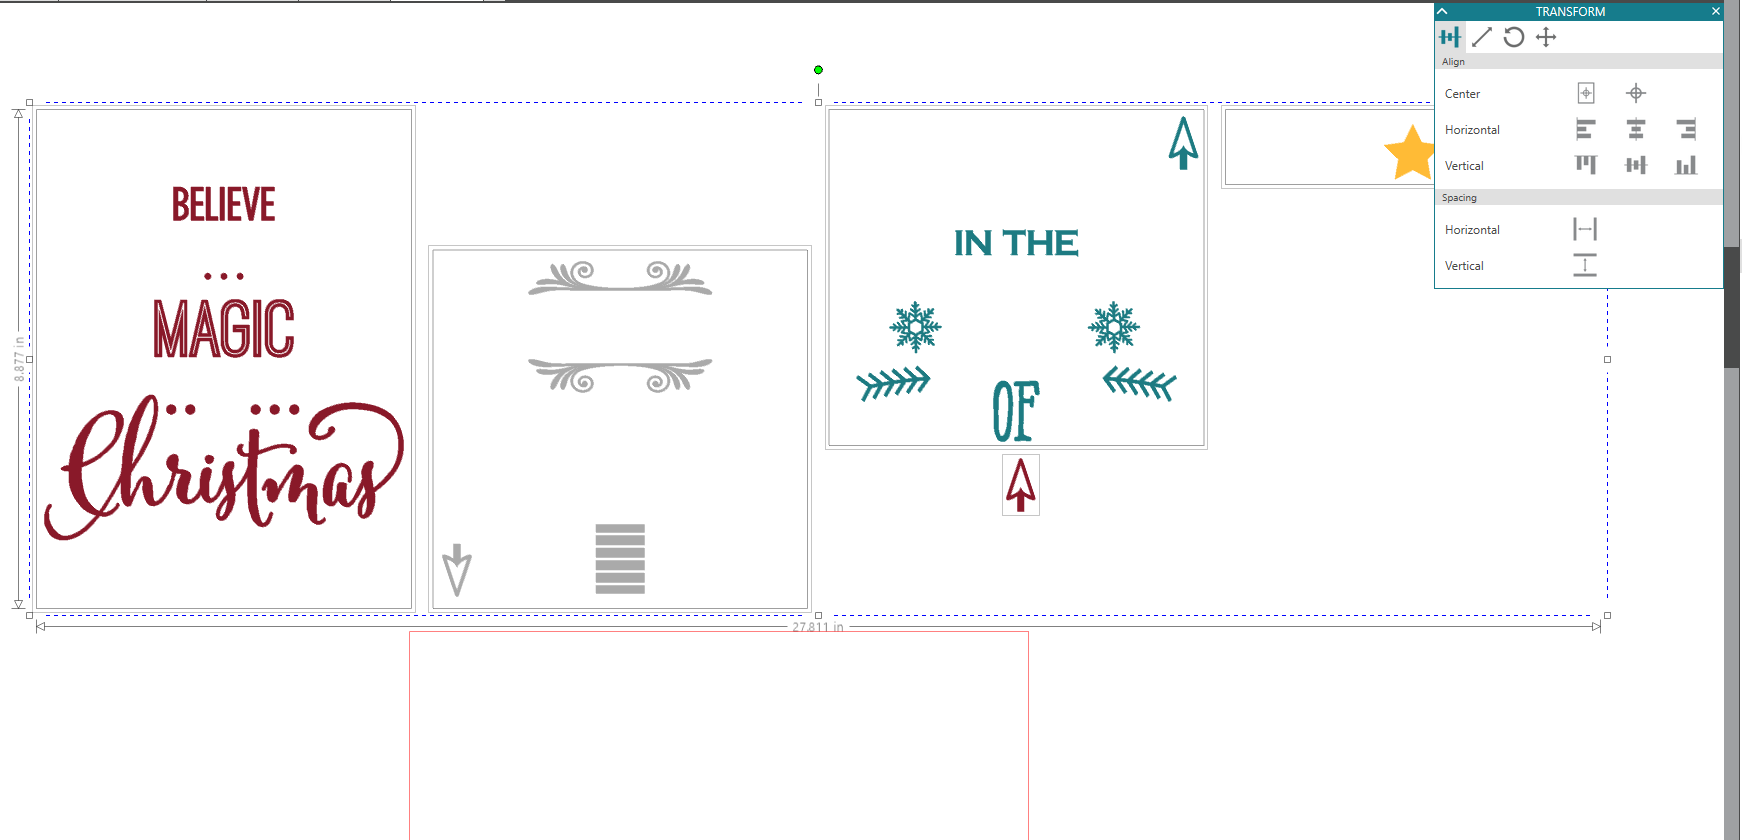
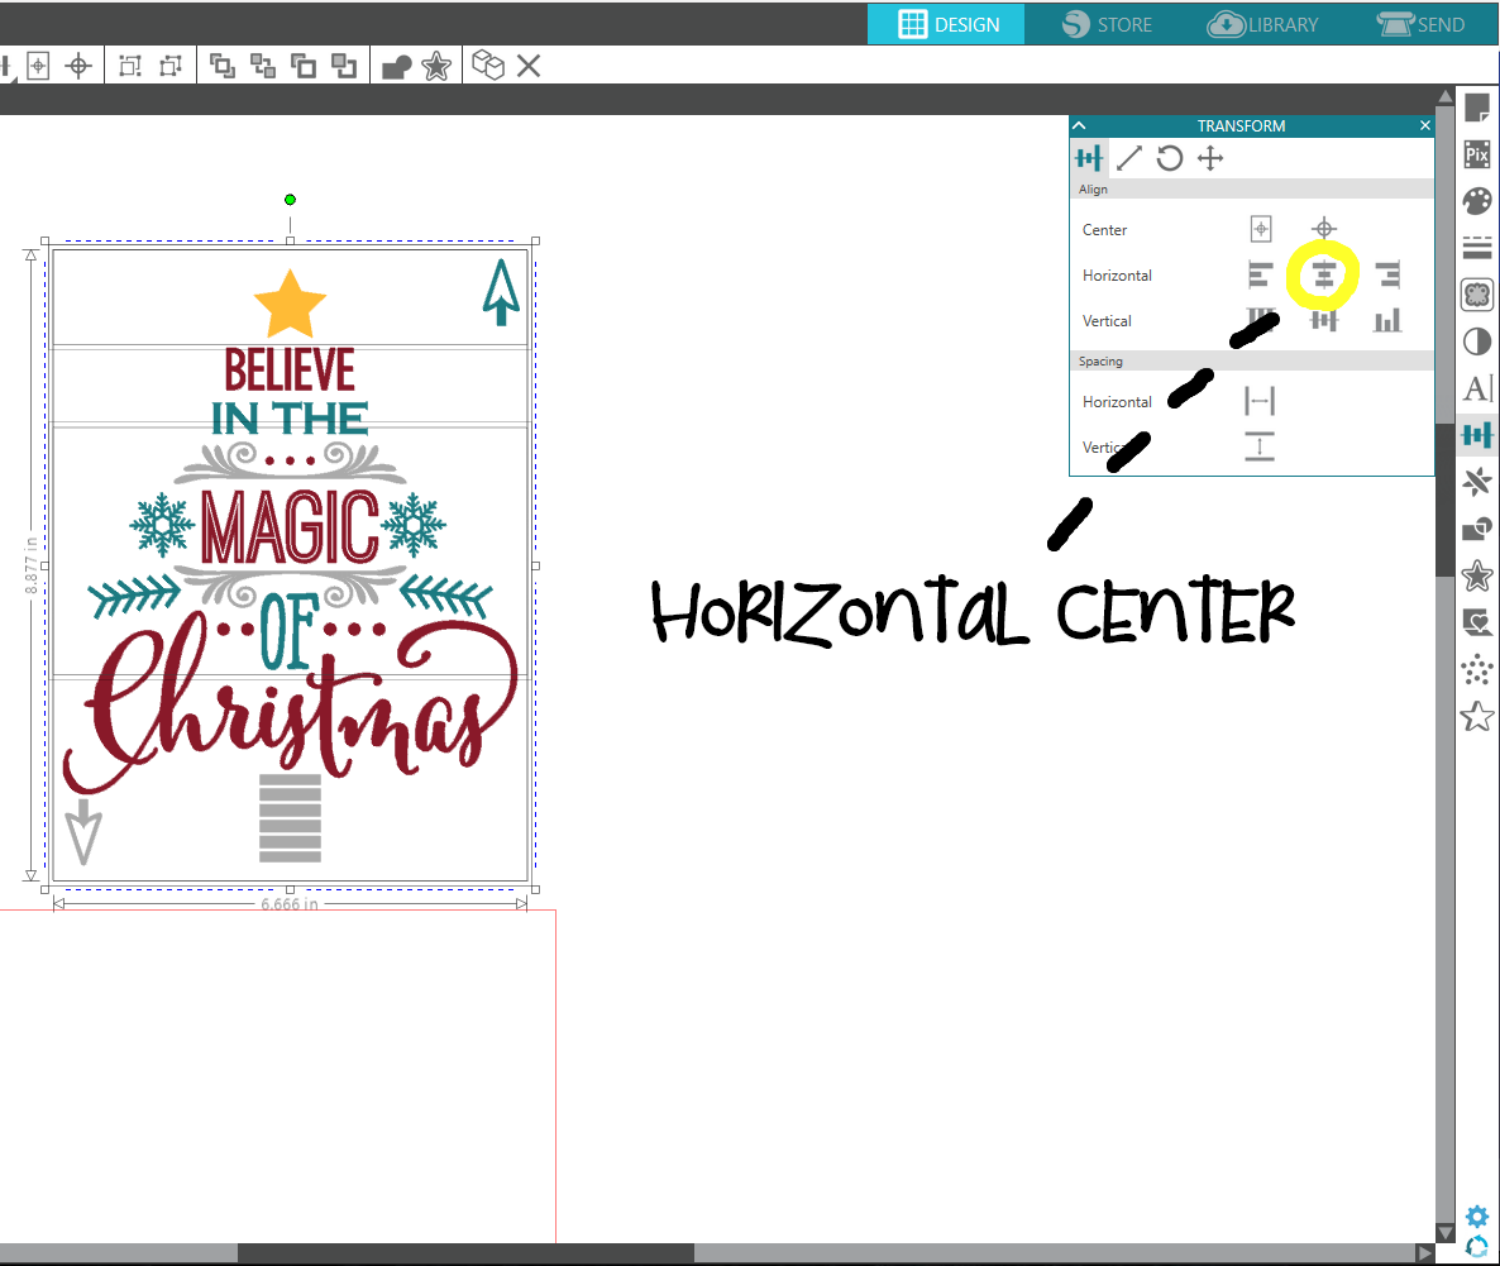
Now after you have all of your images like so, if you wish to make sure that everything is still in line, group them individually, then click and drag over all 4 boxes and use the alignment tool that is the Horizontal Center tool. Do not use the overall center tool, since the boxes are no longer the same size, they will not line up.
You should then see am image showing everything aligned, all looks good, undo the alignment and you can start cutting
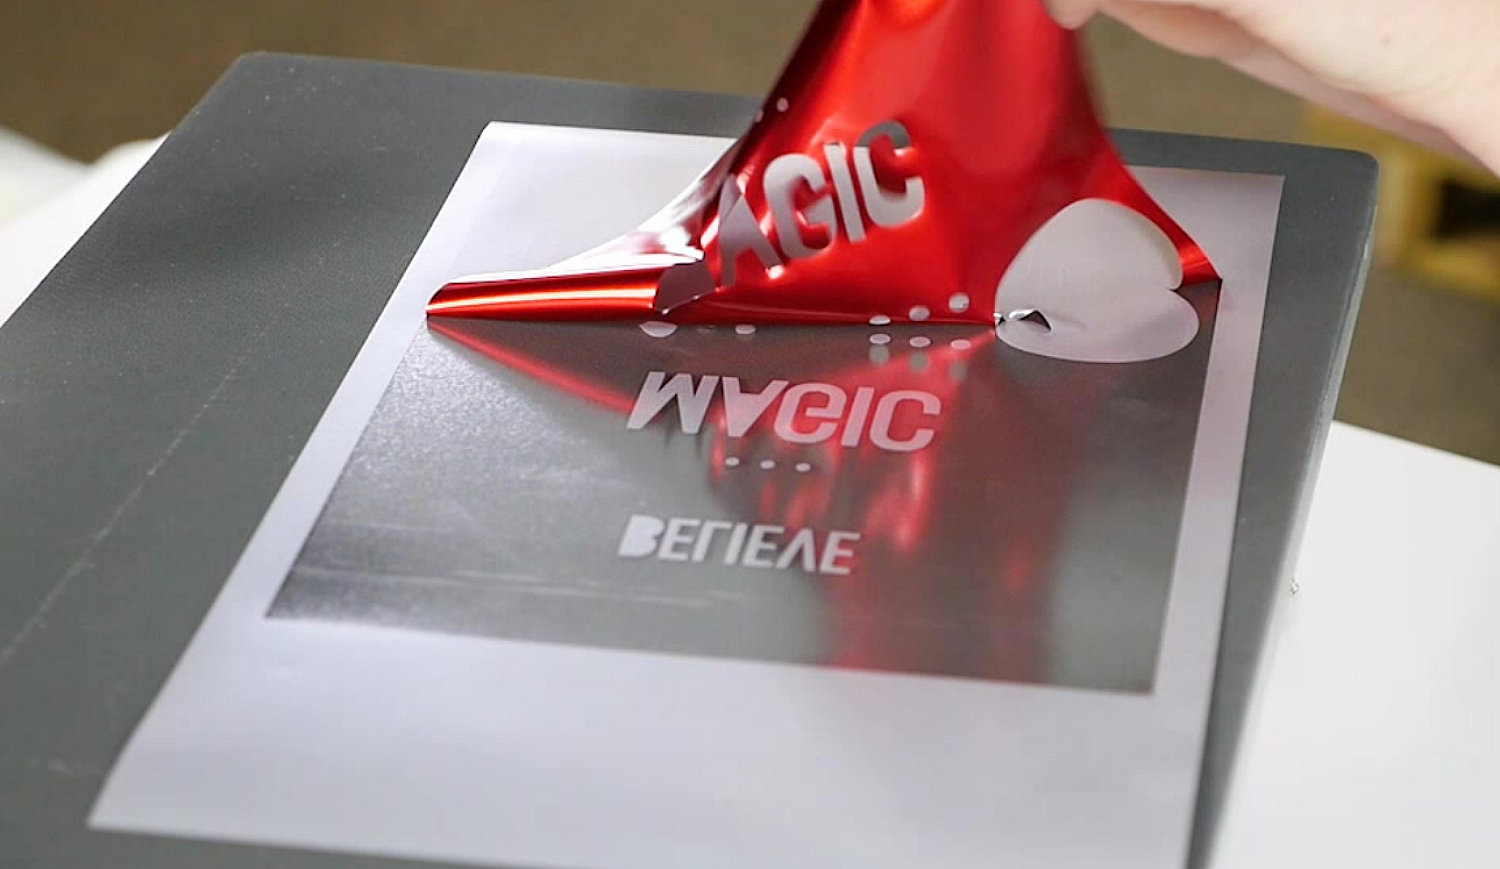
Now that you have all the images cut, and weeded out with weeding box, start with your full box which in this case is our Siser Easyweed Electric Red.
As you can see I have already cut and squared out my box, but do not throw those red pieces away, we are going to use those in a minute.
Quick Tip: If you have a heat press you can clamp it down at 305 with nothing inside for about 5 seconds and place the vinyl onto the work surface after the pad has been warmed,your vinyl will be much easier to weed.
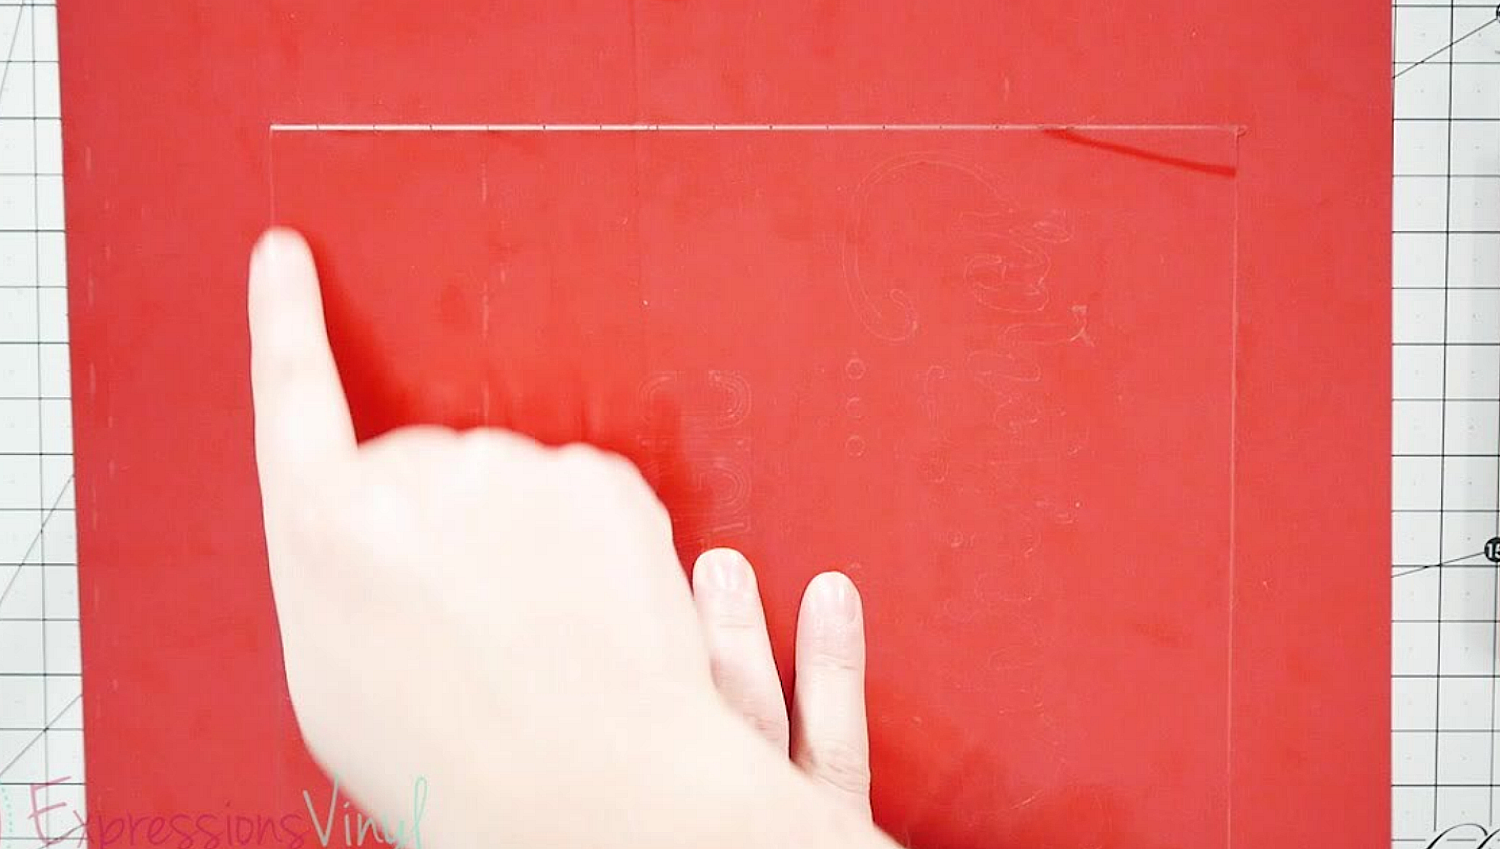
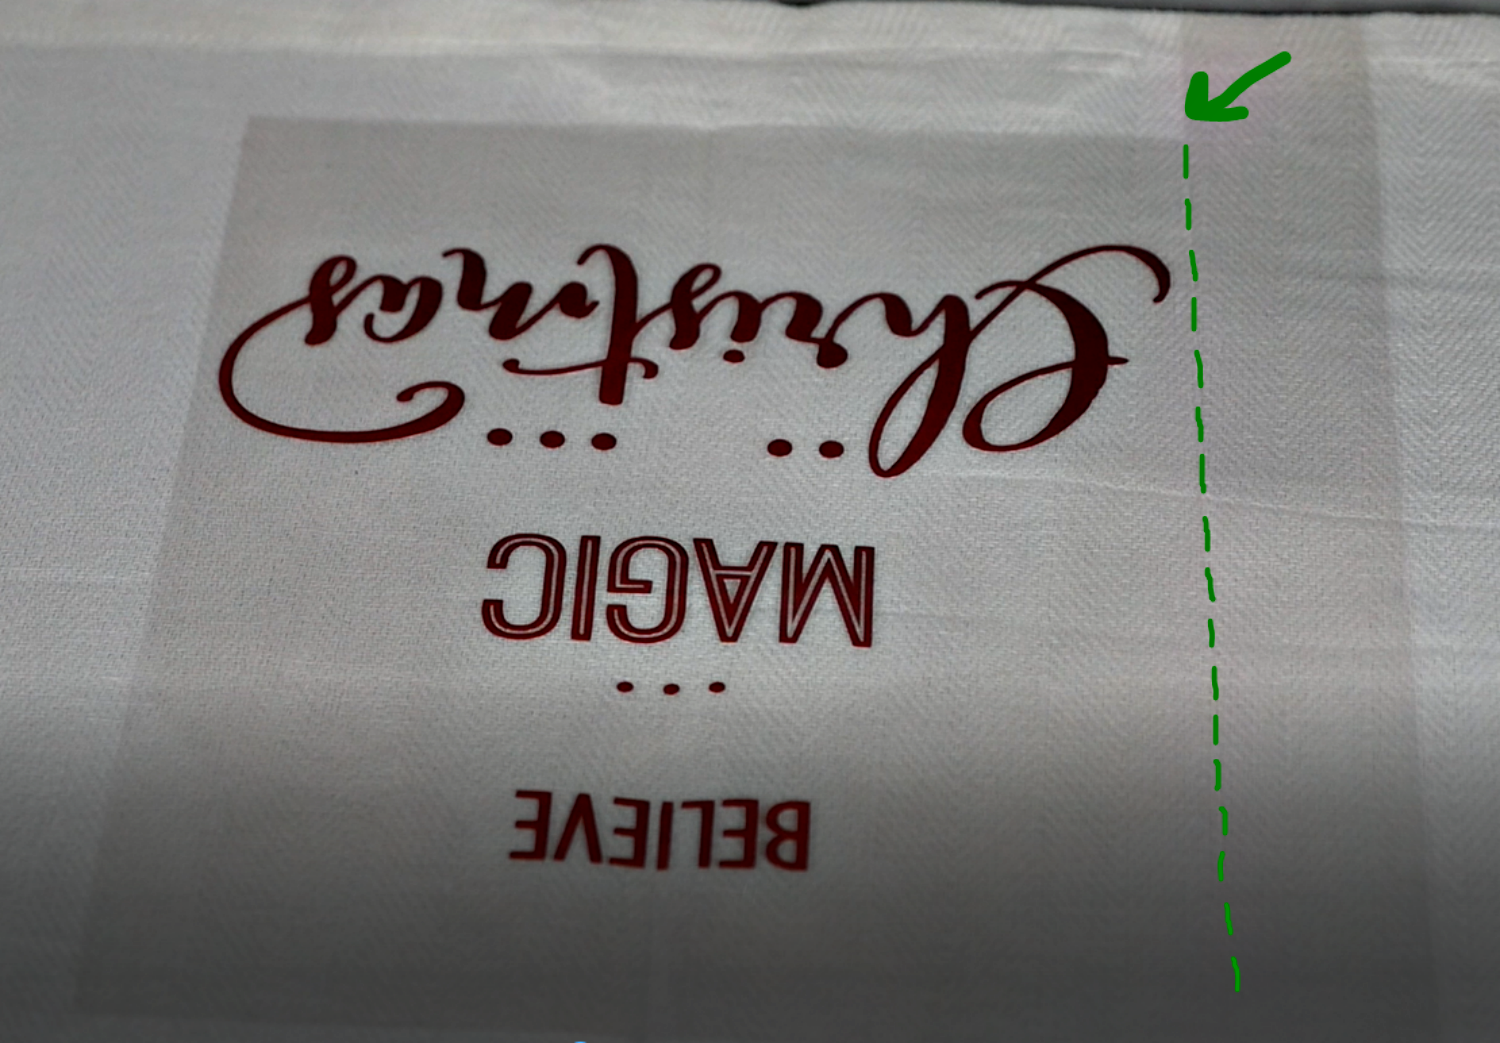
Start by pre-pressing your towel to remove any moisture it may retain from manufacturing.Then taking your full weeding box, find the center of the box by folding in have a creating a nice crease down the carrier sheet and align in the middle of your towel.
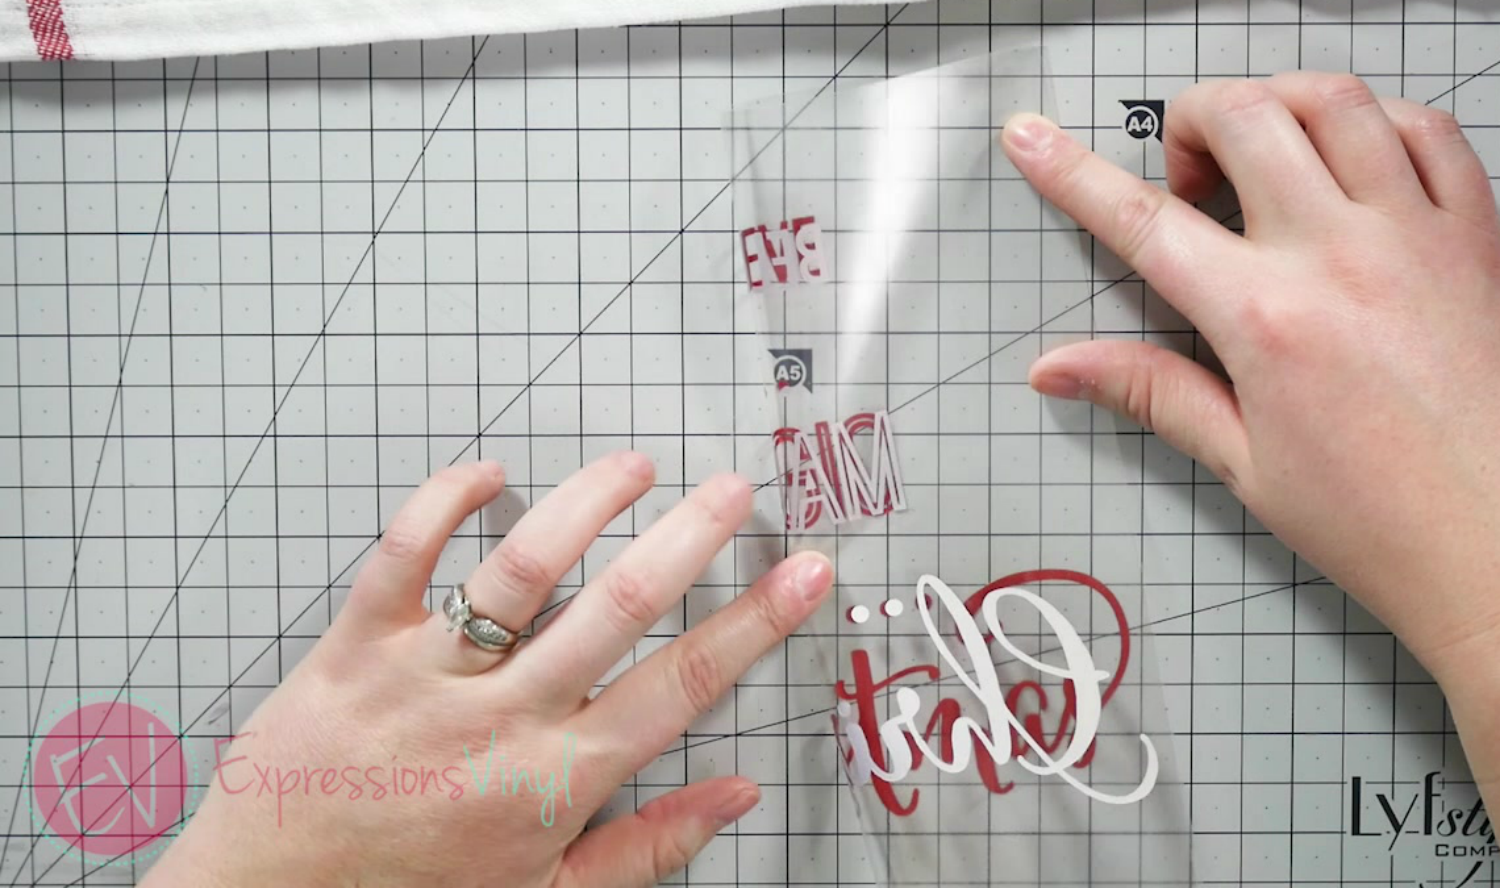
Once you have your first layer all set and applied, take that weird shapped piece of red and cut it apart to make some strips
Then lay them along the side of the carrier sheet before removing it.
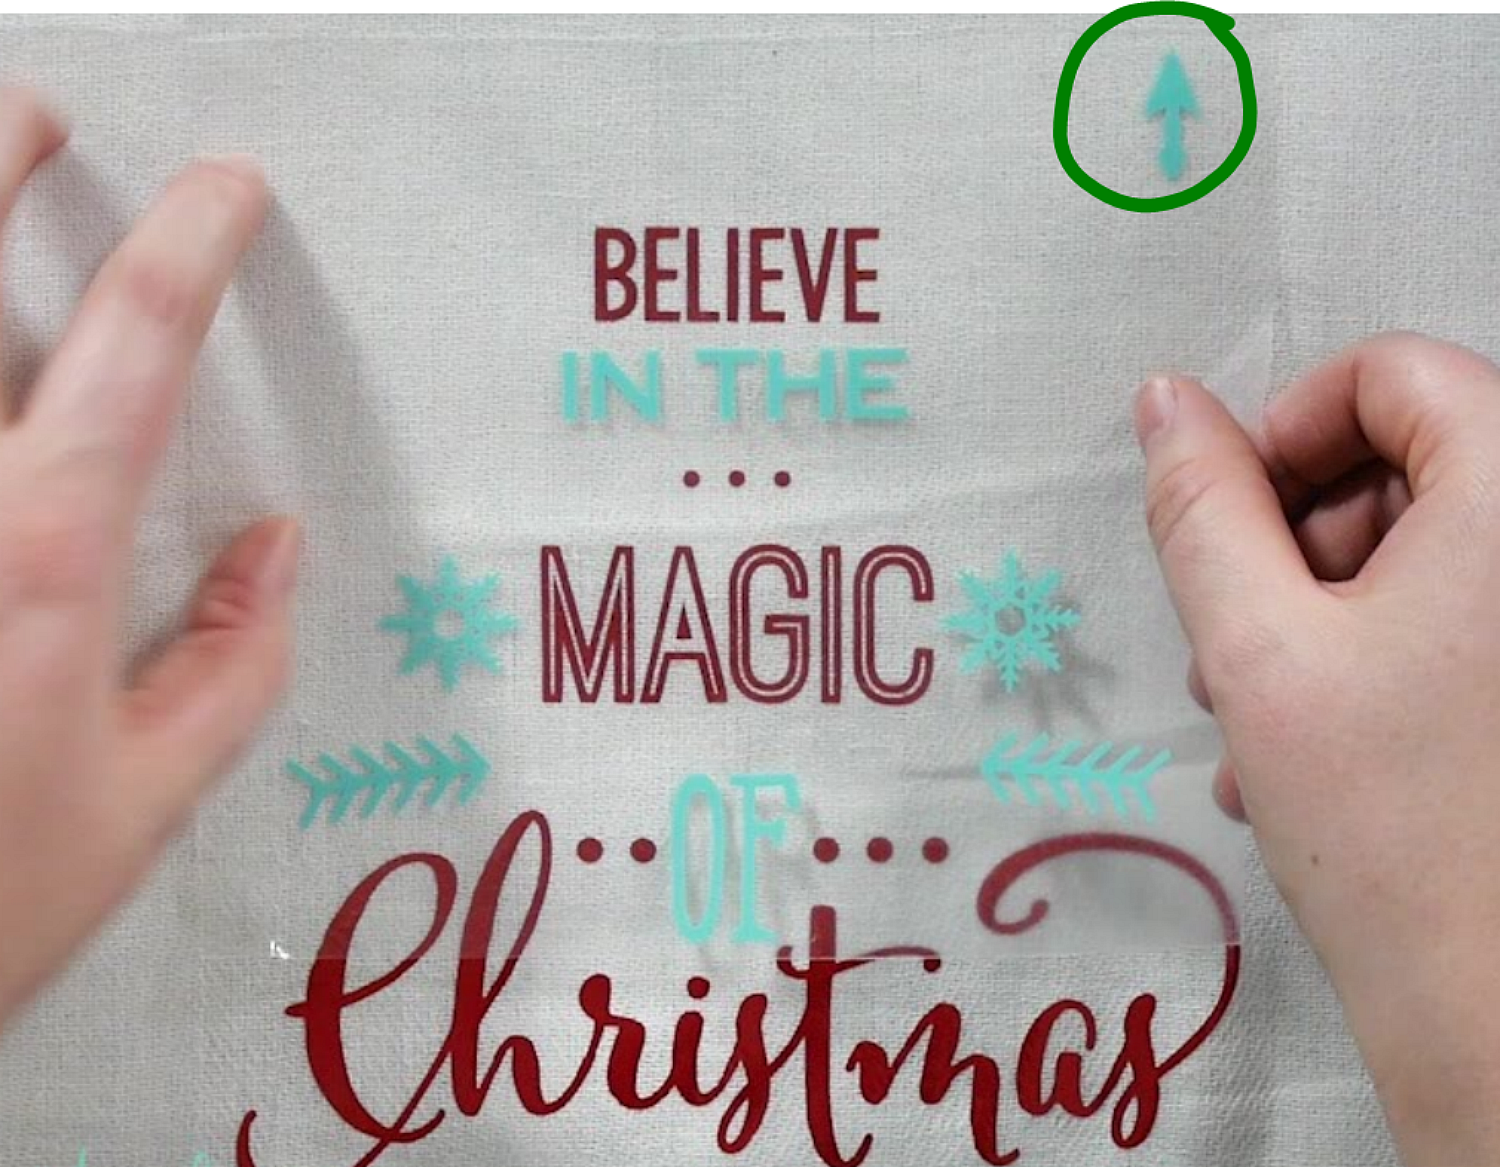
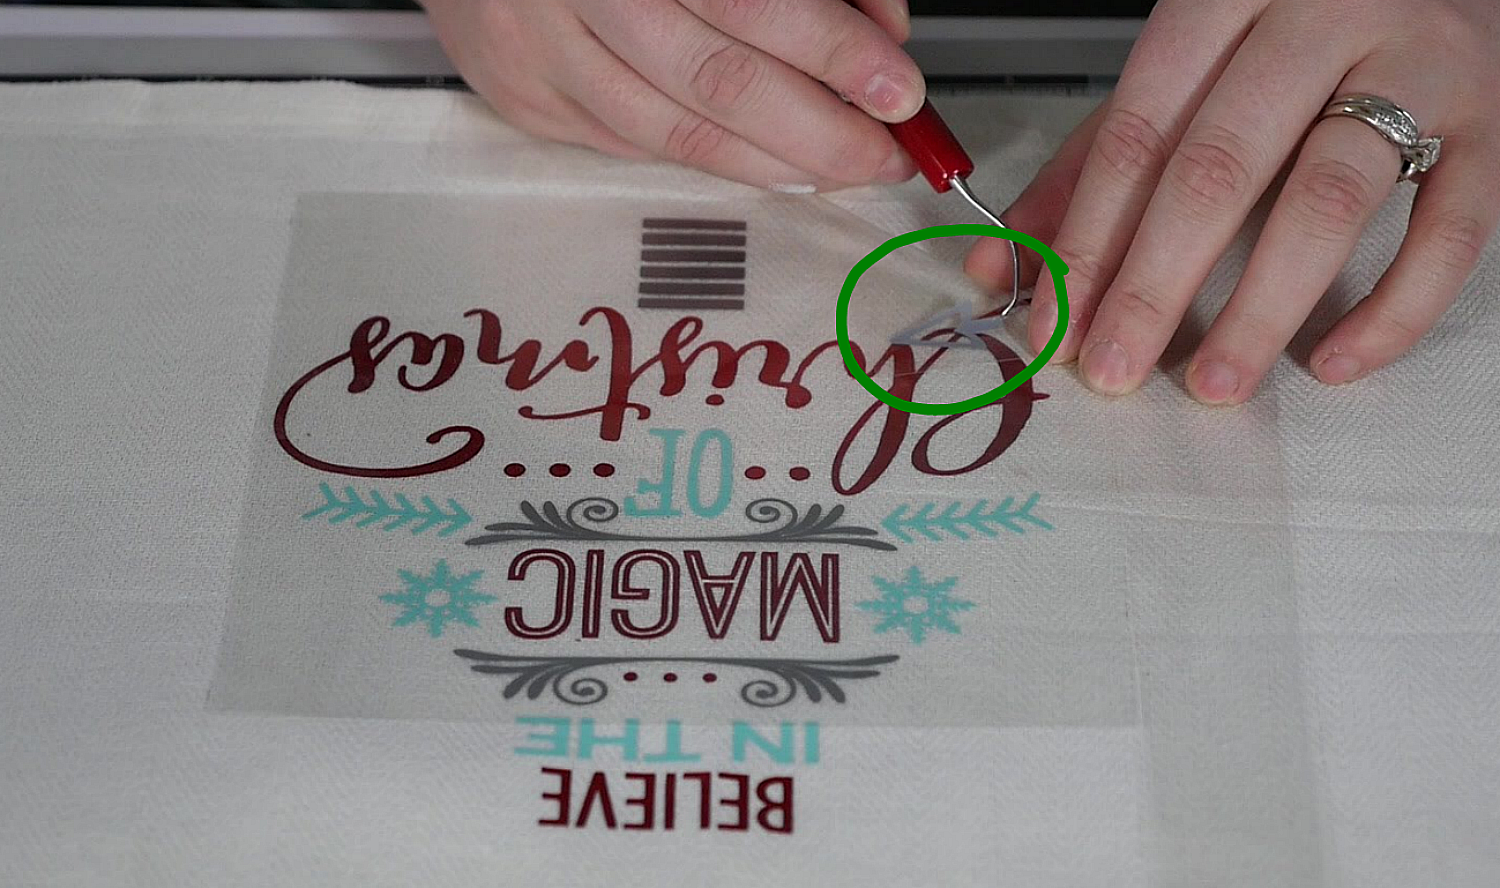
Continue adding the next few layers, watching out for the arrows we set up as markers so we can save on some space with vinyl. With the carrier sheets down, position the next layer then remove the arrows.
We had our Sea Glass arrow aligning with the top carrier sheet and our Electric Red alignming with the bottom.
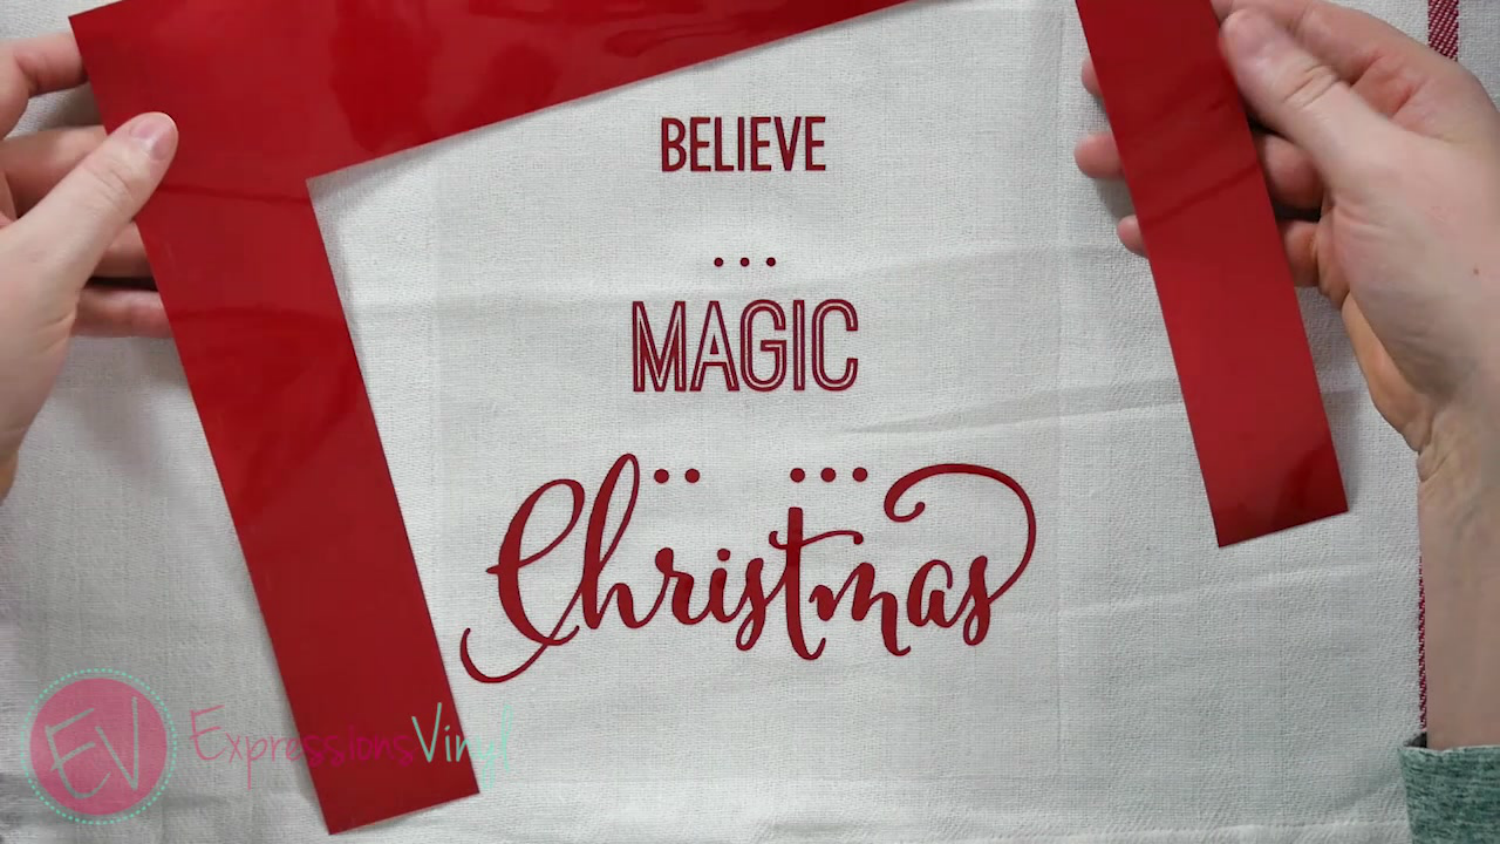
Since the Star is not touching any vinyl or really having the line up with any other images, you can add that on with the Easyweed Electric Red to hit them both wit the press at the same time.
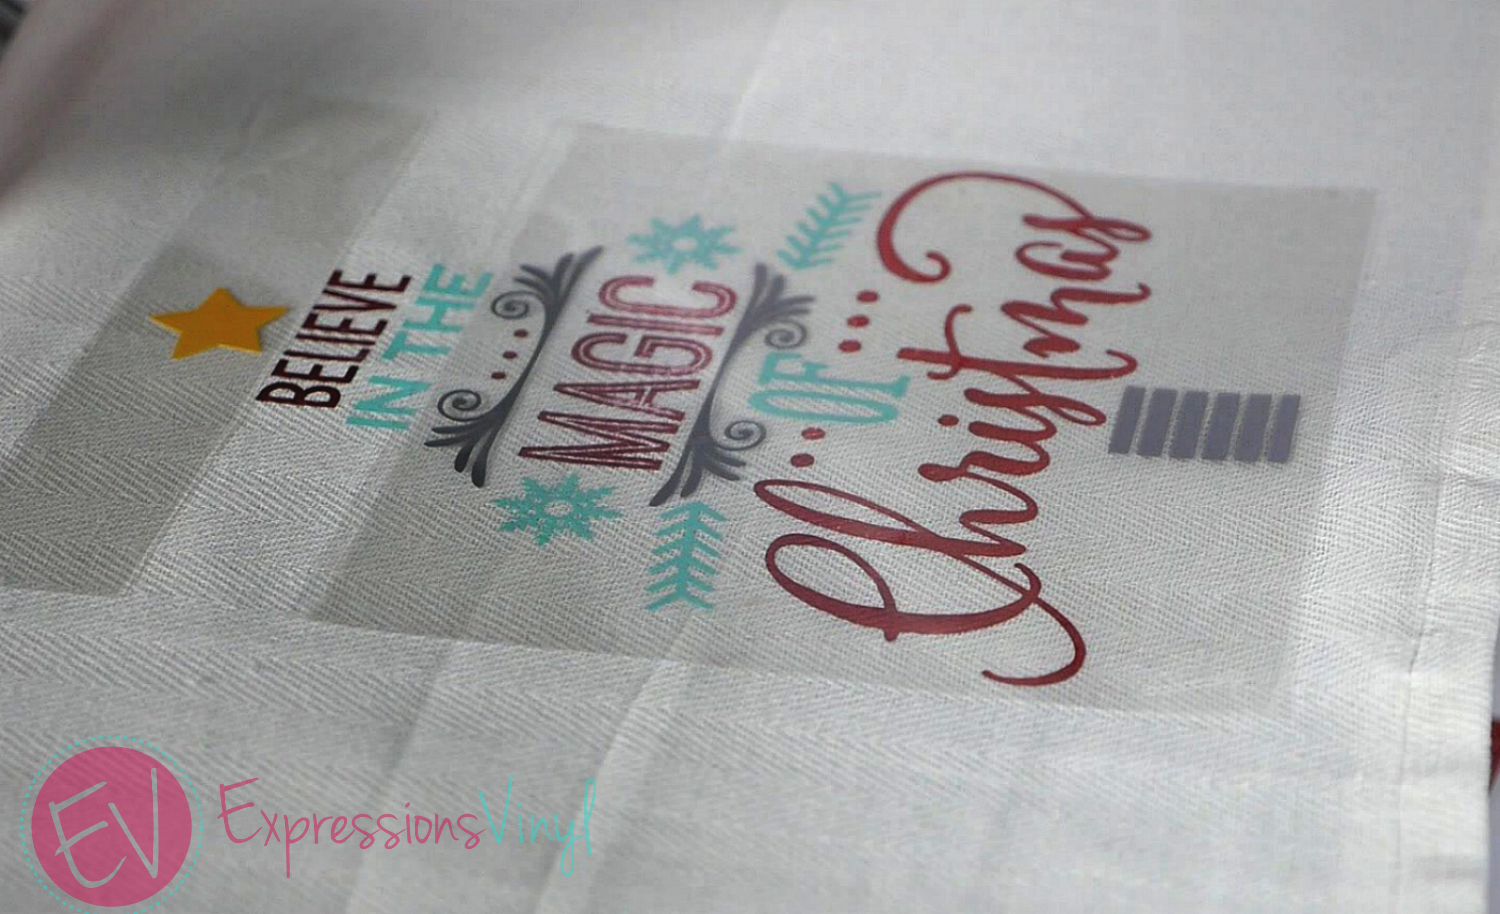
Now you have a fun Christmas Towel for your kitchen or some fun Neighbor gift paired with some cookie mixes or treats.
Look how nice everything lined up, I love this trick and it is now a trick that I use quite often all my HTV projects. Have fun with it and try it and see what you think.

Recent Posts
-
NEW Holographic Eclipse Heat Transfer Vinyl
April 15th, 2024 3 Ways to Use the New Holographic Eclipse Heat Transfer Vinyl from Siser …Apr 29th 2024 -
Hop into Spring with Cute Easter Vinyl Crafts
Do you love our Vinyl? Sign up for Vinyl Club today to get FREE vinyl and save big! …Mar 28th 2024 -

Fixing Wrinkles and Bubbles in Vinyl
How do you get air bubbles out of vinyl? There are a few different ways to ensure a flawless …Mar 26th 2024