
Using a Pen to Help Weed Glitter HTV - Cricut
Hi, it's JoAnn with Expressions Vinyl.
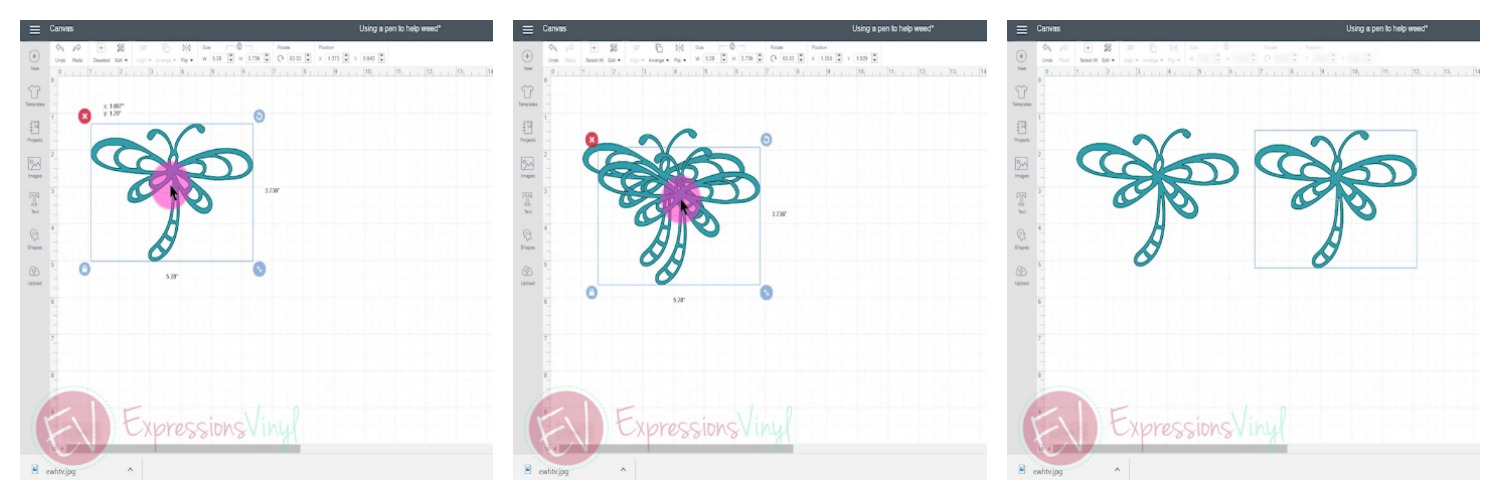
I'm back with a quick tutorial that will be a live saver when weeding glitter heat transfer vinyl or iron on. We've all experienced the struggle of trying to find the line to weed out all of the details in our heat transfer. Have you ever thought to use a pen to help you in that process? Let me help you set it all up. In Design Space I have a simple image of a dragonfly. In order to set this up for the pen and for it to cut, you need to have two images in here. You can either copy and paste from your keyboard or from the layers panel on the right hand side.
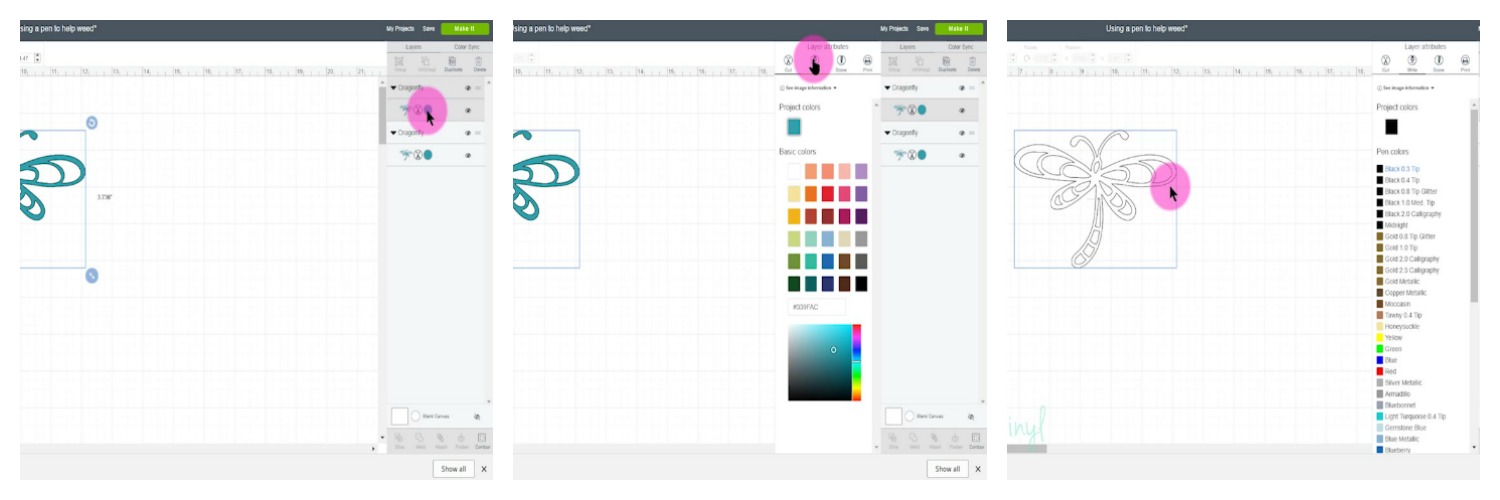
On your second image, you will want to change that one to write or draw instead of cut. Click on your image in the layers panel, and then change it to write.
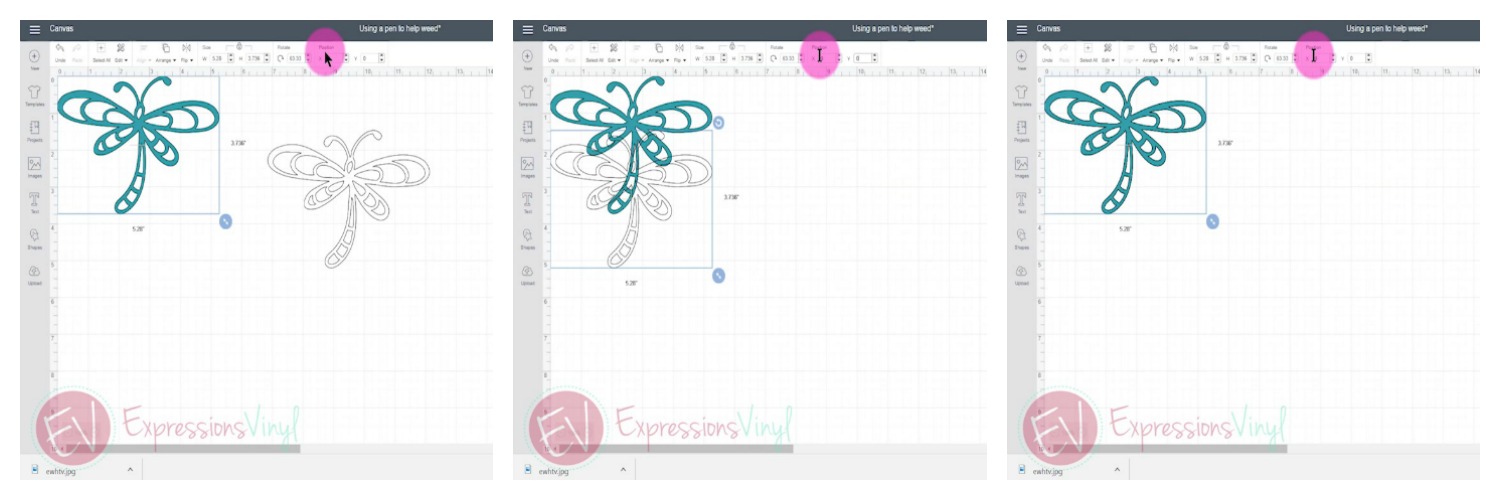
Now you want to have them both in the exact same spot so that one is on top of the other. The easiest way I've found to do that is to change their position. Click on the first one, go up to Position, and just change it to zero and zero. Then click on your second one. Change it to zero and zero. And that puts them in the exact same spot. Now select those first two that are aligned together and attach them. To do that just drag a box around them both or you can select them in the Layers Panel. Once you select them click on Attach. This will hold them in the position together.
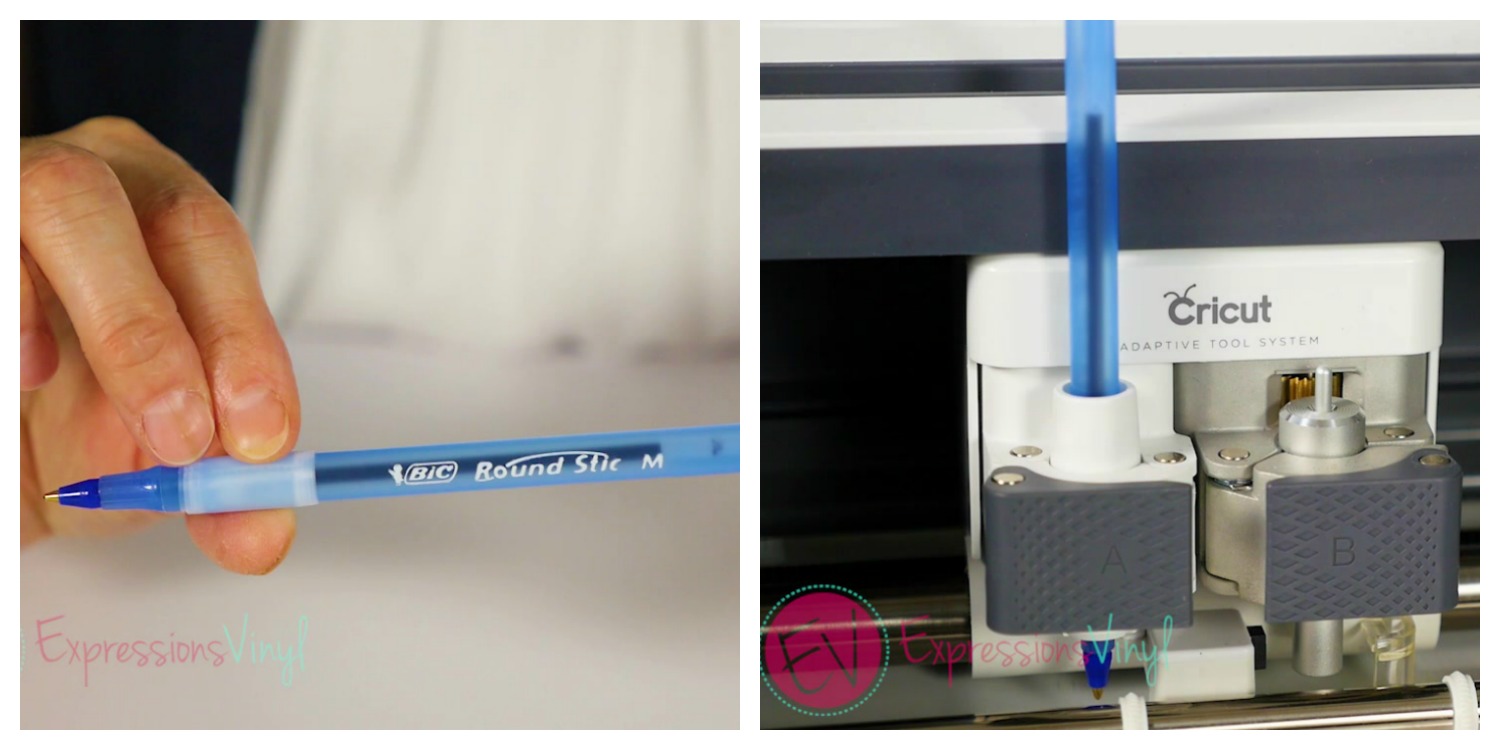
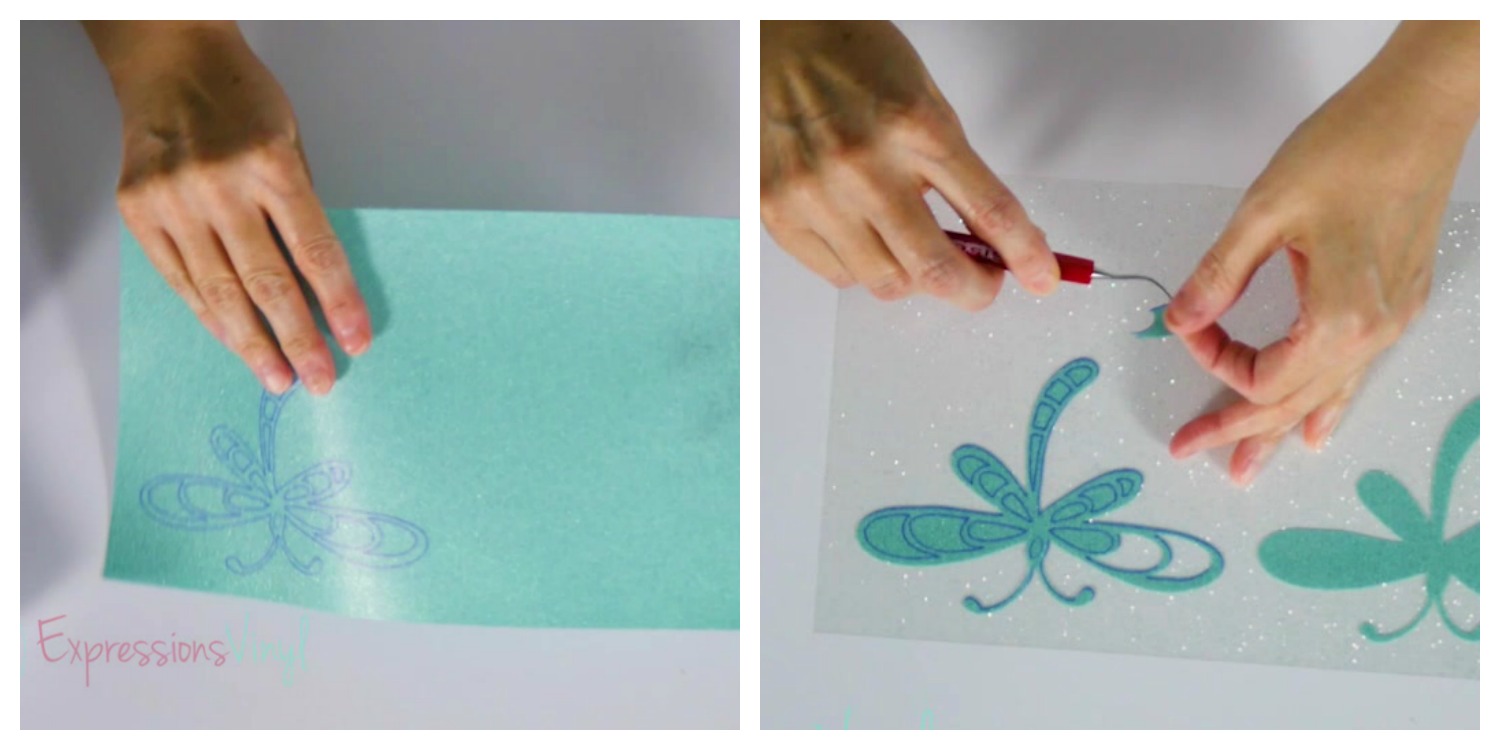
You are ready to cut them now. Remember, if you are doing something with words or specific shapes you don't want to forget to Mirror your images since you cut on the opposite side for heat transfer/iron on vinyl. Before you send it to cut you need to make sure and load your pen. I use just a basic ballpoint pen. You want a pen that's going to write on it but not smear when you pull it out. There's a lot of different markers and things that will write on it, but once you touch it, it smears a little bit. The best one that I've found is just a basic Bic or Paper Mate pen and load that into the adapter. You will need to watch the bottom. Make sure it gets down far enough. Now just close the latch and you're ready to load the machine.
You've now finished cutting your first image. There will be pen marks on the back, but don't worry, they will not bleed through. See how much easier it is to find all those little spots to start weeding vs holding it up to the light and struggling. Just look for those pen lines, and it's that easy.
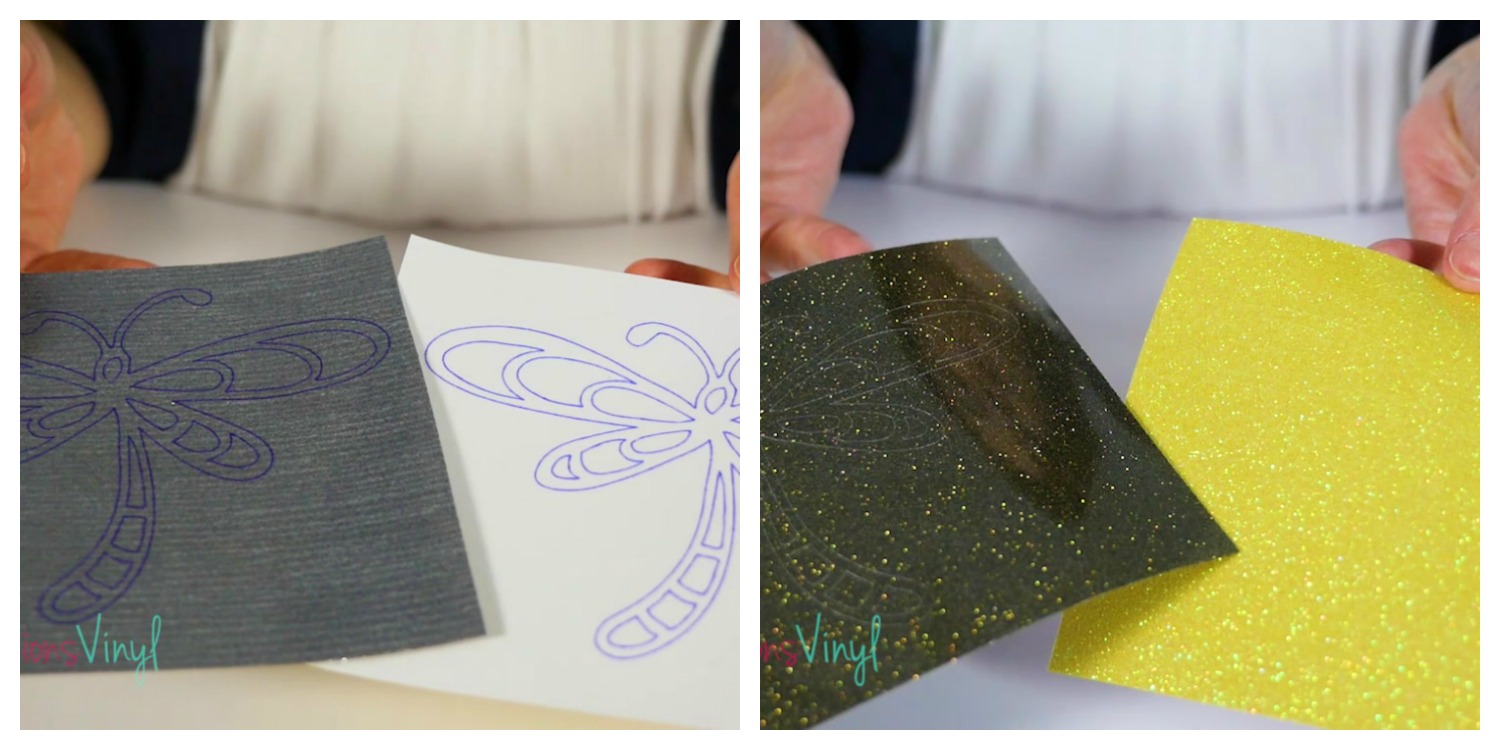
If you're worried about the pen marks, don't be. You won't be able to see those through the vinyl and they will not bleed. Here's an example of both darker and lighter glitter vinyl. You do not see the pen through it.
Let us know if you've tried this before and good luck with your next project. If you are looking for a little bit more detail on this process, click on the video below.
Thanks for tuning in today!

Recent Posts
-
NEW Holographic Eclipse Heat Transfer Vinyl
April 15th, 2024 3 Ways to Use the New Holographic Eclipse Heat Transfer Vinyl from Siser …Apr 29th 2024 -
Hop into Spring with Cute Easter Vinyl Crafts
Do you love our Vinyl? Sign up for Vinyl Club today to get FREE vinyl and save big! …Mar 28th 2024 -

Fixing Wrinkles and Bubbles in Vinyl
How do you get air bubbles out of vinyl? There are a few different ways to ensure a flawless …Mar 26th 2024