
Using A Weeding Box
Hey guys, it's Jessica with Expressions Vinyl and today I want to show you how to draw a text box (weeding box) in your Silhouette Studio software AND Cricut software. What is a "Weeding Box" you ask? The answer is quite simple: a weeding box is a square/rectangle placed around your design that is cut along with your design that facilitates the weeding and vinyl placement processes.
Why is this important? Well, if your vinyl happens to go a little bit eschew in your machine and gets crooked, you will still have a square around your design that you can trim around. Having a nice square piece when adhering it to something provides a straight bottom and a straight top that you can use line it up on your project. This comes in especially handy when you are layering, not to mention it makes it much easier to weed the vinyl after it's been cut!
Creating a weeding box with the Cricut software is a little more complex than in Silhouette Studio, so I'm going to start out showing you how to set that up first. (If you're a Silhouette user, feel free to scroll down a bit...)
Cricut Design Space
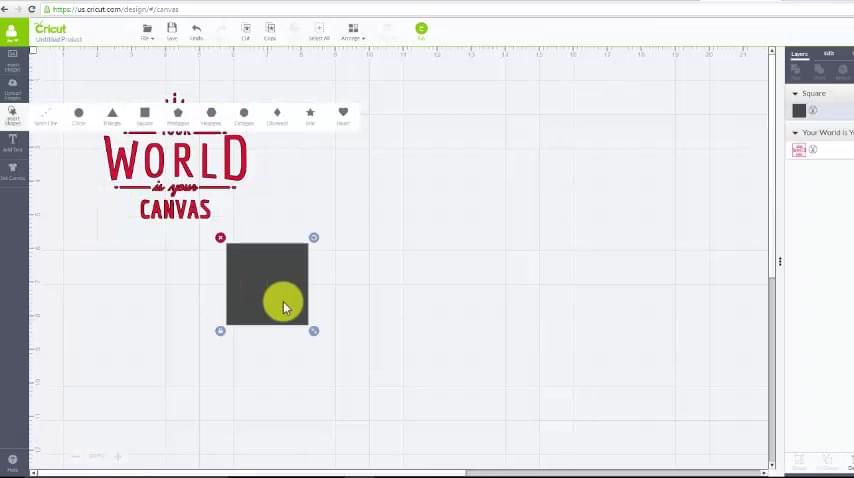
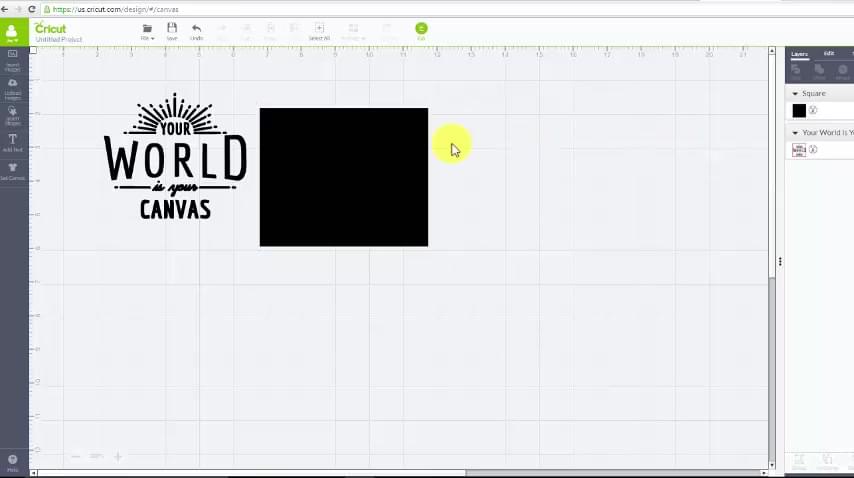
After I've opened my design, I click on "Insert Shapes", and click on the square.
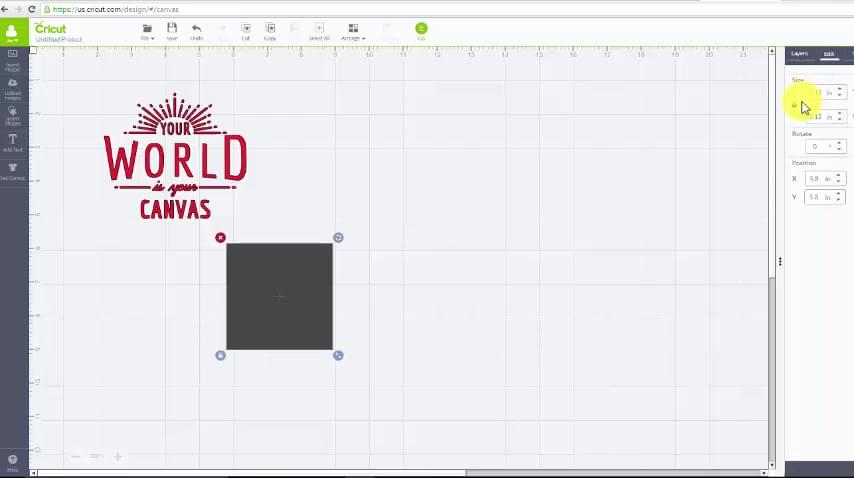
Then I go up to Edit (upper right hand side) and unlock the box. This will allow me to adjust my square into whatever size I would like. Since the height and width are no longer constrained, I can make my box into a rectangle that fits perfectly around my text.
*IMPORTANT* You want both your design and box to be on the same mat. Therefore, they need to be the same color. So I click on my layers tab and make sure both are set to 'Black'.
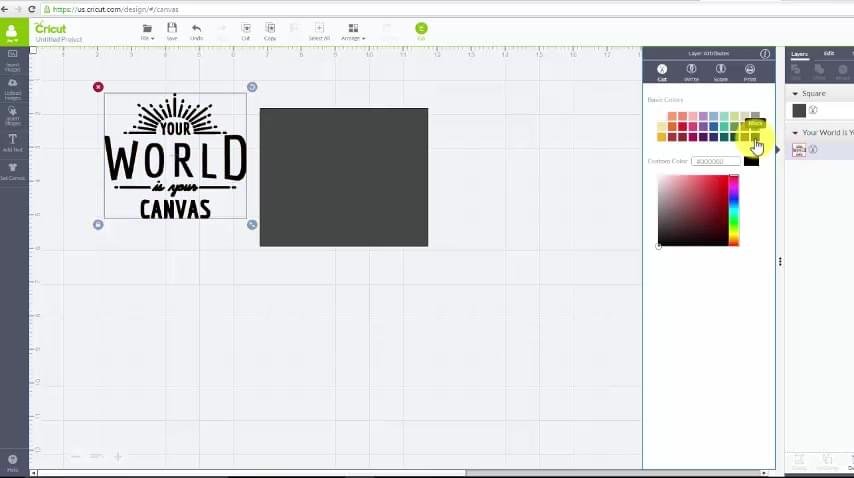
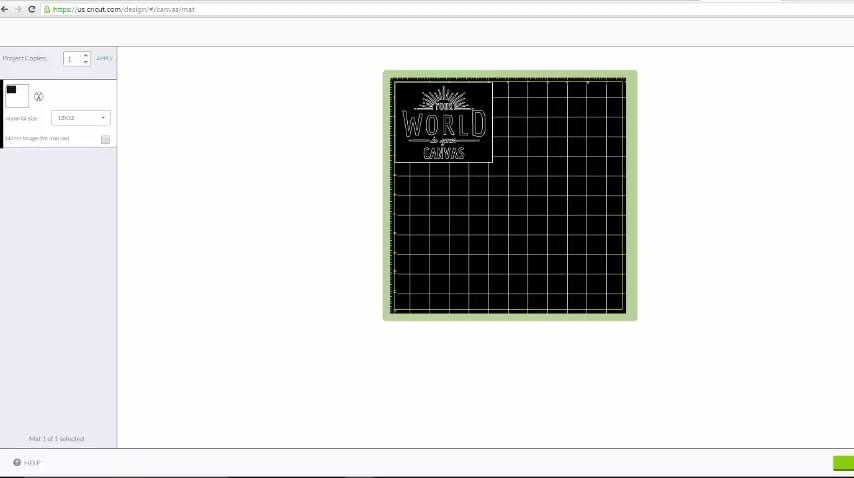
Once they are the same color, I click on "Cut" and you can see they are showing up on the same mat, and will be cut at the same time.
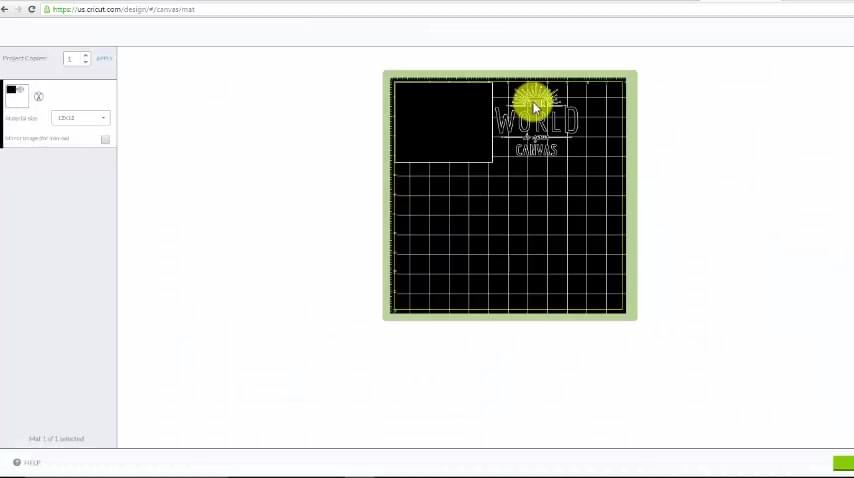
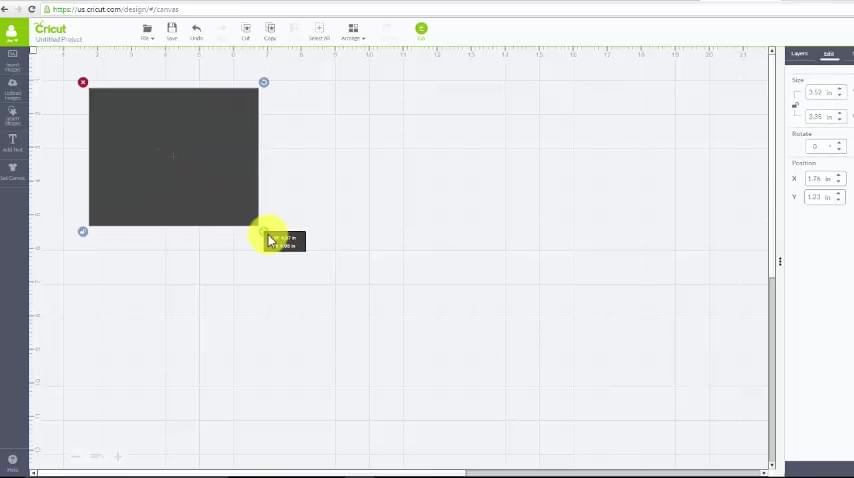
Next, I just drag my design and place it right on top of my box. I will send it to cut and be left with a perfect weeding box around my design! See how easy that was?!
Silhouette Studio
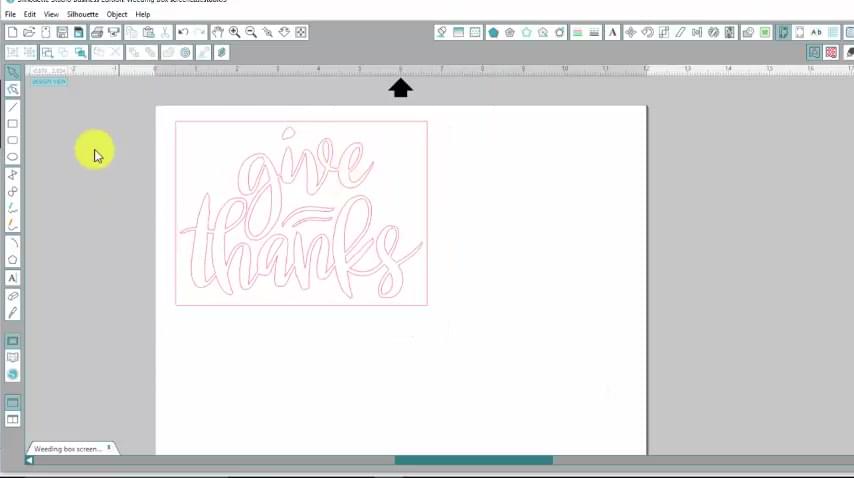
Once you have your design all ready, click on "Draw a Rectangle".
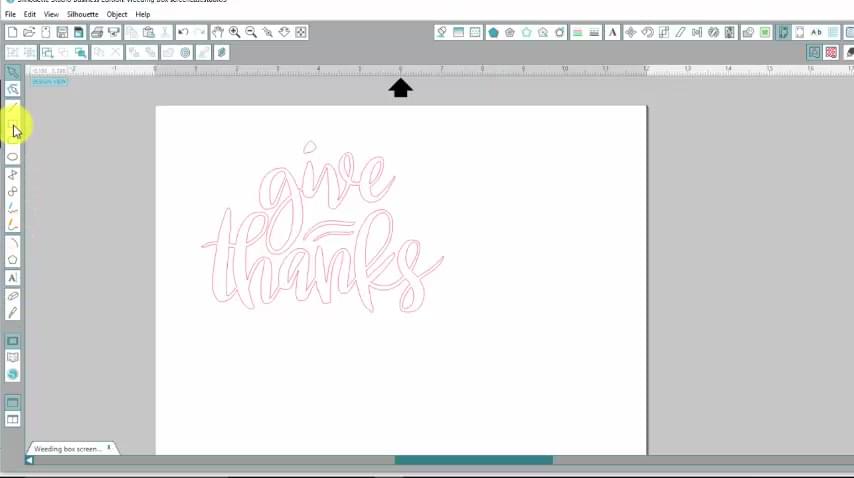
After you have a rectangle around your design, you can adjust its size. Just remember, red lines = cut lines.

Once you get it all sized the way you want it you're good to sent it to cut.
As you can see making weeding boxes is super simple! It will save you time and make not only weeding a little easier, but also the placement of your design faster and more accurate.
If you have any questions or comments, please let me know in the comments below.
Recent Posts
-
NEW Holographic Eclipse Heat Transfer Vinyl
April 15th, 2024 3 Ways to Use the New Holographic Eclipse Heat Transfer Vinyl from Siser …Apr 29th 2024 -
Hop into Spring with Cute Easter Vinyl Crafts
Do you love our Vinyl? Sign up for Vinyl Club today to get FREE vinyl and save big! …Mar 28th 2024 -

Fixing Wrinkles and Bubbles in Vinyl
How do you get air bubbles out of vinyl? There are a few different ways to ensure a flawless …Mar 26th 2024