
Using Oramask 813 as a Reverse Stencil
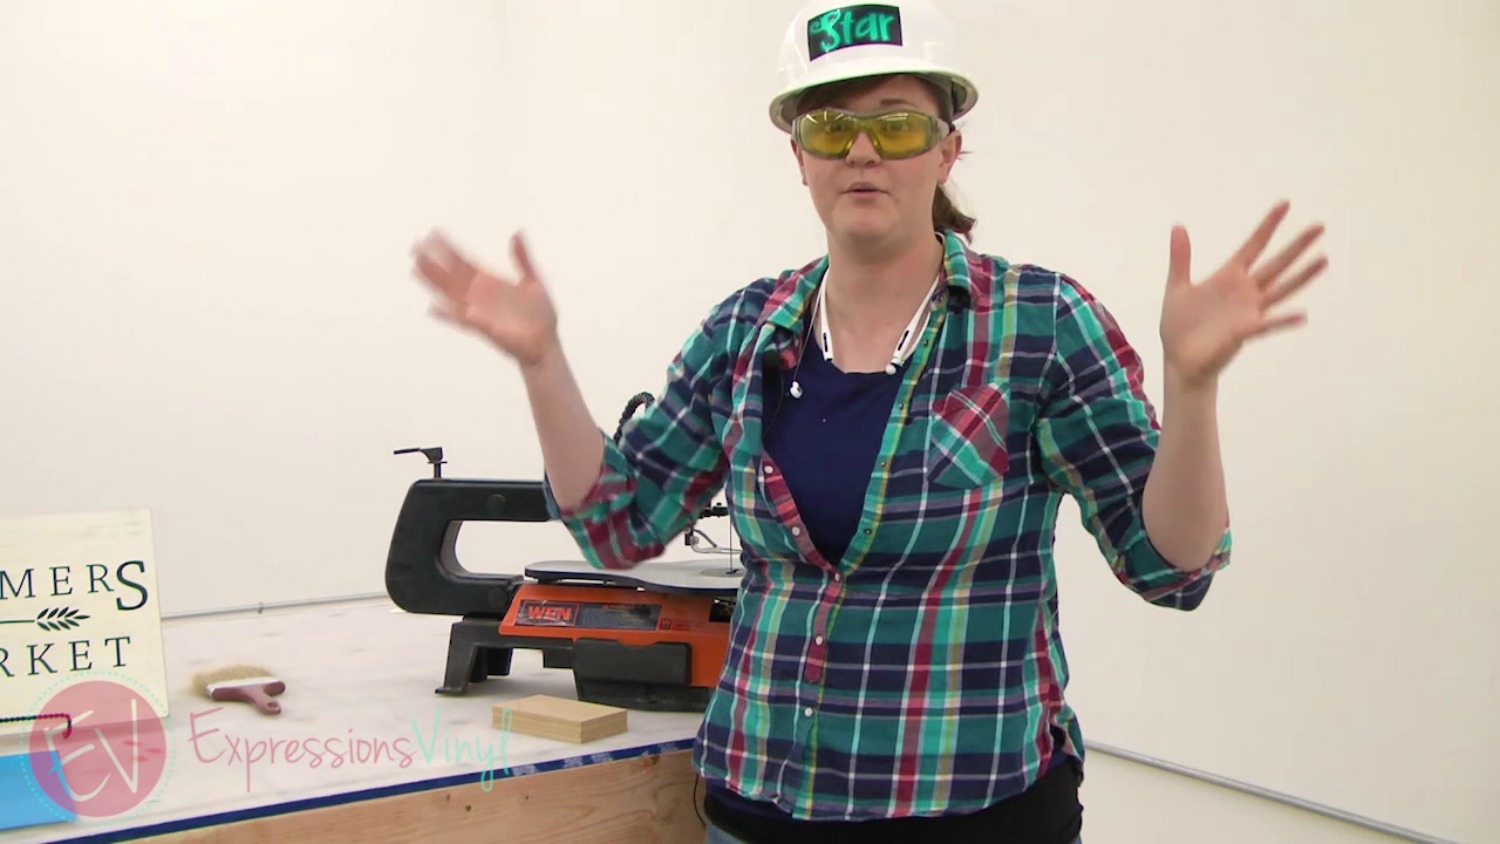
Hi guys, it's Starla with ExpressionsVinyl.com, and I'm going to talk to you today about the Oramask Stencil vinyl, and how to use it as a reverse stencil,
Here is what you will need:
*1/4” MDF wood (Home Depot)
*Scroll Saw
*Double sided Tacky tape or double-sided masking tape
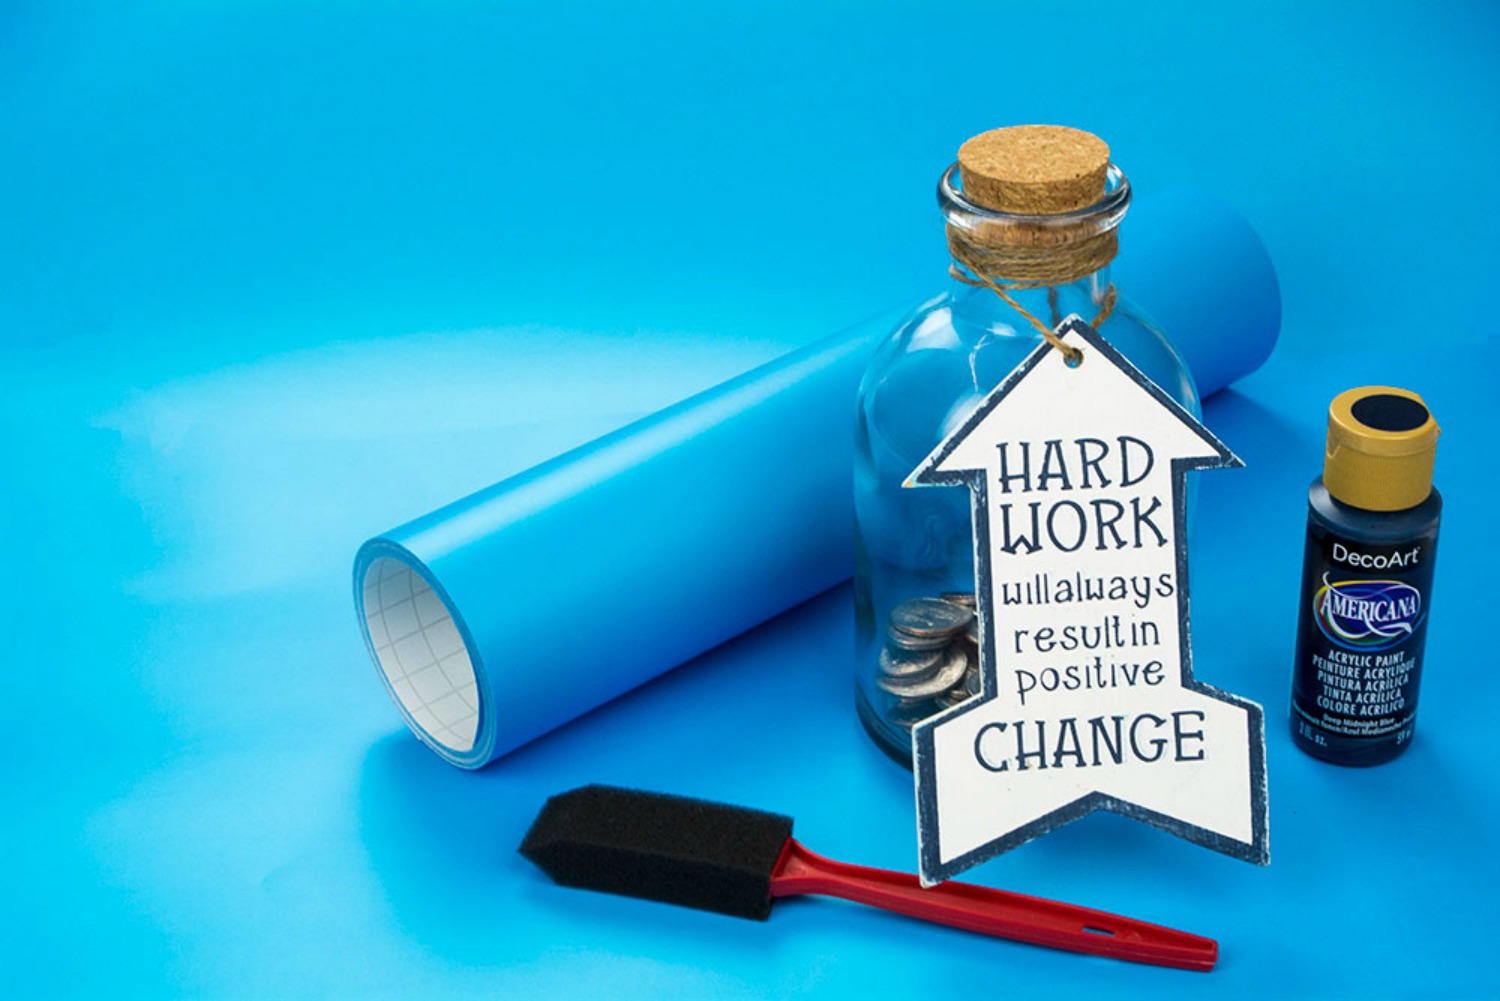
The Oramask is available in 12 inch by five-yard rolls, 12x12 sheet, or 12x24 sheet. This is a water-based vinyl adhesive for stenciling.

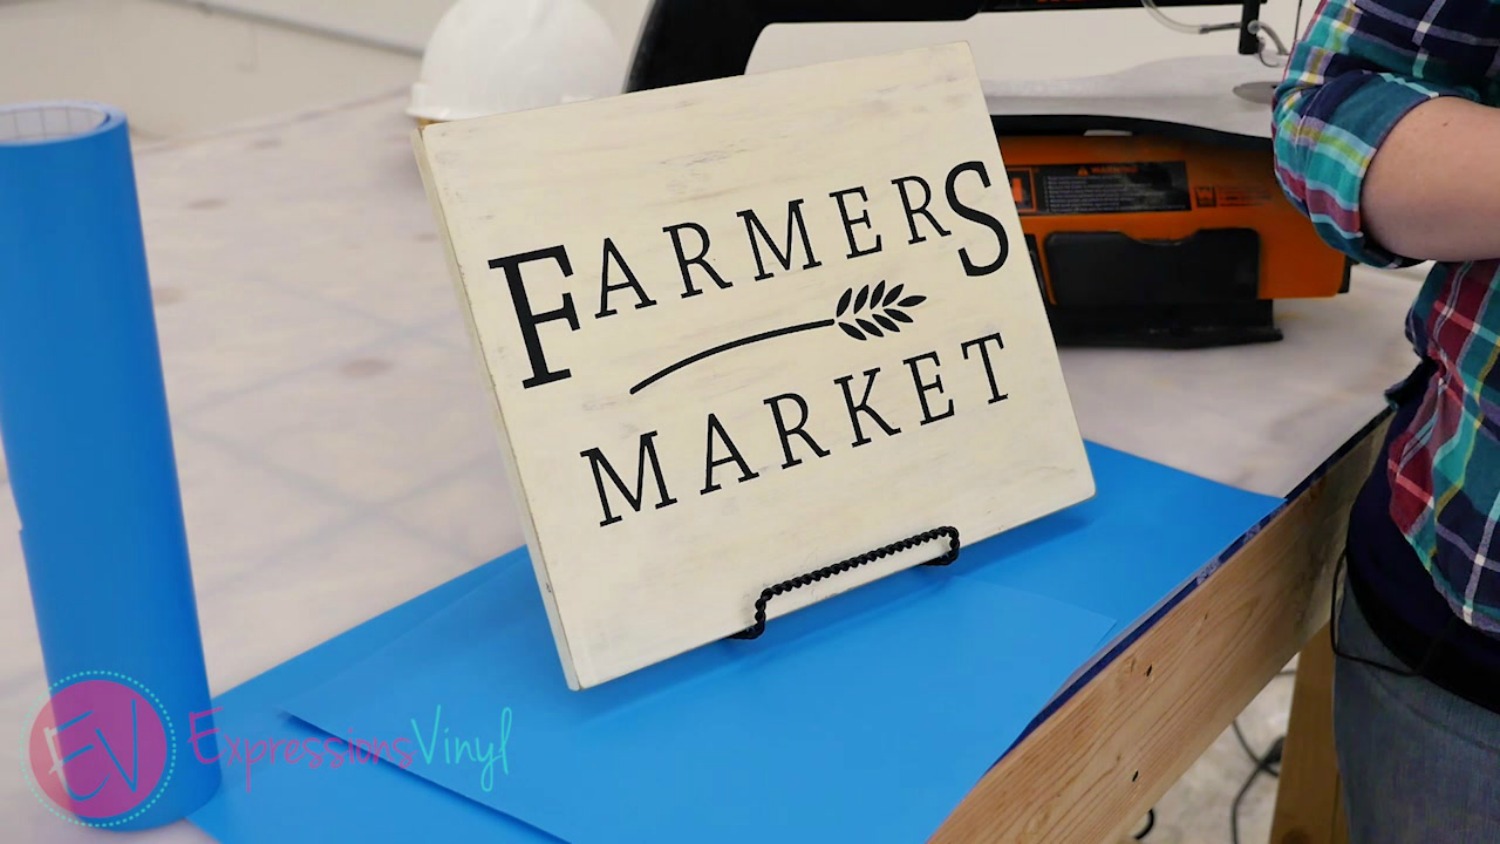
We've got our Farmers Market sign that was used with the Oramask Stencil Vinyl and this would be the typical use to cut your vinyl out, weed it, and apply it to your surface and fill in with paint. And we've used it on our MDF wood with chalk paint.
But we're going to do it a little bit different today, we're going to do a reverse of that; meaning we are taking away the surrounding area of extra vinyl and leaving the shape.
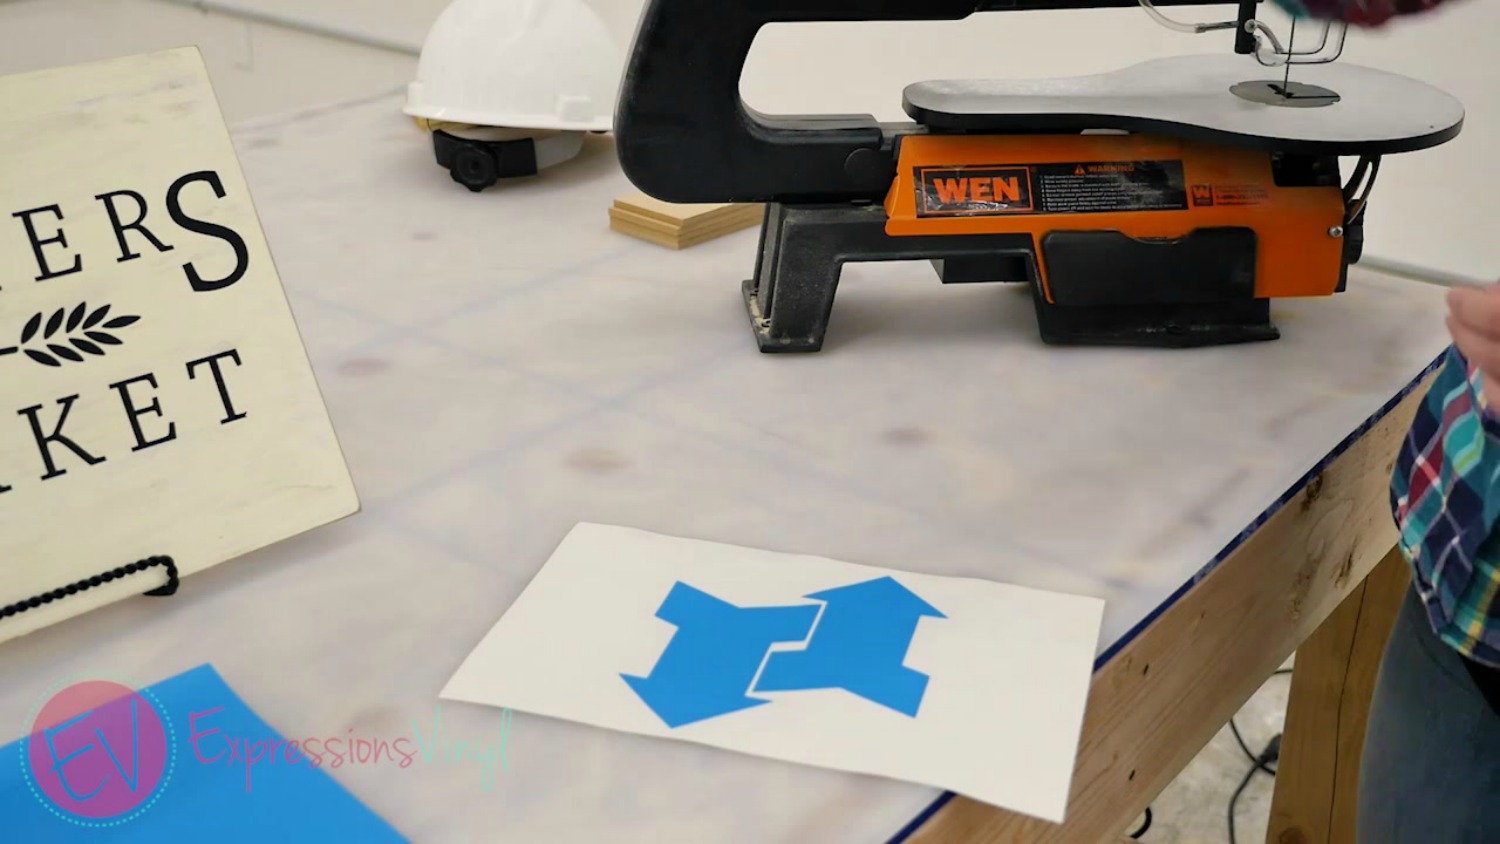
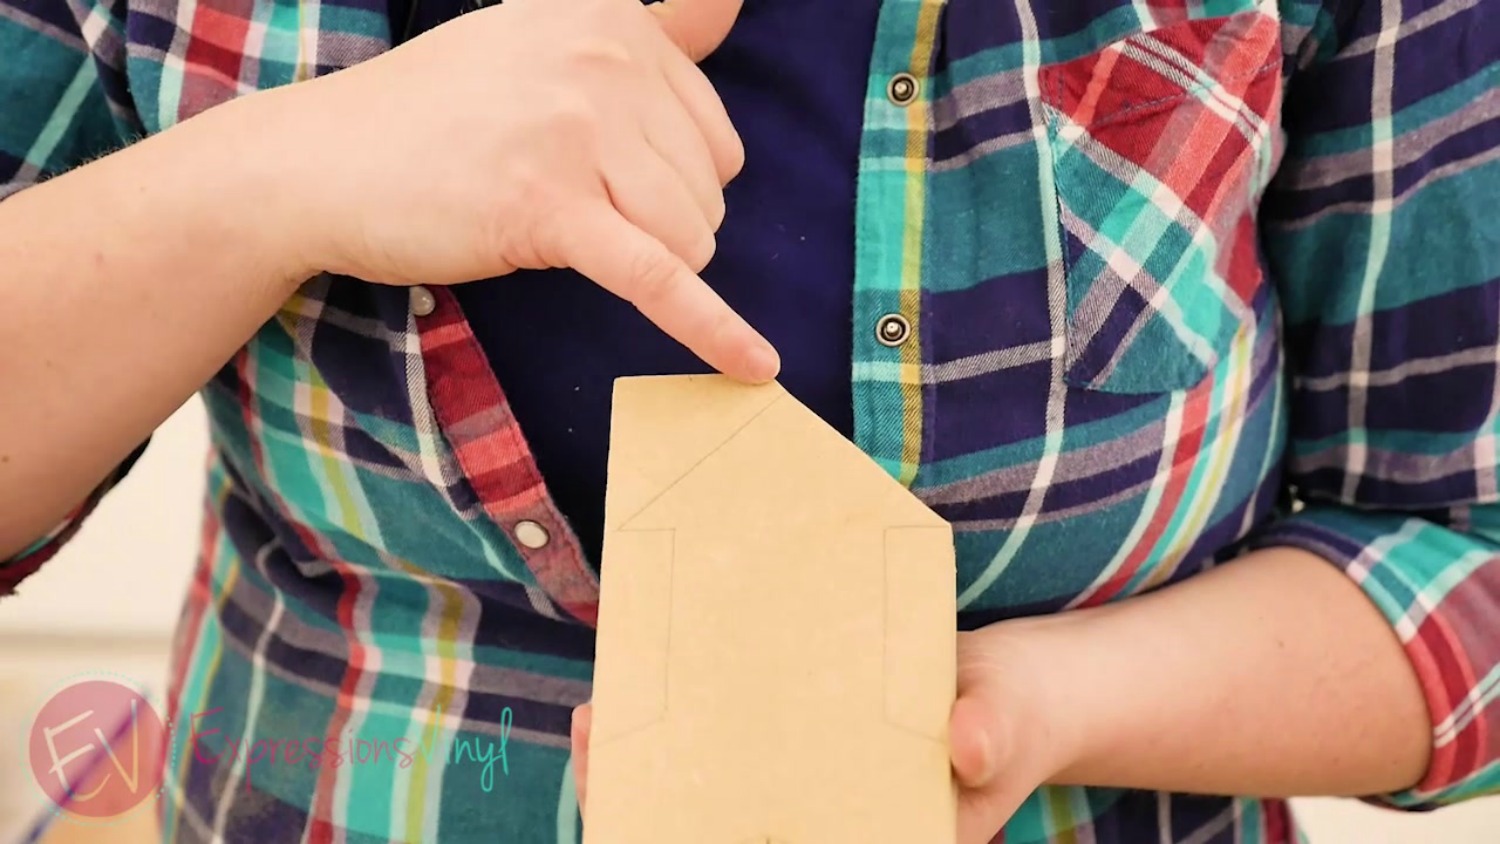
We've got some fun projects coming up that we needed some arrows, so we're going to use our Oramask vinyl, and instead of using this as a painting stencil, we're going to use this as a woodcutting stencil.
You may ask, “Why not just use a piece of paper and trace?”, you can and that is a quick and easy way of doing it especially if you do not have access to Oramask, but the vinyl gives you a clear line so you have a better visual, you do not have to worry about pencil marks disappearing while cutting and the pattern moving while tracing, just cut and stick, and depending upon the wood surface you can use it over and over, or stack your wood.
I do have one example tracing just using a paper cut out so we can show a comparison. You can already see some variations in the trace which is what can make it hard to see while cutting.
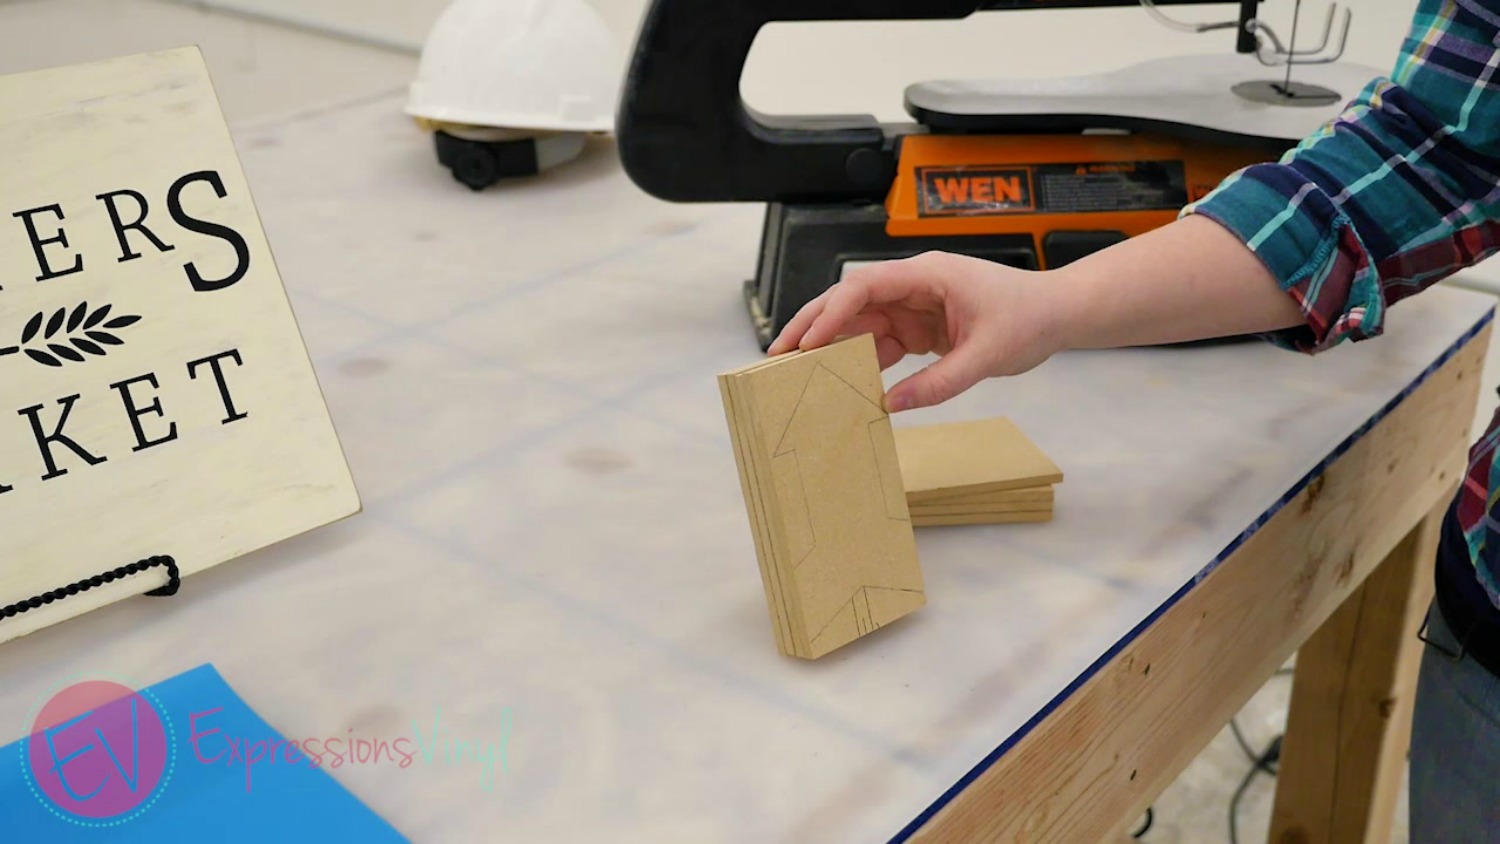
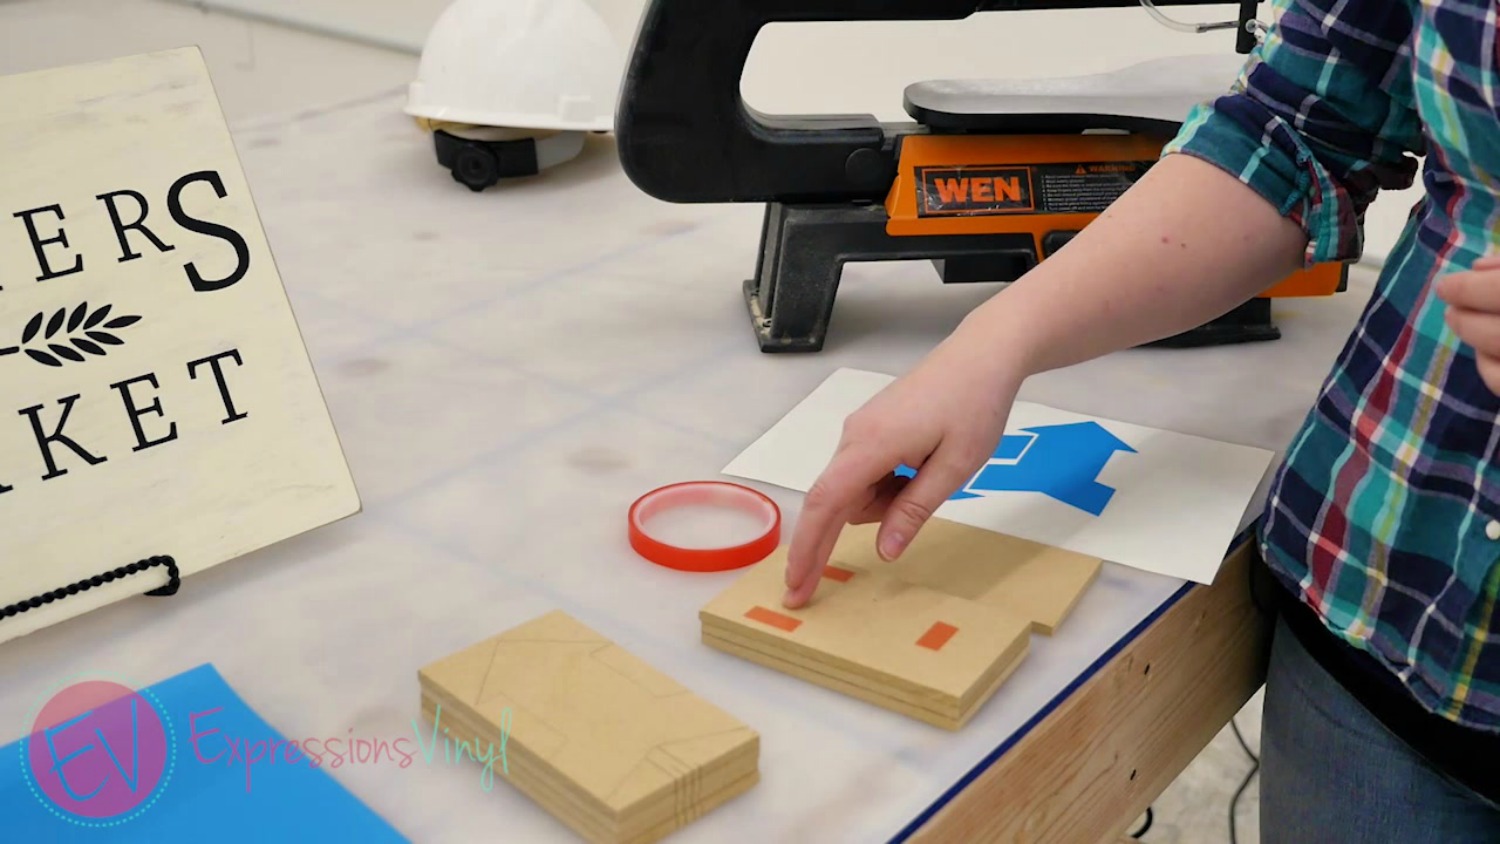
I have got three of the five already stacked. And I am using quarter inch MDF wood, and Terrifically Tacky Tape you can find at any local craft store or any double-sided masking tape works great too.
Before you apply your tape, be sure to remove any debris or dust that may interfere with the tape getting a good bond onto the wood. Once that has been cleaned up, apply the tape in locations that will avoid the blade, then remove the red liner.
Once you have your red film removed stack your next board on top lining it up best you can.
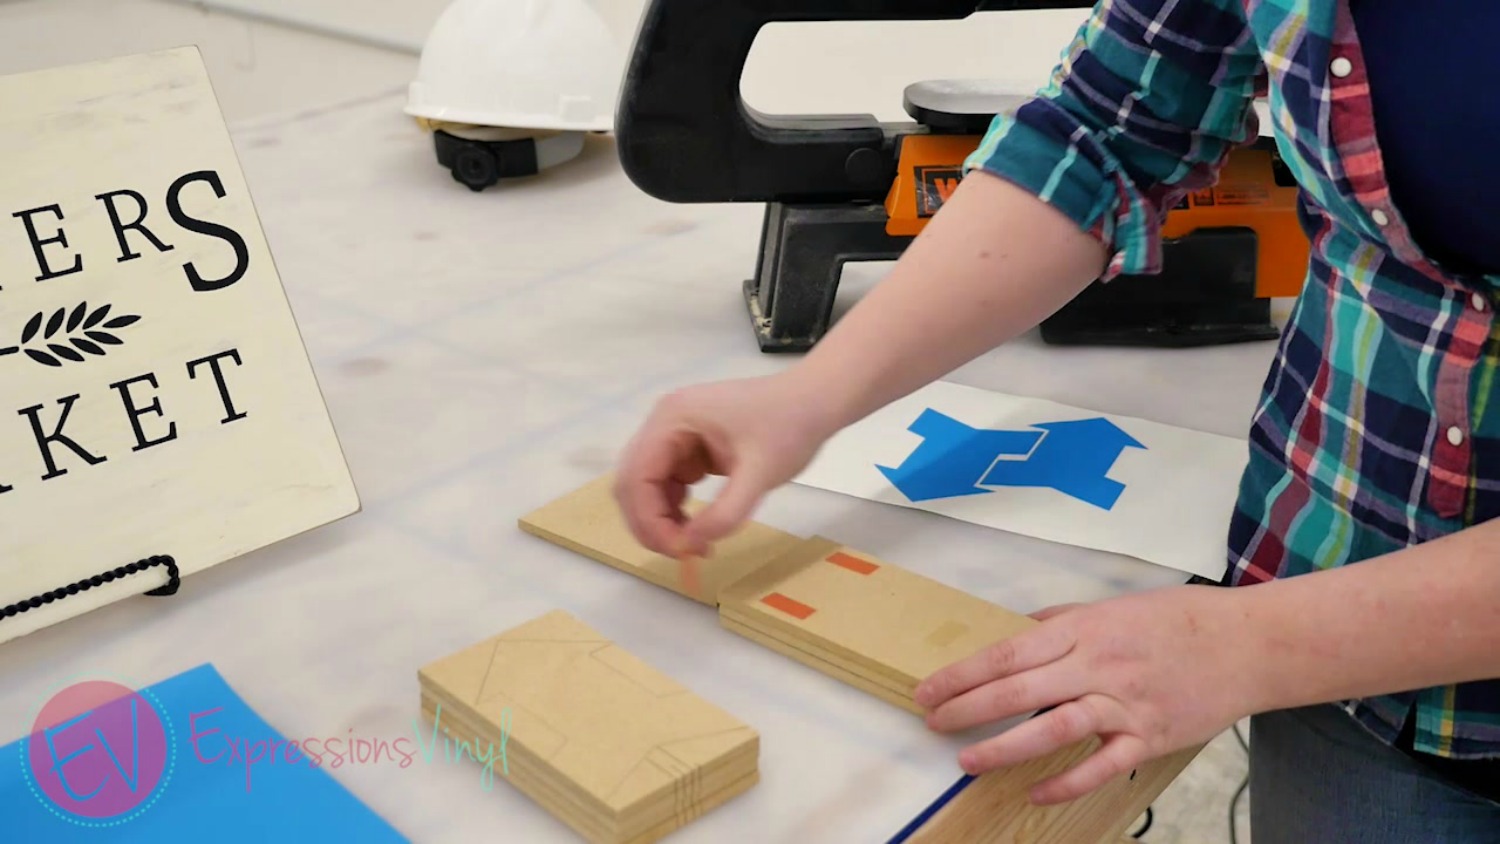
The reason why we're using the tape is to cut down on saw time and you get a more uniform cut.
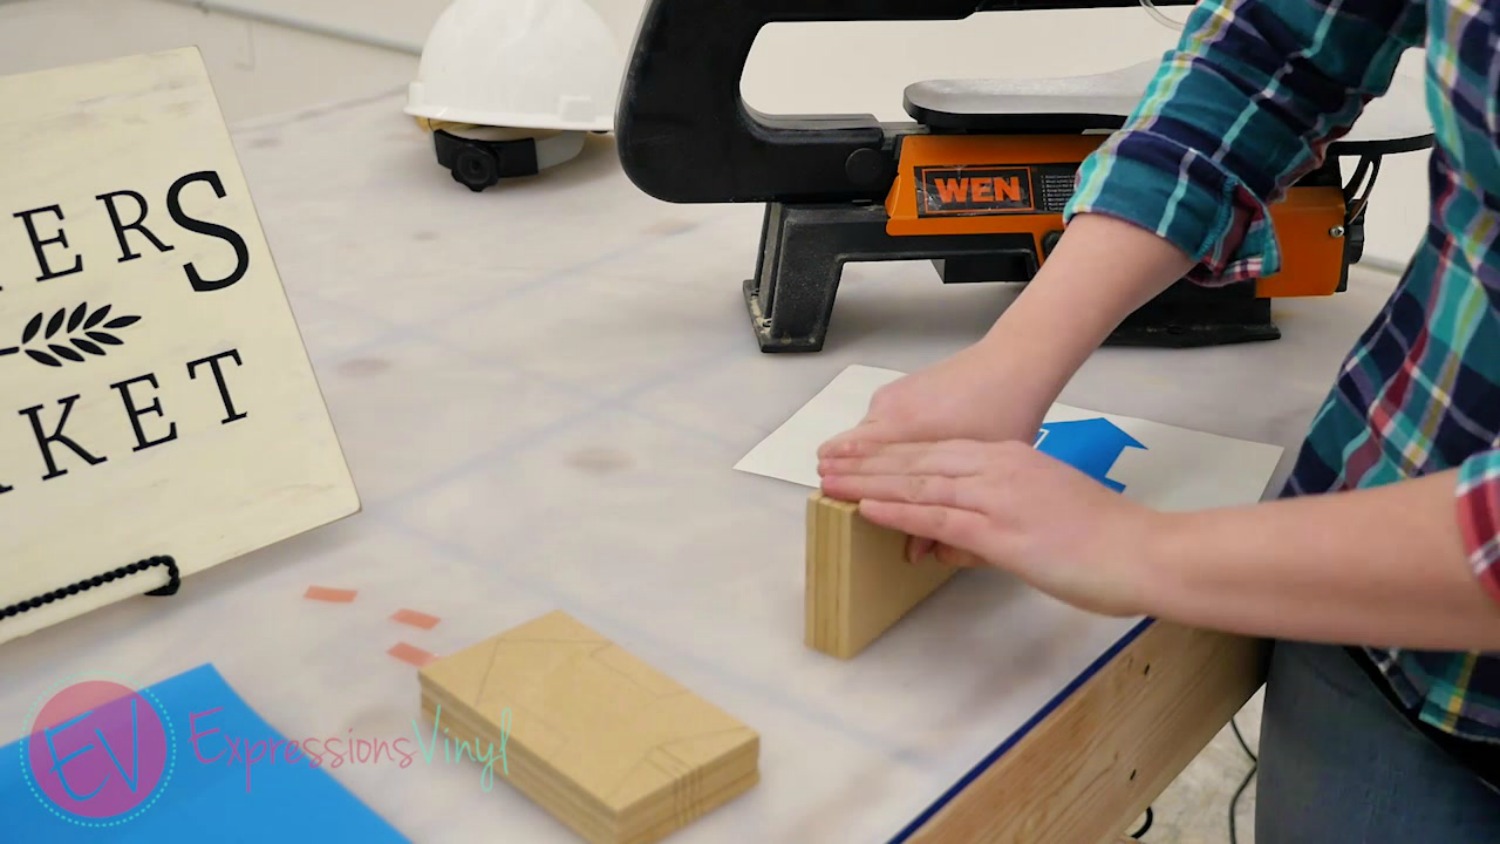
I do a quick dust off again so I get a good clean stick with the vinyl. It is probably not necessary in this situation where we have little dust, but I recommend it for best results.
I've already got these precut to size, so they should line right up. You don't have to use transfer tape if you'd rather do that and not have to touch the edges. That's totally fine, if you do I would recommend our Paper Transfer Tape.
Once you have it down where you want, give it a good rub to get a good seal. It's a film, so you'll be able to see when it's down, or if there's bubbles, anything like that, you want to get it all out.
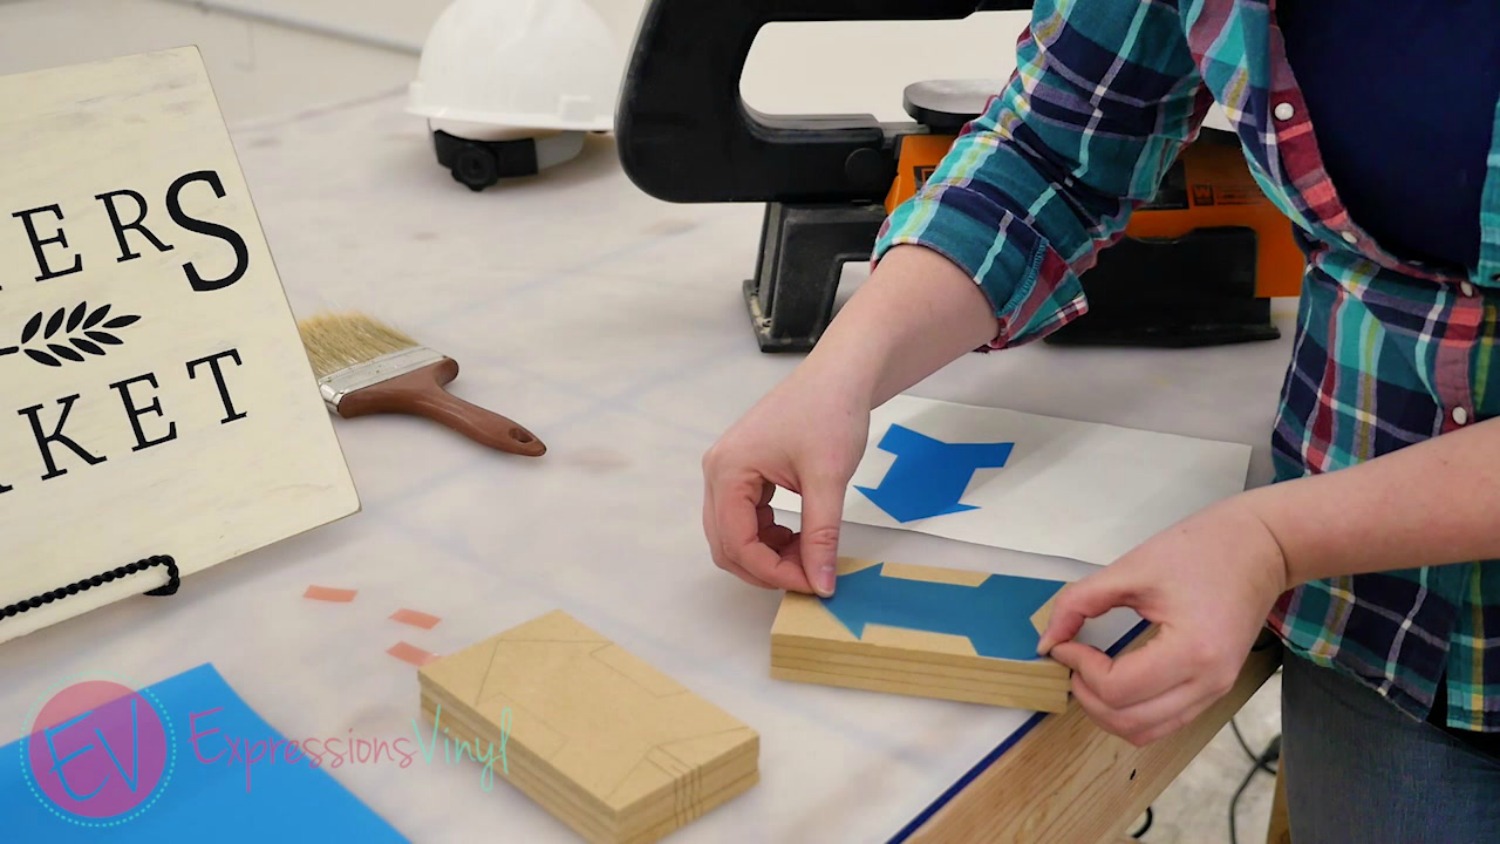
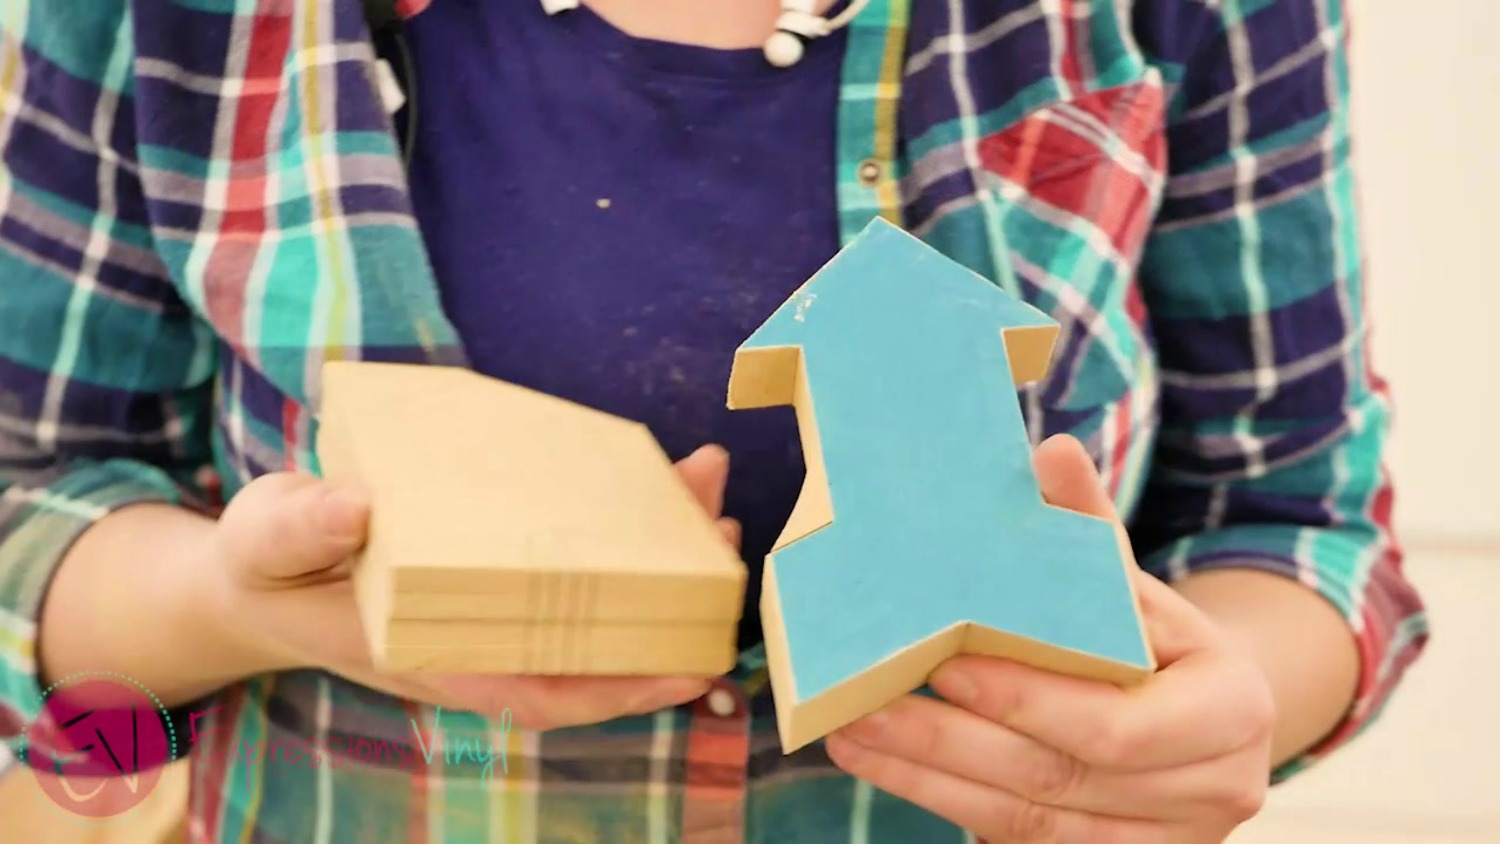
Here's our two options.
We have a traced image just using paper. The pencil/paper trance is going to be more difficult to see when you're cutting with your blade, and the Oramask is going to be much easier to see. So, we'll show you both of those.
We're going to start with our pencil/paper trace.
Be sure that when working with power tools to wear the appropriate safety gear and remove any jewelry.
We have our hard hat (probably not needed with this project, but we wanted to have fun and our Safety glasses because dust will get everywhere. Let's get started.
I've already got it lined up. My tension is great, and I've got it spaced out just enough that I can move freely, but it's not touching the wood.
If you can’t see it I apologize, but cutting with the pencil mark it is more susceptible to get off course and cut to close, so I would opt to do a rough cut and then you can go back in and sand up to the line. But it is a little bit harder to see and it's a little bit off. So, the arrows will all the be same but if you have a design that needs to go the edge that is where using a pencil to trace can be a downfall
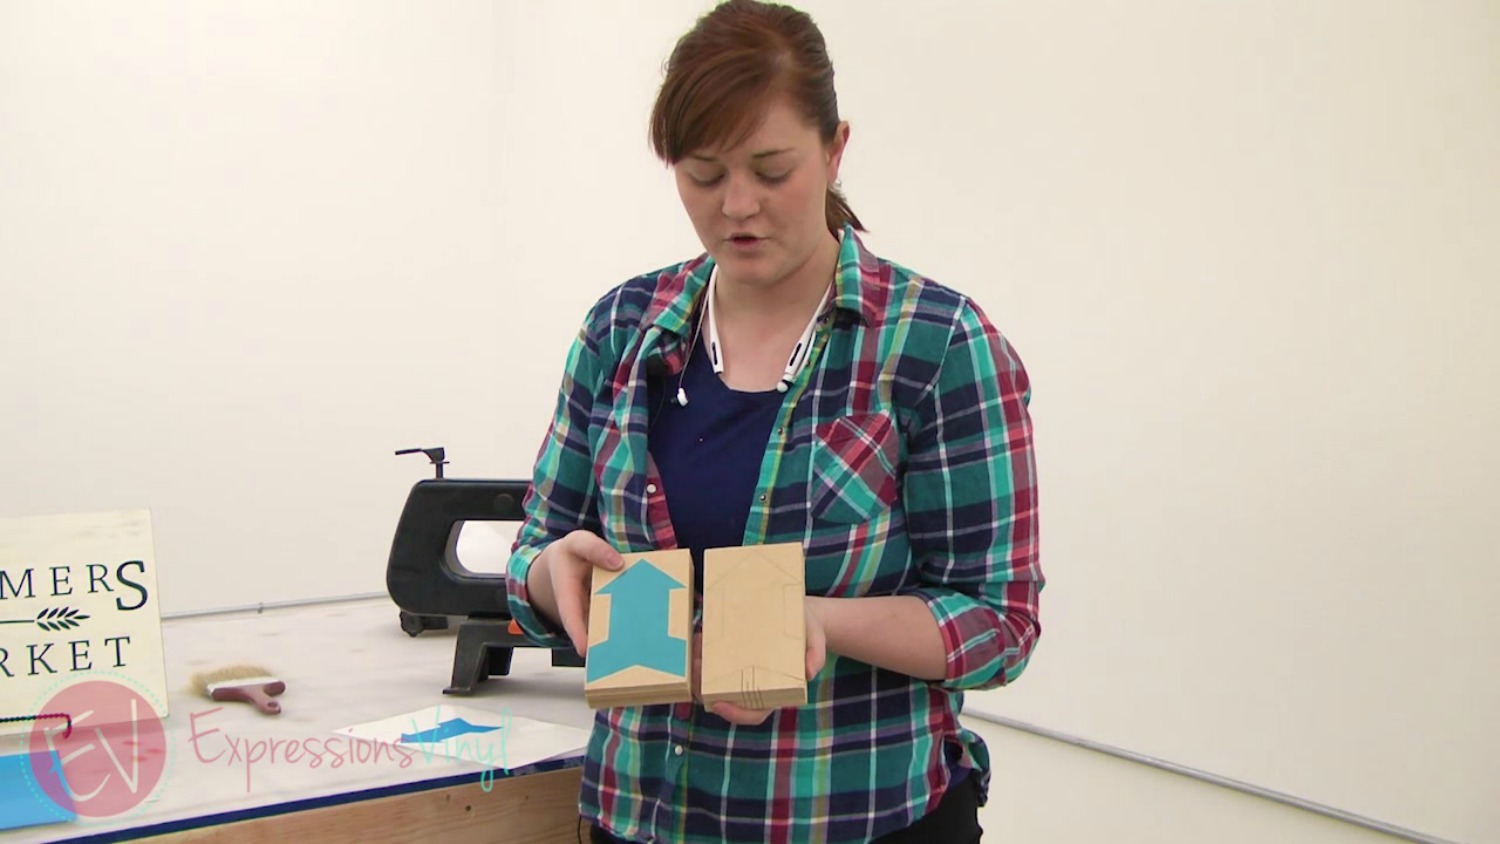
Let’s take a look at how the Oramask performed.
So, we just got our Oramask cut out, nice clean cut, and it's still on there, versus using a template with paper. We didn't finish cutting all of it, just so we can show you a clean cut and that cut is really close to that trace line. The oramask is a little thick so it acts as a guard as well.
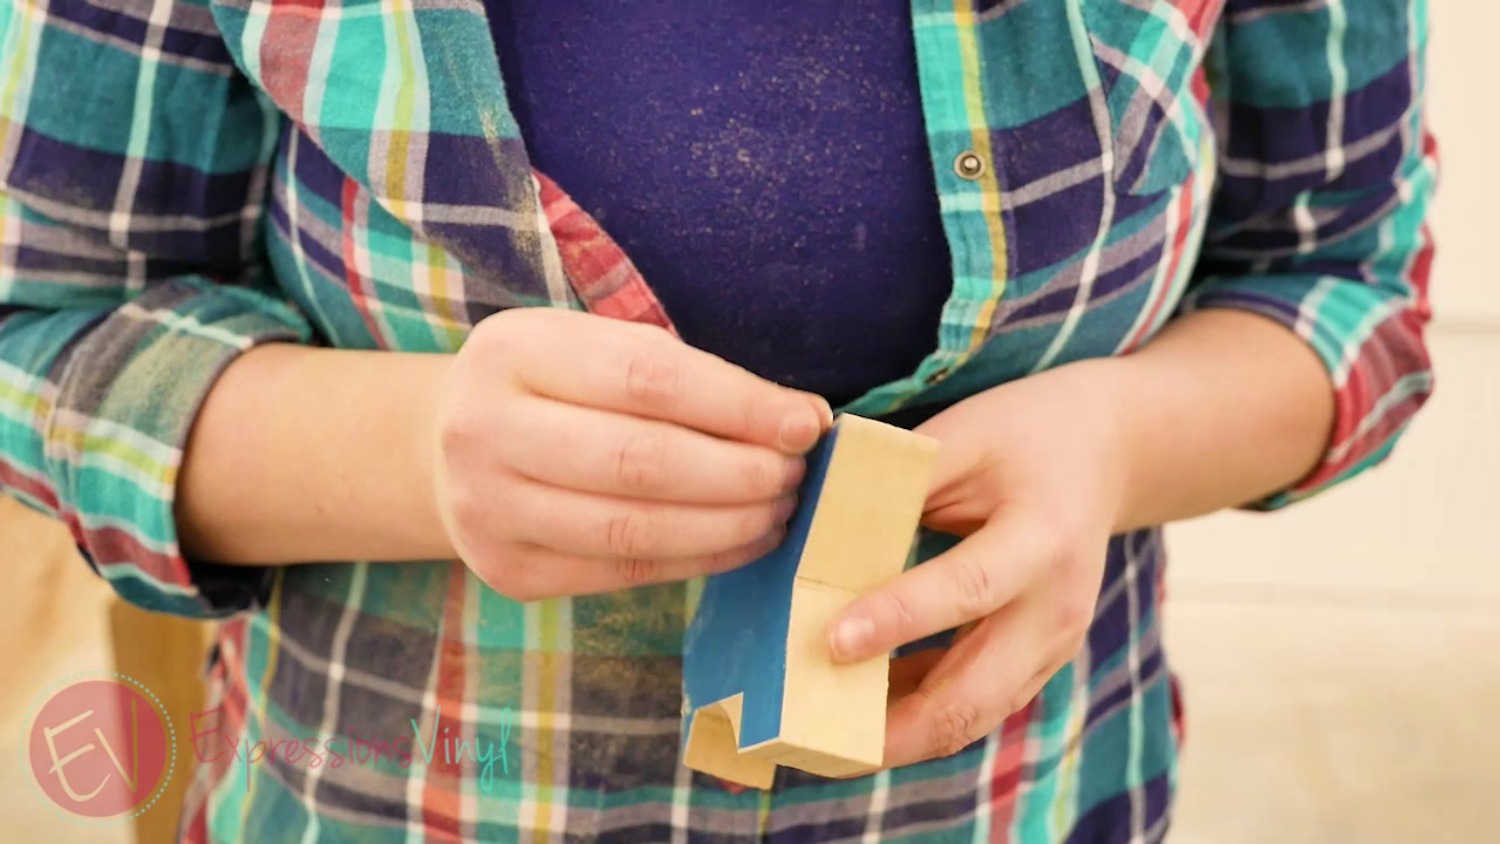
For any touch ups, you can also take a sander to it and get in a little closer to that line, but since it is a film you are not losing your visual. How cool is that!
Now all you have to do is peel that right off, and If it's clean enough, you don't have a whole lot of sawdust, you can reuse it again and again, a couple times.
This is a quick and easy method for you wood cutters out there that want to make some cool wood signs. Have a go at it and let us know what you come up with.
Recent Posts
-
NEW Holographic Eclipse Heat Transfer Vinyl
April 15th, 2024 3 Ways to Use the New Holographic Eclipse Heat Transfer Vinyl from Siser …Apr 29th 2024 -
Hop into Spring with Cute Easter Vinyl Crafts
Do you love our Vinyl? Sign up for Vinyl Club today to get FREE vinyl and save big! …Mar 28th 2024 -

Fixing Wrinkles and Bubbles in Vinyl
How do you get air bubbles out of vinyl? There are a few different ways to ensure a flawless …Mar 26th 2024