
What Can I Put HTV On?
Supplies
- Heat Press
- Heat Transfer Pillow
- Heat Transfer Cover Sheet
- Weeding Tool
- Girls shirt (any clothing store)
- Birthday Princess Phrase by Kolette Hall ID#95451
- Siser EasyWeed White
- Siser EasyWeed Tiffany Blue
- HTV Glitter Mint
Hello! It’s Amy with expressionsvinyl.com and I’m going to show you a couple of things you can put HTV on. You may also know HTV as heat transfer vinyl and iron-on. All are the same.
First, I’m going to cover the basics of HTV. Heat transfer vinyl has a clear plastic carrier sheet on the front side and a clear adhesive side on the back. The adhesive is not activated until heat is applied. There are various heat tools you can use such as a heat press, easy press, iron, etc. Also with HTV, you cut your image from the back (adhesive) side, not the front (carrier sheet) side. So, always make sure to mirror your image (on your software) prior to cutting your vinyl so the image reads correct.
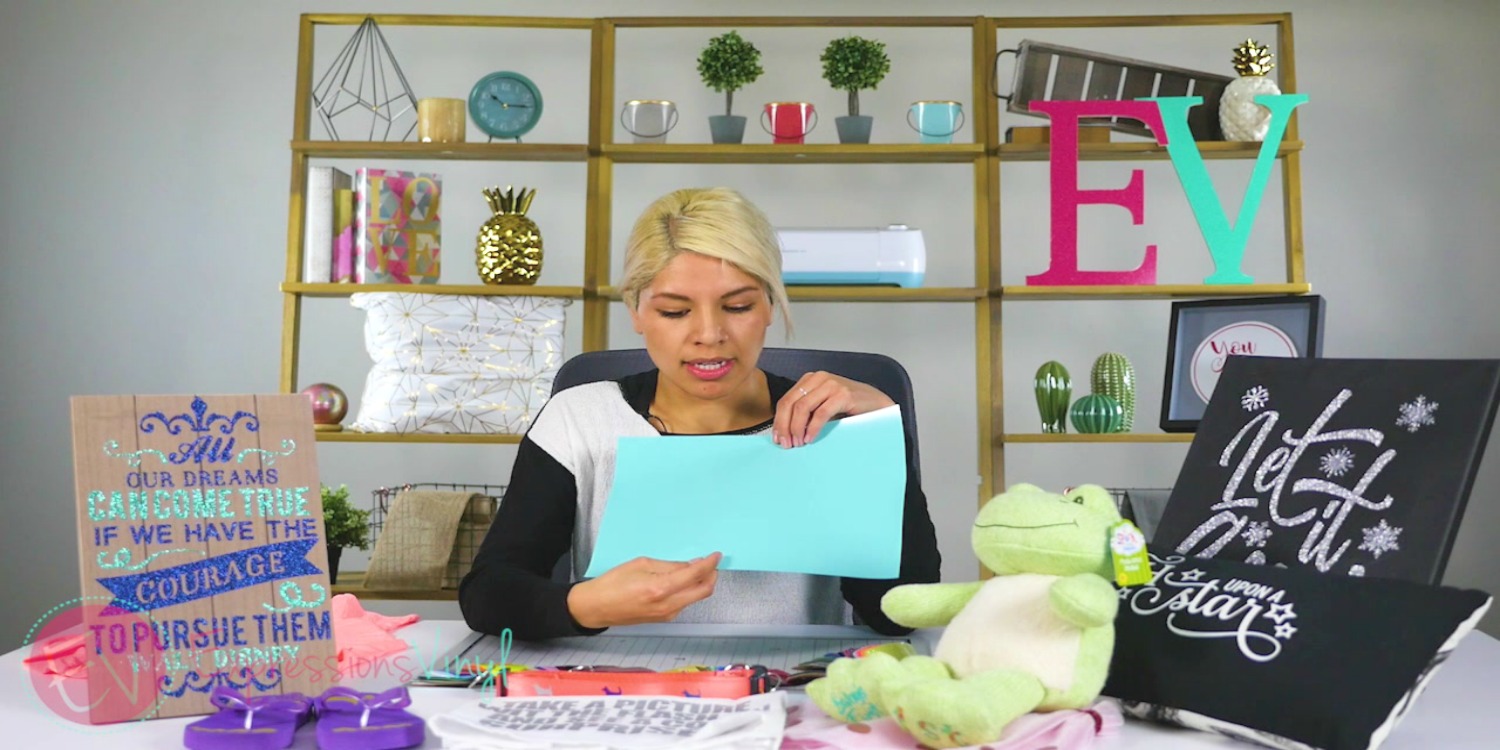

Next, I want to show you our sample kits. These sample kits
have a sample of every HTV type that we carry. As you can see there are a lot!
There is the Siser EasyWeed collection, EasyWeed electric, Stripflock, Holographi,
and HTV Glitters. You may wonder what’s the difference between each of these. They
have different looks and textures.


So what can you put HTV on? There seems to be about a million things you can apply HTV onto. These are a just a couple of things to get you started.
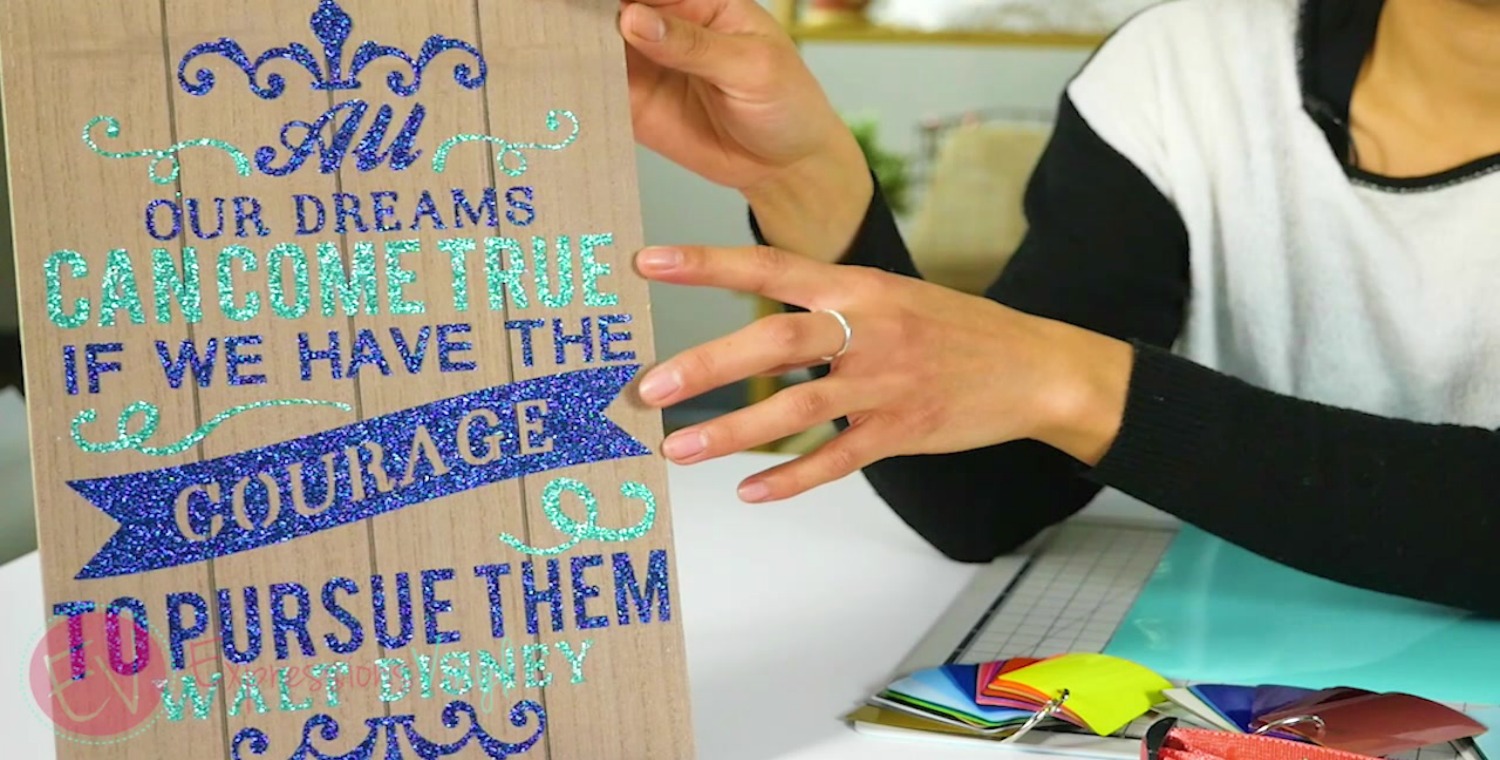
Wood

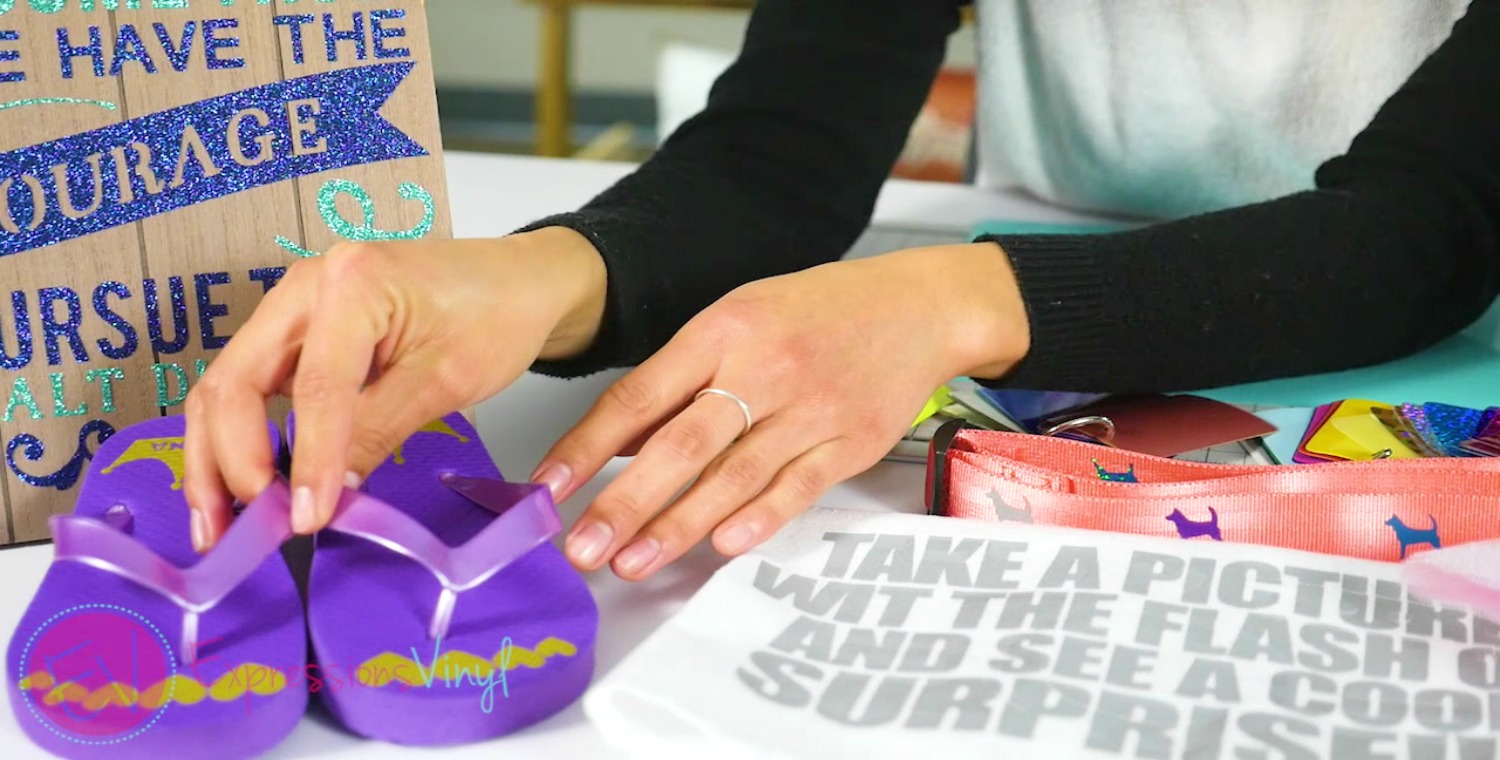
Shoes such as flip flops

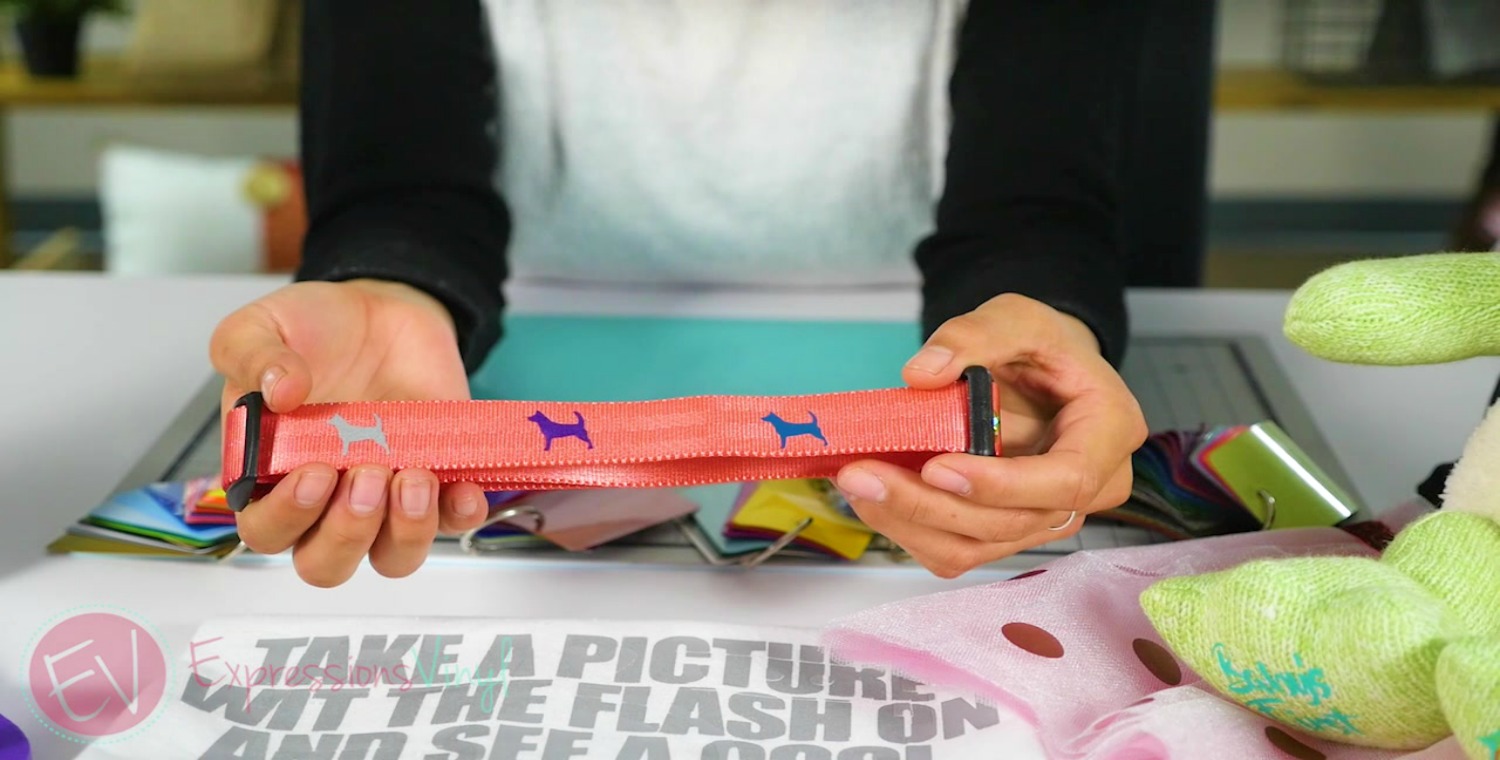
Dog collar

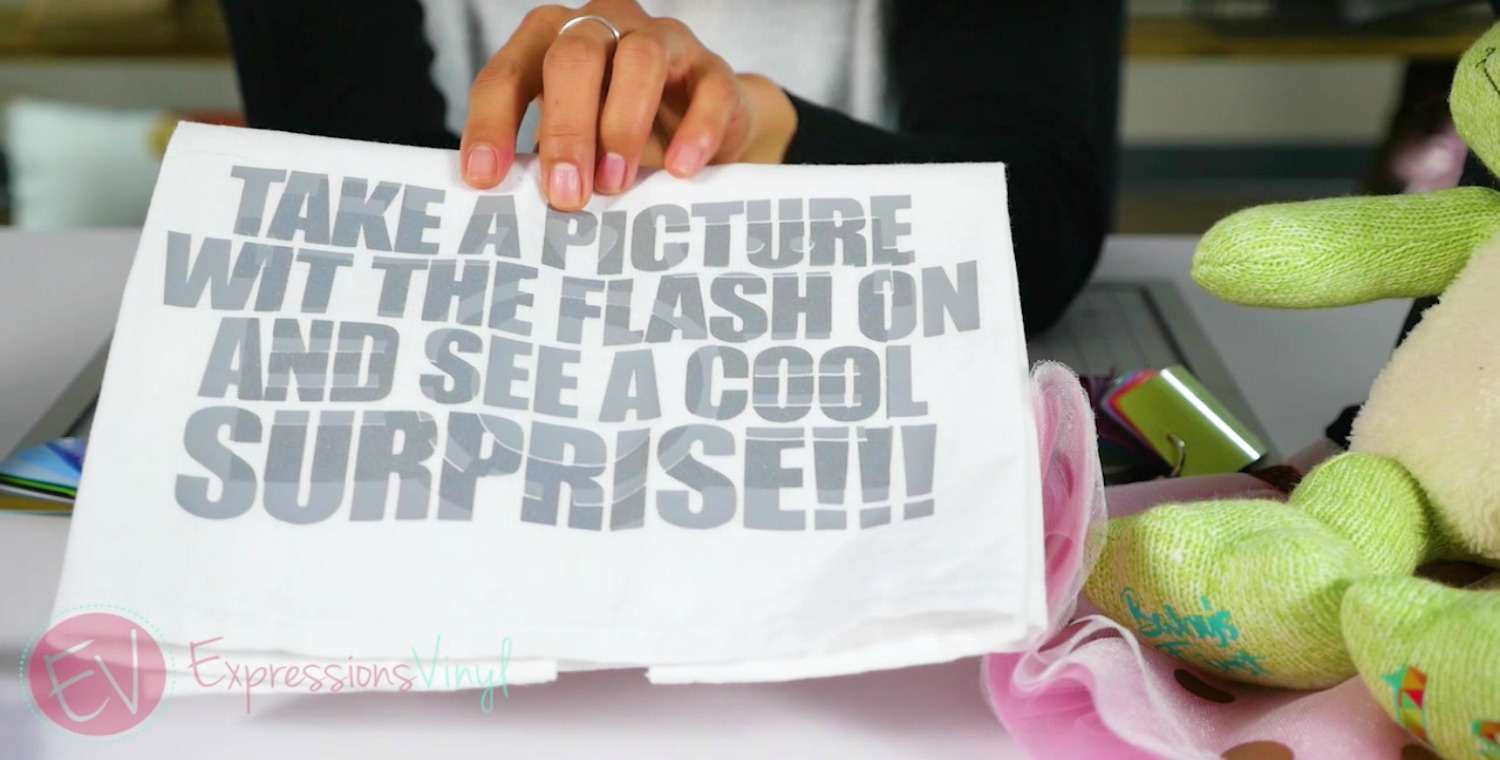
Towels such as a tea towel

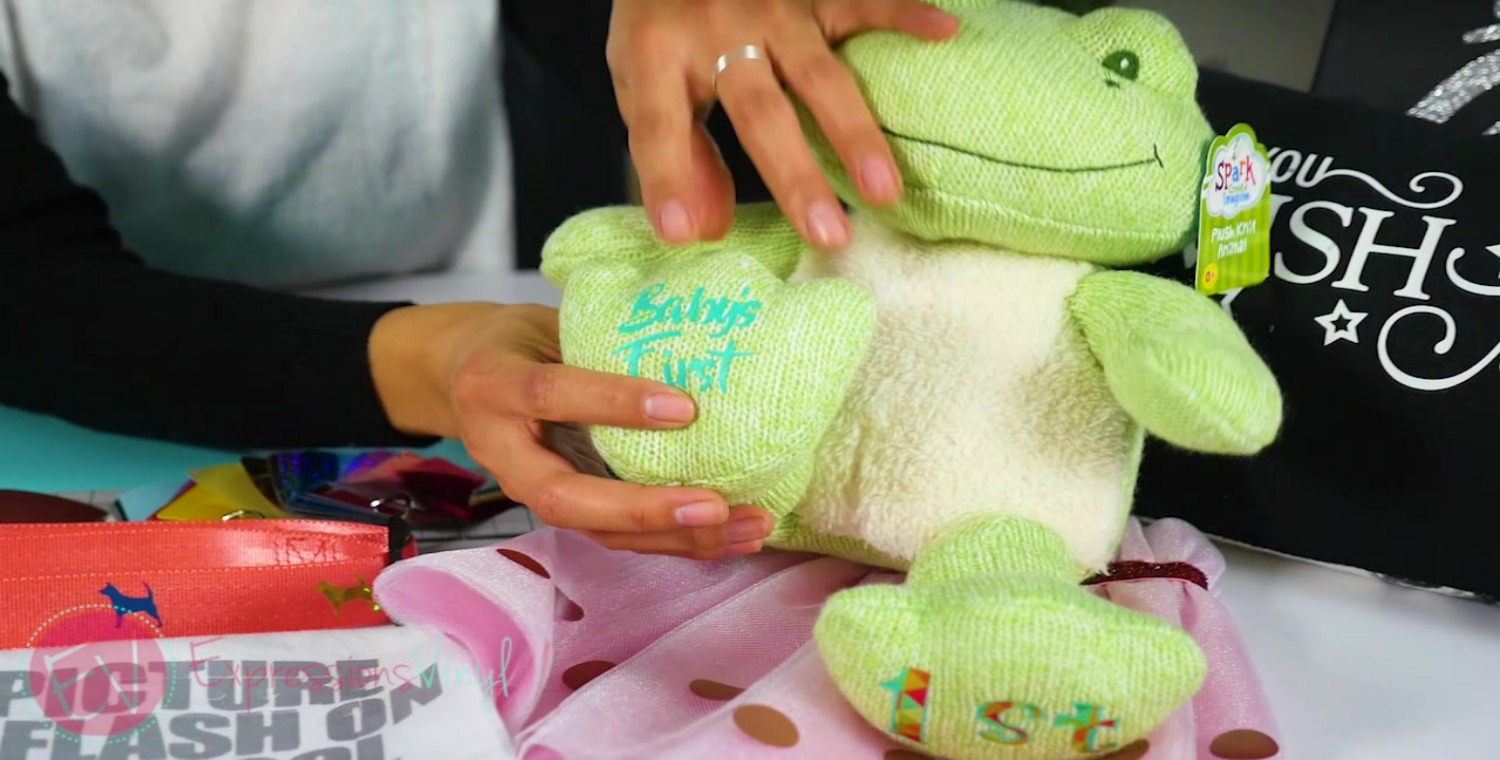
Stuffed animal

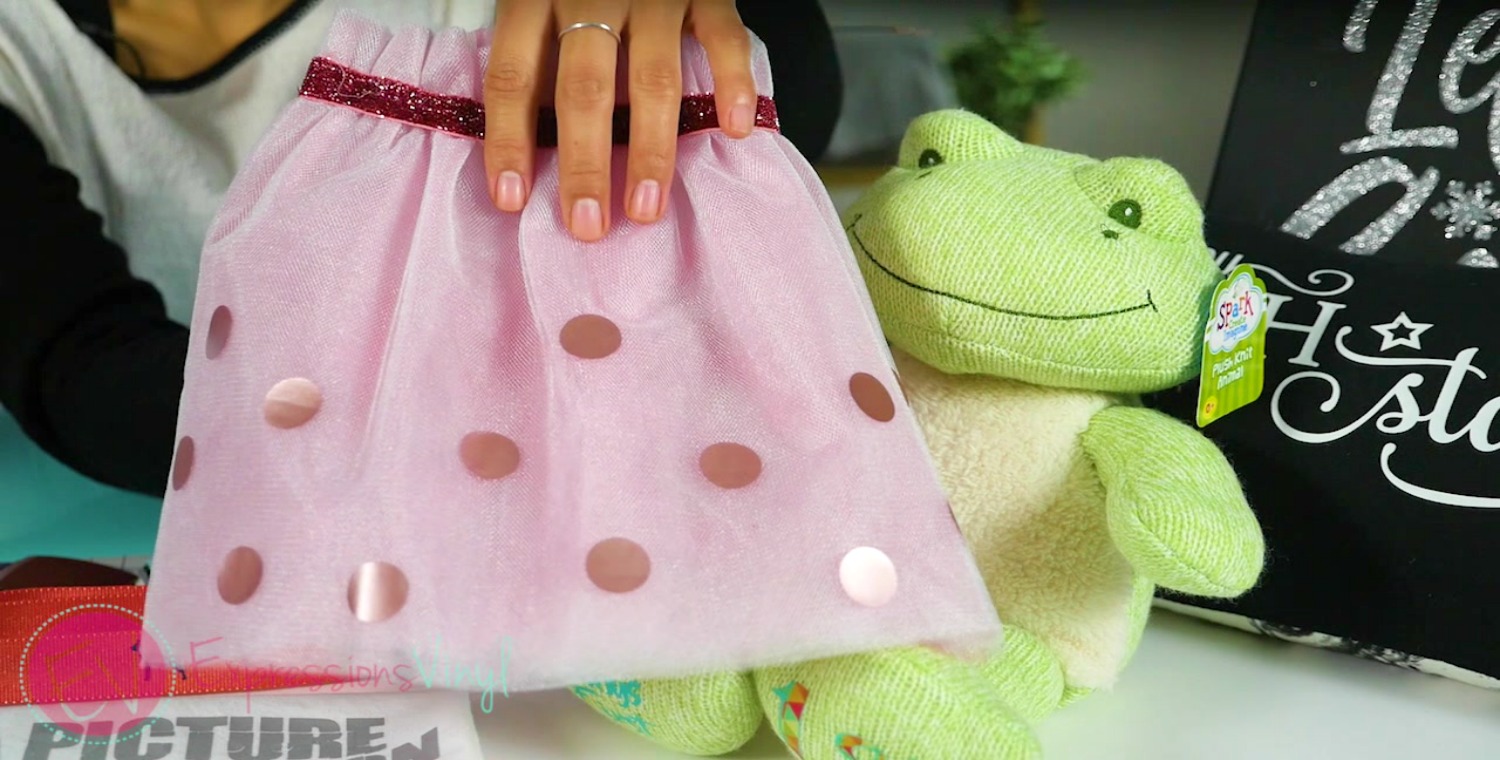
Skirt such as a tulle skirt

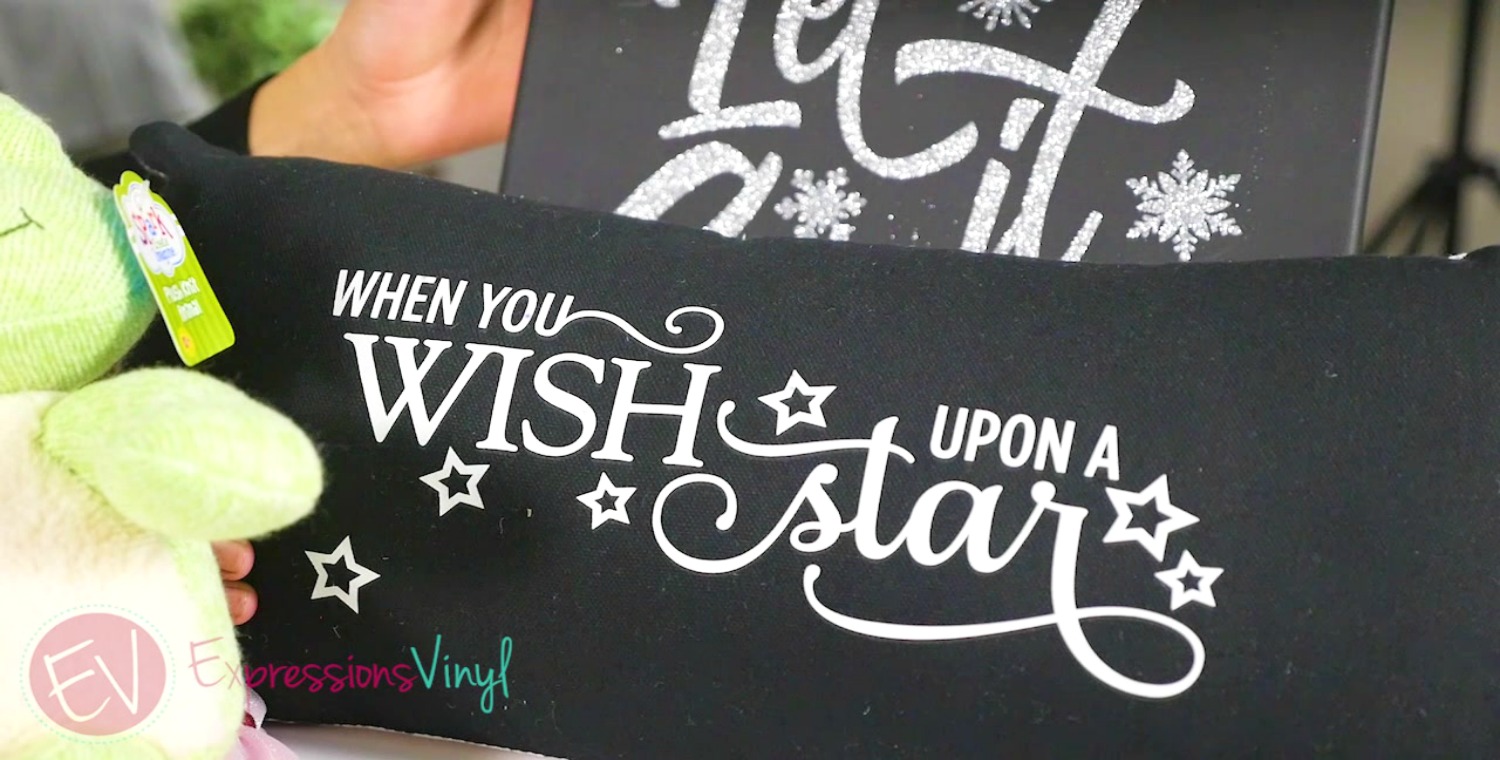
Pillow

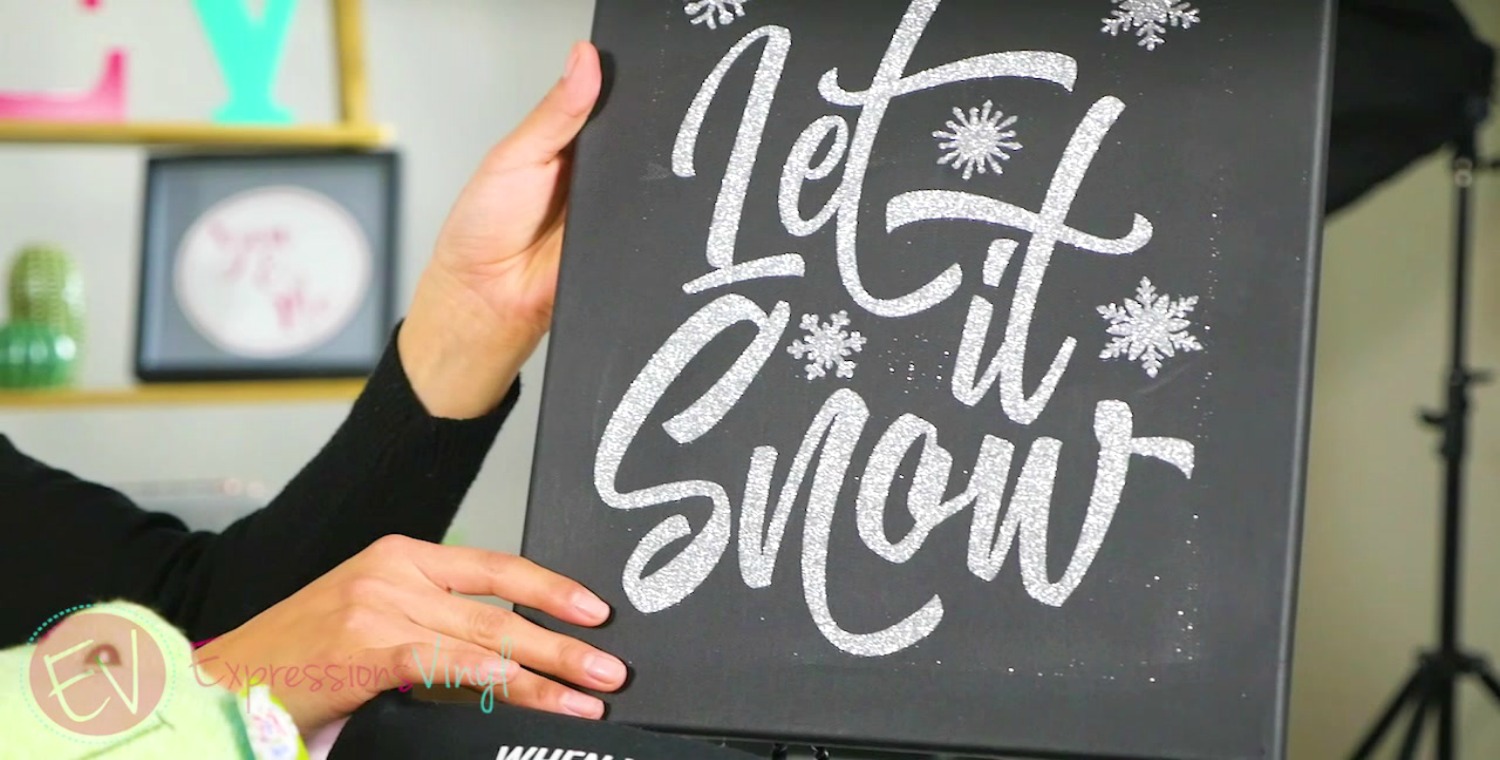
Canvas

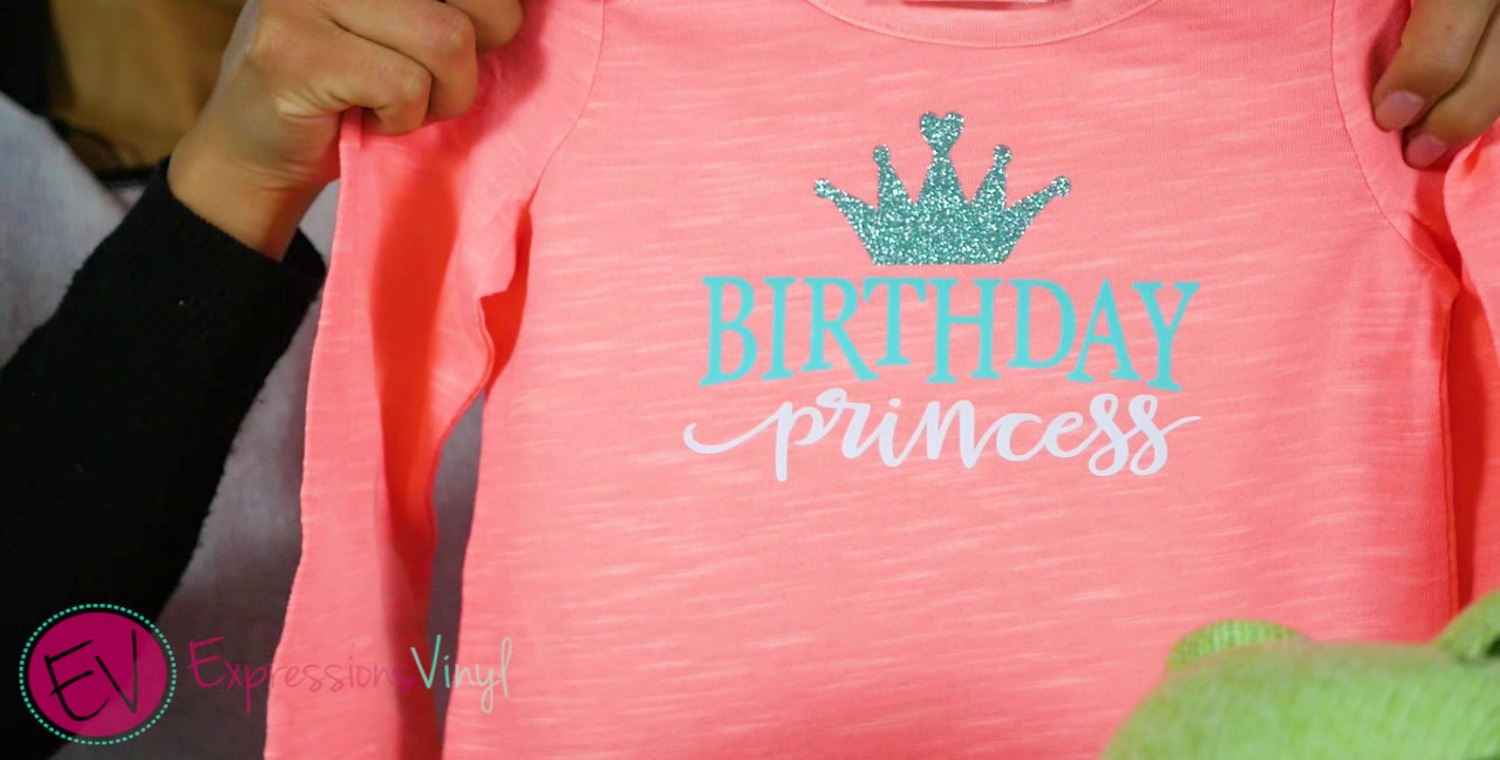
And last but not least, one of the most common materials for HTV are shirts! I’m going to show you a quick example of how to go about applying HTV to this little girl’s shirt. I used two different types of HTV; glitter and easyweed. I’m going to first apply the glitter crown because it will help me align the rest of the image. But, you can apply any layer you want first. It’s all personal preference.
The first step is to press the shirt for a couple of seconds just to get out any moisture out. I’m also going to use a heat pillow because this shirt has seams and the pillow will give the shirt an even press. Afterwards, you simply align your first vinyl layer and press for about 5 seconds. Remove the clear carrier sheet once it’s done pressing.
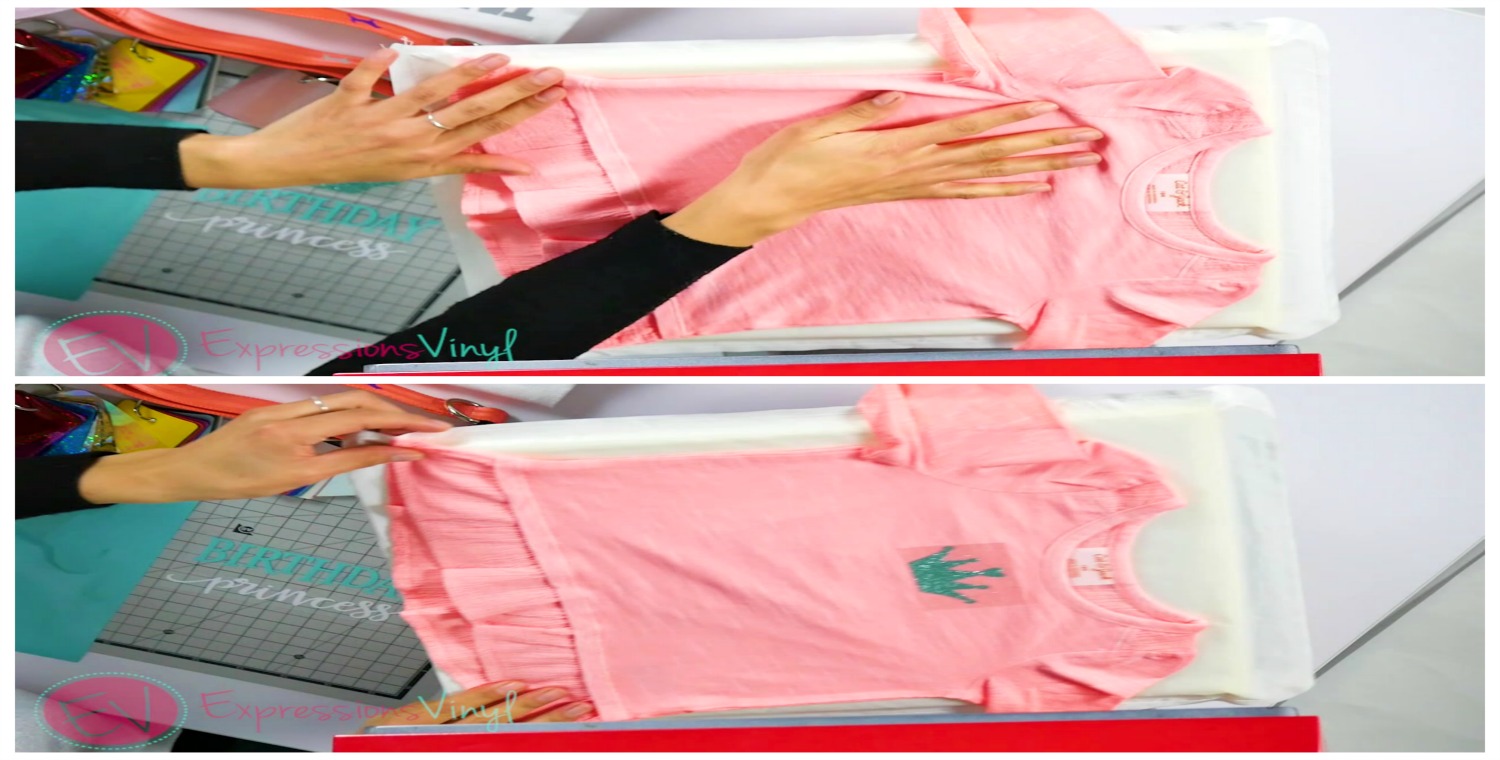

Now I’m going to apply both the ‘birthday’ and ‘princess’ at
the same time because they are both easyweed HTV, just different colors. I am
going to use a cover sheet to protect the glitter layer then align the
‘birthday’ and ‘princess.’ One important tip to remember if you press images as
the same time is to make sure the vinyl DOES NOT overlap. Otherwise, you are
going to have missing or ripped pieces when you remove the carrier sheets. I’ve
done that mistake once or twice so make sure to trim down the carrier sheet so
the overlapping doesn’t happen.
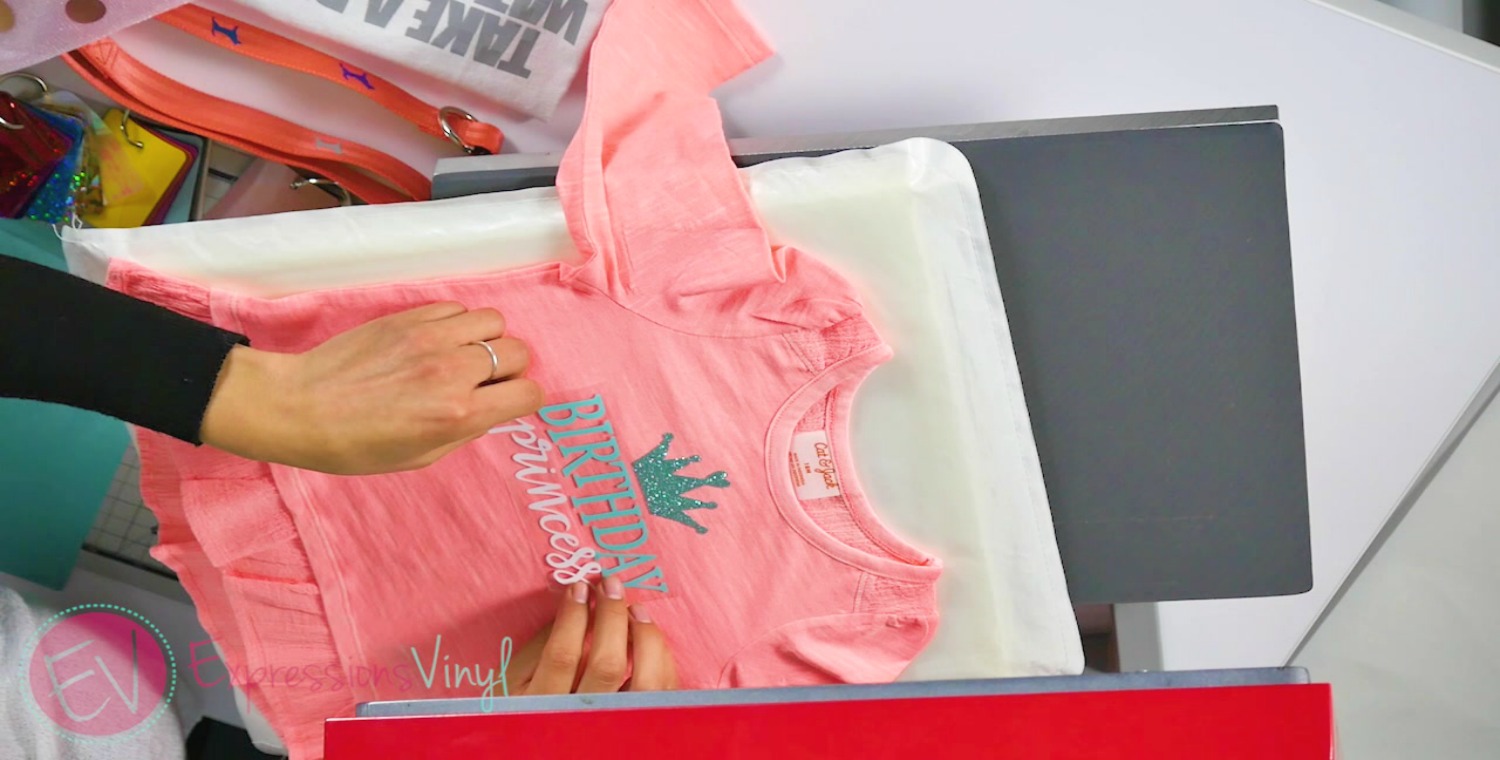

Press for about 10 seconds, remove the carrier sheets, and
then you are finished! Look how cute this shirt turned out! Perfect for a
birthday princess.

To recap, there are quite a bit of things you can apply HTV to. These examples are just a small handful. Find out what you can apply HTV on but always make sure the material can with stand the heat and to adjust the time and heating temperature. Happy crafting!

Recent Posts
-
NEW Holographic Eclipse Heat Transfer Vinyl
April 15th, 2024 3 Ways to Use the New Holographic Eclipse Heat Transfer Vinyl from Siser …Apr 29th 2024 -
Hop into Spring with Cute Easter Vinyl Crafts
Do you love our Vinyl? Sign up for Vinyl Club today to get FREE vinyl and save big! …Mar 28th 2024 -

Fixing Wrinkles and Bubbles in Vinyl
How do you get air bubbles out of vinyl? There are a few different ways to ensure a flawless …Mar 26th 2024