
4th of July Vinyl layering
It's that time of year to display our patriotic sides with flags, bbq's, fireworks, and everything red, white, and blue!
Another American obsession...the Target dollar spot. Where us crafters get lost in the bins full of items screaming for some vinyl to be added to them. We walk out of that corner of the store usually $20 poorer but with a cart full of hopes and dreams, that will now sit in the corner of our craft rooms. Right?!? Please tell me I'm not the only one.
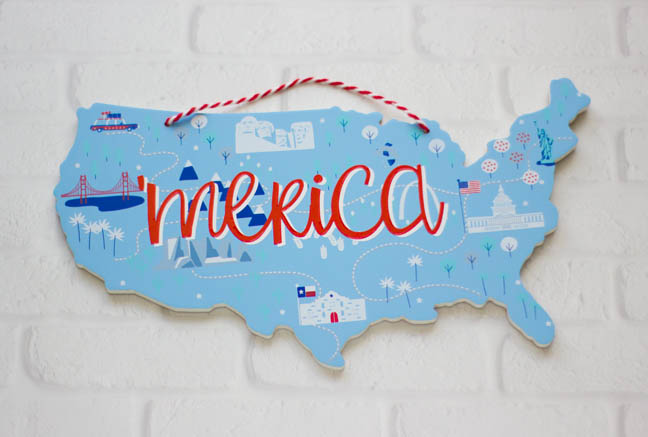
Well, one of those lucky items called to me this week and its destiny came true when I added some much needed vinyl on top just in time for Fourth of July.
The Supply List:
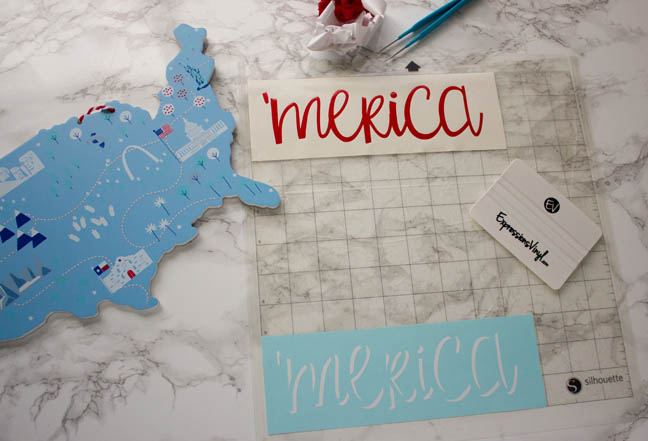
- America Wood Sign (Target dollar spot)
- Red Glitter Vinyl
- White Vinyl
- Transfer Tape
- Weeding Tool
- Application Tool
- Silhouette CAMEO (or similar)
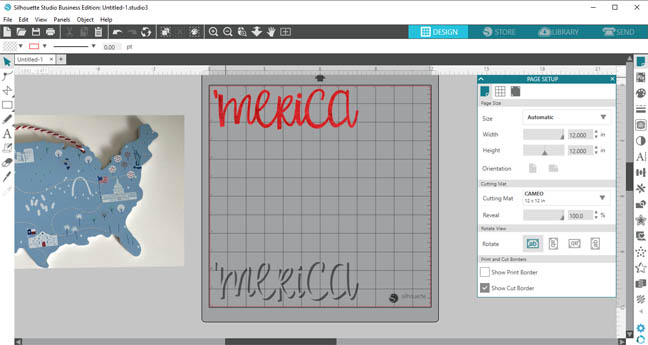
I'm going to show you how to do a mock-up as well as how to layer vinyl for this tutorial. I wanted to visualize the design before cutting any vinyl out and this is my trick on how to do that.
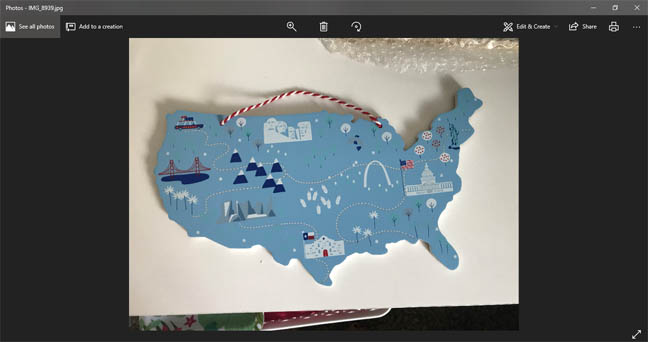
Take a photo of your sign or object you're adding vinyl to and email it to yourself. Then open it up and copy the image.

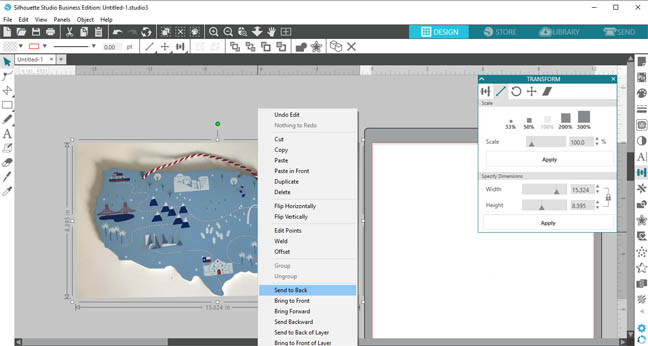
Then paste it into Silhouette Studio. You'll want to right click to pull up the shortcut menu then send the image to the back. That way you can see the designs over top of the image.

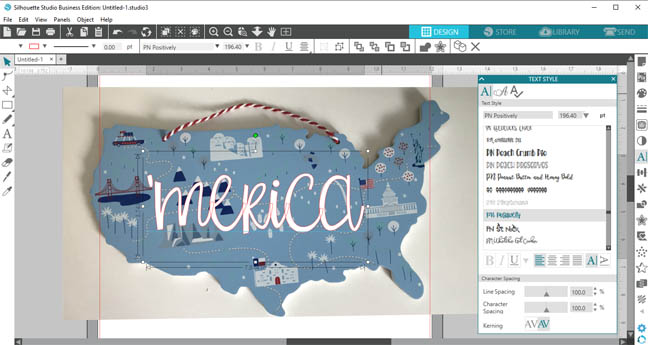
Now type out the words you want to write. I'm using the font Positively from the Love to Craft Volume 2 bundle from Fontbundles right now.

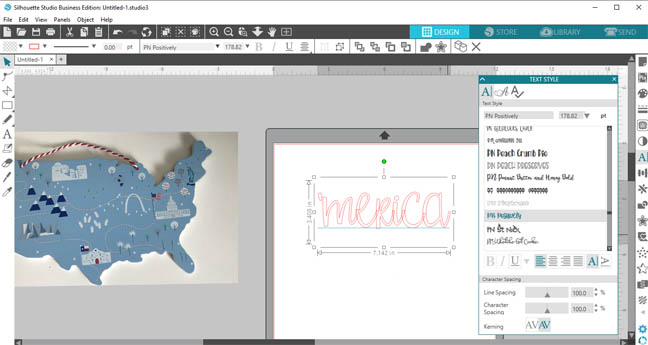
Place it over the sign and scale it to size. I also colored it white so I could see it better.

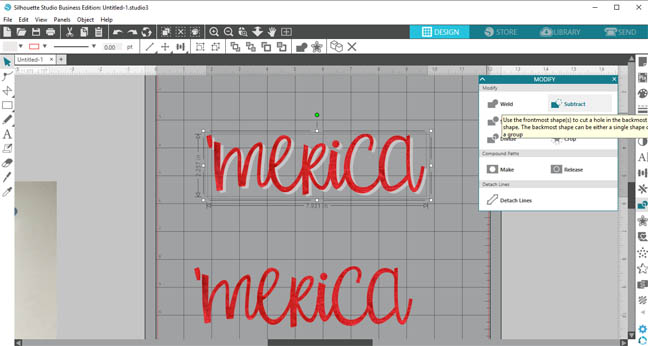
As you can see, the letters would cut separately if you didn't weld them together.

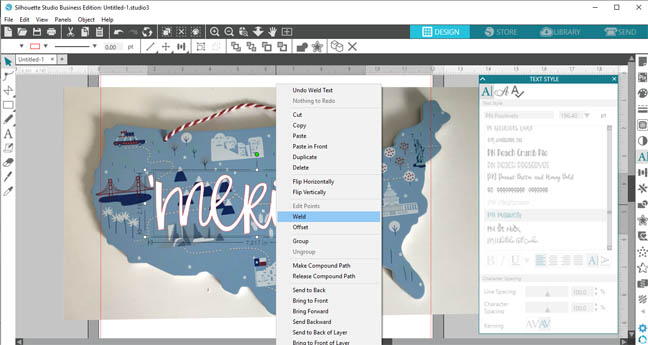
You'll need to group it back together after welding it.

Next, I added the red glitter look inside of the word. I wanted to add a drop shadow so the words popped off the sign. Click on the image effects tool and select the shadow tool.

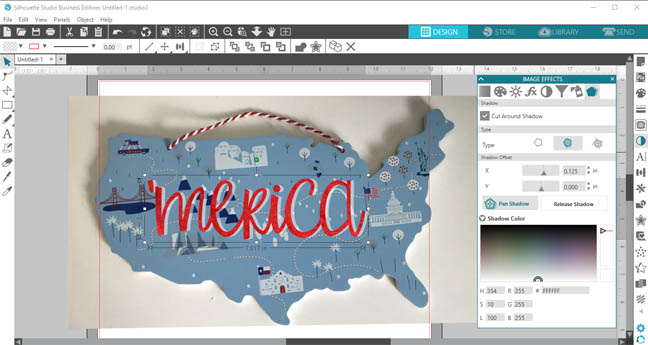
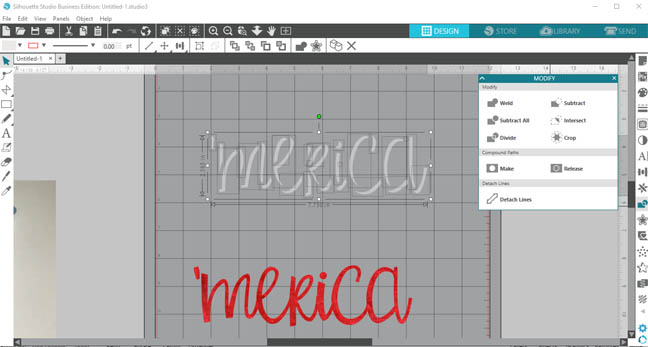
Once you're happy with the shadow placement, click on the release shadow button.


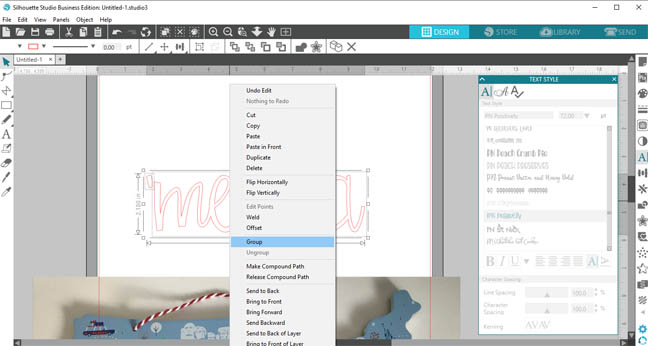
Copy the top section of the word then go to the modify tool and select subtract to cut out the shadows. You're going to cut this portion only out of the white vinyl.

Perfect shadow!! Group it back together.

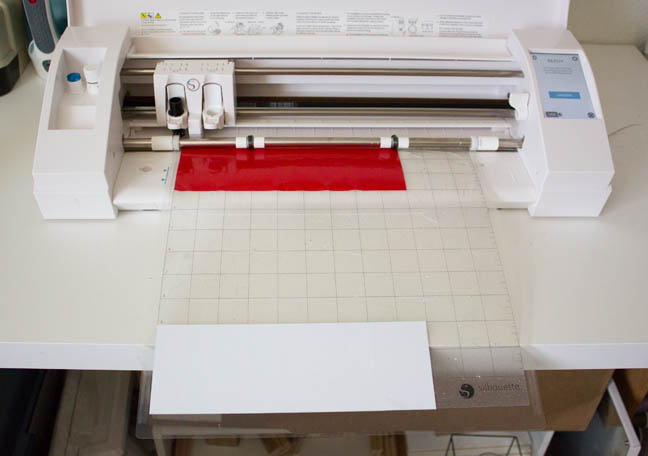
You're able to cut both colors of vinyl at the same time since it uses the same cut settings.

Cut the vinyl to size and place it on the cutting mat then send it to be cut.

Weed away the excess vinyl.

Add transfer tape on top of the white shadow.
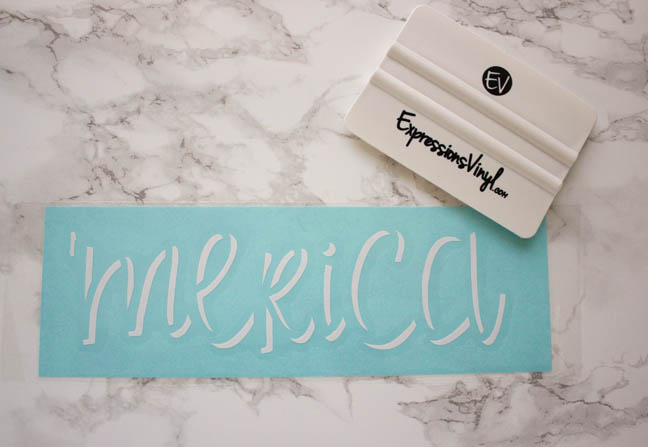

Then place it on the sign using your application tool.
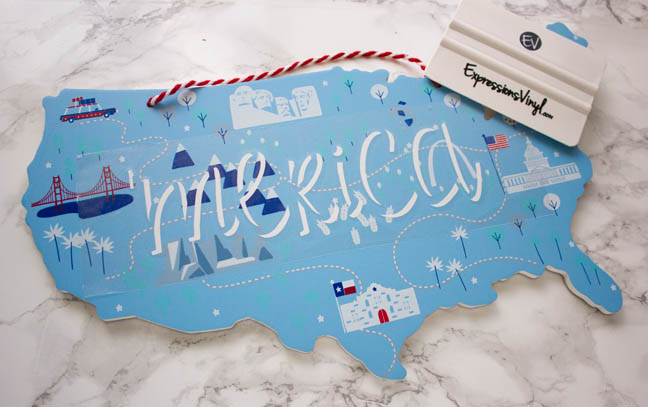


Repeat the process with the red glitter on top of the white. This is way using the clear transfer tape is so important, you'll need to see exactly where you're placing it. Pull off the transfer tape carefully.

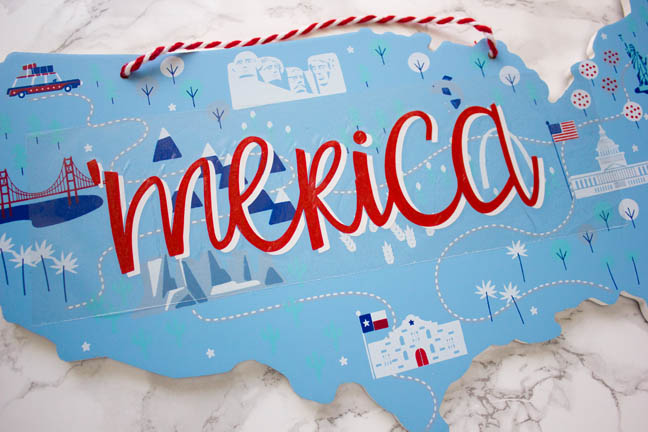
Now you have a festive sign to display for the fourth!! So get over to the store and buy your sign before it's too late. There's a perfect limited edition vinyl theme pack right now too!!


Recent Posts
-
NEW Holographic Eclipse Heat Transfer Vinyl
April 15th, 2024 3 Ways to Use the New Holographic Eclipse Heat Transfer Vinyl from Siser …Apr 29th 2024 -
Hop into Spring with Cute Easter Vinyl Crafts
Do you love our Vinyl? Sign up for Vinyl Club today to get FREE vinyl and save big! …Mar 28th 2024 -

Fixing Wrinkles and Bubbles in Vinyl
How do you get air bubbles out of vinyl? There are a few different ways to ensure a flawless …Mar 26th 2024