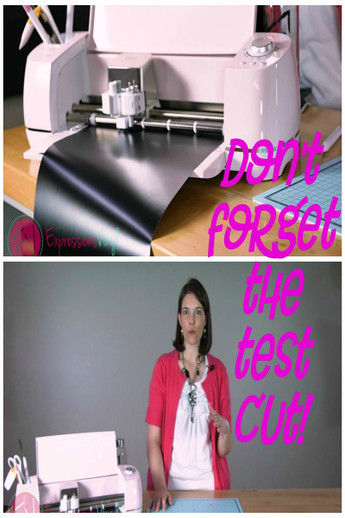
Cricut Design Space - Don't forget the test cut!
Hi, I'm JoAnn with Expressionsvinyl.com and today I want to cover a quick way to do a test cut with in Design Space with your Cricut Explore. Vinyl comes in different thicknesses and the machines all cut a little bit different so it's always a good idea to do a test cut.
Let’s get started in Design Space. I just want to do some simple shapes to do my test cut with. I’ll insert a square and then do a triangle in the middle of it. Change the size of the triangle to fit in the middle of the square and that'll give you a couple different directions the blade will cut.
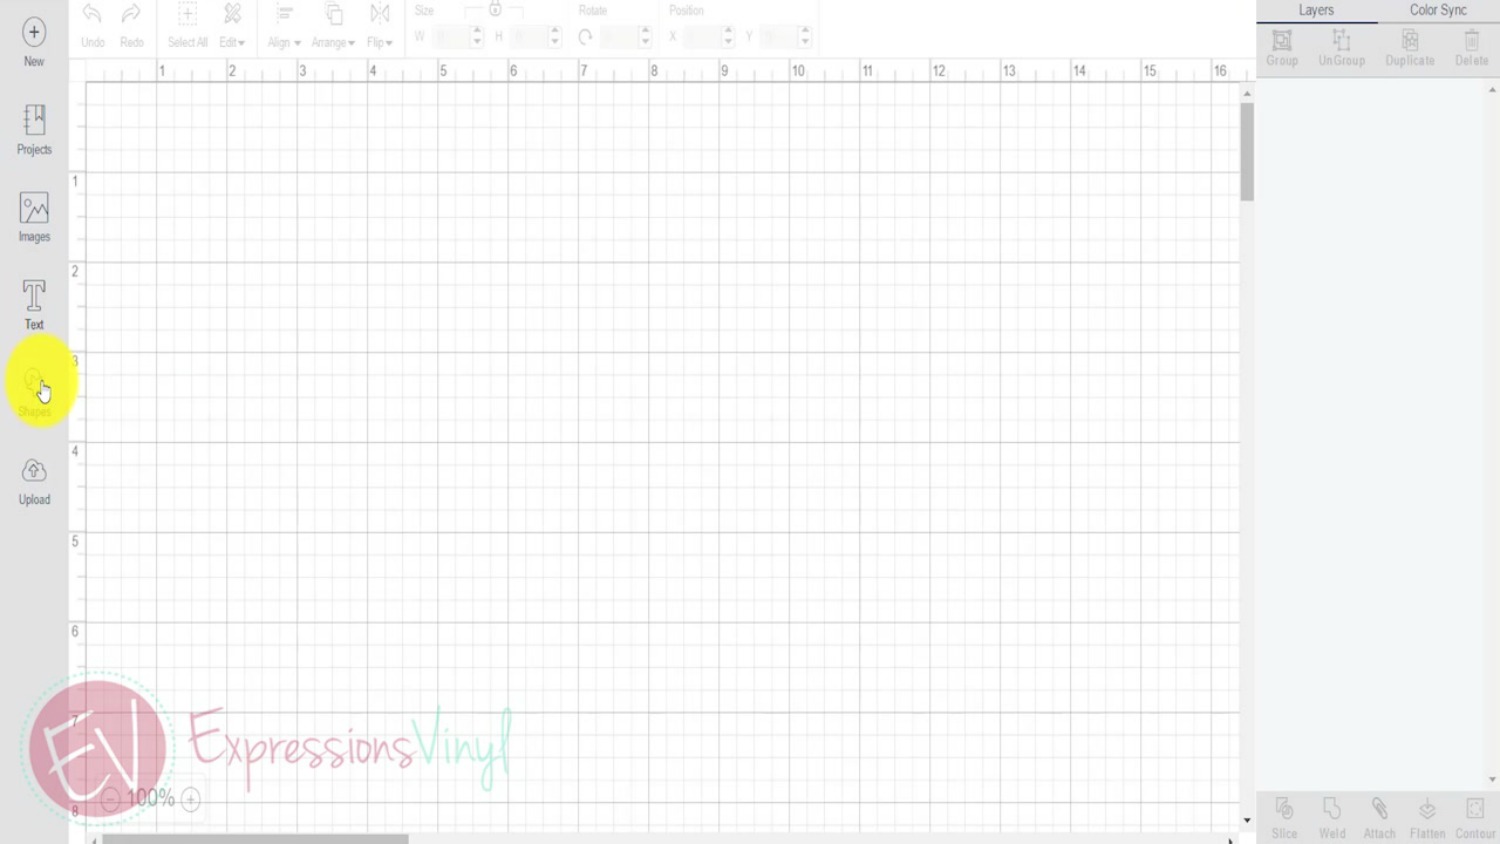
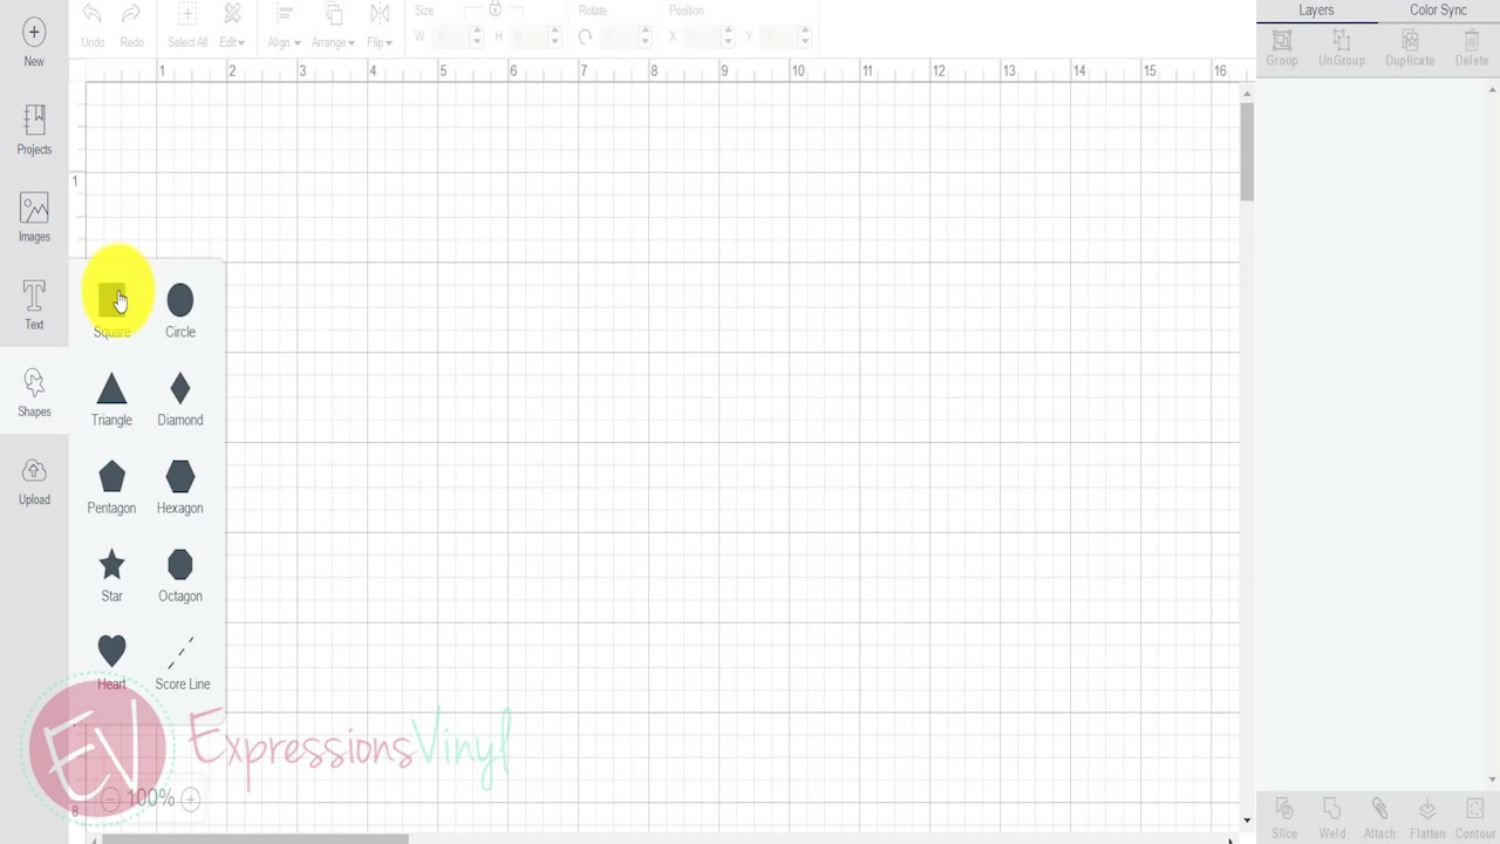
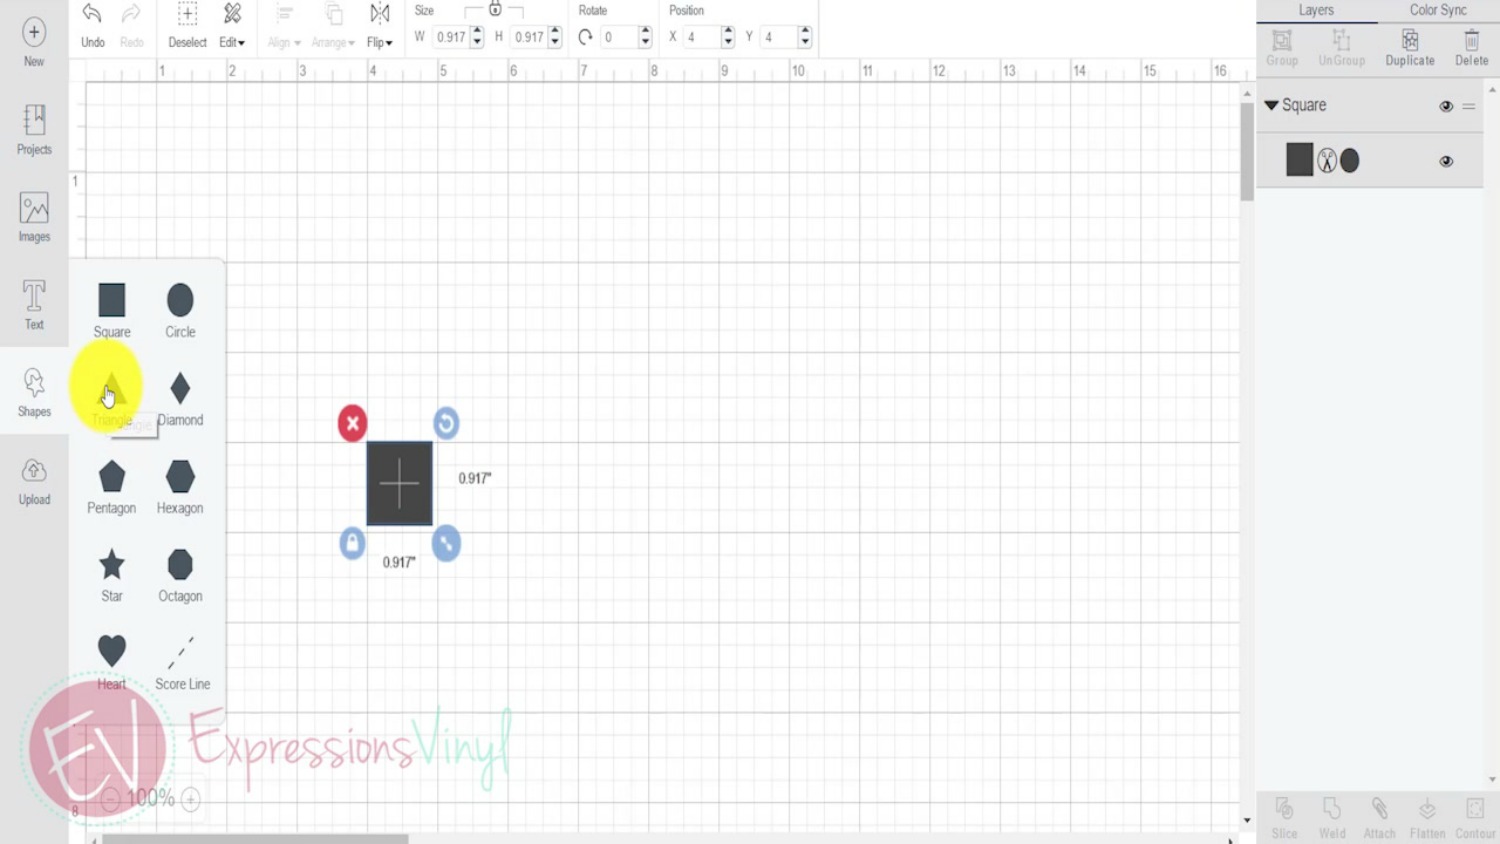
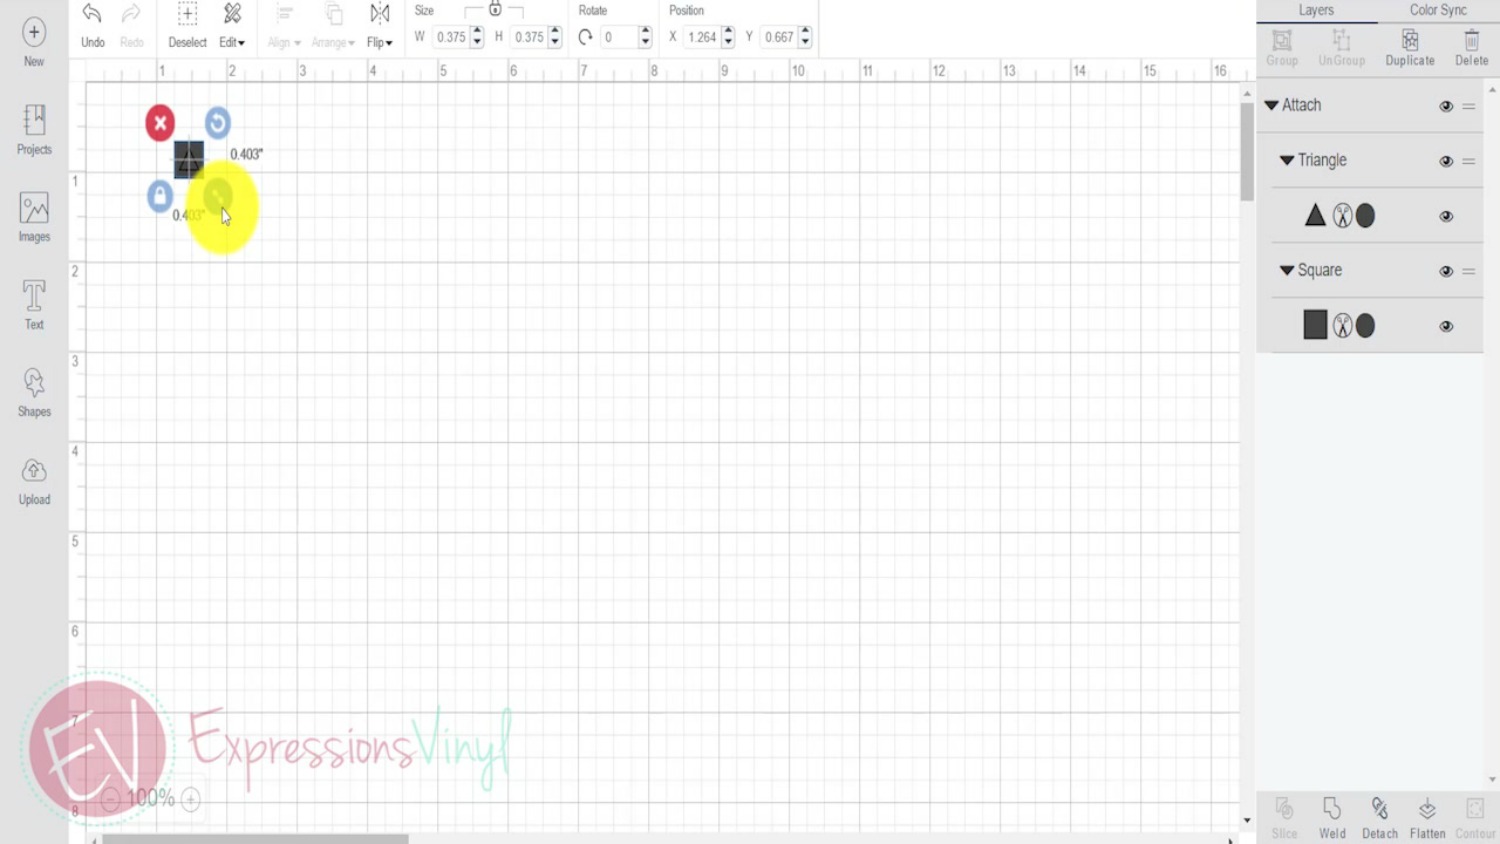
Select all, and you'll want to attach (bottom left right hand corner in Design Space), and that just keeps those two images together.
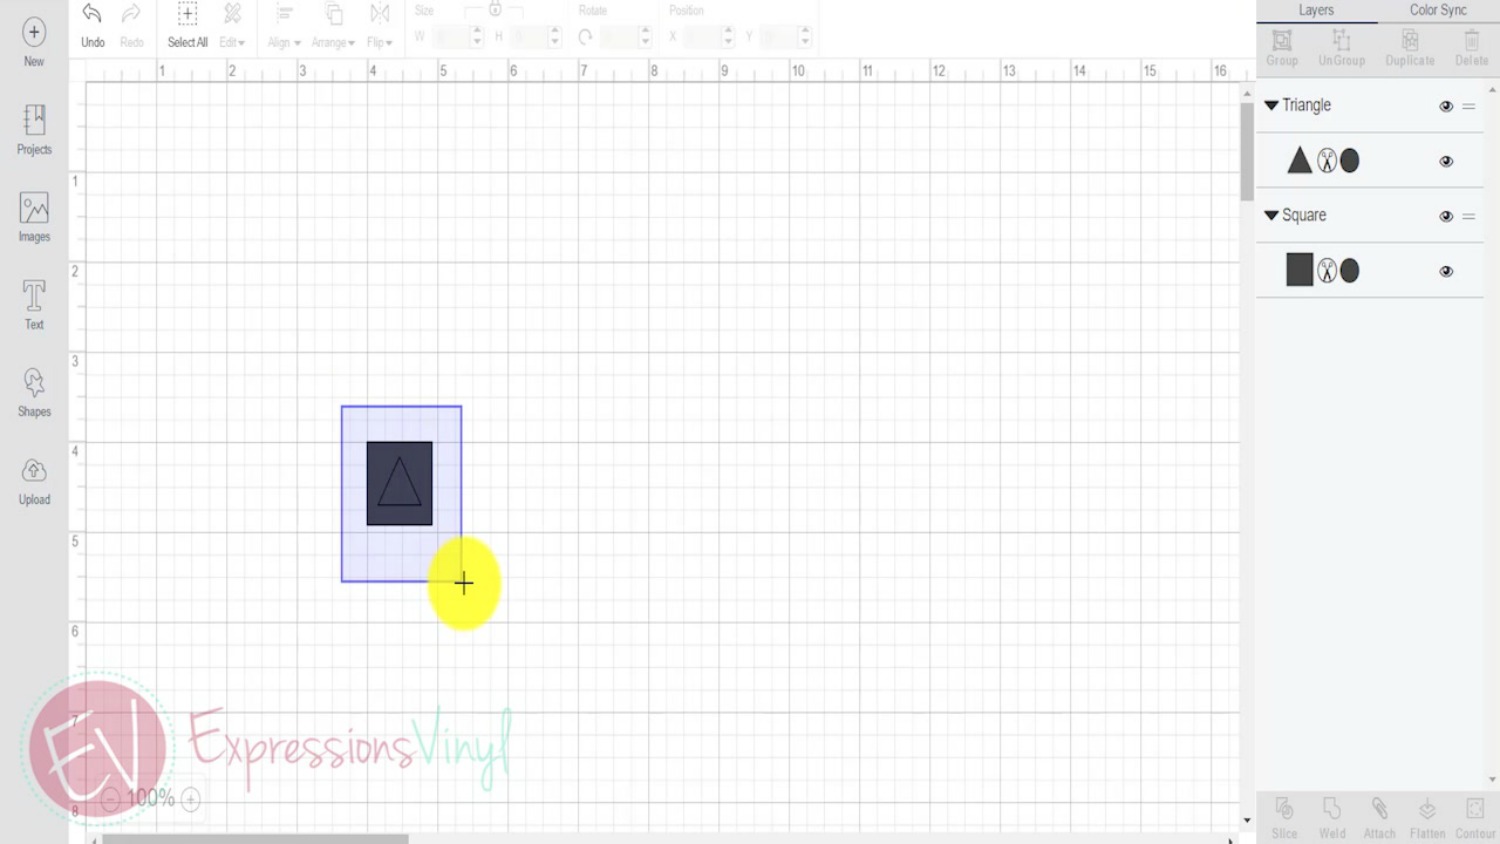
Now, I don't need a test cut that big you just need a really small one, up in the top left-hand corner. So, size it down to about the size you'll think you'll need and then you're ready to go.
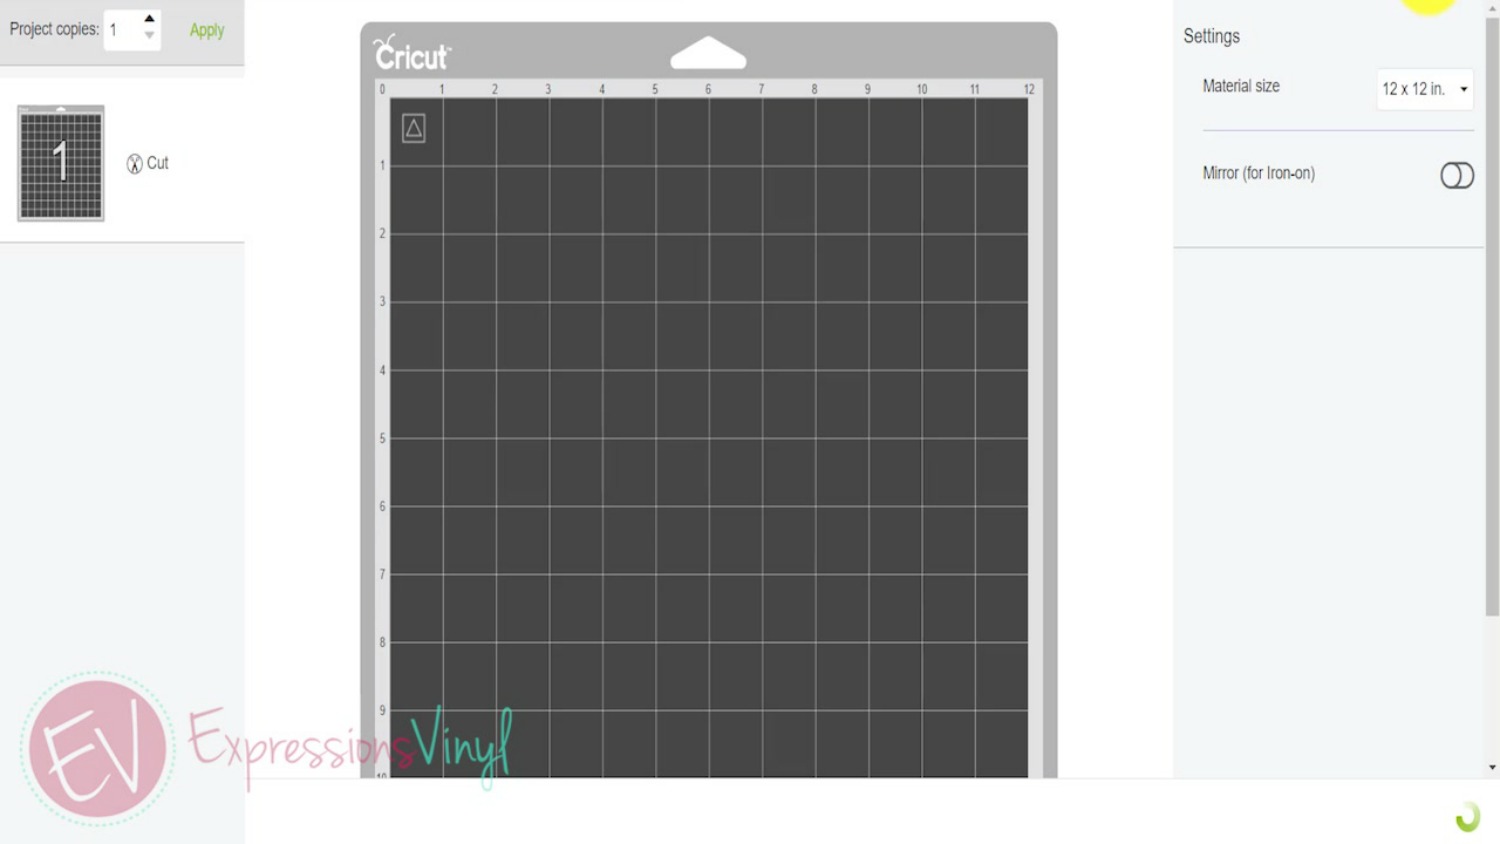
Once you do this you send it over to your machine to cut. It puts it at the top left-hand corner. It's not going to use a lot of your vinyl. Go ahead and press continue. It's going to send it to your machine to cut.
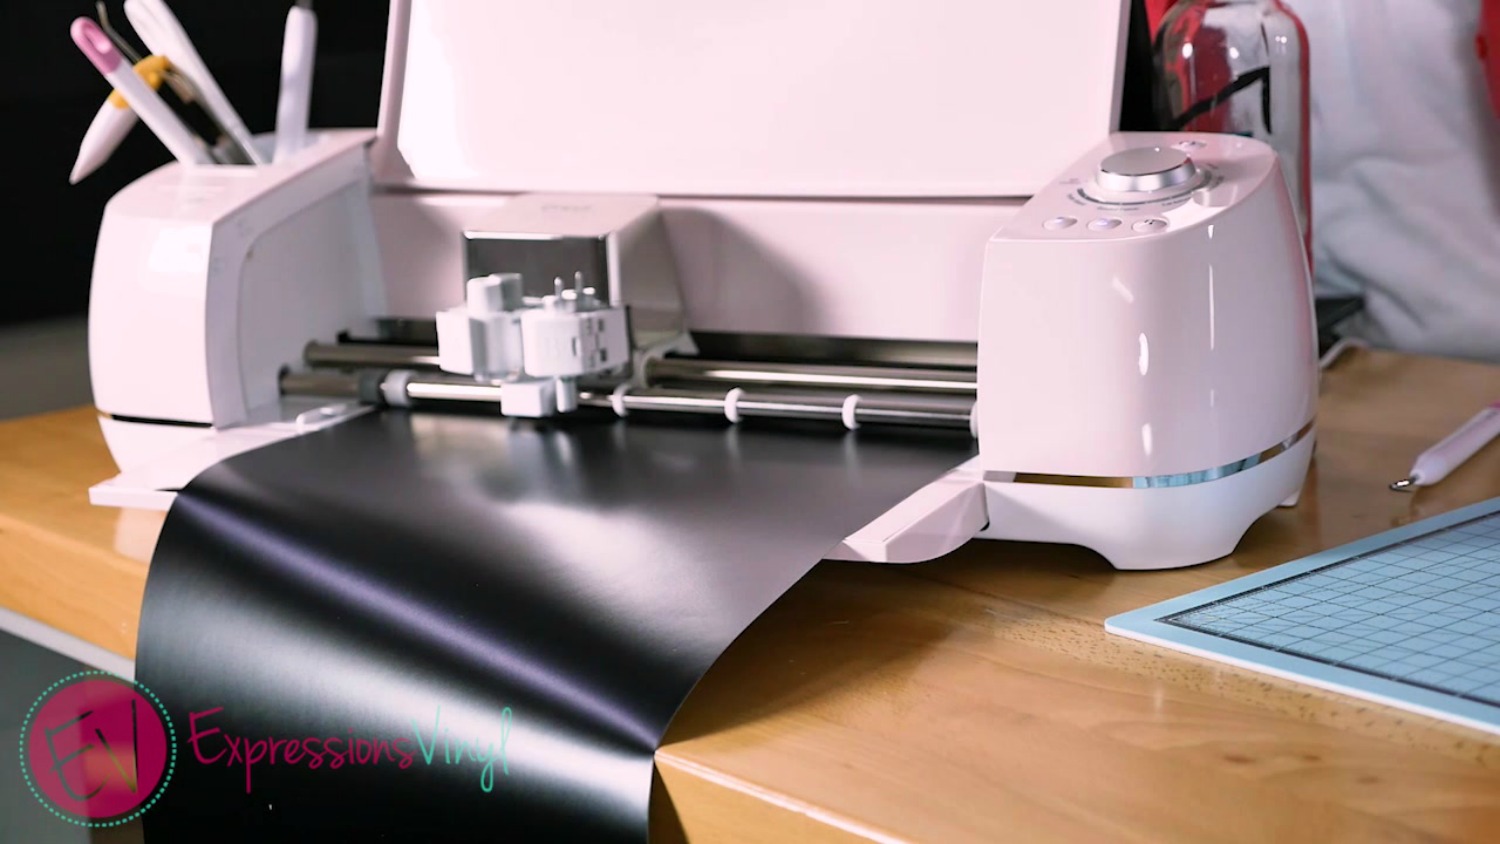
There we go. It's ready to cut. I've already loaded the vinyl in so it's ready to cut. Press the go button and it's just going to cut in the top left hand corner. Make sure you have your machine set to vinyl and you are ready.
Once it's cut, unload it from the machine. Just weed out the small square. If the triangle stayed in there it cut perfectly. If it didn’t weed out like that then adjust the settings up or down a bit to the vinyl + and try another cut.
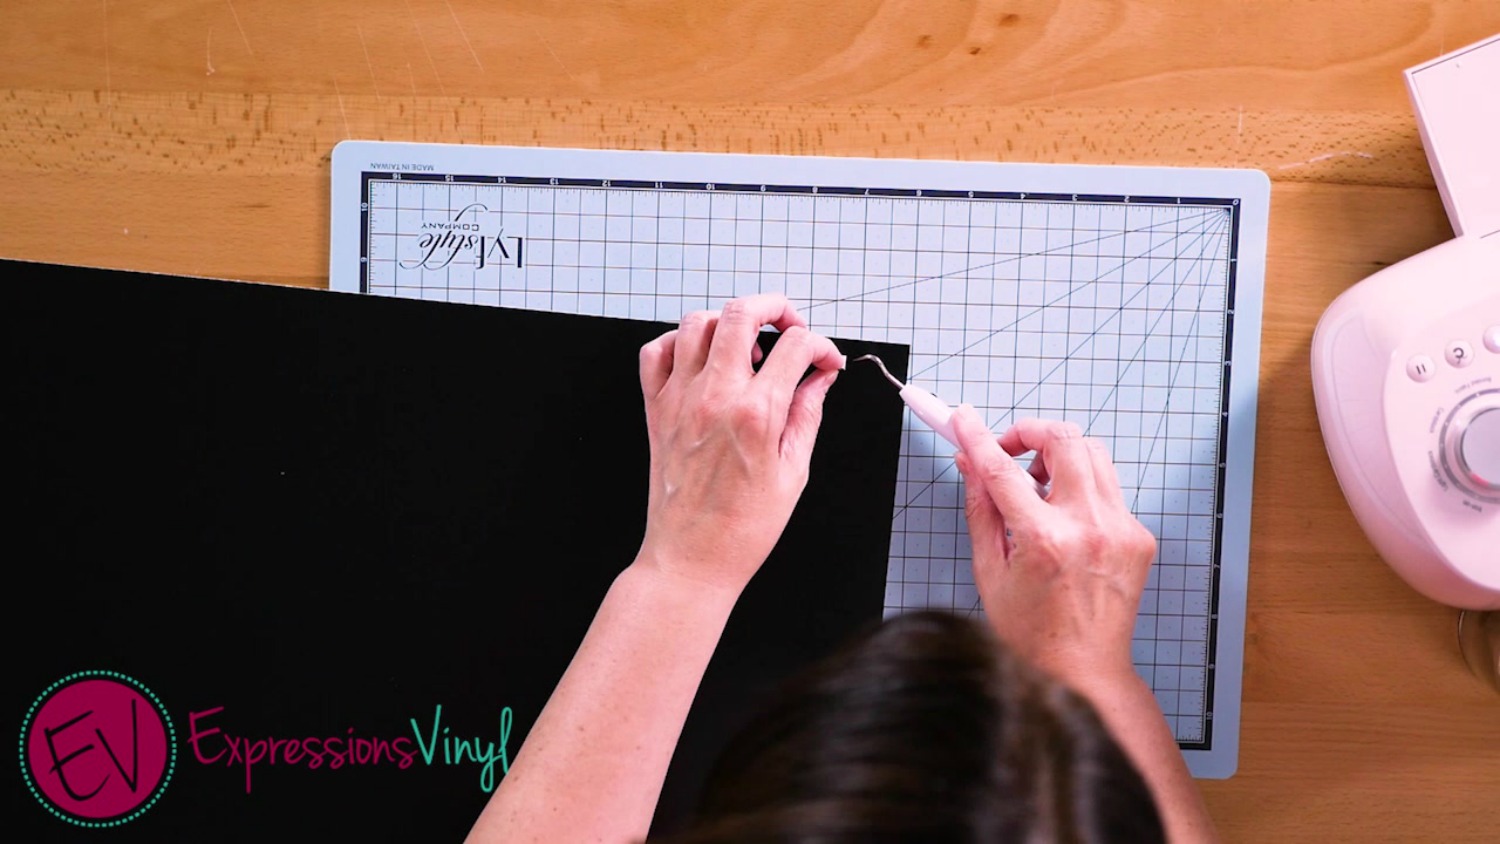
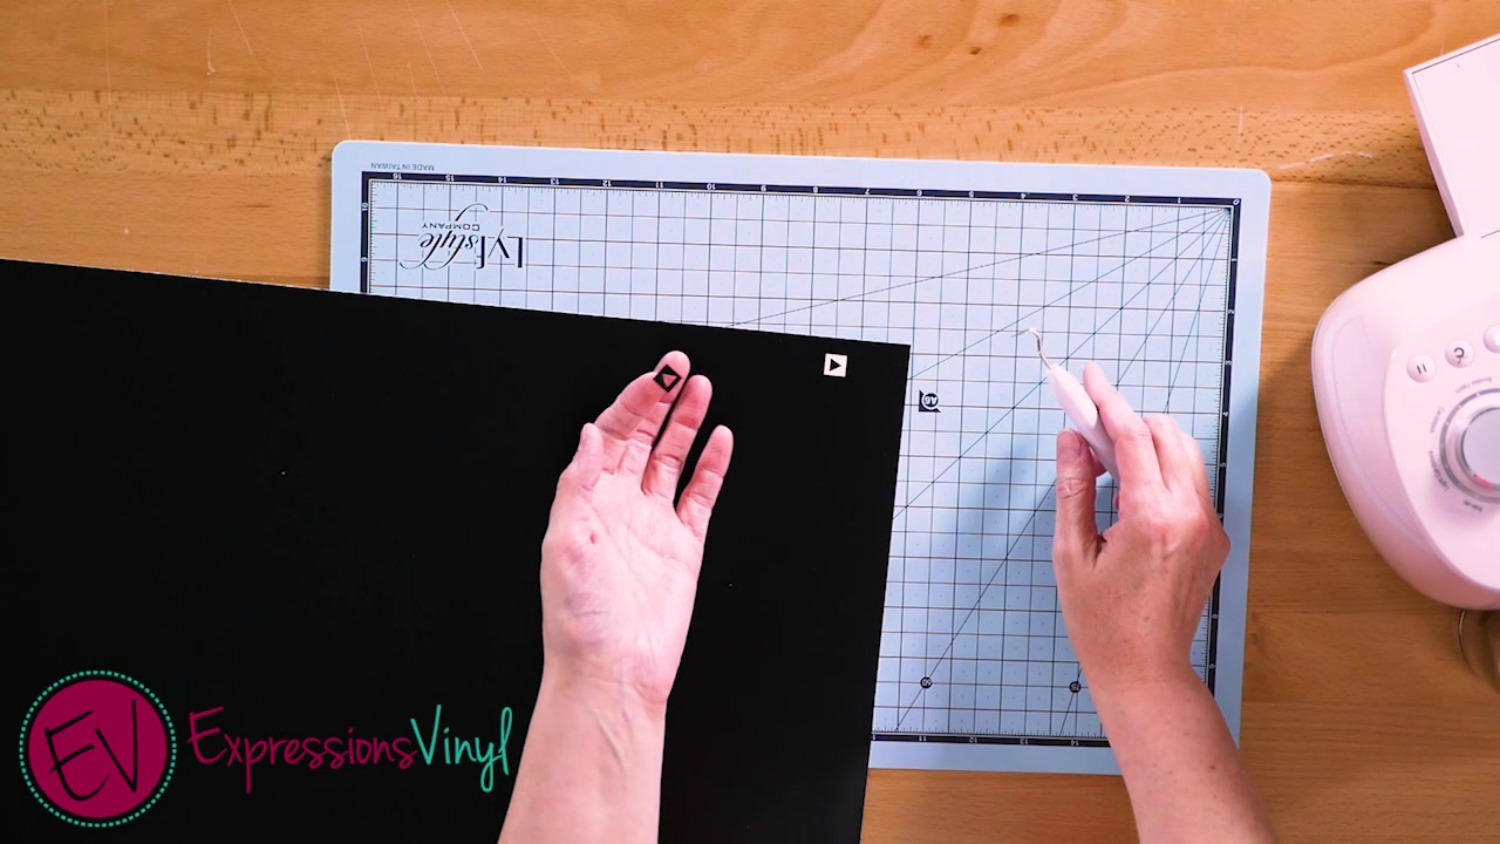
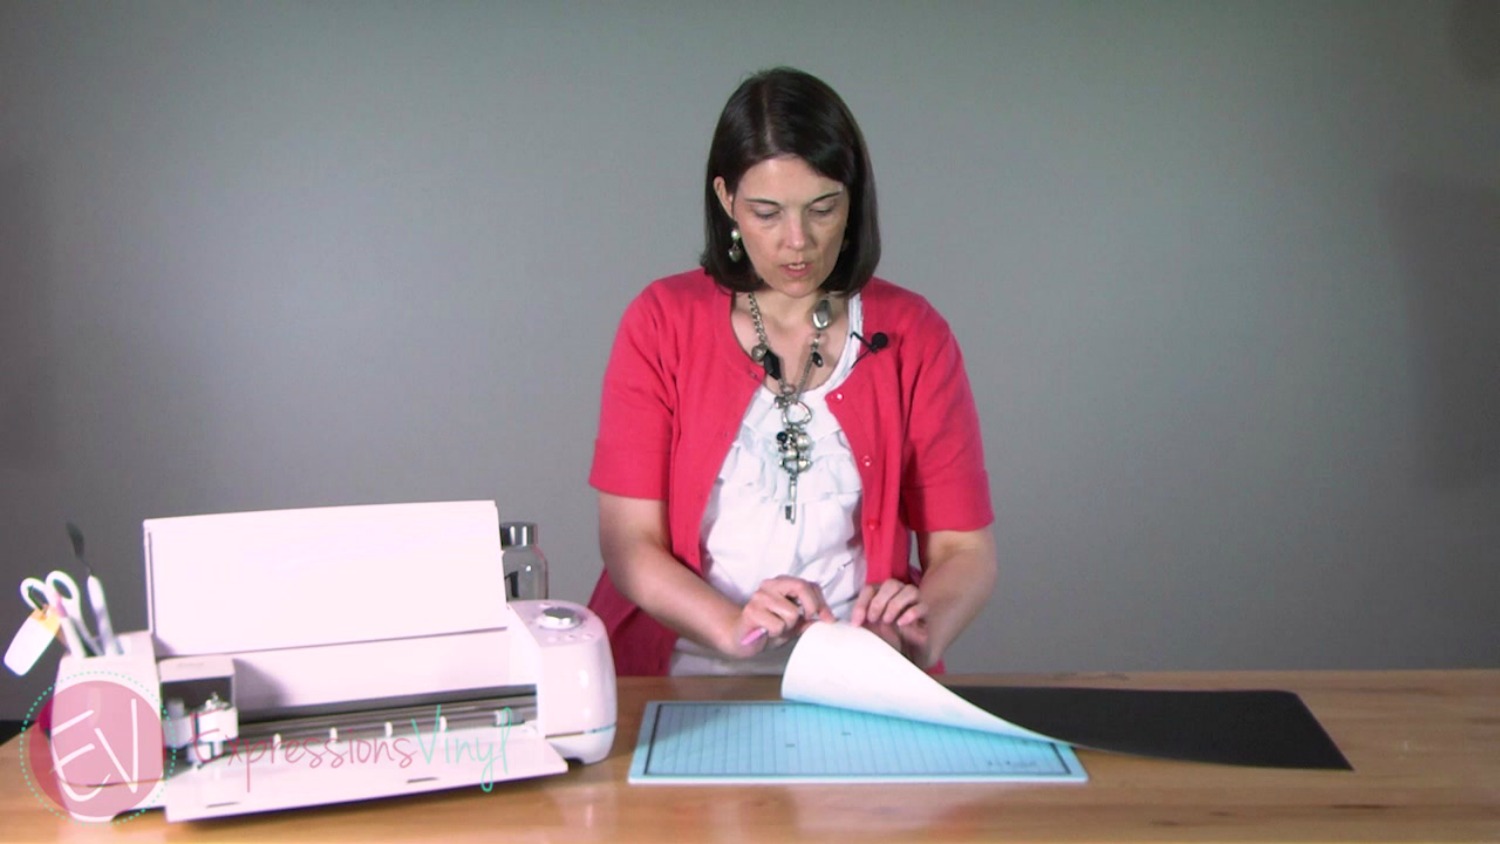
There you go, a simple test cut with your Cricut.

Recent Posts
-
NEW Holographic Eclipse Heat Transfer Vinyl
April 15th, 2024 3 Ways to Use the New Holographic Eclipse Heat Transfer Vinyl from Siser …Apr 29th 2024 -
Hop into Spring with Cute Easter Vinyl Crafts
Do you love our Vinyl? Sign up for Vinyl Club today to get FREE vinyl and save big! …Mar 28th 2024 -
Fixing Wrinkles and Bubbles in Vinyl
How do you get air bubbles out of vinyl? There are a few different ways to ensure a flawless …Mar 26th 2024

