
Food signs with printable vinyl
Do you remember that dog toy proposal I made for my brother about a year ago? Well, the wedding is quickly approaching and I'm helping plan the details for the rehearsal dinner. We always invite all of the out of town guests to join in the festivities too so it's nice gathering before the big day.
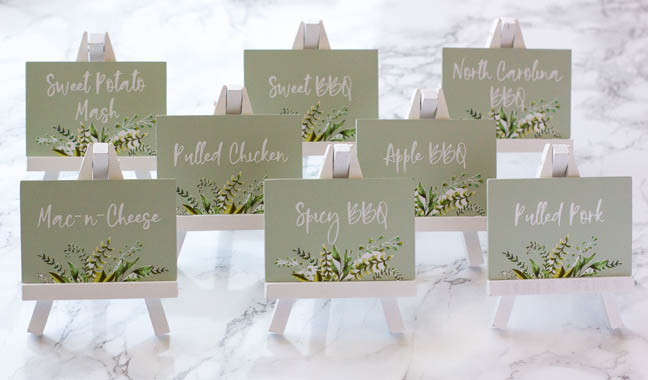
We're having it catered by a local barbecue vendor well known for their delicious food. Of course I have to add a special little touch to the food buffet labeling all of the yummy options in each tray since most of the items will look similar to each other.
What's really fun is the rehearsal will be at the wedding venue! They rent the place out for the whole weekend so it's easy to get everything ready. How brilliant is that?!?
I'm going to show you how to turn simple little easels I found at the Target dollar spot a few month ago into well coordinated food signs.
The Supplies:
- Mini Easels or any substrate of your choosing
- Vinyl
- Printable Vinyl
- Transfer Tape
- Weeding Tool
- Application Tool
- Printer
- Electronic Cutting Machine (I'm using a Silhouette CAMEO 3)
- Scissors/Knife
I'm using a gorgeous graphics file for this project. First, open it up in Silhouette Studio.

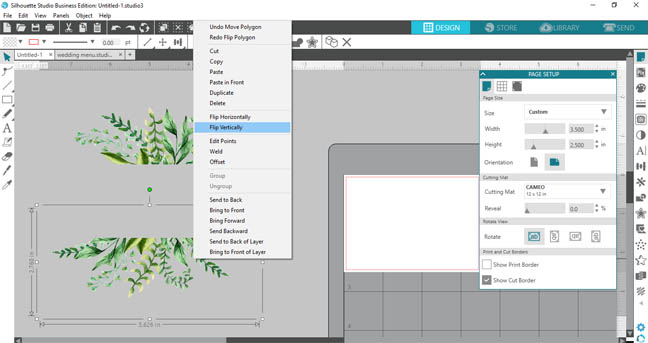
I used the knife tool to cut it apart in the center so I had two flat edged designs to work with.
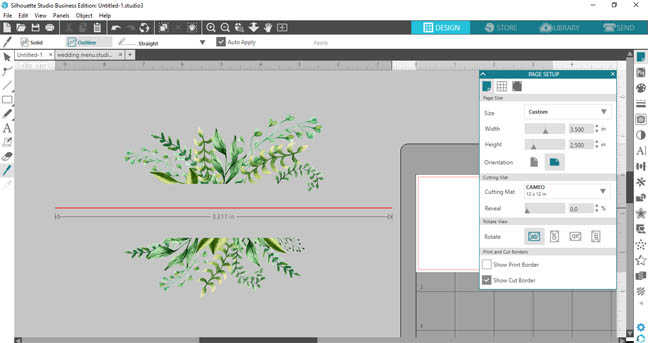
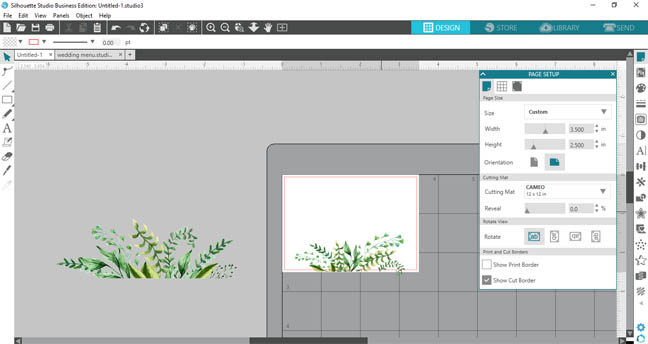
I made the canvas size the same as the mini easels so I could scale the images to fit.
Next, add the words in! I originally used Blushing Font but when I went to cut it discovered the edges were really uneven and it would have taken about 2 hours to cut (boo!) so that font will be best for a printed project instead of a cutting one. I switched to Bold Brush instead and it cut perfectly.

Type out all of the words and then weld them. Script fonts will cut each individual letter out if you don't do this step and no one wants ruined vinyl! Don't forget to group them back together into the various words.

Lay the words out onto the design mat and send the design to be cut.

While the machine is cutting those words out let's finish designing the graphics portion.

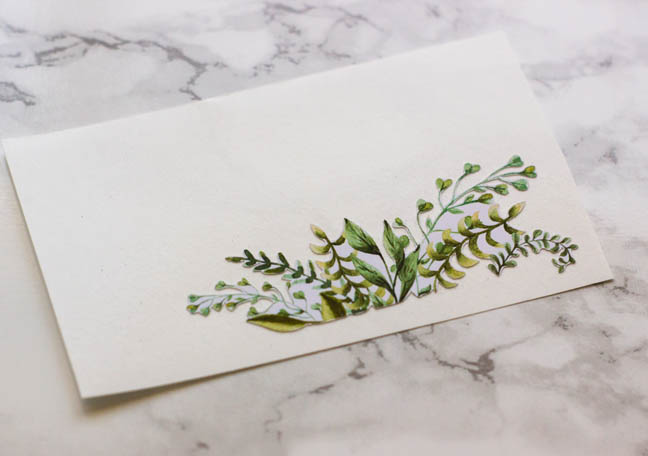
To make the graphics file into a cut image you'll need to trace it. I bumped the threshold all the way up to 100 to get the full yellow look, then select "trace outer edge".

Look at that beautiful red line wrapping around the edge! Group it together with the image so you don't accidentally move them apart. Repeat the process for the other image too.

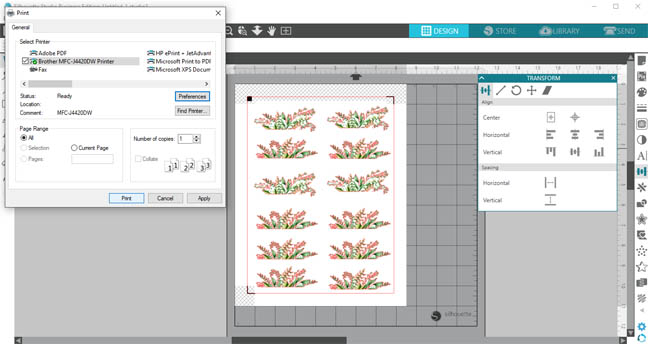
Fill up a letter sized page with the images leaving plenty of room around the designs for you to cut them apart. I always make a few extras in case I tear one while removing the sticker from the backer paper.
Then send it to be printed and remember to turn the registration marks on. Load the printable vinyl into your printer making sure that it will print on the matte side, the shiny side is the backing paper.

It prints so beautifully!!!

Load the printable vinyl onto your cutting mat and send it to be cut.
While that cuts (it will take awhile!) cut apart the vinyl words and weed away the extra vinyl.
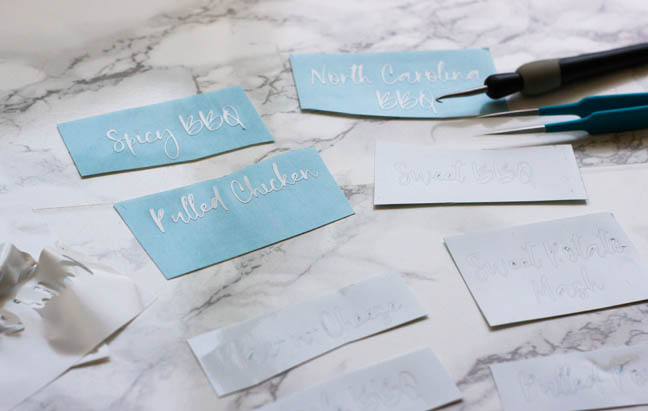
I found the best way to weed the printable vinyl was to cut the images apart, then weed away the extra vinyl leaving the image on the backing paper.
Next, very carefully peel away the stick from the paper. Seriously take your time because of all the fragile cuts!!
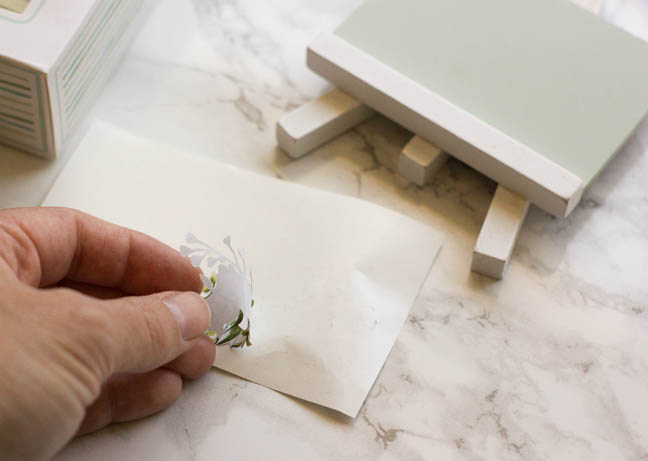
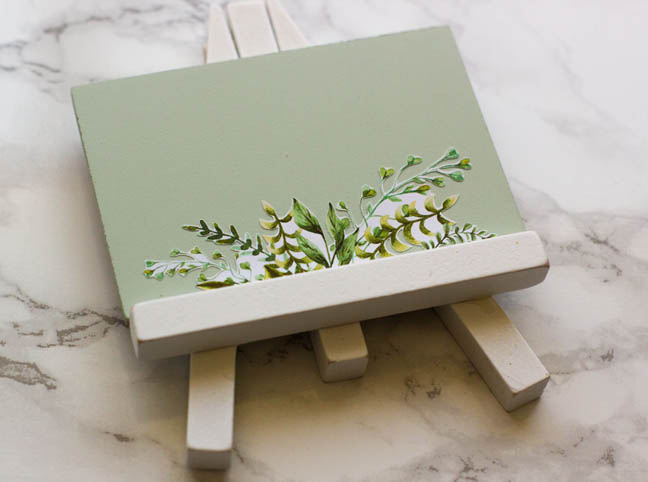
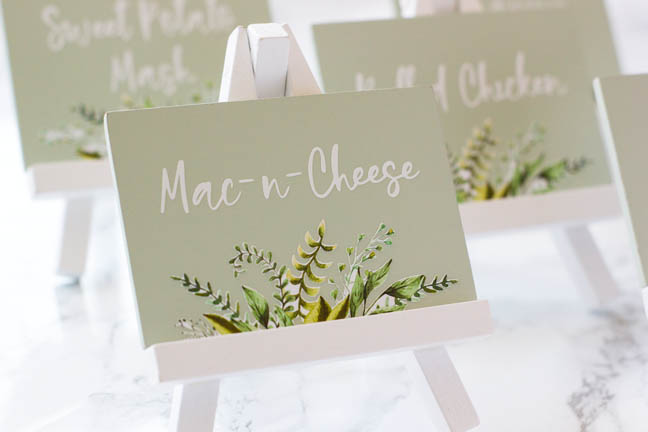
Then simply attach the sticker onto the easel using your fingers to press it to the surface.
Cut a piece of transfer tape to fit the vinyl words and attach it over them using your application tool.
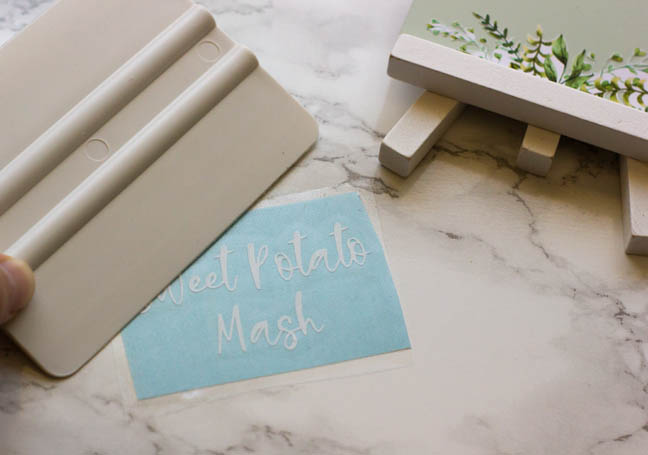
Now transfer the words onto the easel. Use the application tool and your fingers to get a firm grip and peel away the transfer tape. You can reuse the same piece for all of the words!!
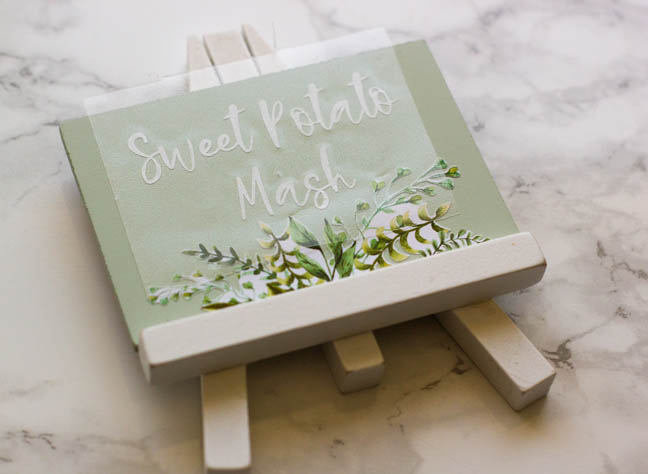
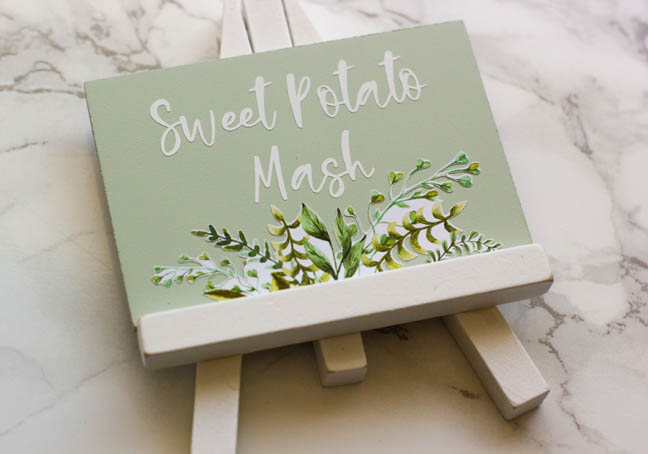
There you have it!! One food sign label made, the rest to go.
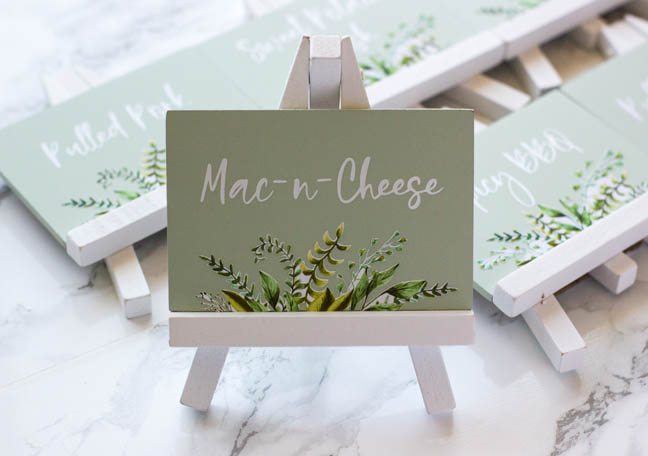
And now for all the pretty final photos!! These are going to look great on the buffet table and they really support the overall theme and look of the wedding. It's all of these tiny details that really pull it all together and it only cost about $10 in supplies to make. Weddings can add up quickly but if you DIY fun details like this it can help save those pennies for a better honeymoon! ;)


Recent Posts
-
NEW Holographic Eclipse Heat Transfer Vinyl
April 15th, 2024 3 Ways to Use the New Holographic Eclipse Heat Transfer Vinyl from Siser …Apr 29th 2024 -
Hop into Spring with Cute Easter Vinyl Crafts
Do you love our Vinyl? Sign up for Vinyl Club today to get FREE vinyl and save big! …Mar 28th 2024 -

Fixing Wrinkles and Bubbles in Vinyl
How do you get air bubbles out of vinyl? There are a few different ways to ensure a flawless …Mar 26th 2024