
How to do the Knockout Feature in Silhouette
Materials
- Bandana
- Heat press or iron
- Dog Paw with Hearts image by Sandi Idleman ID#99365
- Beyond the Mountains font from Dafont
- Stripflock Grey
- Easyweed Electric Cherry
- Glitter Jade
- Siser Weeding Tool
- Multi-use paper
Hi Everyone, it’s Amy with expressionsvinyl.com and today I customized a dog bandana using the knockout method. If you’re not familiar with the knockout method, no worries. The knockout method gives the image a multi-layered looked but what it does is cut out the bulkiness as if you were to layer upon layer. That’s one of my favorite things about using the knockout method because you reduce the number of layers into one.
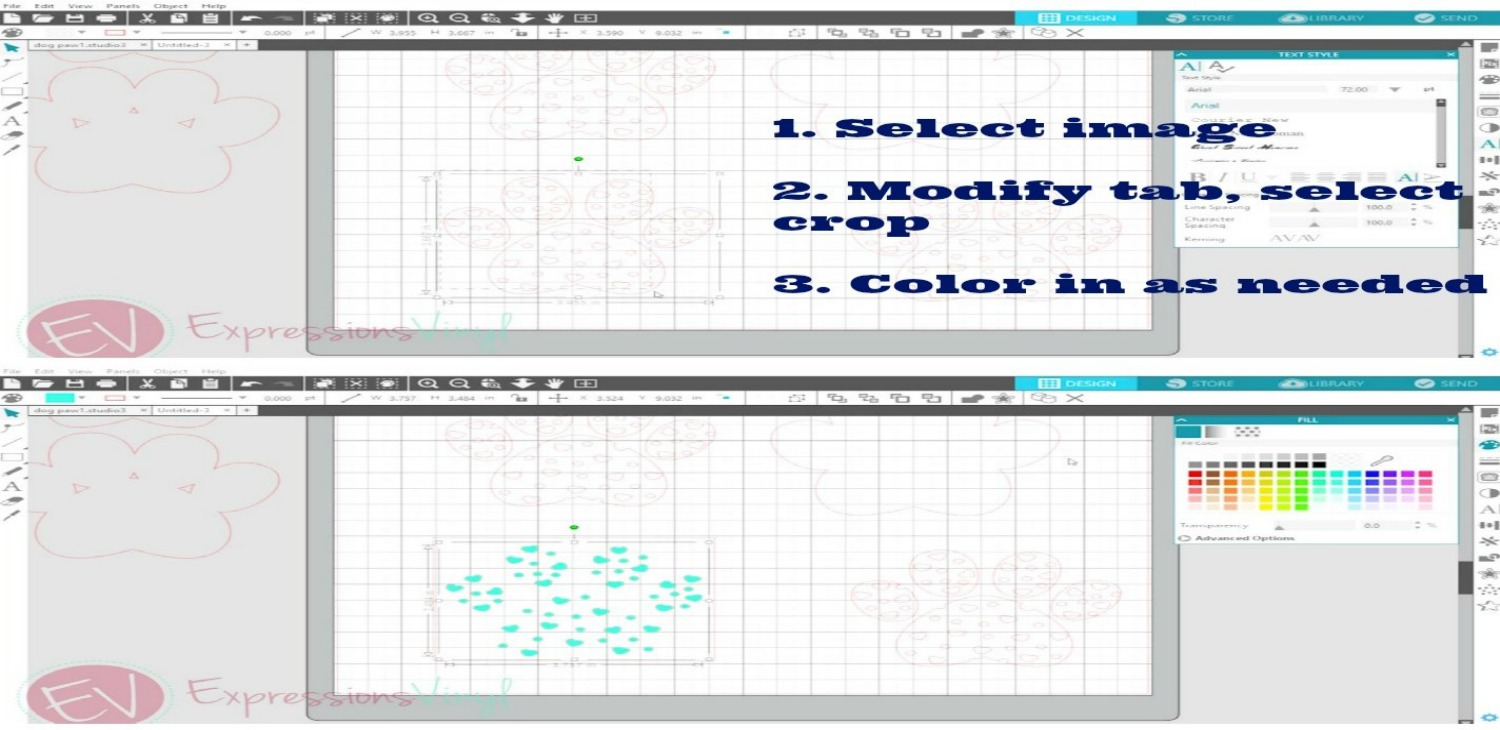
The image I used for this project is “Dog Paws with Hearts” from the Silhouette Store. When you upload this image, it will give you four dog paws. I only needed two of the dog paws; the outermost layer (also looks like the offset layer) and the paw with the hearts and circles. I removed the circles and filled in those empty spaces with more hearts.

The first thing I did was duplicate the paw with the hearts. With the duplicated image, we are going to crop so the outer lines of the paw shape can be removed. To crop, right click and select ‘ungroup.’ Right click again and select ‘release compound path.’ Go to the modify tab and select crop. We just want the hearts so it can be cut in the glitter Jade. After that is done, group the hearts, place a weeding box, and set aside. You can also color in the hearts to match the color of vinyl you are using.
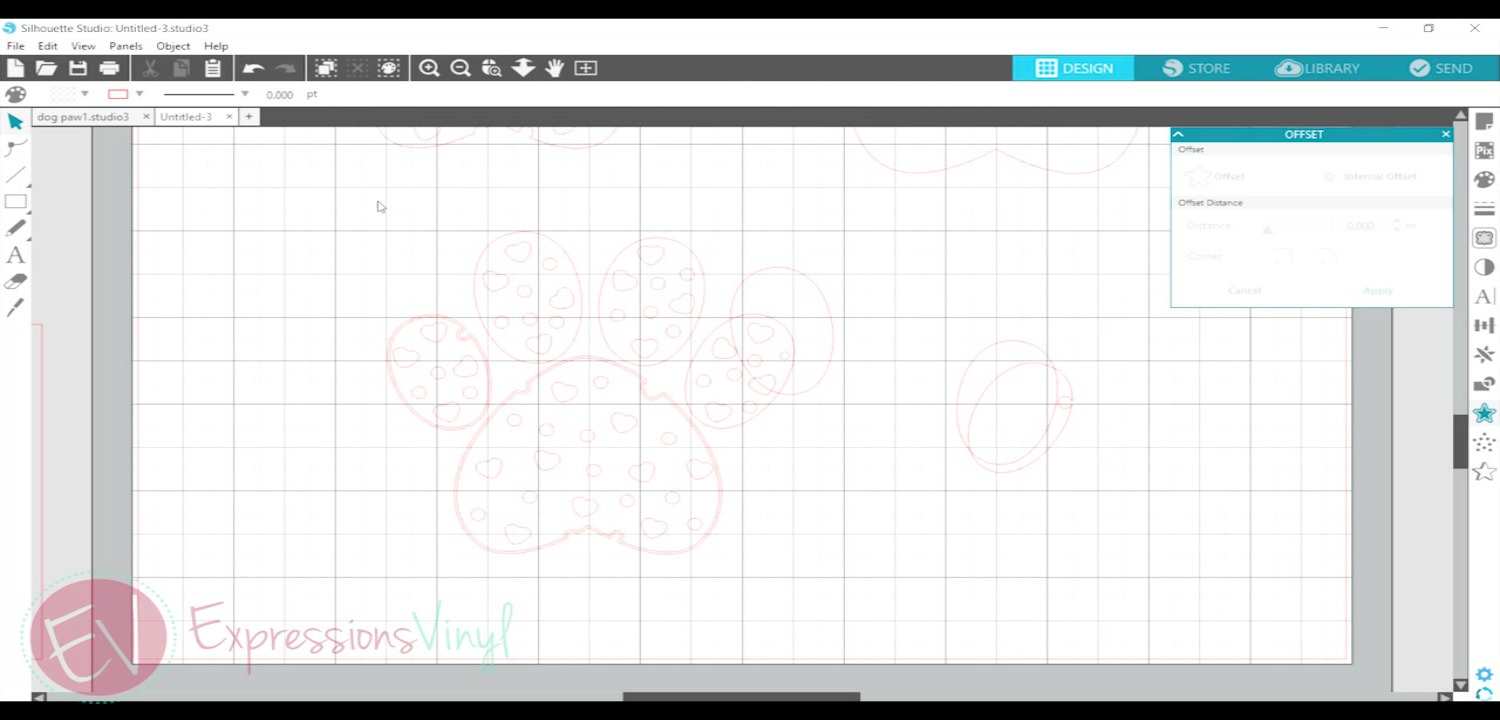
Go back to the original paw with the hearts and duplicate that image and place a weeding box around it. This is the middle image that will be in the cherry EasyWeed Electric. An alternative to this would be to offset this layer. When I first pressed this image, the cherry EasyWeed Electric shrunk a little bit so there were some extra spaces when I heat pressed the Stripflock layer. The key to fixing that was to offset this middle layer to a 0.025. Make sure to ‘ungroup’ and ‘release compound path’ to be able to remove the inner layer. After that, regroup the entire image and place a weeding box. Offsetting this layer gives it a little bit more extra space so when the Stripflock (outer layers) is pressed, you don’t have any empty spaces between both layers.
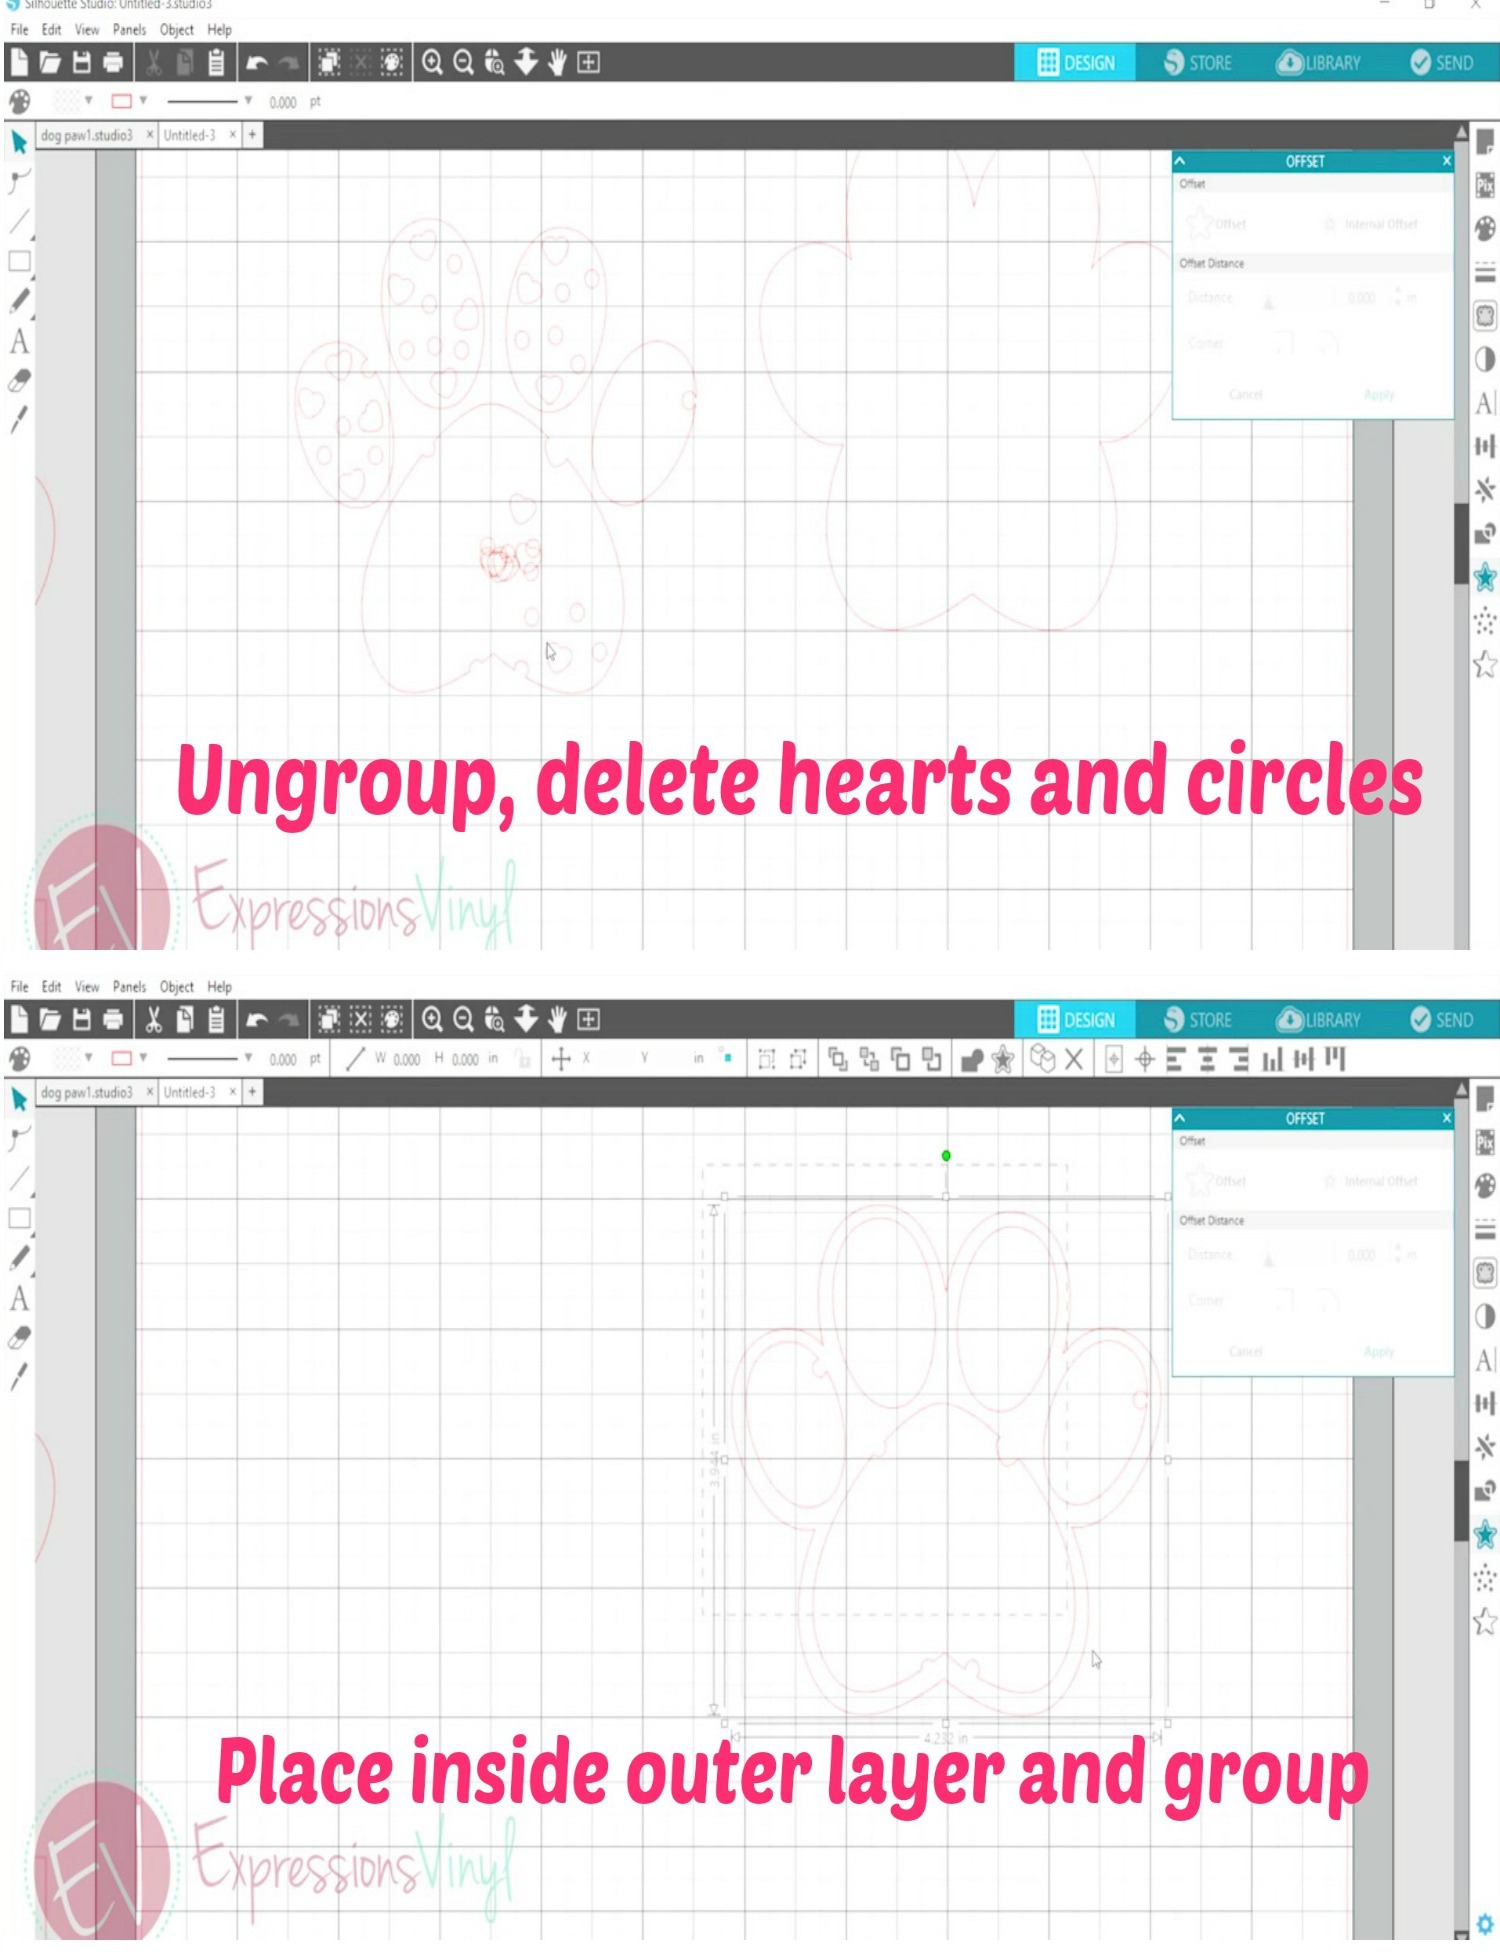
Next, ‘ungroup’ the remaining paw with heart and ‘release compound path.’ Delete all the hearts and circles then ‘group’ the paw. Then place this as the inner layer of the outer layer and ‘group’ the entire image. Place a weeding box and it will be ready to cut using the grey Stripflock.
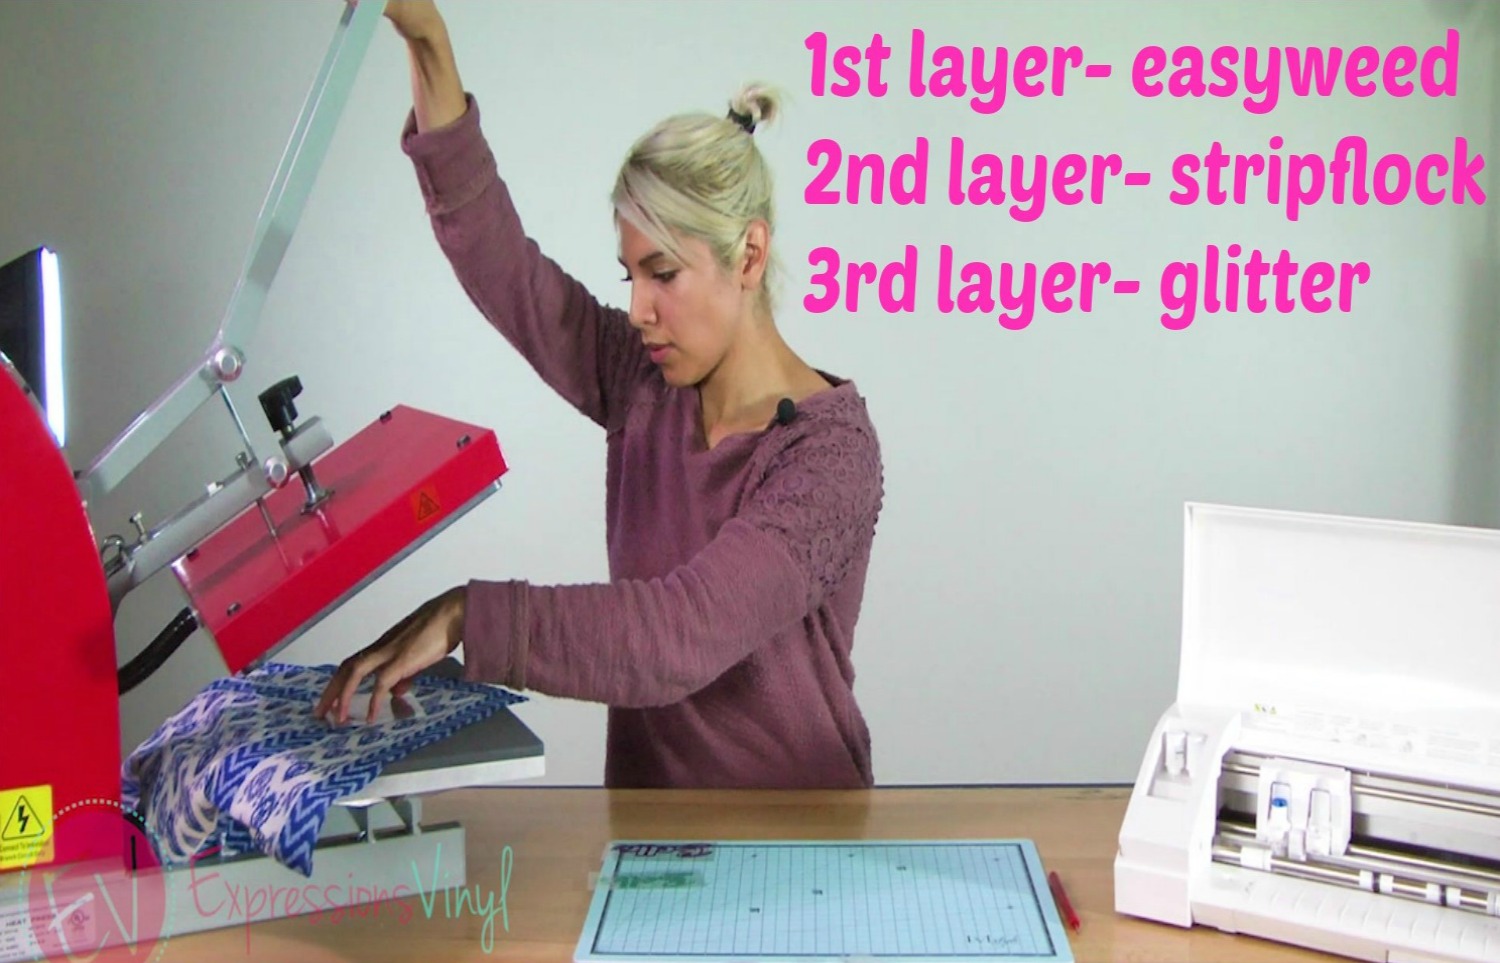
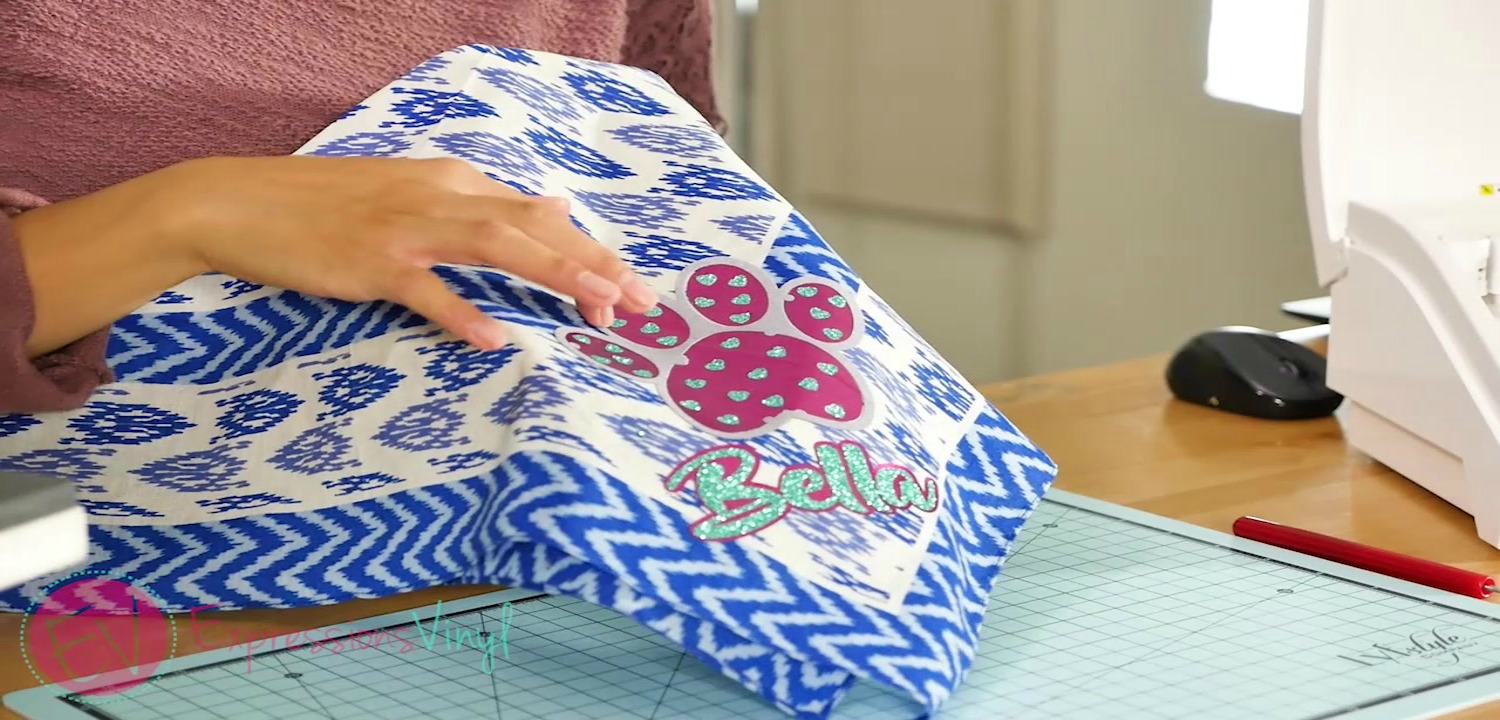
Once the cutting and weeding was complete, I quickly pressed the bandana for a few seconds before placing my images. The first image I then pressed was the middle layer (cherry EasyWeed Electric). Then the outer layer (grey Stripflock) followed by the glitter Jade for the heats layer.
It’s optional to add a name and that can be done however you’d like. I used the cherry EasyWeed Electric and glitter Jade vinyl by offsetting the name Bella. Make sure to mirror this image so it reads correctly when pressed. For the other images, you don’t necessarily need to mirror because they look the same mirrored or not.
There you have it, one way to use the knockout method!

Recent Posts
-
NEW Holographic Eclipse Heat Transfer Vinyl
April 15th, 2024 3 Ways to Use the New Holographic Eclipse Heat Transfer Vinyl from Siser …Apr 29th 2024 -
Hop into Spring with Cute Easter Vinyl Crafts
Do you love our Vinyl? Sign up for Vinyl Club today to get FREE vinyl and save big! …Mar 28th 2024 -

Fixing Wrinkles and Bubbles in Vinyl
How do you get air bubbles out of vinyl? There are a few different ways to ensure a flawless …Mar 26th 2024