
How to layer vinyl when you can't see through the transfer tape
Hey guys, It's Jessica over ExpressionsVinyl.com and today I want to show you how to layer a project when you can't quite see through the transfer tape.
It's no secret that paper transfer tape is my favorite. It's really easy to work with and releases perfectly. So when you've got tight little lines that you need to line up and it's really obvious if you're off, I've got a trick to do that so it's lined up perfectly.
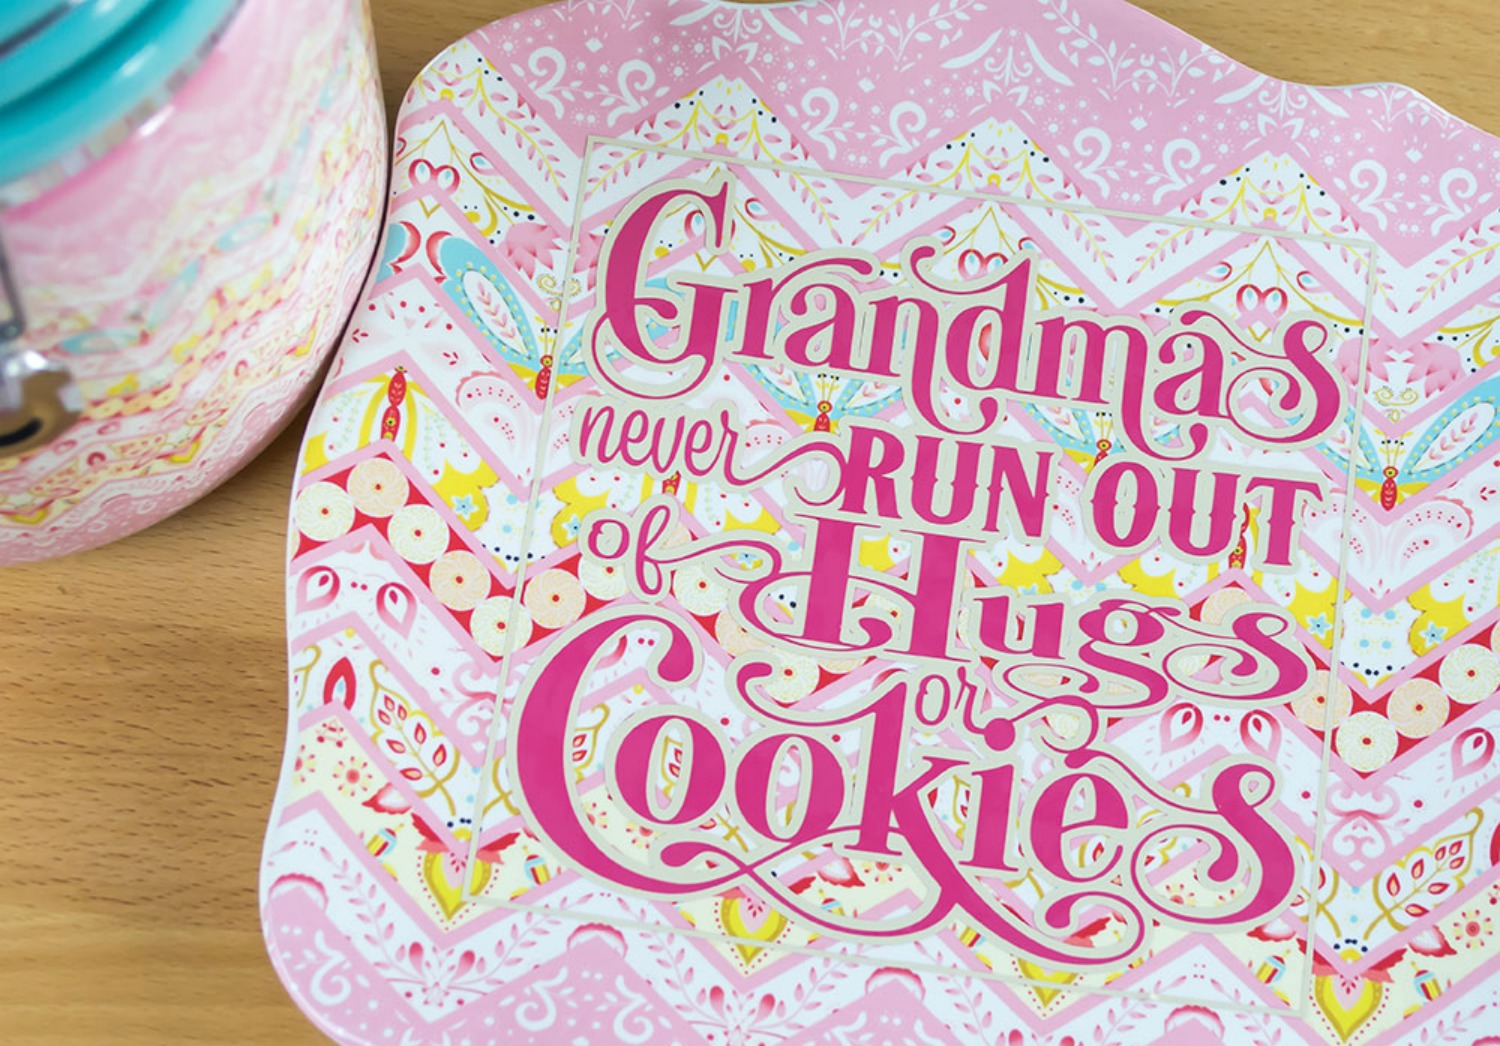
I've got one already set up, so you can see my different layers. I've got my beige layer and then my pink layer and what it will look like finished. (This is the silhouette Studio software)
![]()
I'm going show you how I did that! The first thing I want to do is make a weeding box. You just draw a box using the rectangle tool and then you can go in and adjust it with these little squares.
![]()
Once you click on the box and you see the two arrows, you can make it shorter or bigger or whatever you need, just make sure it surrounds the project.
I'm going to select the whole project and go up to Replicate window and then duplicate it to the right and duplicate it to the right again.
![]()
I'm going to make a little space in between each one. I'm just selecting everything and then using my arrow keys and dragging them over a little bit. Then I'm going to select the whole thing of the first one and then group it together. And this one is my master copy! (in case I mess up!)
![]()
Now I just take out the all the pink in one layer and all the beige in the other layer (just clicking on the color and deleting)
![]()
![]()
And you'll notice I still have my weeding box around each design. Since we copy and pasted them, they are exactly the same size and this is the whole trick to lining everything up. So you want to make sure those stay exactly the same size. I'm going to go over the pink one and I'm going to group it together and then I'm going to click on my beige one and group it together. I don't want anything to get accidentally shifted because that will mess up the layering.
![]()
Then I just pull off the beige and cut out my pink one ( I am using 631 in lipstick for the vinyl) and then after I cut him out, I'll drag the other one on the mat and now I am ready to cut out my beige piece.
![]()
I've got these pieces already cut out for you and I've already weeded them out. I've got my little weeding box around each design. I've got two different ways you can do this. So we'll start with the first one, the quick one.
I'm gonna take my blade here ( you can use scissors) and I am just going to trim right on that line that we made with our weeding box.
![]()
You will want to do this very carefully and make sure you're right on that line because you don't want to mess up the size of the box. Trim out both layers. The pink one is my top layer and the beige one is my bottom layer. We are going to start by putting the transfer tape on our top layer.
![]()
Okay and we'll just rub this down with our application tool.
![]()
And then we're going to trim that out so it's right on that line we just cut.
![]()
you can also put the transfer tape on before you trim out those lines. But sometimes it's easier to see if you cut them before, trim out your piece and then put on the transfer tape.
Okay, so we're just gonna go right along those little weeding box we made and now I'm gonna peel off the transfer tape... From the paper backing and then I am just gonna eyeball this and line up my edges.
![]()
So if you line up one corner and then line up the bottom corner, since our boxes are exactly the same, you've got a perfectly lined up little piece of vinyl and now you're ready to put both layers on your project.
So now I'll show you the other way and this is the way I do it if I have a big piece and I really want to make sure it's lined up,
So again, we're gonna trim out right along those weeding boxes. And again, you can use your whatever your favorite tool is. I happen to like this box cutter. People think it's crazy, but I use it for weeding and cutting and works good for me. But if you're more comfortable with scissors and a weeding tool, go for it.
![]()
After both layers are trimmed, we're gonna put transfer tape on top of our top layer.
![]()
Rub that down and then trim that out again. You want to go slow. Make sure you get those edges just right. You don't want to cut into your project or cut off your corners because you need those for lining up your pieces.
![]()
Okay, we've got that all trimmed out and now I'm gonna line these up and you can hold it up and put it in the light to see, but they should be perfect with your squares from your weeding box.
![]()
I'm going to lay it on the table.
![]()
I'm going to take another piece of transfer tape and I am gonna lay this across half of it. And if this were a bigger project, I'd put it in the middle.
![]()
So you want to make sure you're still nice and now we're gonna lift up our first pink layer halfway and peel that backing paper off.
![]()
and then i'm going to tear off the backing paper and then just lay that back over.
![]()
So you've got half of it lined up. And then we'll take up the other half and do the same thing, just carefully peel off that backing paper and lay down your vinyl and now it's perfectly lined up and ready to place on your project.
![]()
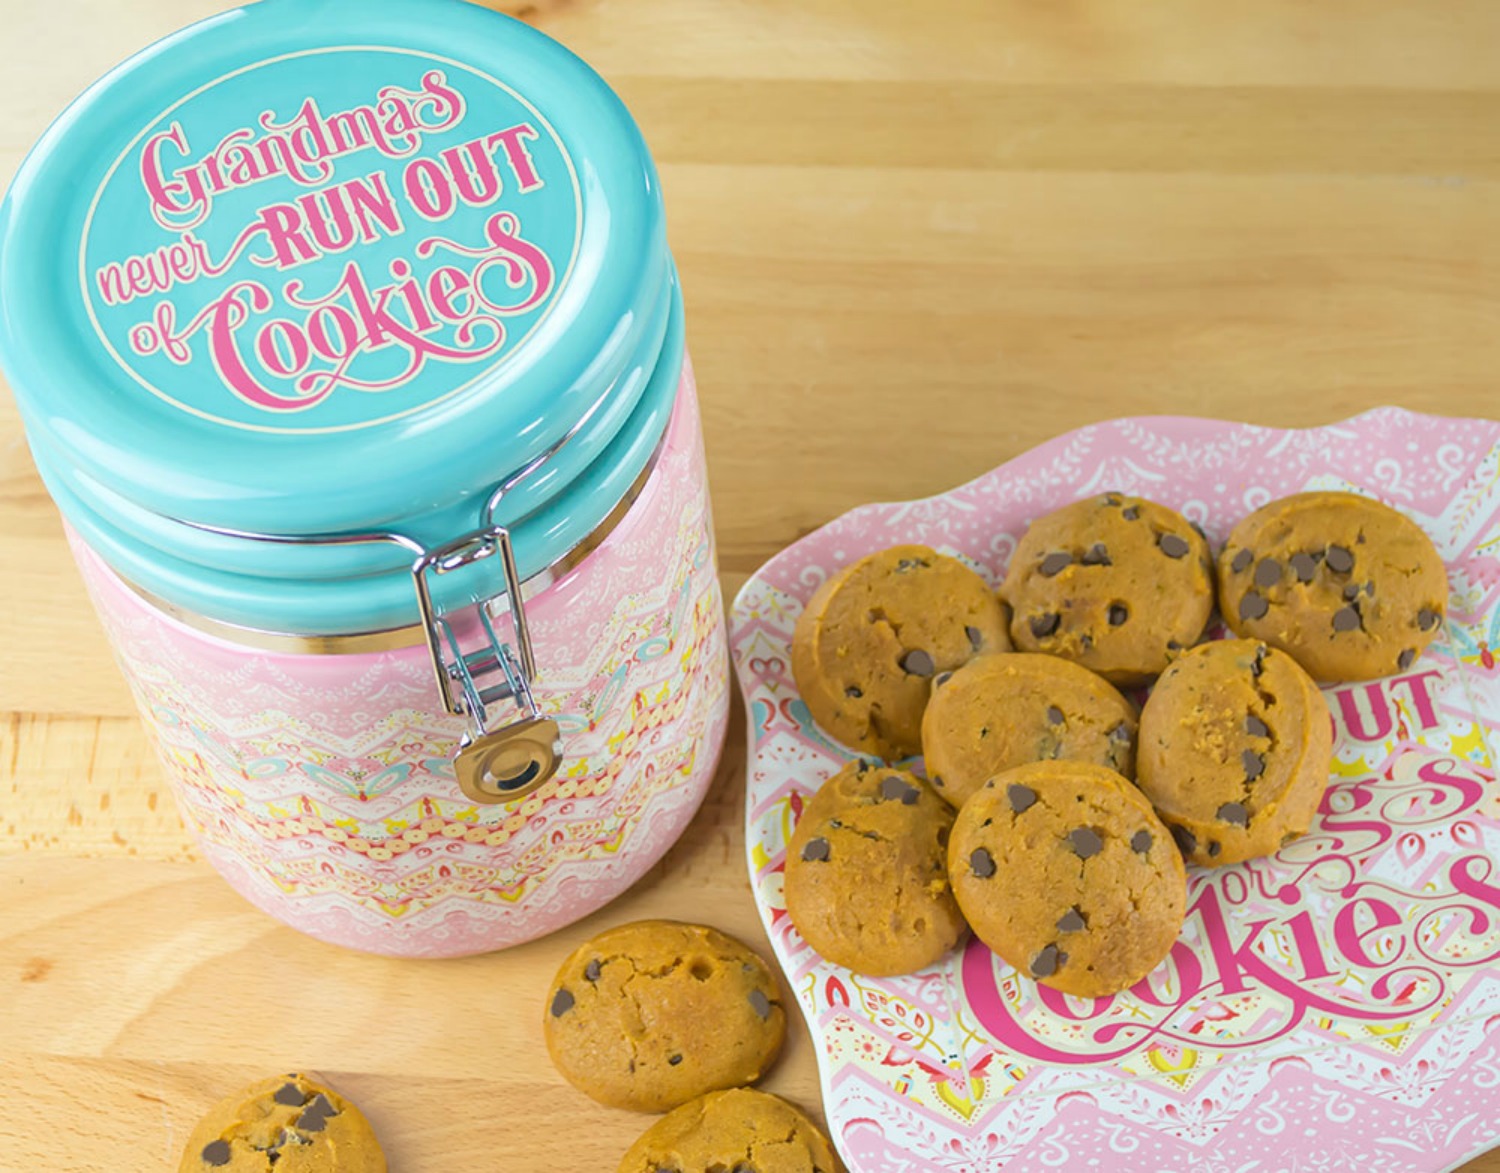
Then you can just apply it to your project!
and that is how you get perfect layers every time.
Recent Posts
-
NEW Holographic Eclipse Heat Transfer Vinyl
April 15th, 2024 3 Ways to Use the New Holographic Eclipse Heat Transfer Vinyl from Siser …Apr 29th 2024 -
Hop into Spring with Cute Easter Vinyl Crafts
Do you love our Vinyl? Sign up for Vinyl Club today to get FREE vinyl and save big! …Mar 28th 2024 -

Fixing Wrinkles and Bubbles in Vinyl
How do you get air bubbles out of vinyl? There are a few different ways to ensure a flawless …Mar 26th 2024