
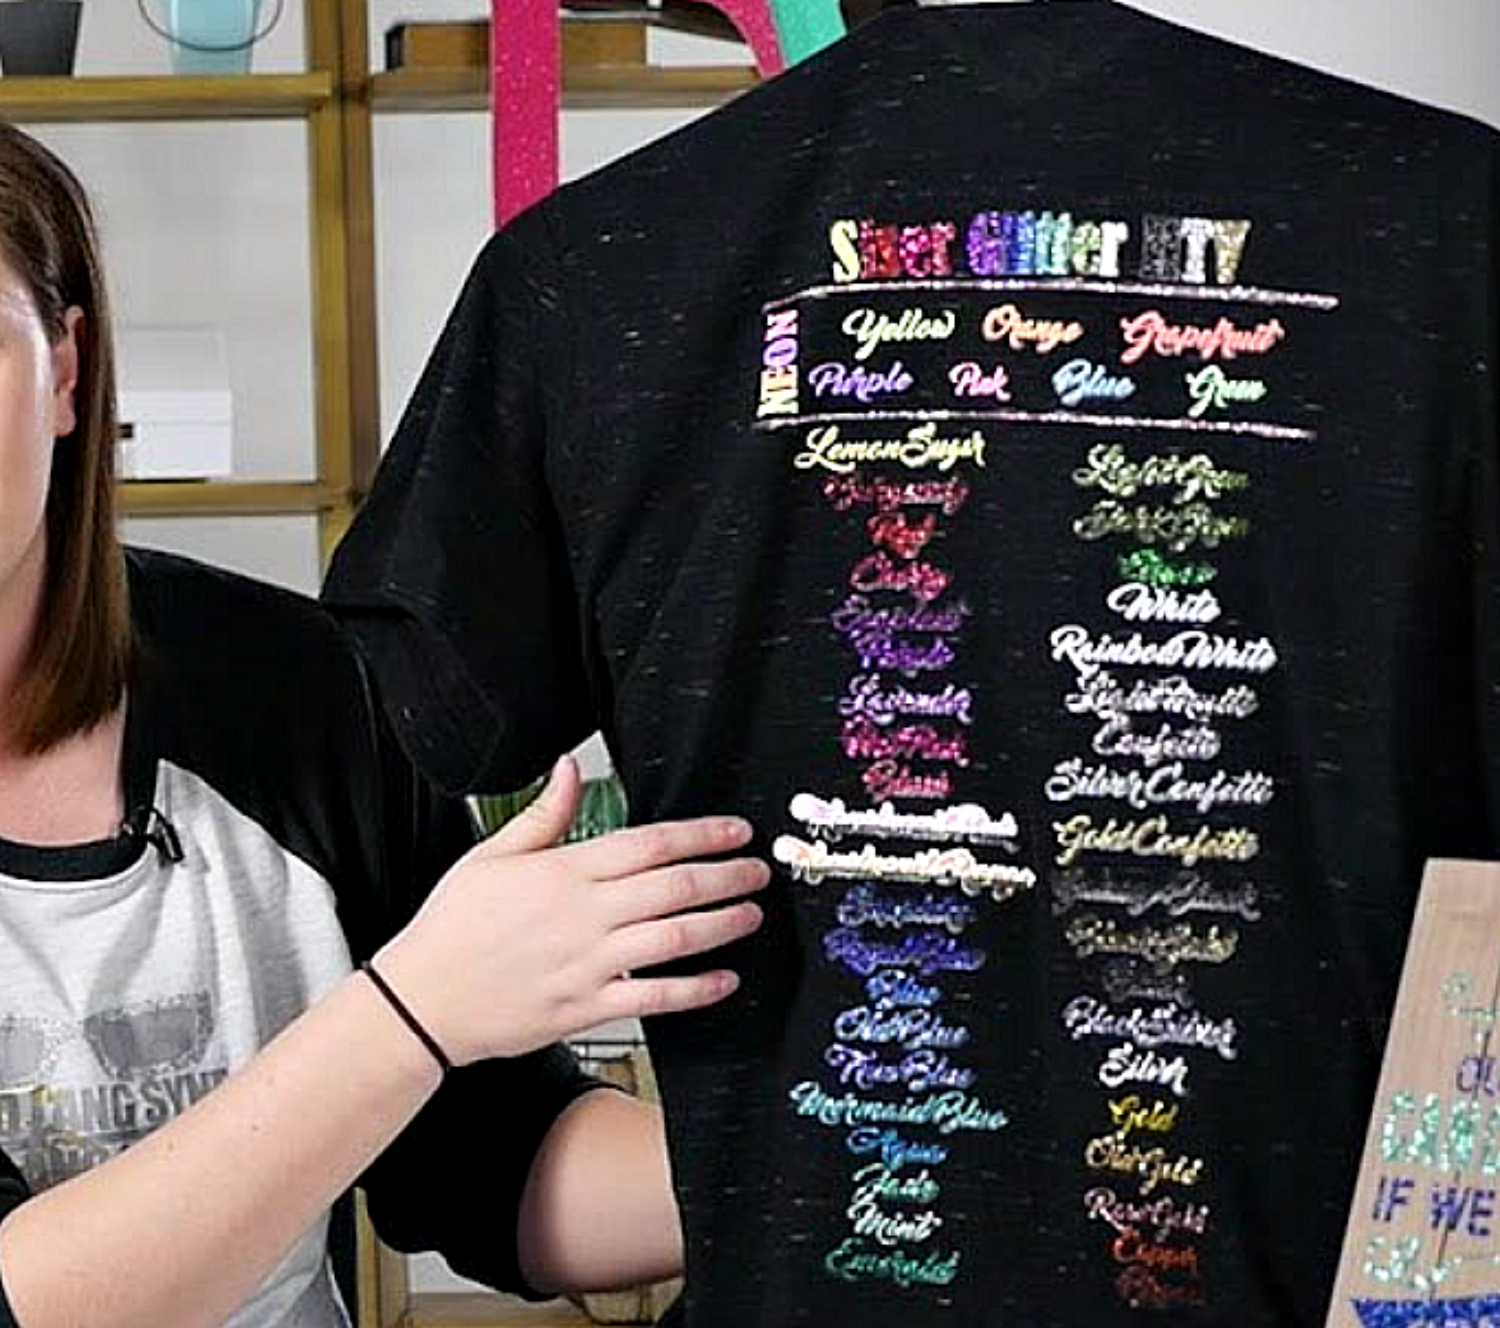
Siser Glitter Heat Transfer Vinyl
Hey Everyone, ExpressionsVinyl.com has so many fun Siser Glitter Heat Transfer Colors, Fourty-Seven to be exact.
If you find yourself being intimidated by the Glitter Heat Transfer, not to worry, we will give a some insite to the product in this blog, what expect and how to cut it.
It adds a fun texture to your projects, clothing, wood, canvas, any project you wish to Glitterize. Also, Glitter HTV is CPSIA Certified, so it’s perfect for decorating children’s clothing and accessories.
Lets get Started.
Like I stated above we offer 47 different colors: 7 Neons, 2 Translucents, and 38 colors from all across the Rainbow.
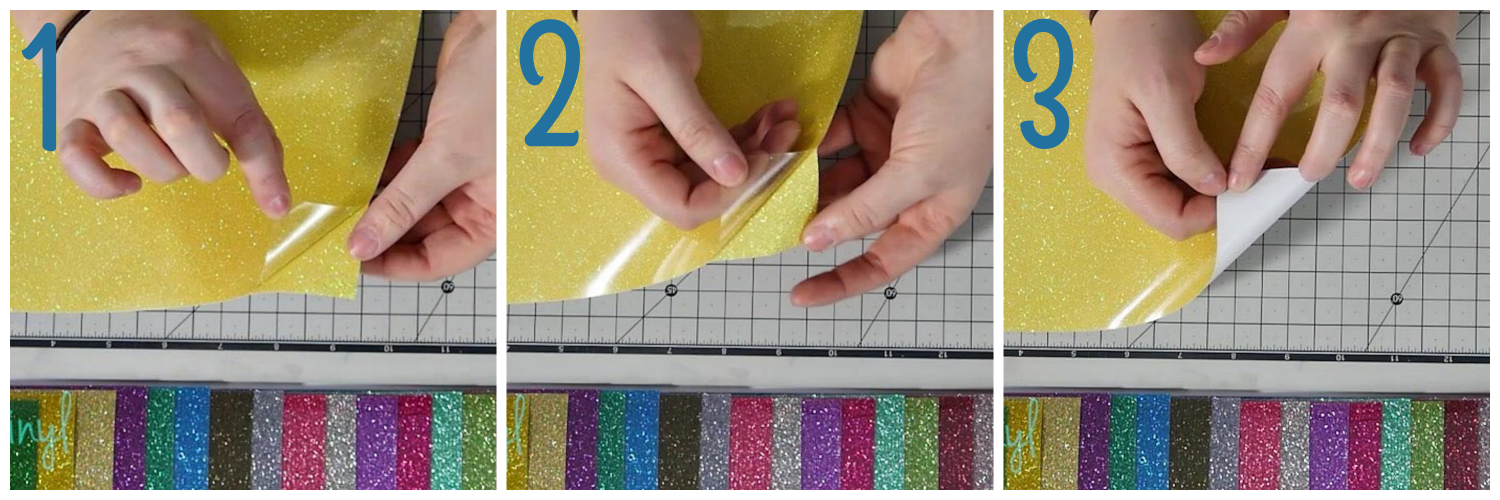
Siser Glitter Heat Transfer Vinyl consists of 3 layers:
1~ Clear Carrier Sheet: This clear Carrier sheets acts as your transfering material, holding your image in place after weeding is complete and a tacky side to hold securly to the project while applying.
2~ Glitter: These are embeded Glitter Flakes that will hold up in any wash and will not slowly washaway.
3~ Heat Activated Adhesive: The backer can be a faded color or white depeding upon the color chosen. It will not be sticky, but will require heat to activate the adhesive, making it easy to weed.
Cutting is always done with your image mirrored and cut on the adhesive side up.
Cut Settings for Cricut and Silhouette can be found here:


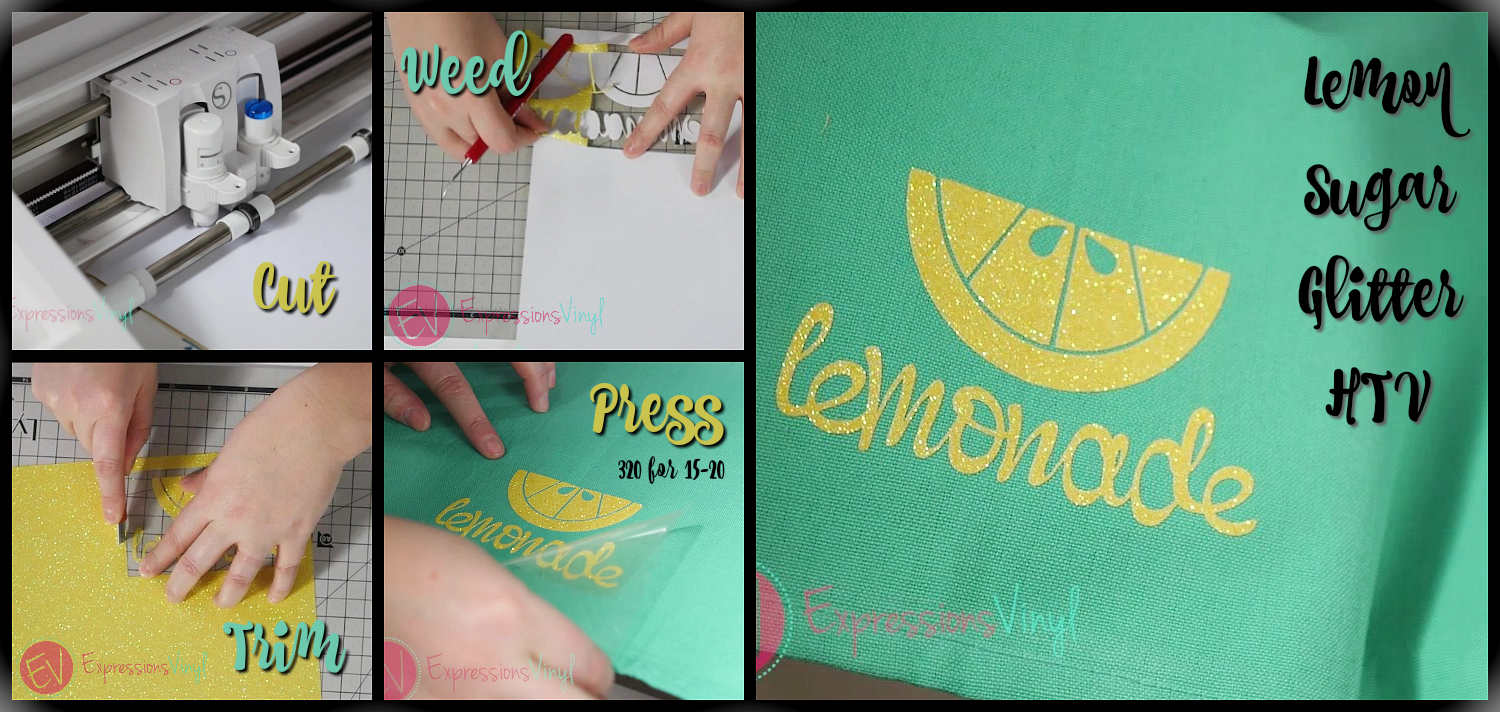
Pressing Temperature and Time for Siser Glitter HTV is 320 Degrees for 15-20 Seconds; HOT peel.
We have a few different projects to show you.
JoAnn added some Sugar and Spice to this cute little shirt and paired it along with some Siser Easyweed.
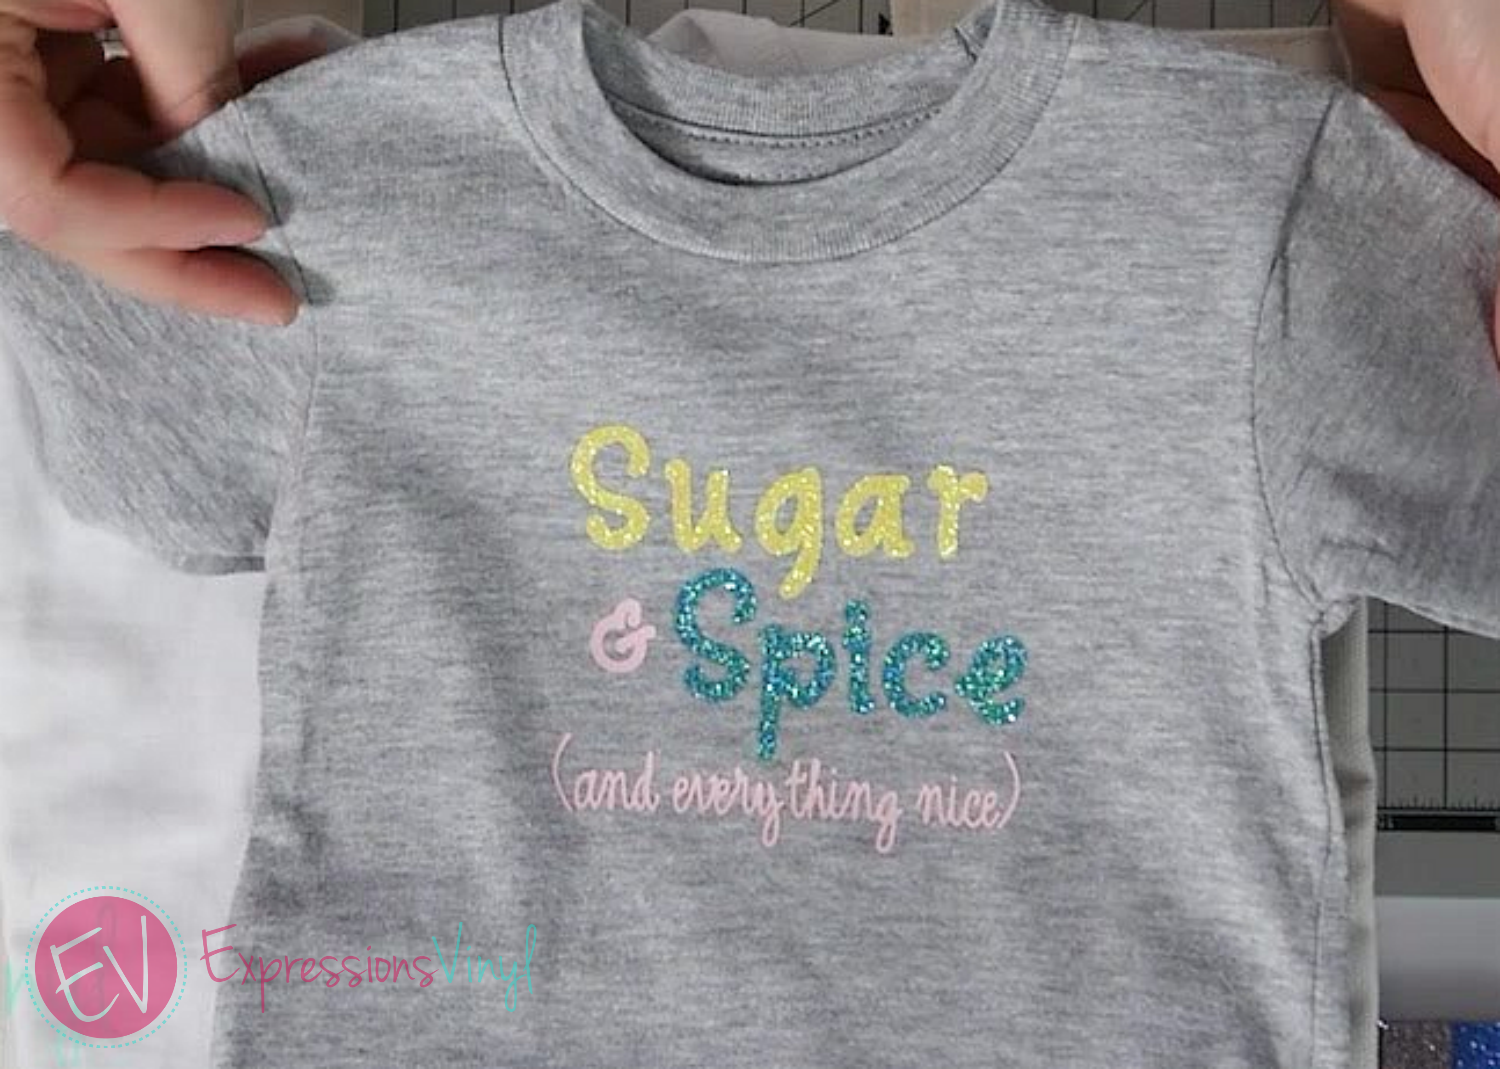
A good recommendation when pairing with other lines is to apply your Glitter and your Easyweed and bring the temperature down a bit. Since no layering is applied both lines can be pressed all in one.
Glitter Heat Transfer has a Heat Temperature of 320 Degrees for 15-20 Seconds. Since Easyweed is set to 305 for 10-15 Seconds. Meet your temps and Times in the middle. 315 for 15 Seconds.
To make JoAnn's Shirt you will need:
- Cricut Font~ Road Trip
- Vinyl~ Glitter HTV: Mermaid Blue and Lemon Sugar; Easyweed: Light Pink
Glitter Heat Transfer is a non-layer vinyl, meaning you can not layer Glitter onto Glitter, this can cause washing issues and adhesion complication. To Avoid this, see what Jessica did for this fun Shirt.

How cute is this, she incorporated our Siser Glitter Mermaid Blue to make a cute Mermaid shirt. If you notice, there is what looks like layered glitter, which in actuallity she used the Knock Out technique, which is a cookie cutter effect and give the look of being layered when really they are both touching the shirt. Check out our Blog on Knock Outs.
To create Jessica's Shirt you will need:
- Silhouette Design~ #187573 by Megan Hardy Designs
- Vinyl~ Glitter HTV: Mermaid Blue and Lemon Sugar
Glitter HTV can be layered however on Easyweed lines (Stretch and Electrics) and Striflocks. Starla Did this technique to make a reindeer with some Glitter lights and bow.
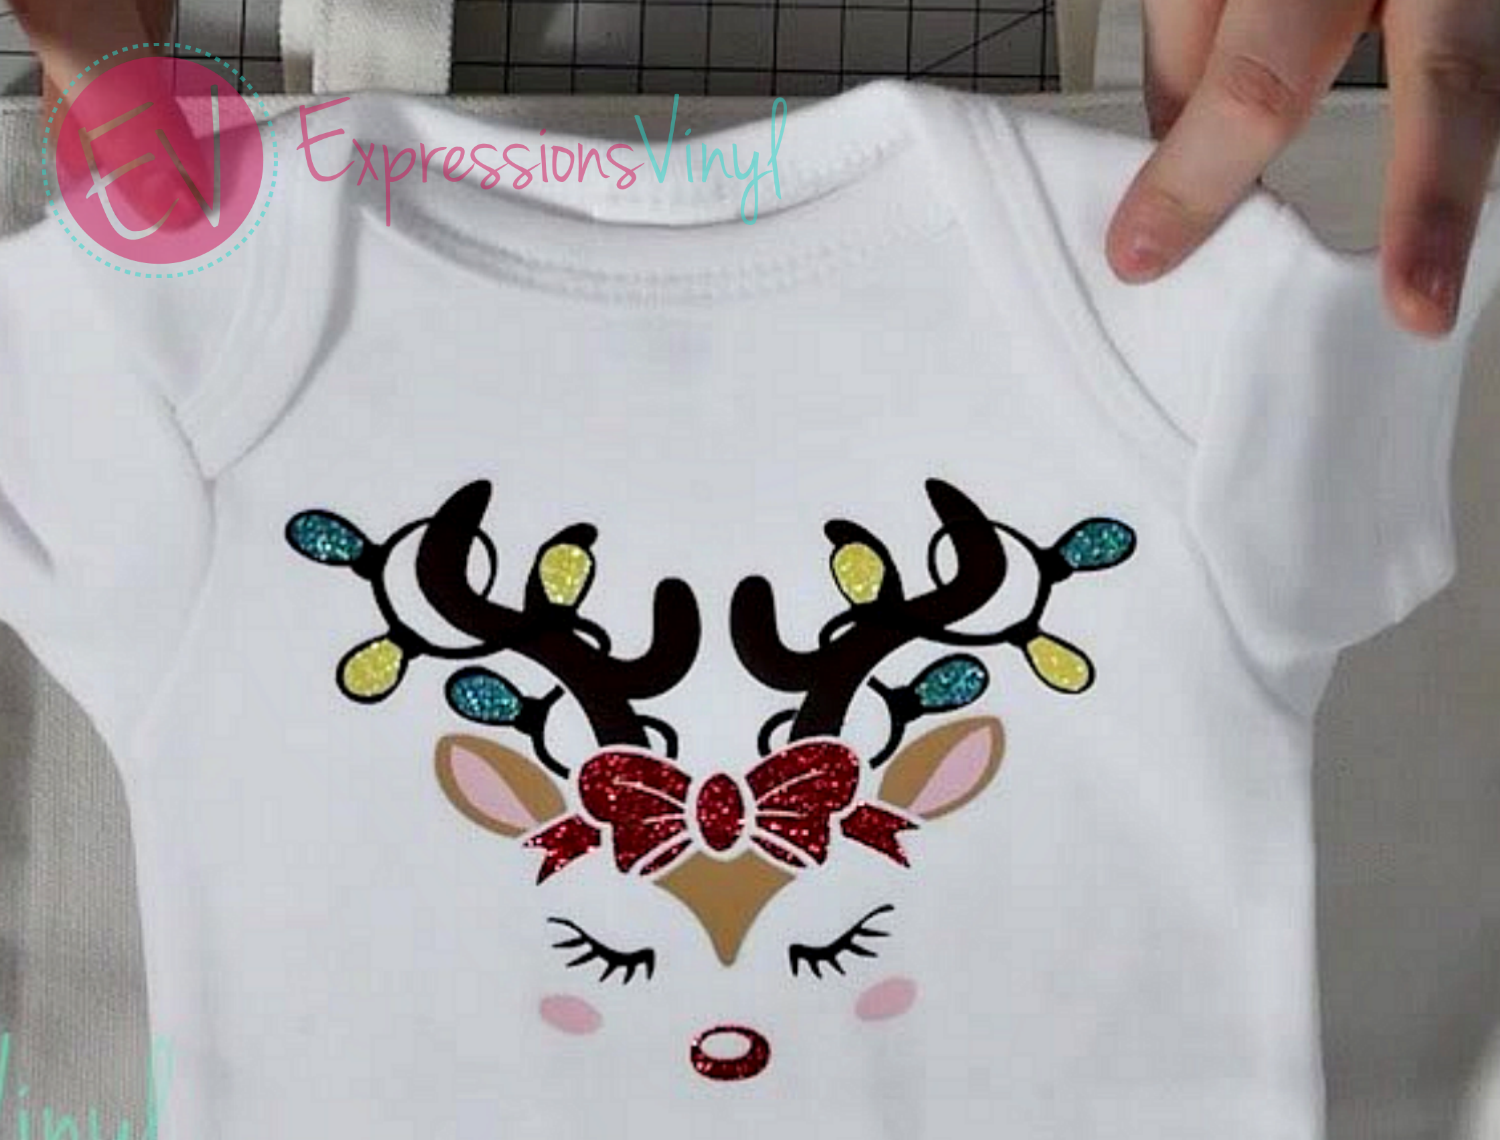
For this technique, a common mistake when layering multiple colors is the time. You do not want to do every layer at 10-20 seconds(depending upon type). The best way is to divide you time, if you have 6 differnt colors like this, you will want to do the first 5 for about 2 seconds equaling 10, then your last layer for the remaining time. In this case Glitter was last so it was done for 5 seconds bringing the whole total to 15. Right on point.
For Starla's Reindeer you will need:
- Image~Reindeer Face with Lights Etsy Shop:ModilySVG
- Vinyl~ Siser Glitter HTV~ Mermaid Blue (Lights)
Finally, we have amy showing a fun Tote Bag using the 2 newest colors to the Siser Glitter line; Mermaid Blue and Lemon Sugar.
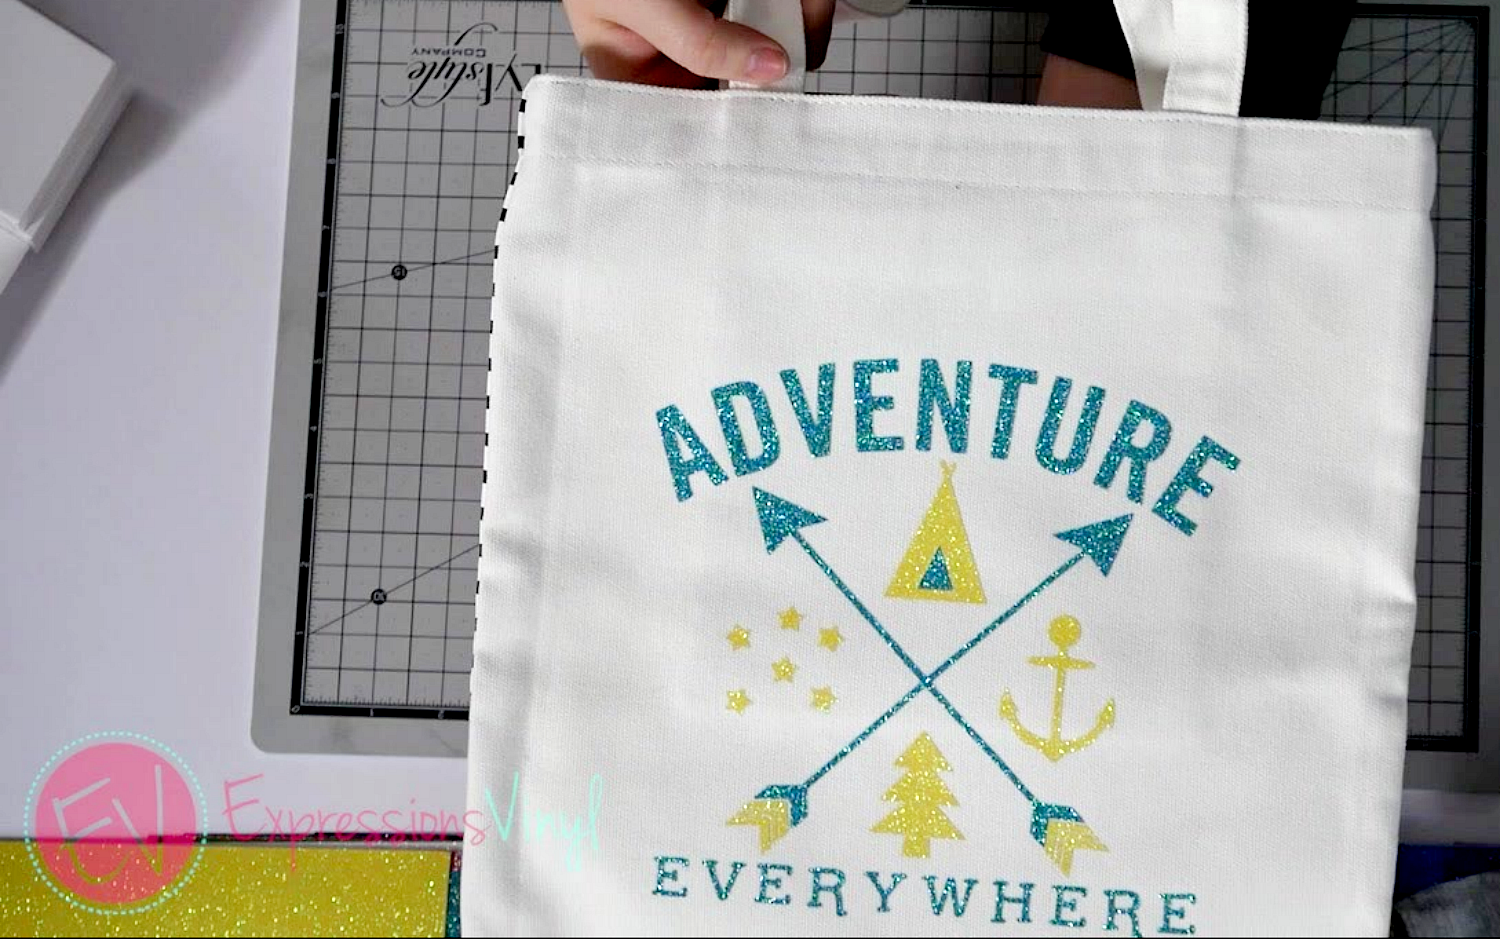
Amy, used a mix of a Knockout and a "non-touch" layer. The fun technique for a project using bold cuts with glitter is that you can lay them down all at once. Simply take your shapes, in this case her stars, tree, teepee and anchor and place them on the Mermaid Blue carrier sheet to do one press of 320 for 15-20 seconds.
To create Amy's cute Adventure Bag, you will need:
- Image~ Silhouette File: #84967 'Adventure Everywhere'
- Vinyl~ Glitter HTV: Mermaid Blue and Lemon Sugar
For an over all review.
Go and check out all 47 colors and try it out for yourself.

Recent Posts
-
NEW Holographic Eclipse Heat Transfer Vinyl
April 15th, 2024 3 Ways to Use the New Holographic Eclipse Heat Transfer Vinyl from Siser …Apr 29th 2024 -
Hop into Spring with Cute Easter Vinyl Crafts
Do you love our Vinyl? Sign up for Vinyl Club today to get FREE vinyl and save big! …Mar 28th 2024 -

Fixing Wrinkles and Bubbles in Vinyl
How do you get air bubbles out of vinyl? There are a few different ways to ensure a flawless …Mar 26th 2024