
Superpower Gift Cups For Teachers
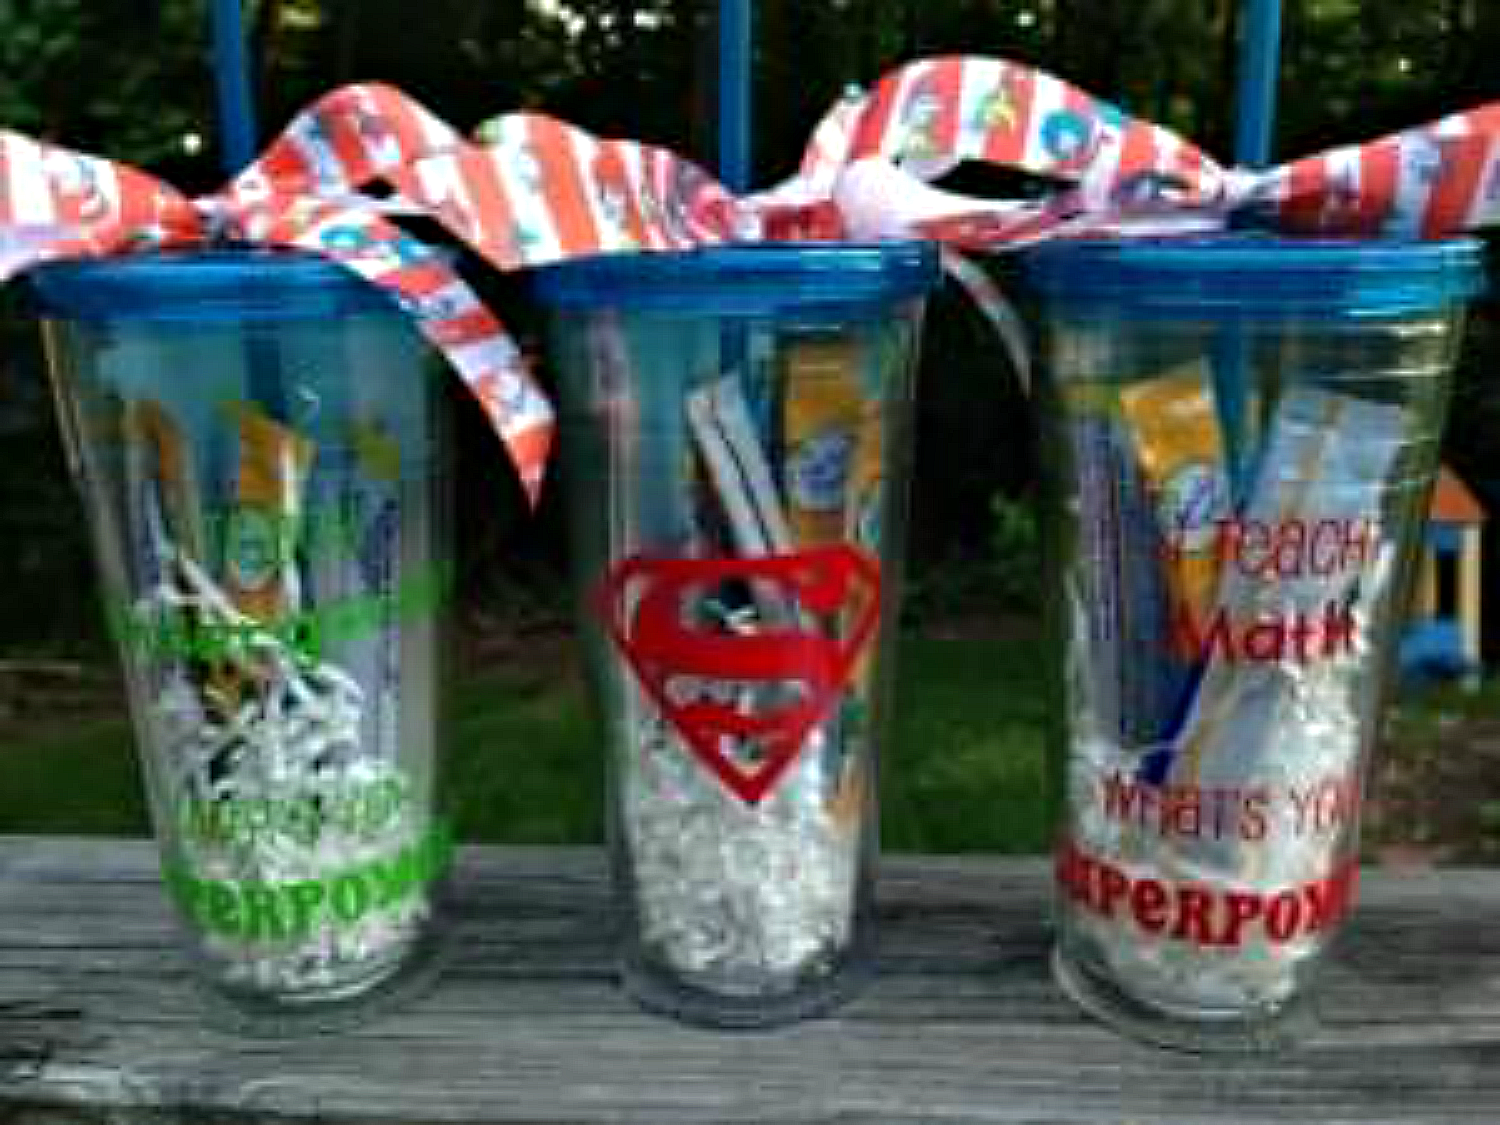
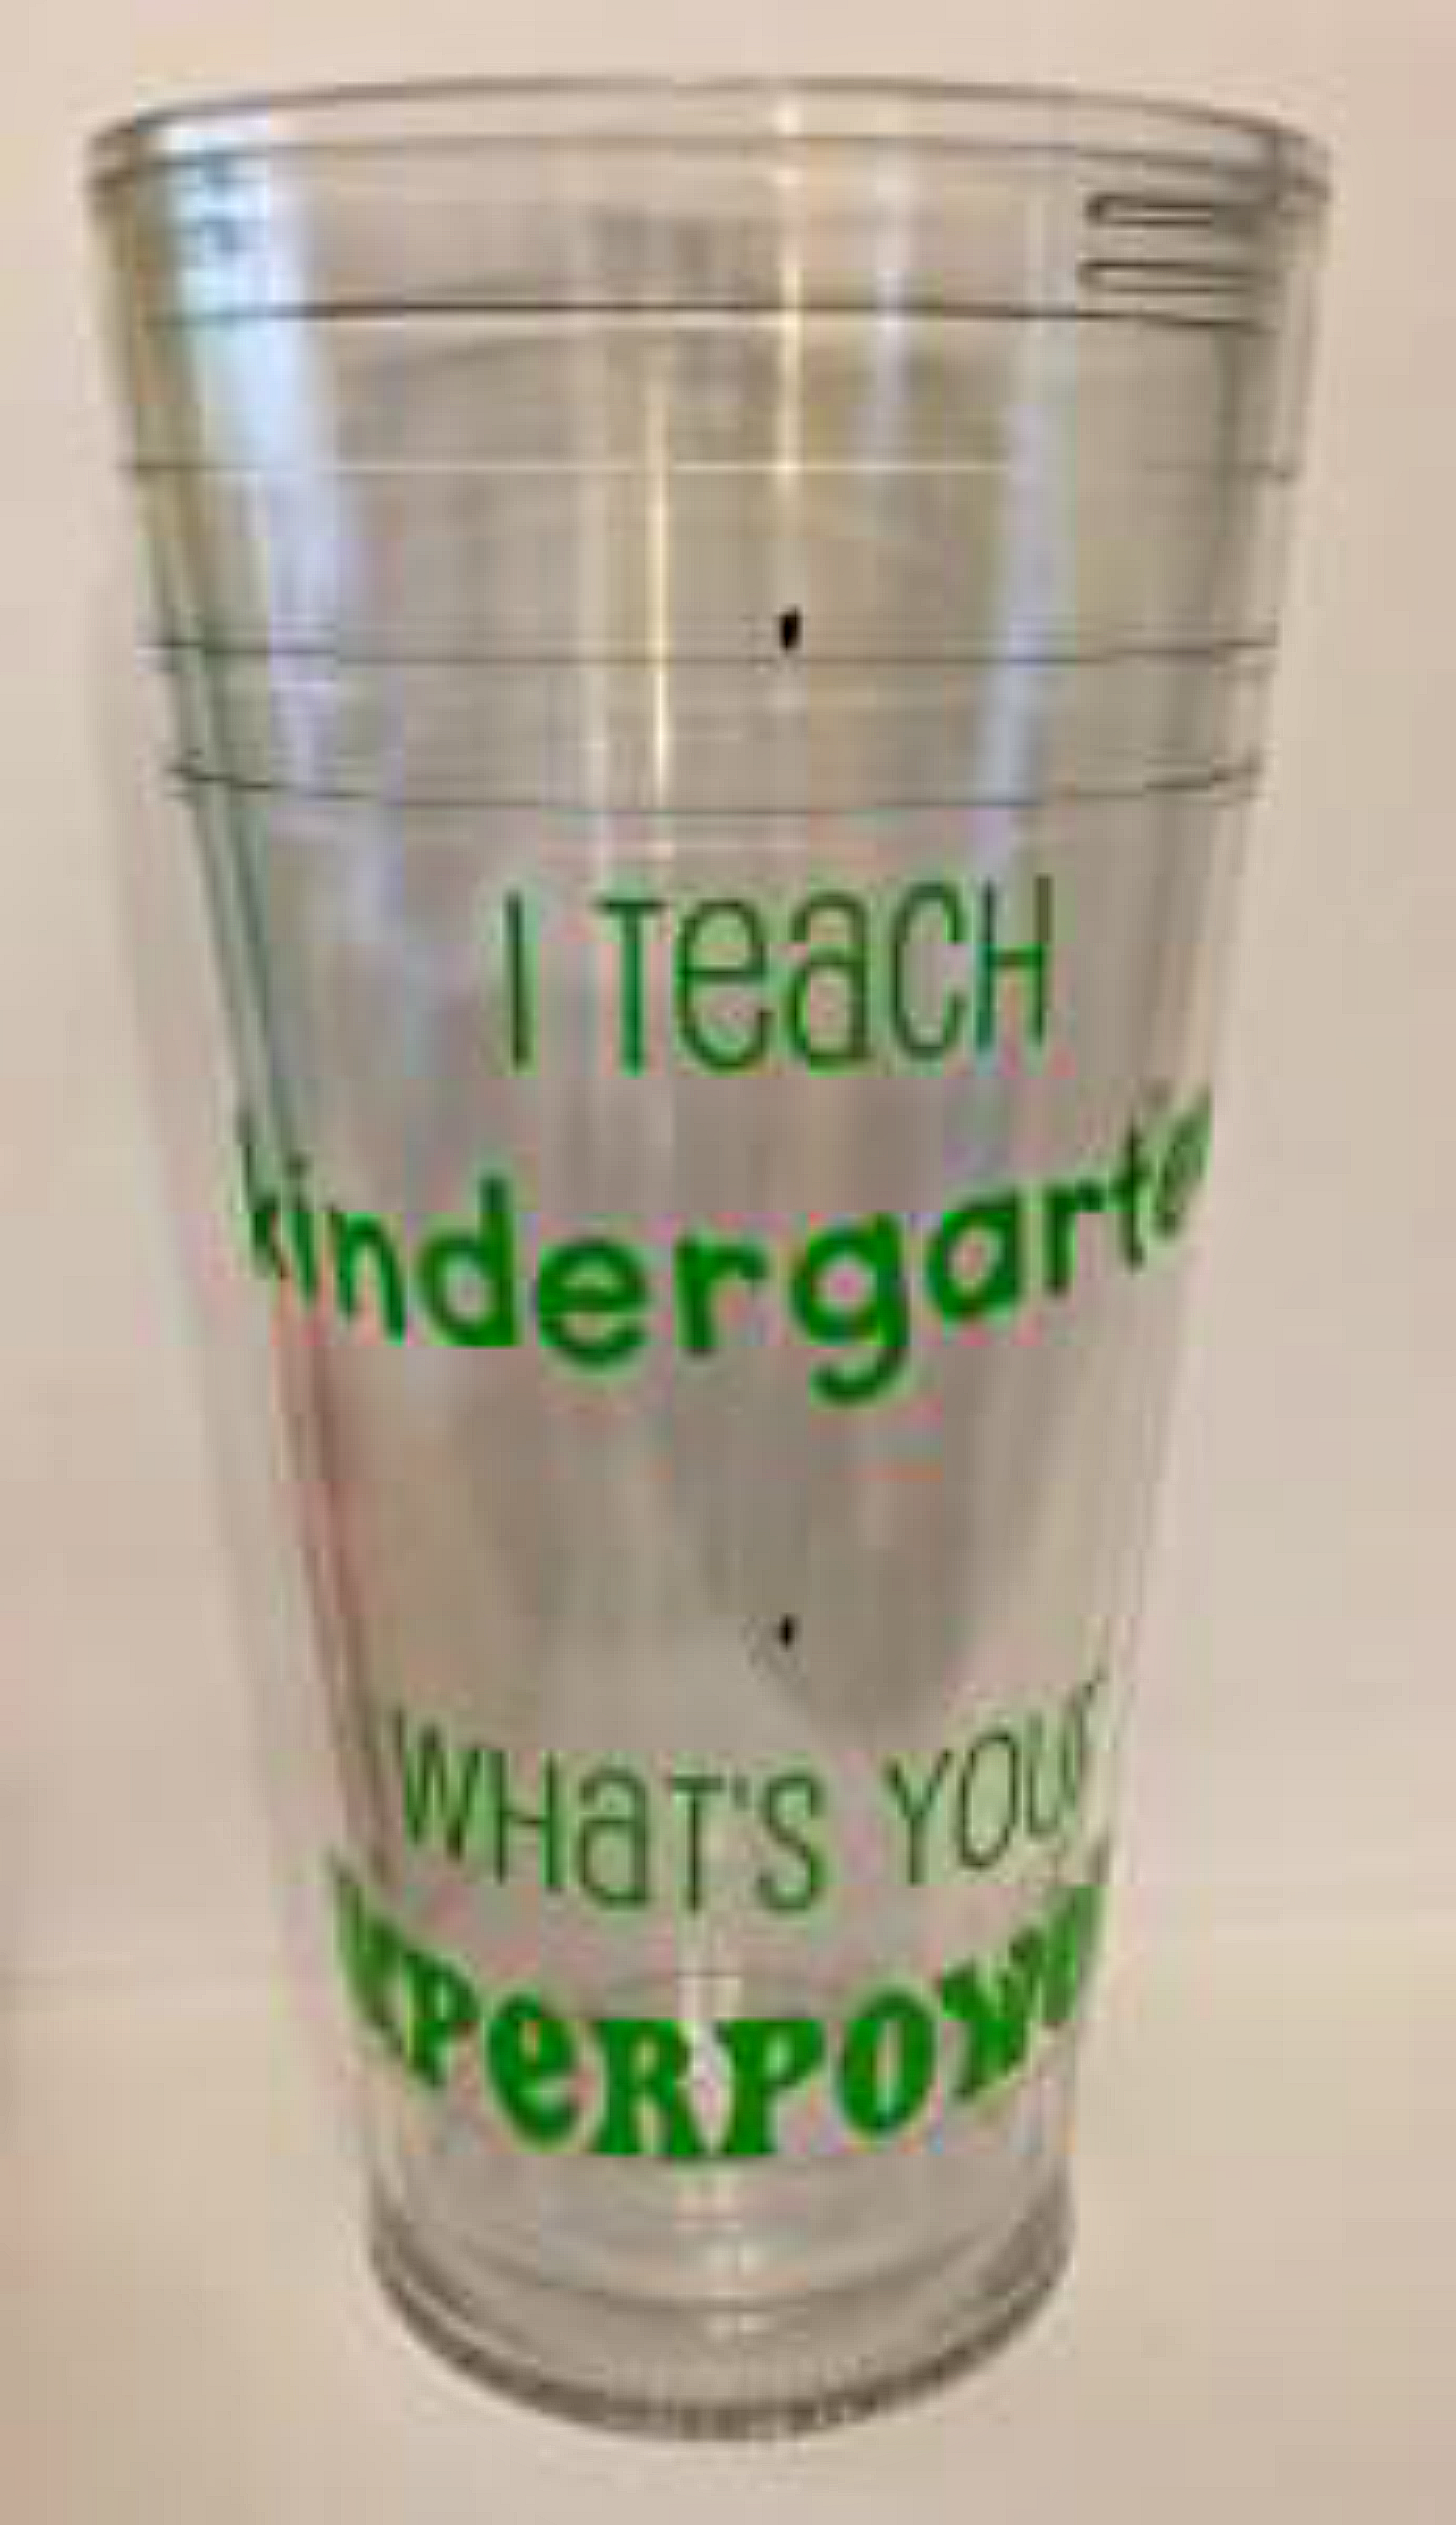
Hi! I’m Emily from Less Whine More Wine and today I’m going to show you how I made these cute teacher gift cups: “I teach 'Subject '.What’s your superpower?”
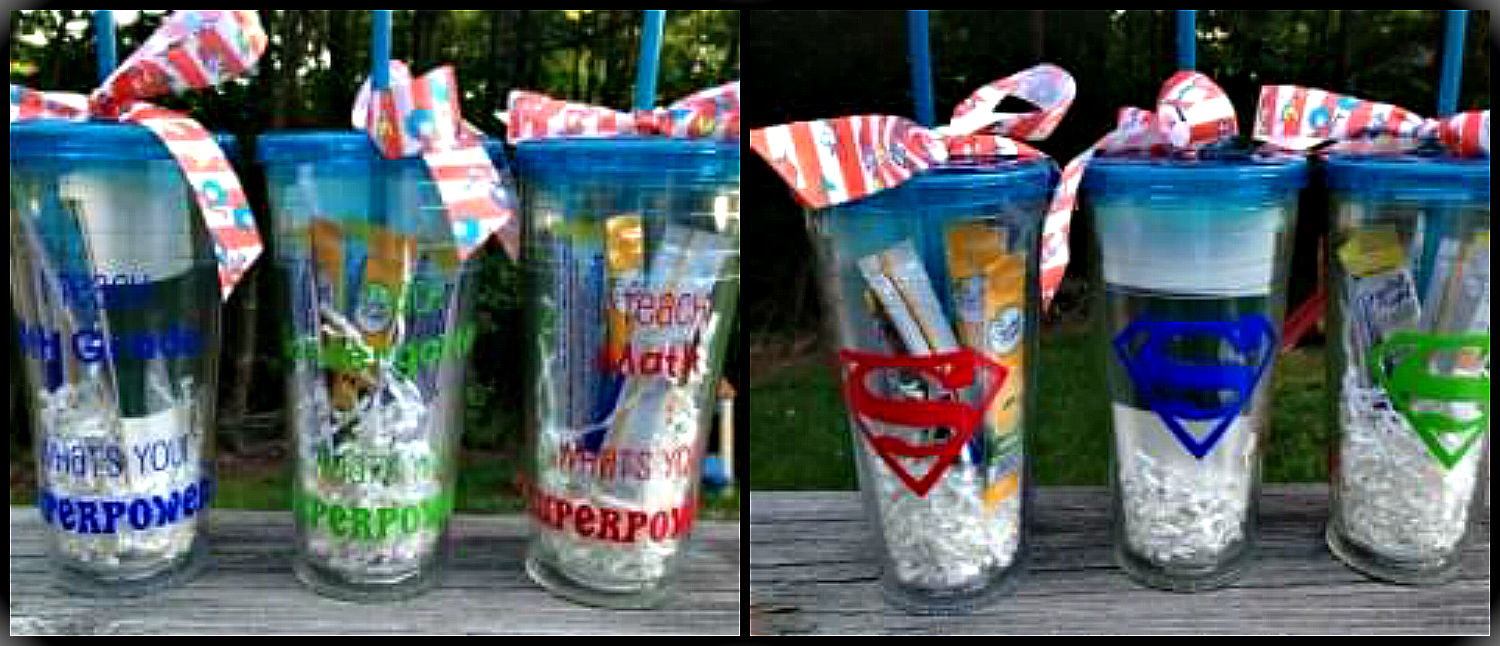
I’m always on the lookout for cute end of year gifts for my kids’ teachers, and I got the idea in my head for this one, and decided I had to do it. My younger son is in kindergarten, and my older son is in 4th, with one teacher for his homeroom (everything but math) and one for math. So, I needed 3 cups.
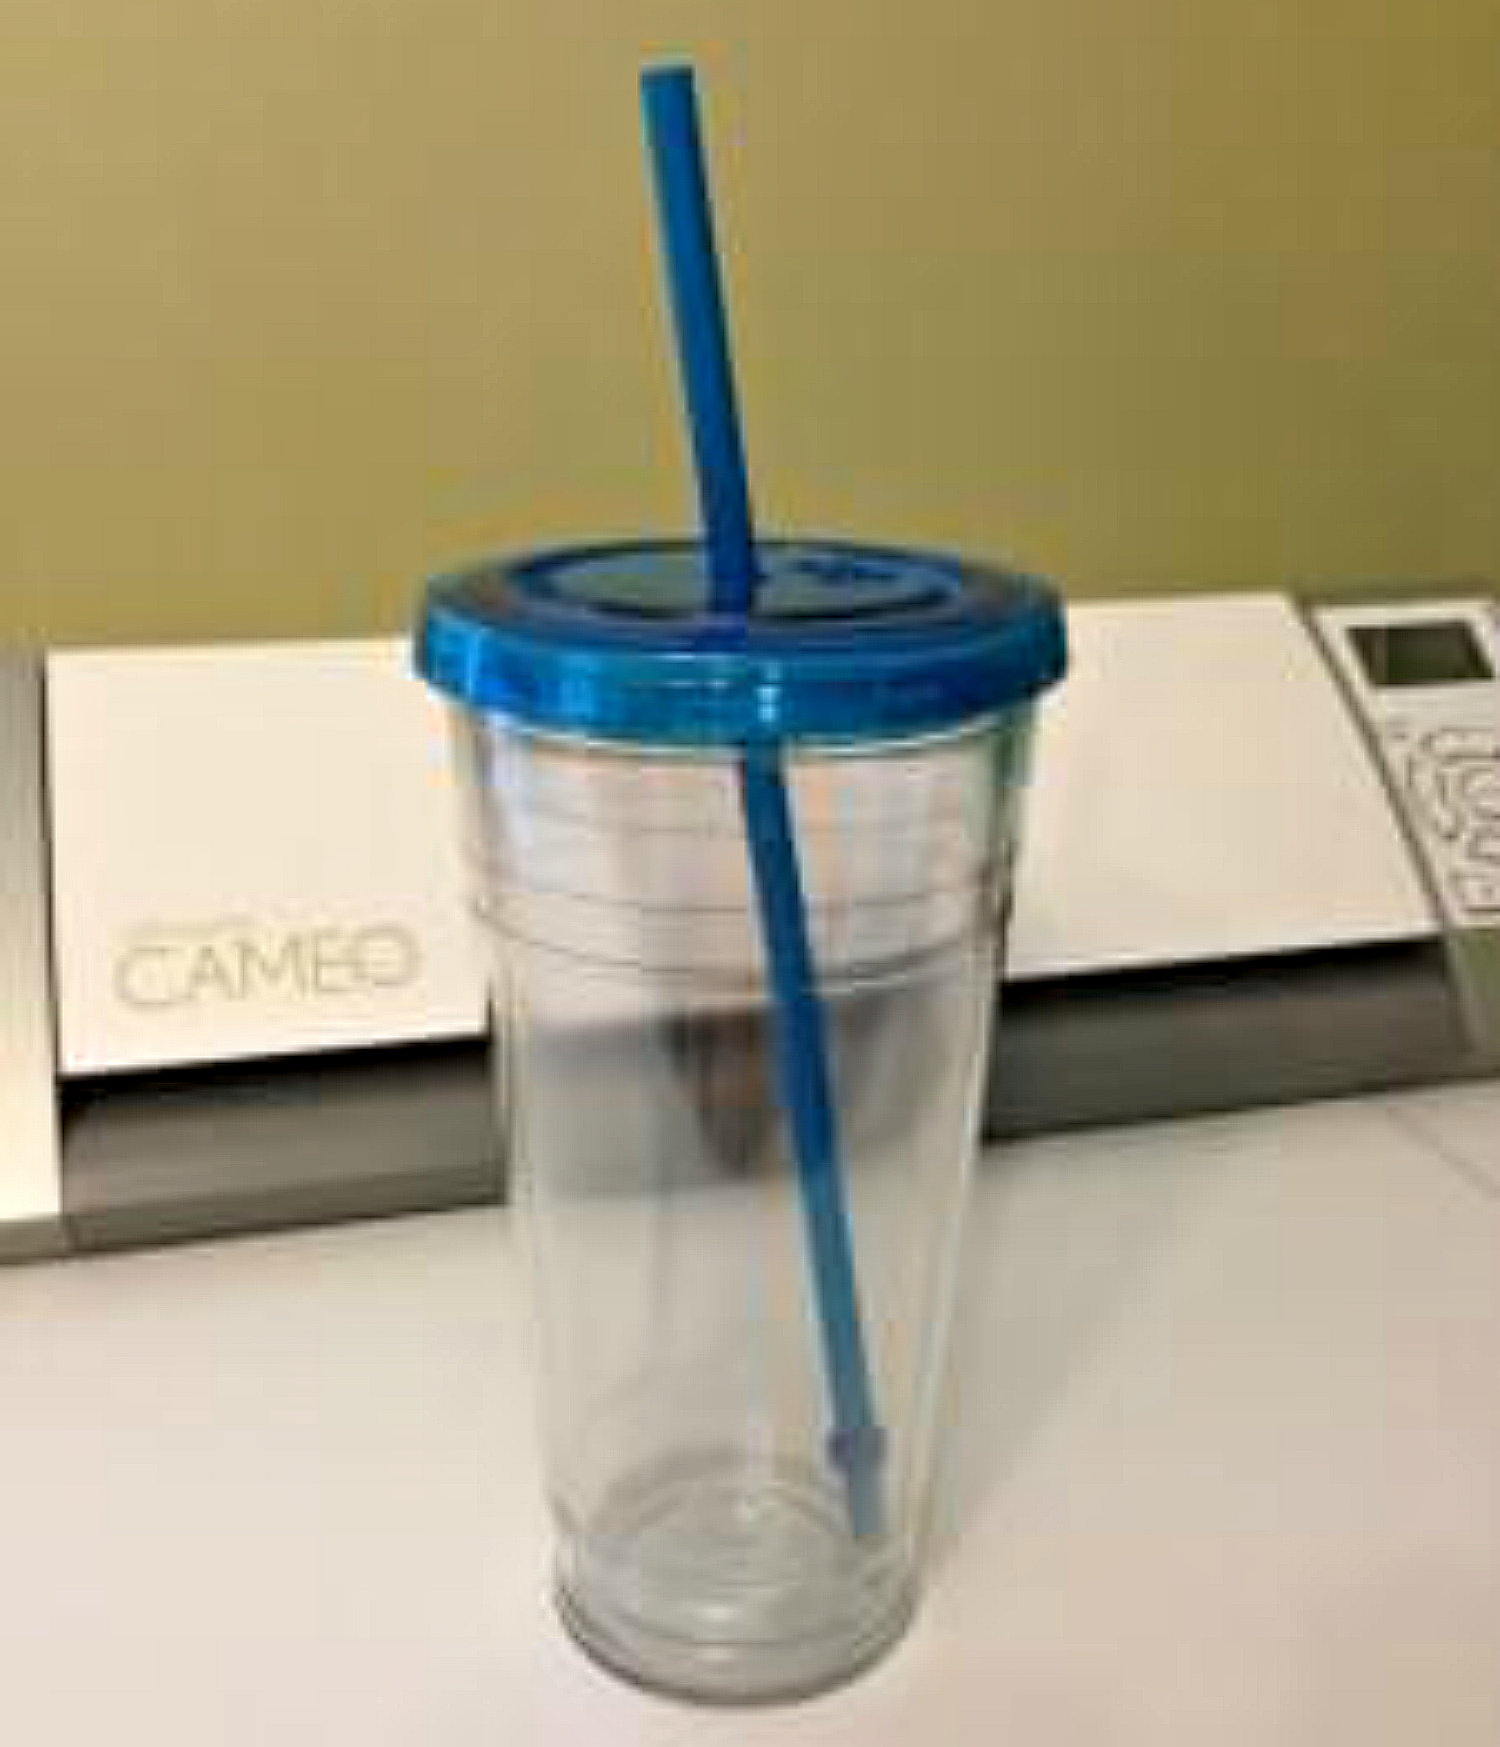
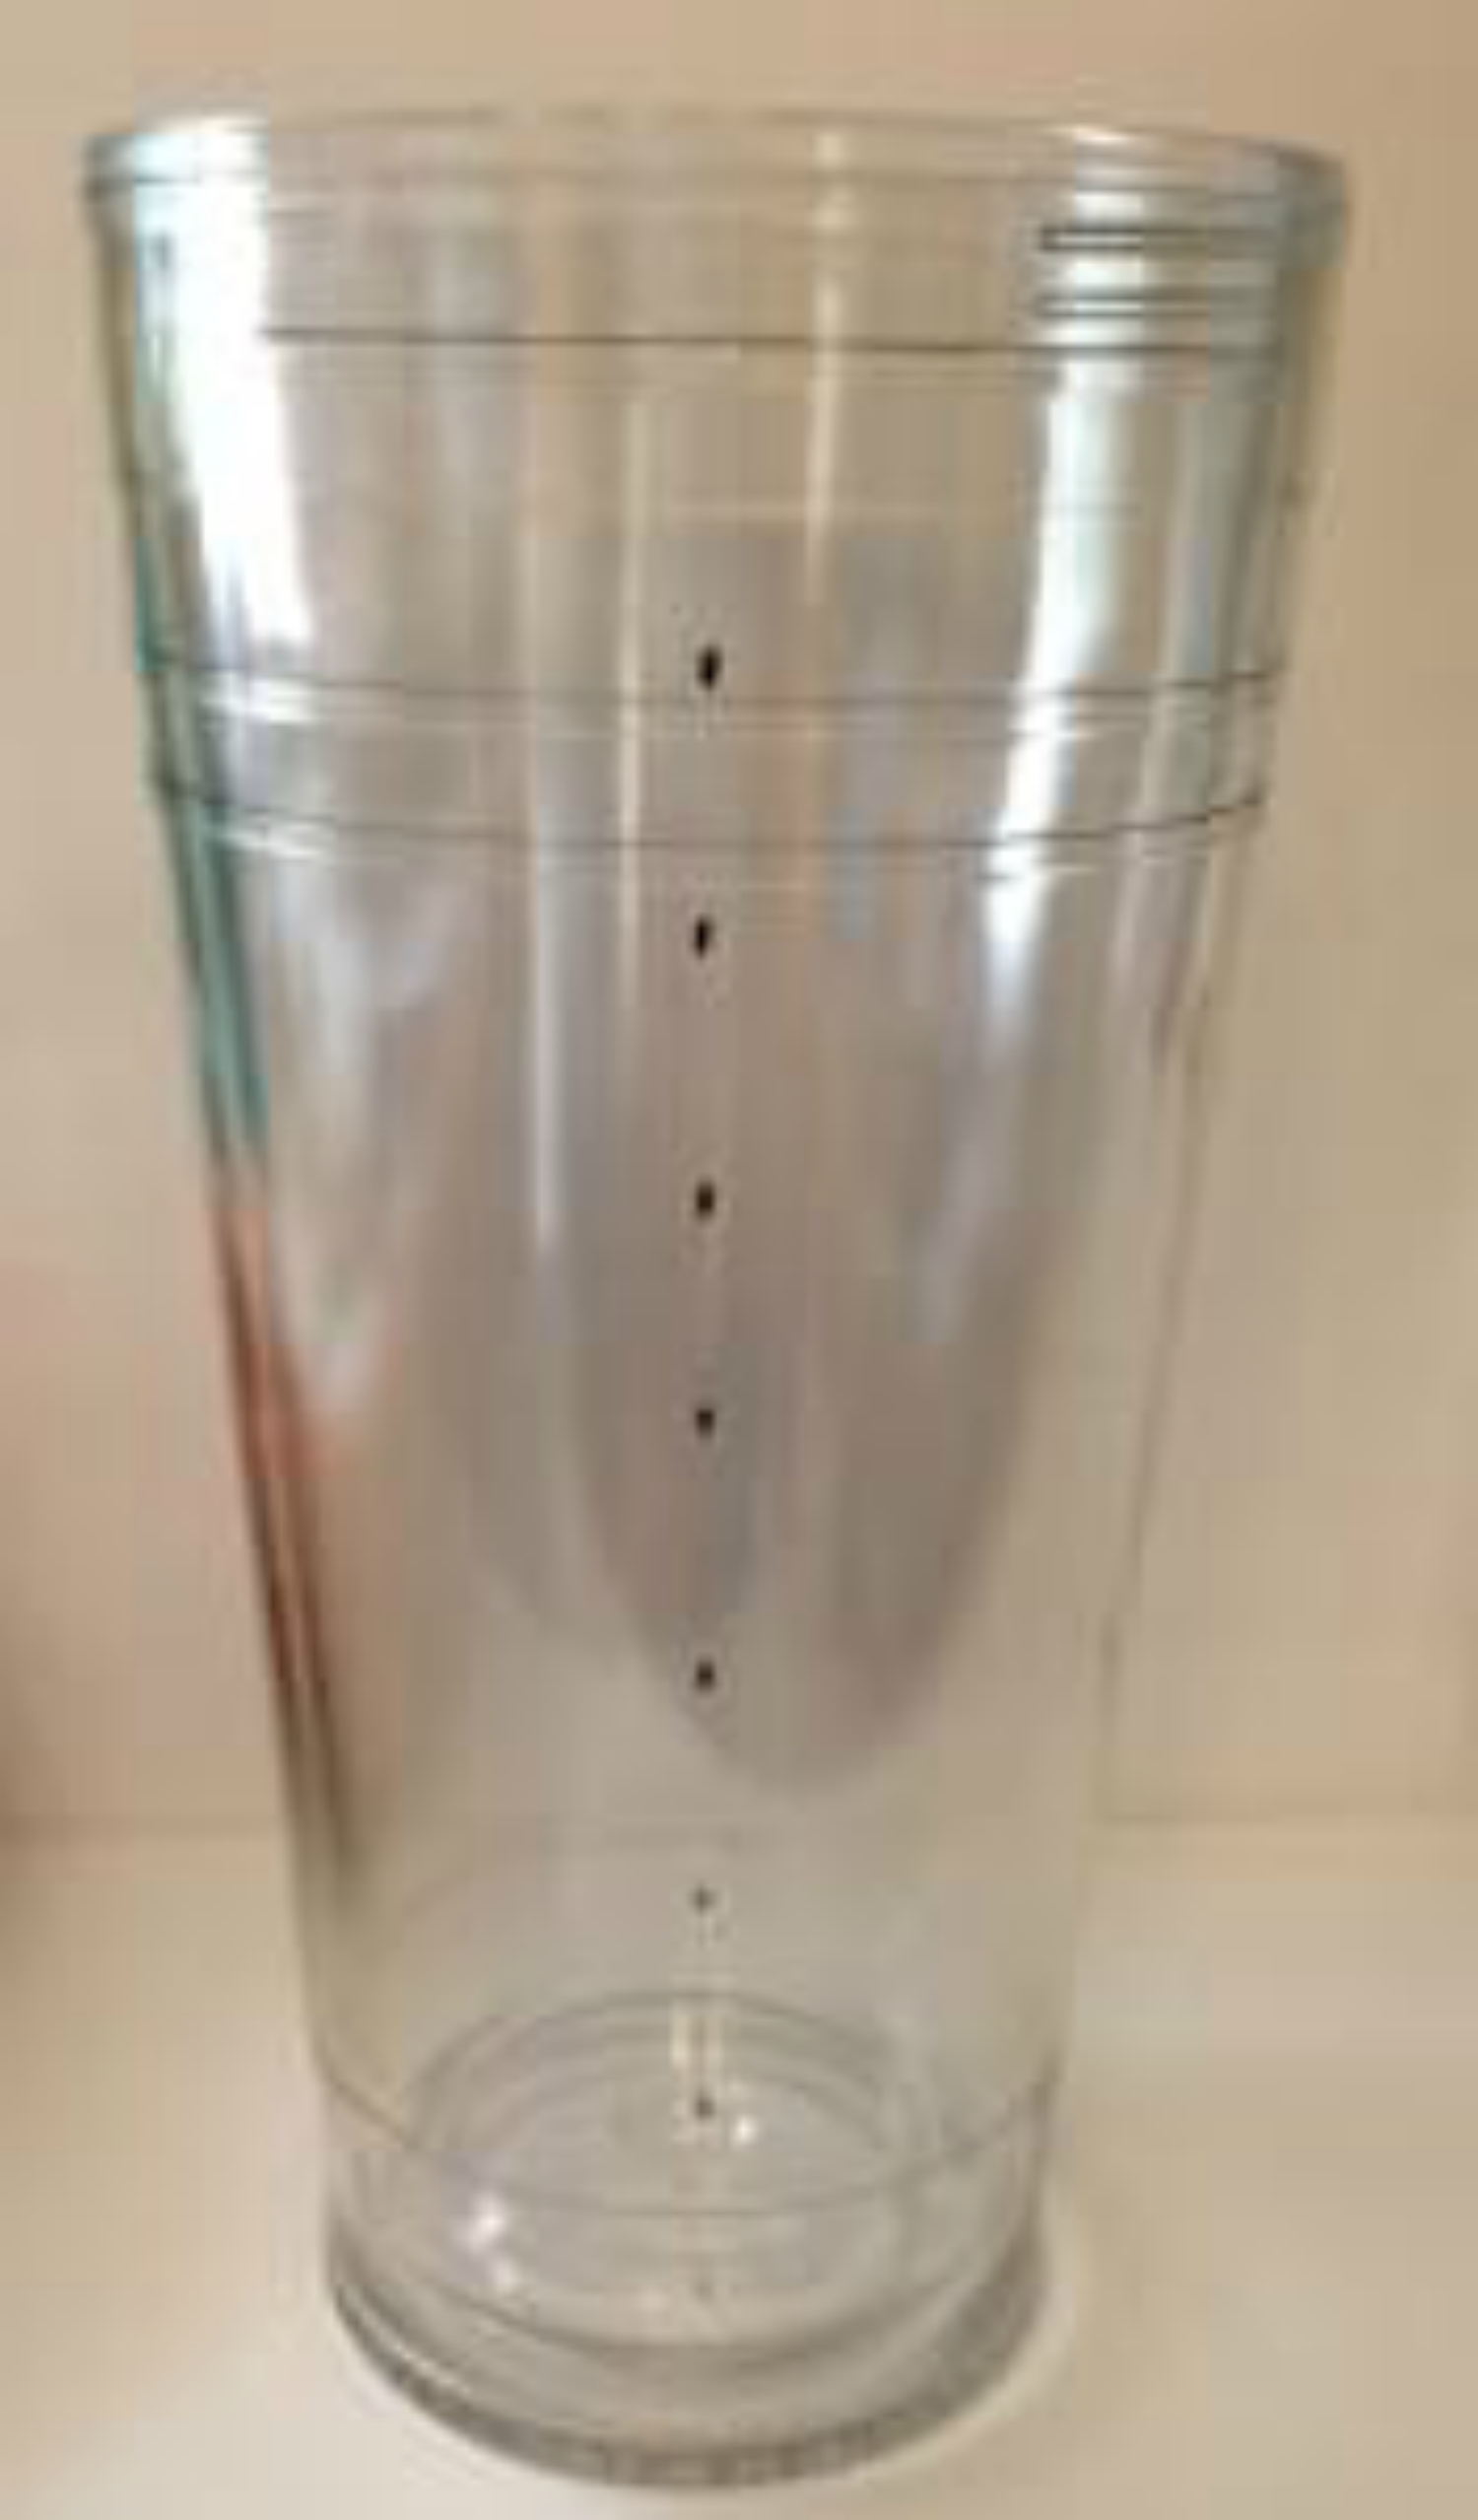
I wanted to use multiple colors of vinyl per cup, so I wanted clear cups, but if you wanted to just stick with one color, these Bolero Tumblers would work great. I found my cups at Target.
You’ll need outdoor vinyl to stand up to repeated washing. I used Red, Brilliant Blue and Yellow Green, but the best part about this project is you can use whatever colors you like – just make sure you’re using outdoor vinyl. You’ll also need transfer tape to help you get the vinyl onto the cups.
I’m kind of a stickler for making sure everything is the perfect size before I cut – measure twice, cut once, right? But with 3D projects, especially when I’m working on 2 sides, it’s really hard for me to visualize where everything is going to end up. Here’s a handy trick: mark where everything will go – even if just the edges of each line or shape – with a dry erase marker. It’ll come right off with a tissue, and you’ll be able to see if everything will fit. Then you can cut with confidence that you’re not wasting precious vinyl!
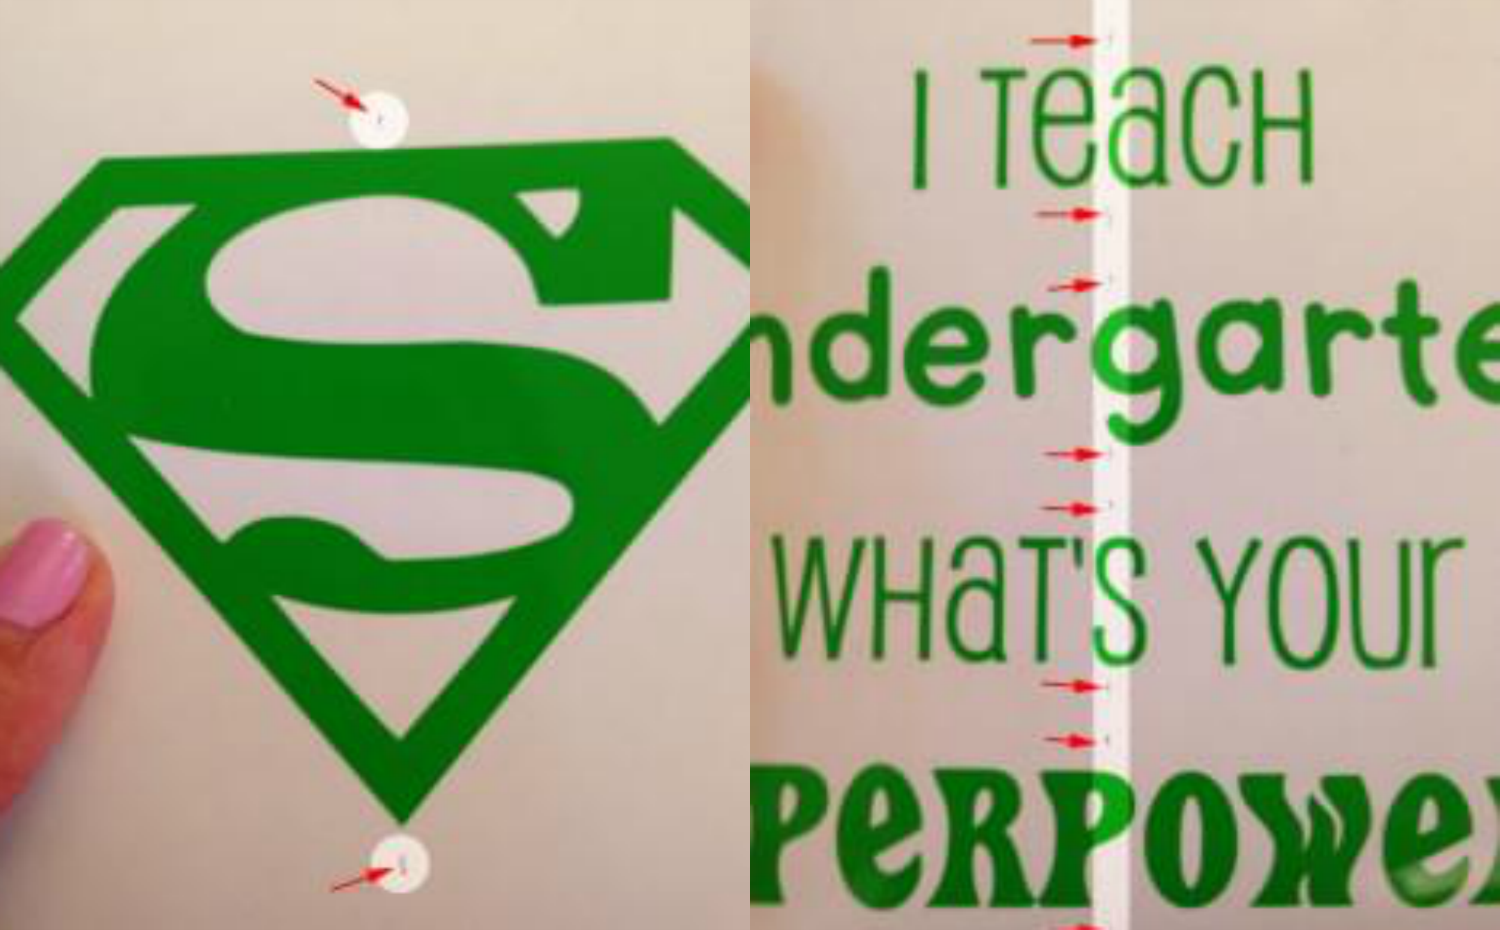
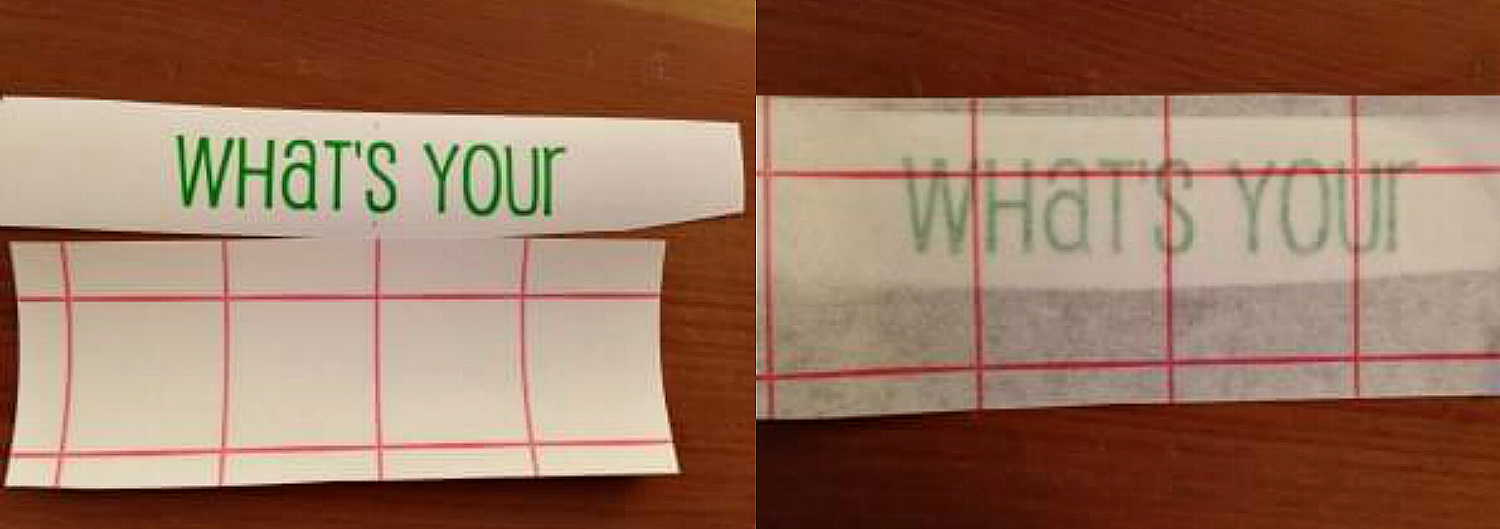
Once my vinyl was cut and weeded, I used a sharpie to mark the center points of each line. I referred to the center marks on my silhouette studio software – I didn't need the exact center, I just wanted a guideline to help me get everything centered when I moved it to the cup.
Next, I wanted to make sure I had a center line on my cup so I could make sure I was placing everything more or less centered. To do this, I taped a piece of curling ribbon to the bottom of the cup and pulled it taught to the top and used the dry erase marker to dot next to the edge of the ribbon:
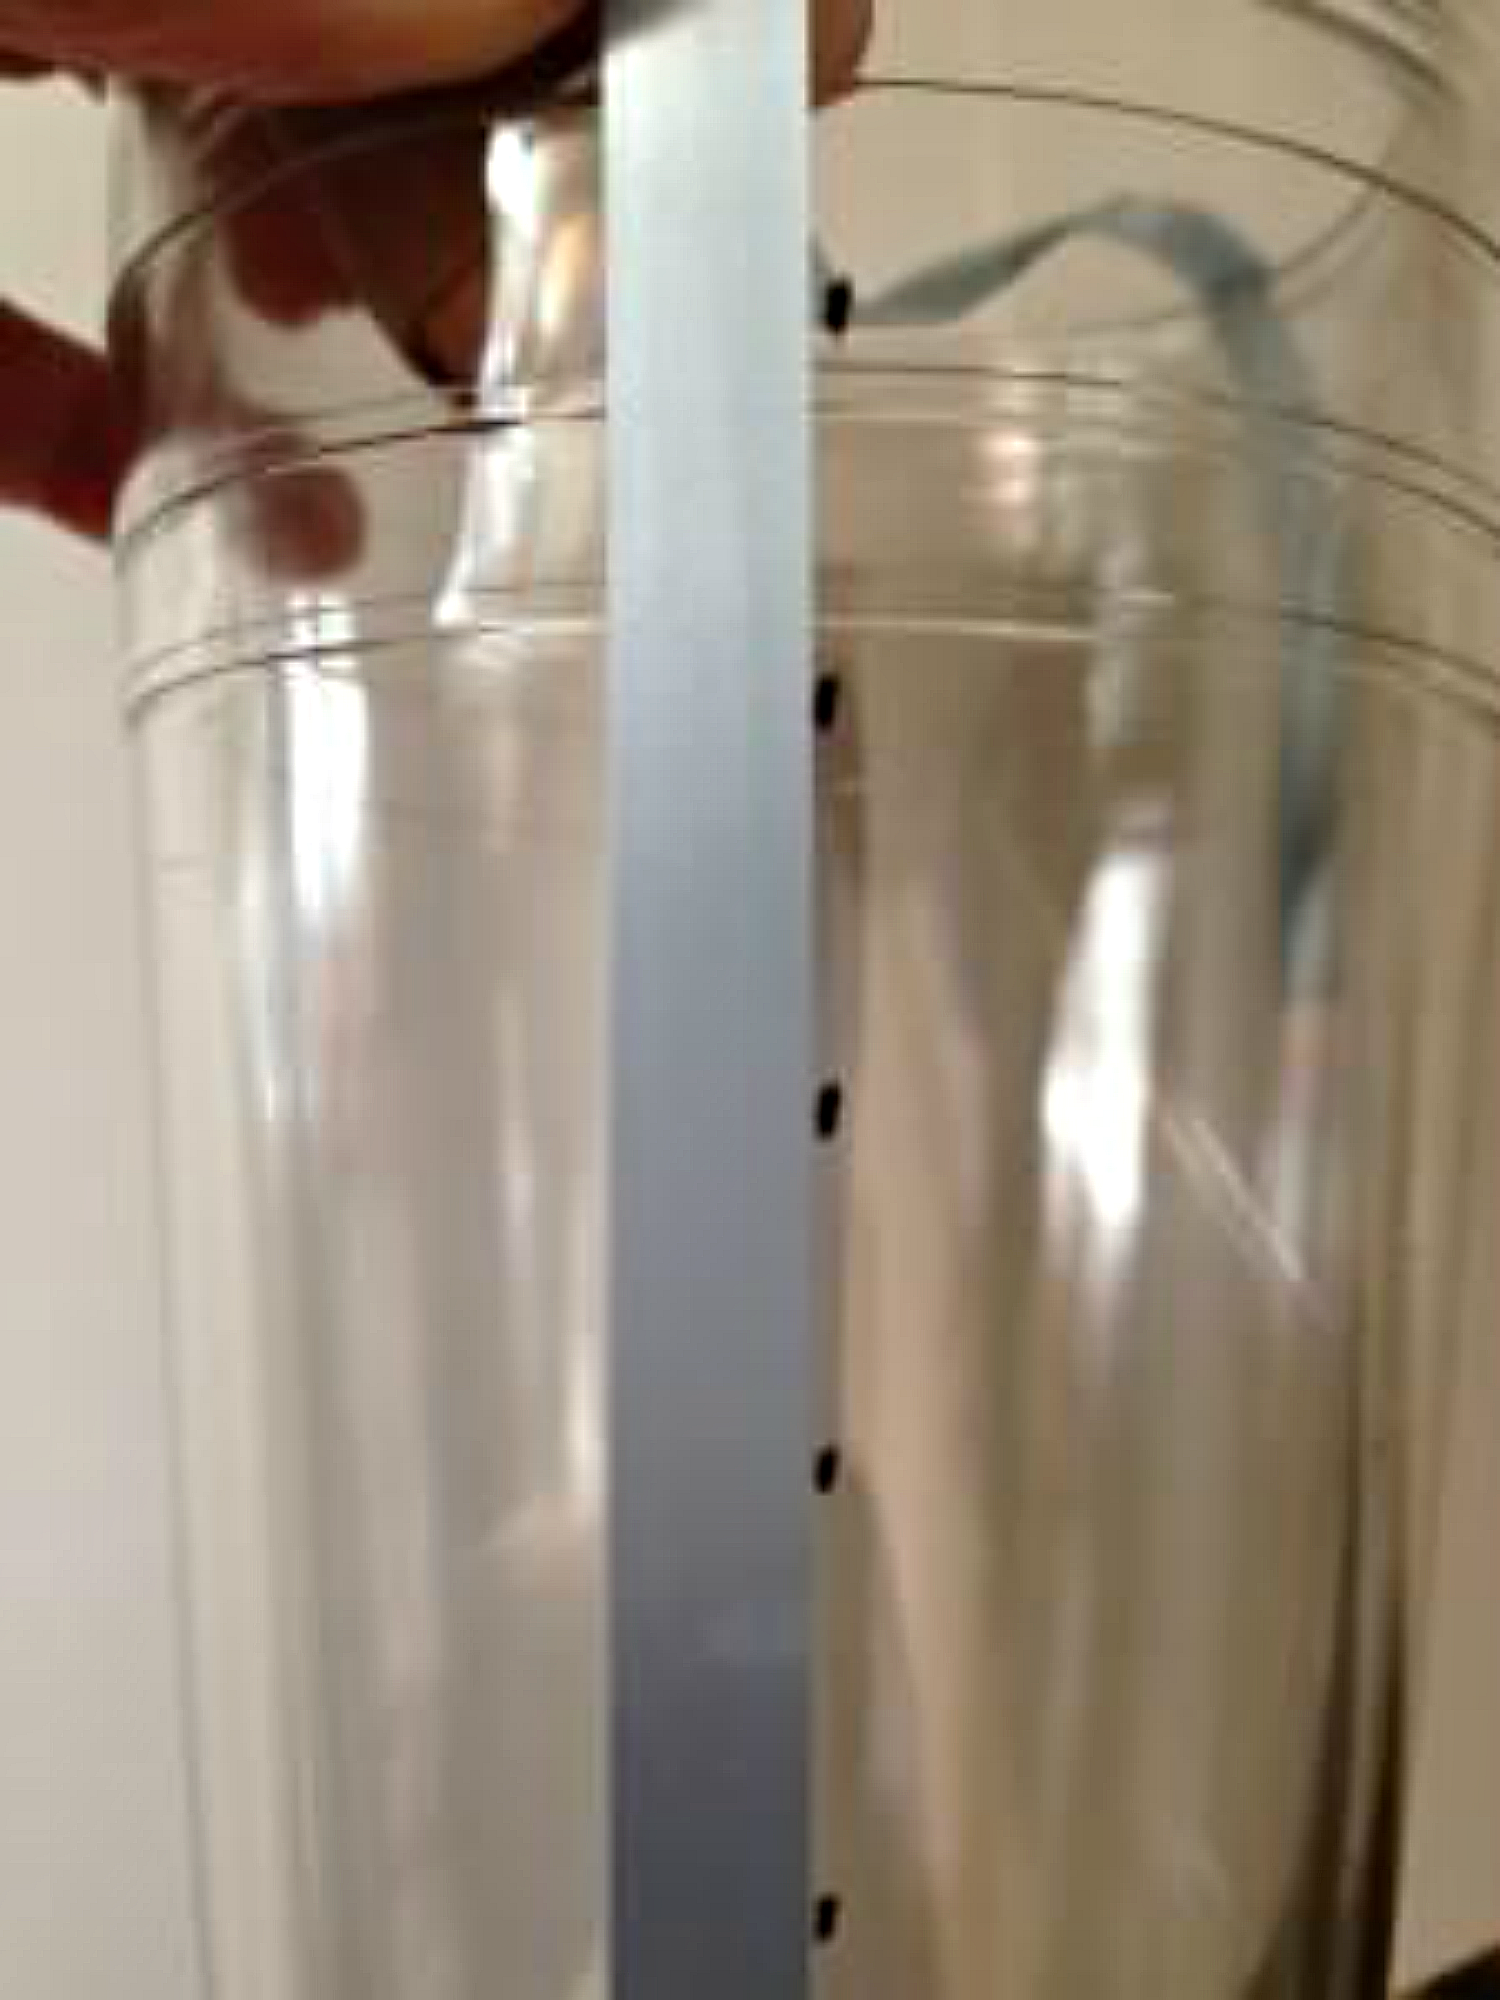
When I removed the ribbon, I was left with a straight line of dots that I could use as my center line:
Then, it was just a matter of lining up the lines on the transfer tape with the center marks on my words:
And lining the lines up with the marks on the cup (removing any dry erase marker that would have been below the vinyl before I put it on). The result is some very cute cups that any teacher would love!
I placed a little paper crinkle in the bottom of the cups filled them with drink mix packets and a starbucks card, tied a ribbon around the straw, and it makes a super cute, practical gift!
Recent Posts
-
NEW Holographic Eclipse Heat Transfer Vinyl
April 15th, 2024 3 Ways to Use the New Holographic Eclipse Heat Transfer Vinyl from Siser …Apr 29th 2024 -
Hop into Spring with Cute Easter Vinyl Crafts
Do you love our Vinyl? Sign up for Vinyl Club today to get FREE vinyl and save big! …Mar 28th 2024 -

Fixing Wrinkles and Bubbles in Vinyl
How do you get air bubbles out of vinyl? There are a few different ways to ensure a flawless …Mar 26th 2024