Understanding Craft Vinyl - The Basics
1. Types of Craft Vinyl:
- Adhesive Vinyl: This is a sticky-backed material used mainly for flat surface projects like signs, mugs, and car decals. It comes in various finishes, including matte, glossy, and even glitter.
- Heat Transfer Vinyl (HTV): HTV is used on fabric and requires heat (like an iron or heat press) to adhere. It's perfect for customizing t-shirts, bags, hats, and more.
2. Tools You'll Need:
- Cutting Machine: Machines like Cricut or Silhouette are popular choices. They precisely cut your designs from the vinyl.
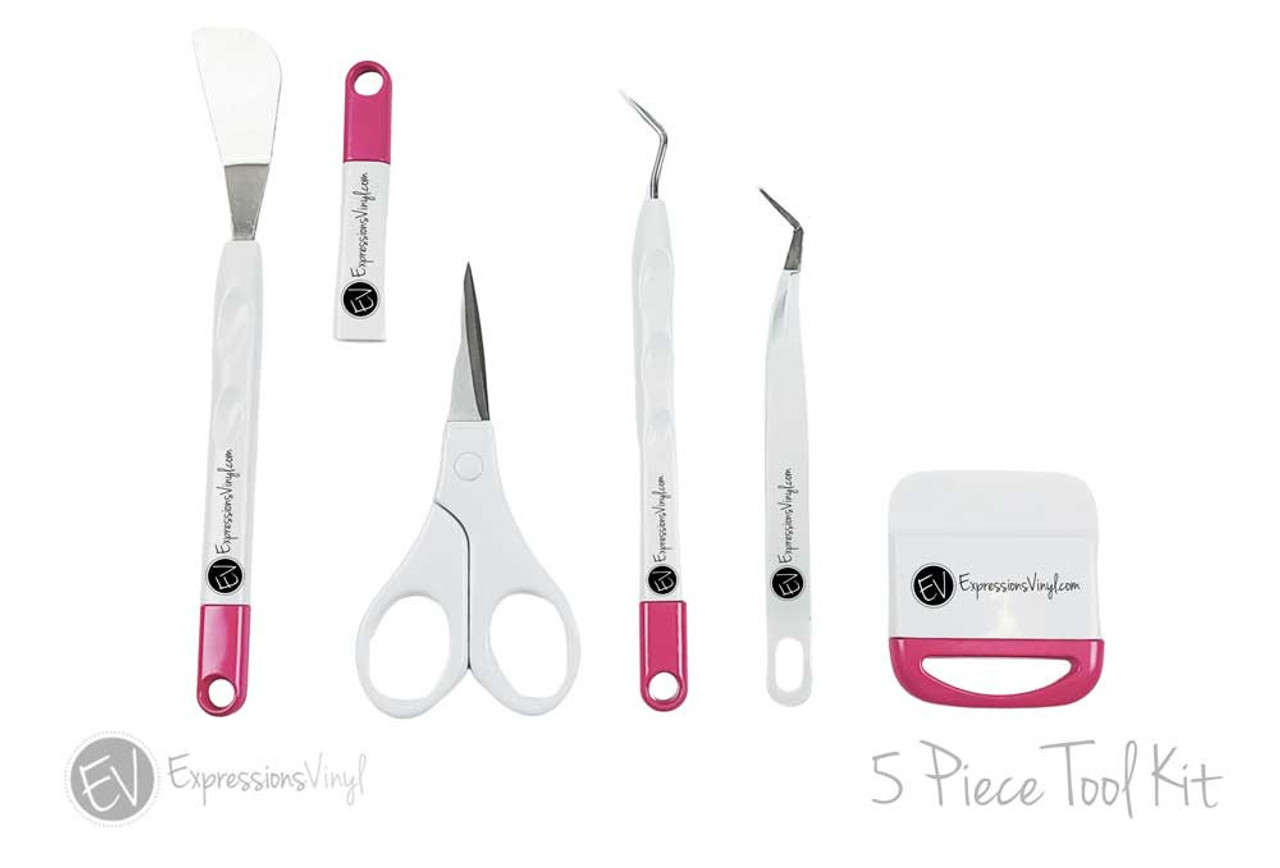
- Weeding Tools: These tools help remove excess vinyl from your design.

- Transfer Tape (for Adhesive Vinyl): This tape transfers your cut design onto the desired surface.

- Iron or Heat Press (for HTV): Essential for applying HTV to fabric. You may also want a hear pillow depending on the project.

Getting Started with Craft Vinyl
1. Choose Your Project: Start with a simple project. For adhesive vinyl, try making a decal for a mug or a laptop. For HTV, a basic t-shirt design is a great starting point.
2. Design Creation: Use software associated with your cutting machine to create or upload your design. Keep designs simple as you learn the ropes.
3. Cutting Your Vinyl: Load the vinyl into your cutting machine and adjust the settings based on the type of vinyl you're using. Watch as your design comes to life! We have a guide for cut settings here and don't forget your test cut as each machine is a little different. Silhouette Test Cut How to or Cricket Test Cut How To
4. Weeding: Carefully remove the excess vinyl from around and inside your design. This step requires patience and a steady hand.
5. Applying Your Design:
- Adhesive Vinyl: Use transfer tape to move your design from the backing paper to your chosen surface.
- HTV: Place your design on the fabric and apply heat with an iron or heat press, following the temperature guidelines for your specific HTV. If you're not sure on the heat settings, here is our guide.
Tips for Success
- Test Small: Before starting a big project, do a small test cut. This helps you understand your machine's settings and the weeding process.
- Patience is Key: Take your time, especially with weeding and applying your design.
- Learn from Mistakes: Mistakes are part of the learning process. Each error teaches you more about working with vinyl.
Once you've mastered the basics, the sky's the limit. Experiment with layered designs, different textures, and colors. Join online communities or forums for inspiration and support.
Craft vinyl isn't just a hobby; it's a doorway to expressing your creativity and personalizing your world. As you grow more confident, you can tackle more complex projects or even consider selling your creations. The world of craft vinyl is vibrant and ever-expanding, and you're just at the beginning of this exciting journey.
Recent Posts
-
NEW Holographic Eclipse Heat Transfer Vinyl
April 15th, 2024 3 Ways to Use the New Holographic Eclipse Heat Transfer Vinyl from Siser …Apr 29th 2024 -
Hop into Spring with Cute Easter Vinyl Crafts
Do you love our Vinyl? Sign up for Vinyl Club today to get FREE vinyl and save big! …Mar 28th 2024 -
Fixing Wrinkles and Bubbles in Vinyl
How do you get air bubbles out of vinyl? There are a few different ways to ensure a flawless …Mar 26th 2024


