
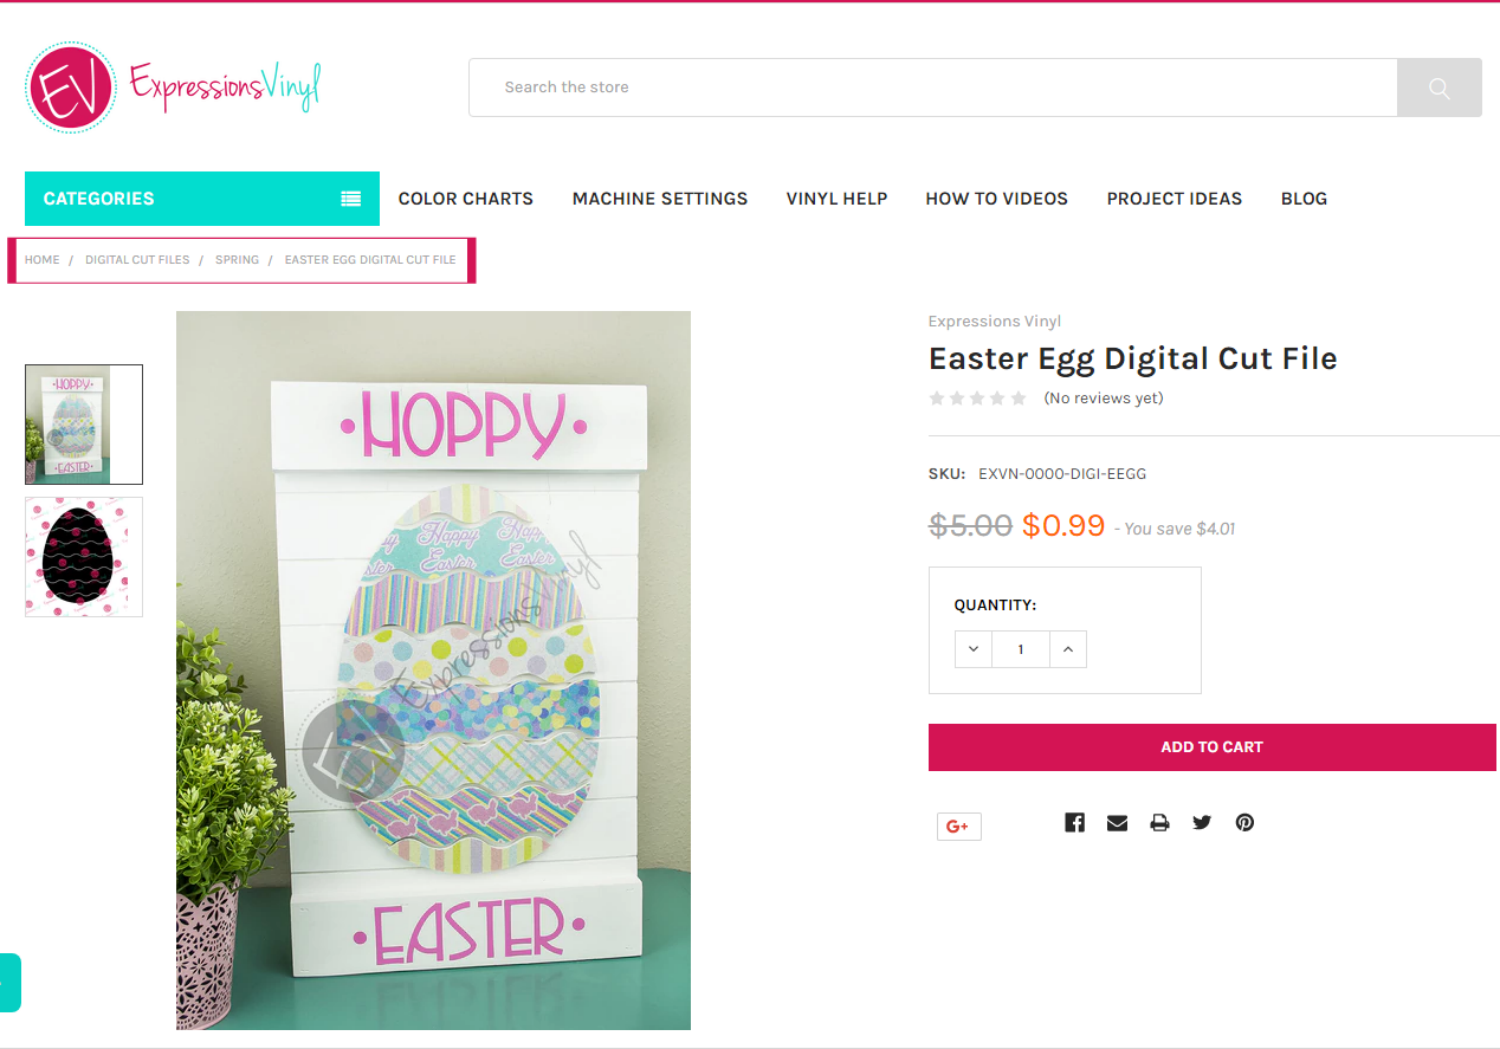
Printable Vinyl Easter Decor with Glitter!
Hey Everyone, todays blog is super fun. Since Spring is on its way...we hope! We wanted to join two of our favorite products together; Inkjet Printable Vinyl and StarDust Glitter Adhesive from our Glitter FX line.
We even have a cut file for you designed by us to makes this super fun and easy project.
Lets start with what you will need:
Vinyl: Inkjet Printable Vinyl, StarDust and Tiffany Blue Glitter Adhesive Vinyl, Oramask Vinyl
Cut File:
Font: ZP Earth and Air from Silhouette Design Store (#238690)
Transfer Tape: Clear Gridded
Supplies:
- Acrylic Paint
- MDF wood
- Wooden surface/Board
- Knife/Scissors
- Pen or Pencil
- Hot Glue Gun
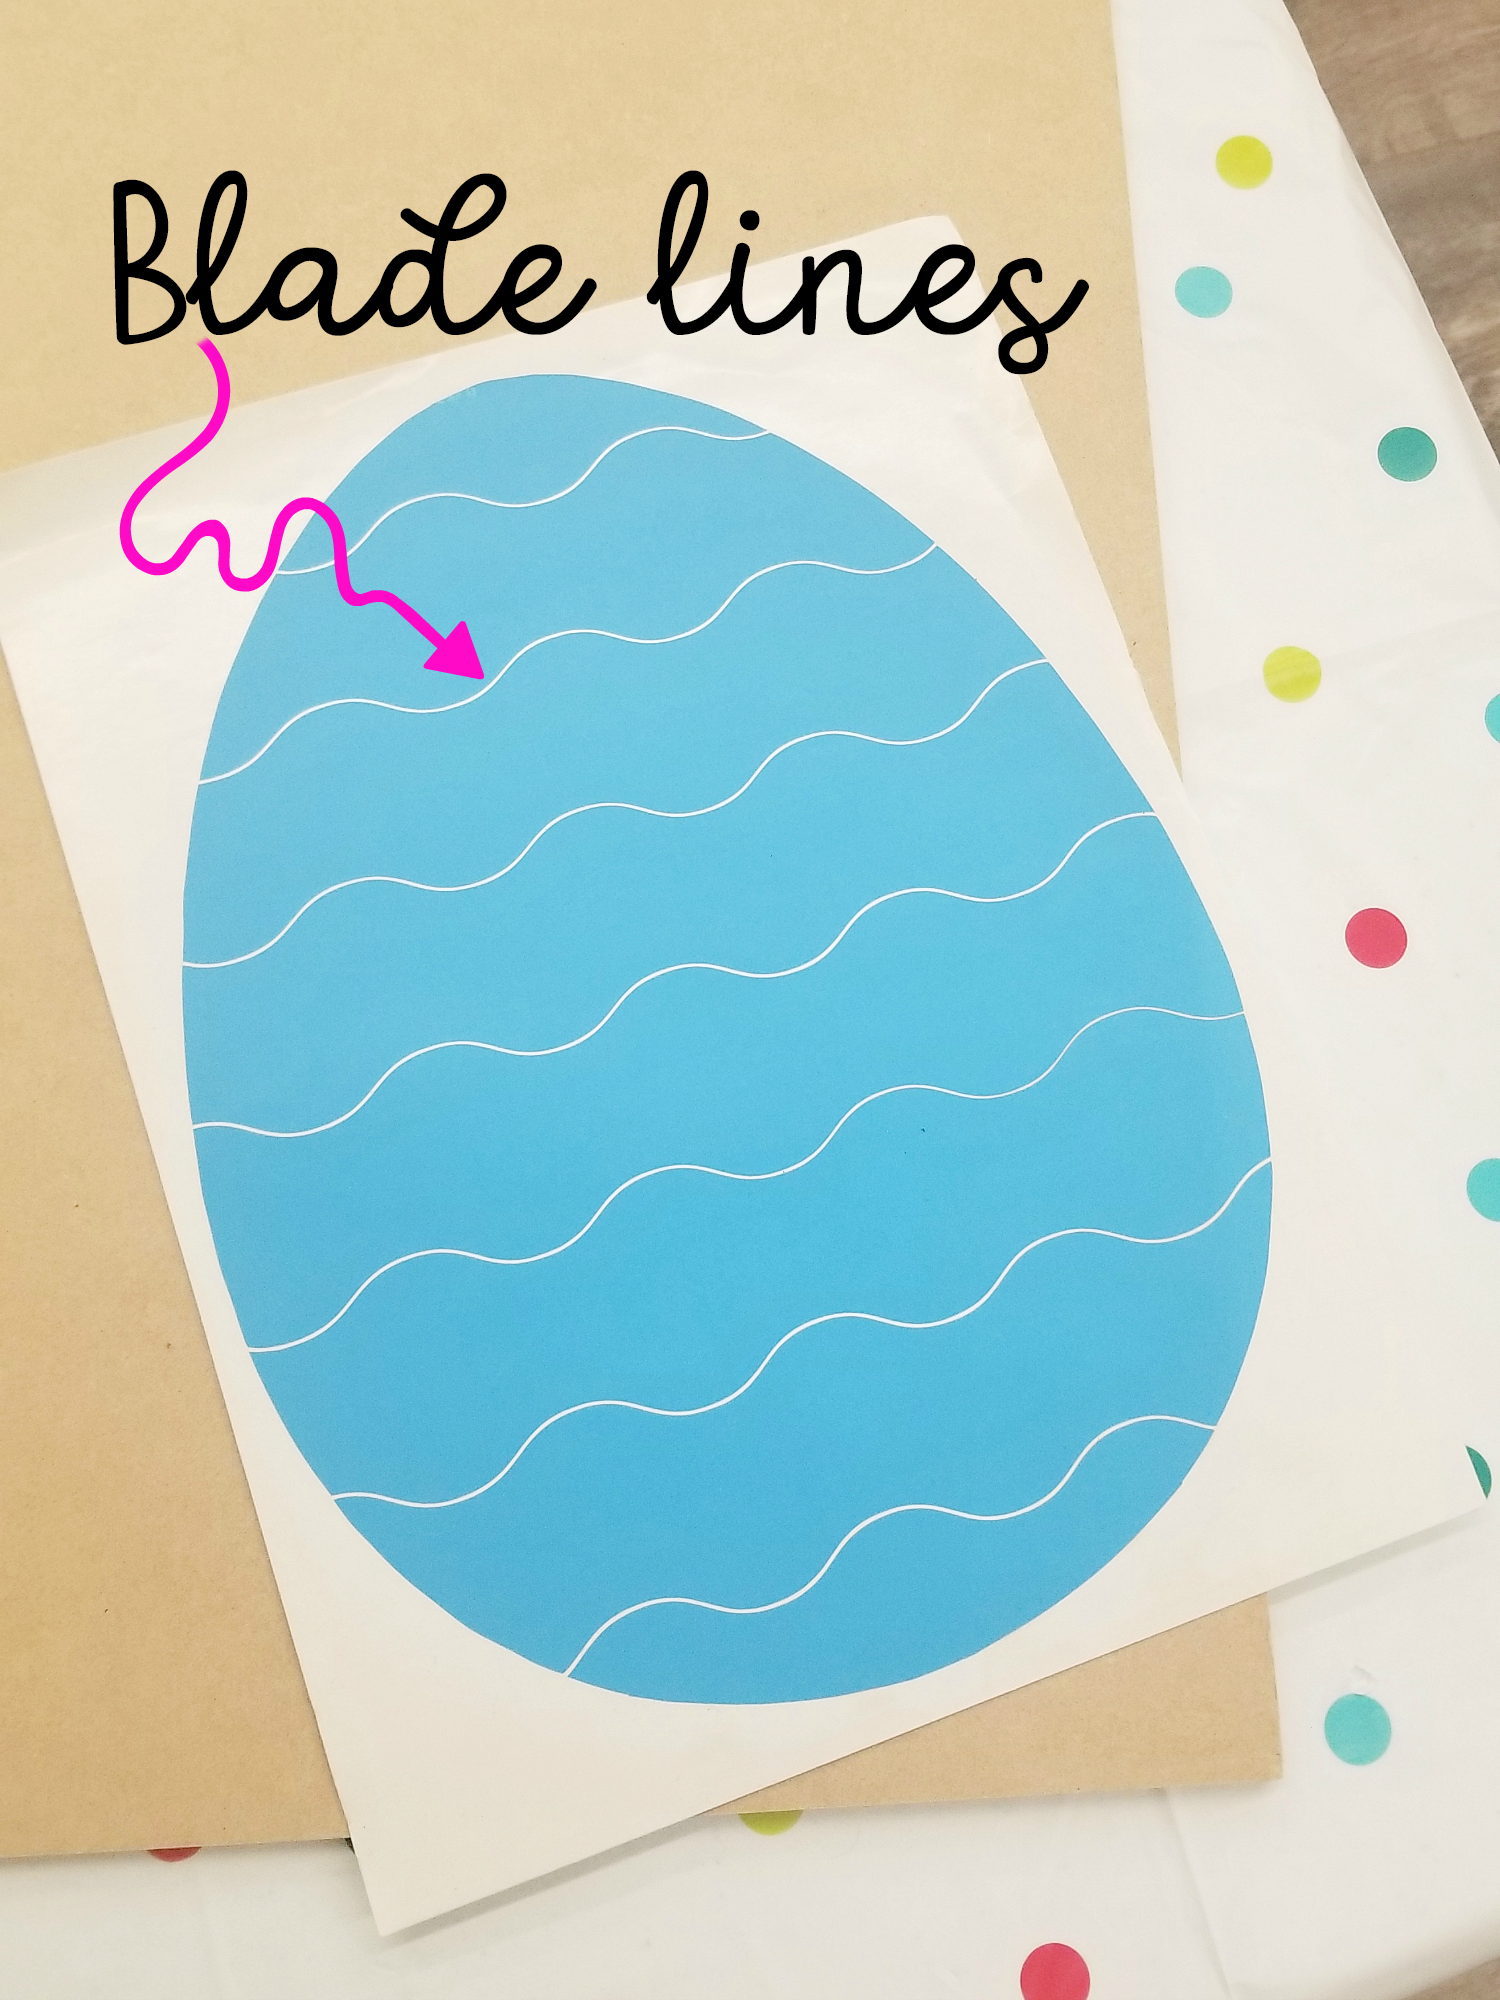
First, you will want to purchase our digital cut file. This cut file is specifically designed so that you can place the vinyl on some wood and then the gaps between the strips are the same thickness as the scroll saw blade you will use to cut this out.
Oramask works great as a stencil for cutting out wood rather than using a pencil to trace the image which can become hard to see. The blue film of the Oramask really stands out.
All you need to do is import the cut file and size it to your liking. Keeping in mind to make it smaller than you may like because you will space it out on the final steps.
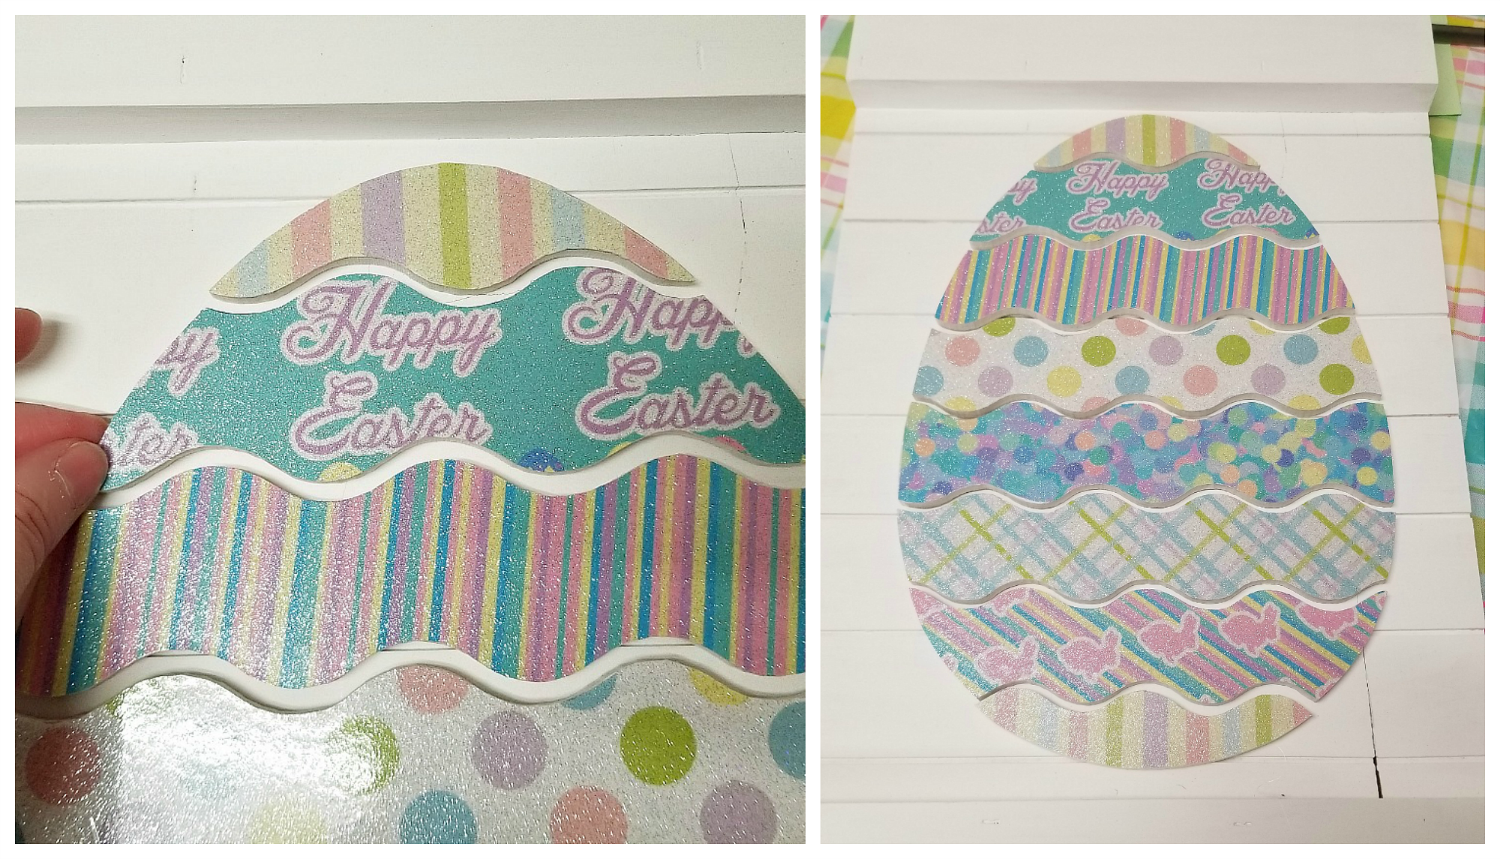
After you have cut your egg out, it should look like a bunch of little blue squiggles. I WOULD recommend numbering the layers just so you are not guessing which goes where.
You egg(s) should look like the first picture shown below. You can paint your shapes before the Oramask is removed or after, it does not really matter, but you WILL want to number still. Then just paint the edges since we will be covering the tops and you will be glueing down the backside.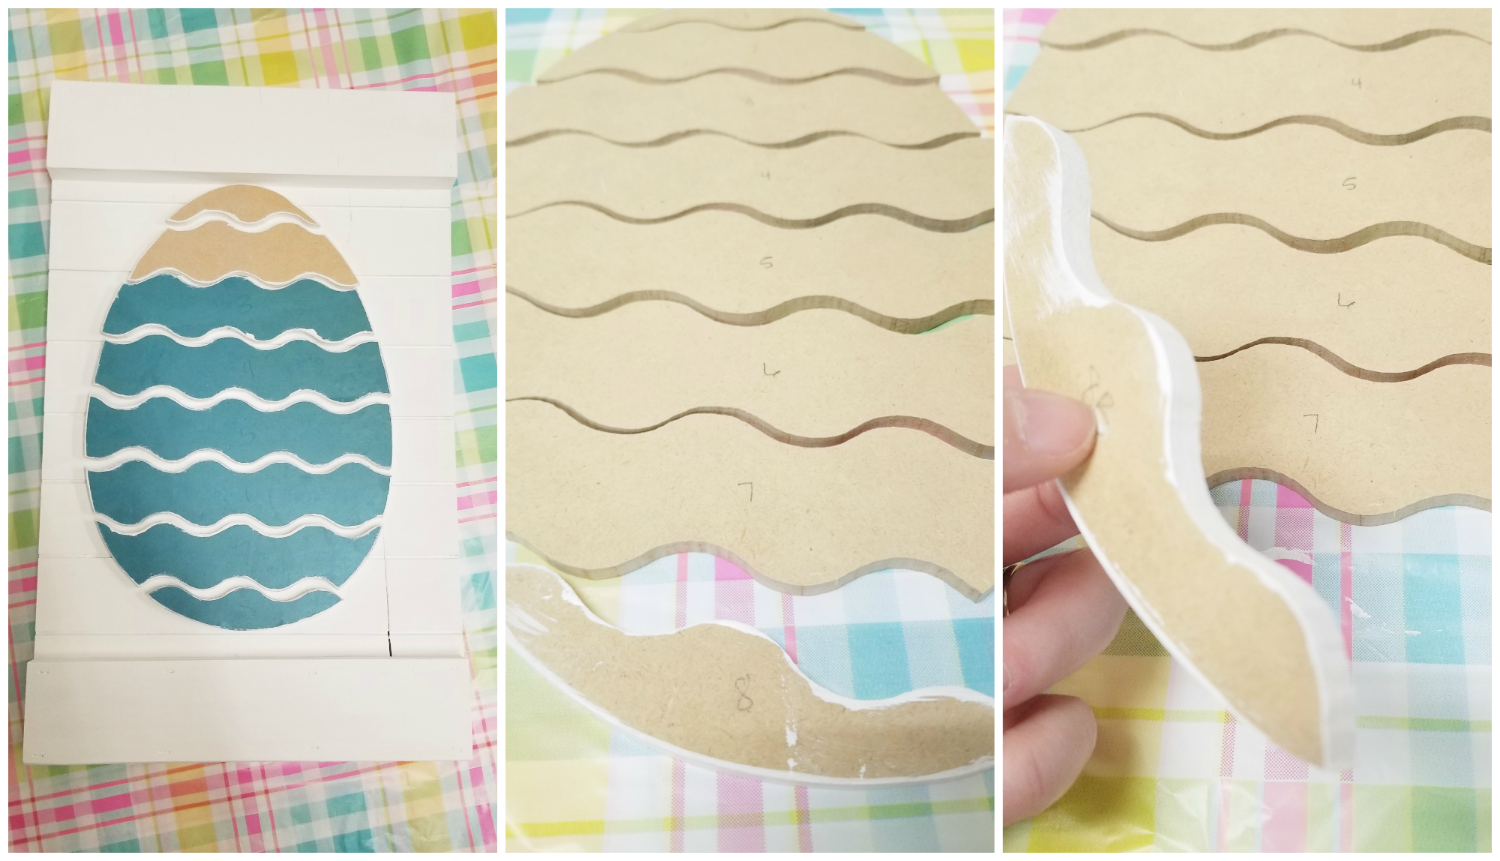
There are 2 methods that you would use to cut the vinyl out. You machine or your scissors. I have tried both and both have their benefits. Today we will just use scissors.
If you want to use the machine and cut these out, use the Cut Settings for Inkjet Vinyl with Laminate.
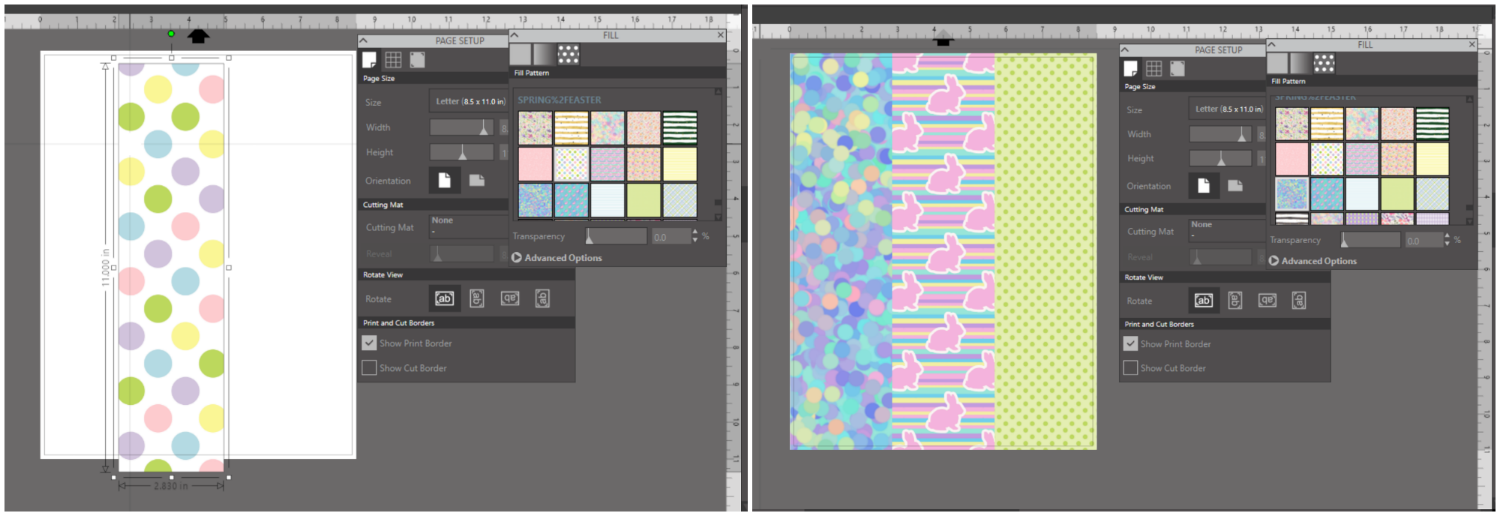
While your paint is drying. Take your Inkjet Printable Vinyl and set it up how you wish it to print out on the printer. Since I only need strips I can print multiple patterns on one sheet. My strips are just under 2.7 inches so I just diveded my page into 3 sections which in this case my boxes are 2.8x11 which equal 8.5x11 inches. Then simply fill in the boxes with your patterns.
(Easter Pastels and ClementineDigitals)
I didn't need my cut boarder on so you can turn that off if its a distraction and just turn on your "Show Print Border".
You are now ready to print on the Inkjet printable Vinyl. Keep in mind there is a right and wrong side to the printable vinyl. You want to print on the dull side and if you are not sure just pull up the corner a bit to determine which side is sticky or not. You will know right away if it was printed on the wrong side, it will smear.
We are now all set up to start applying the vinyl, but FIRST, if you look close enough, the Printable Vinyl is ....glittery????
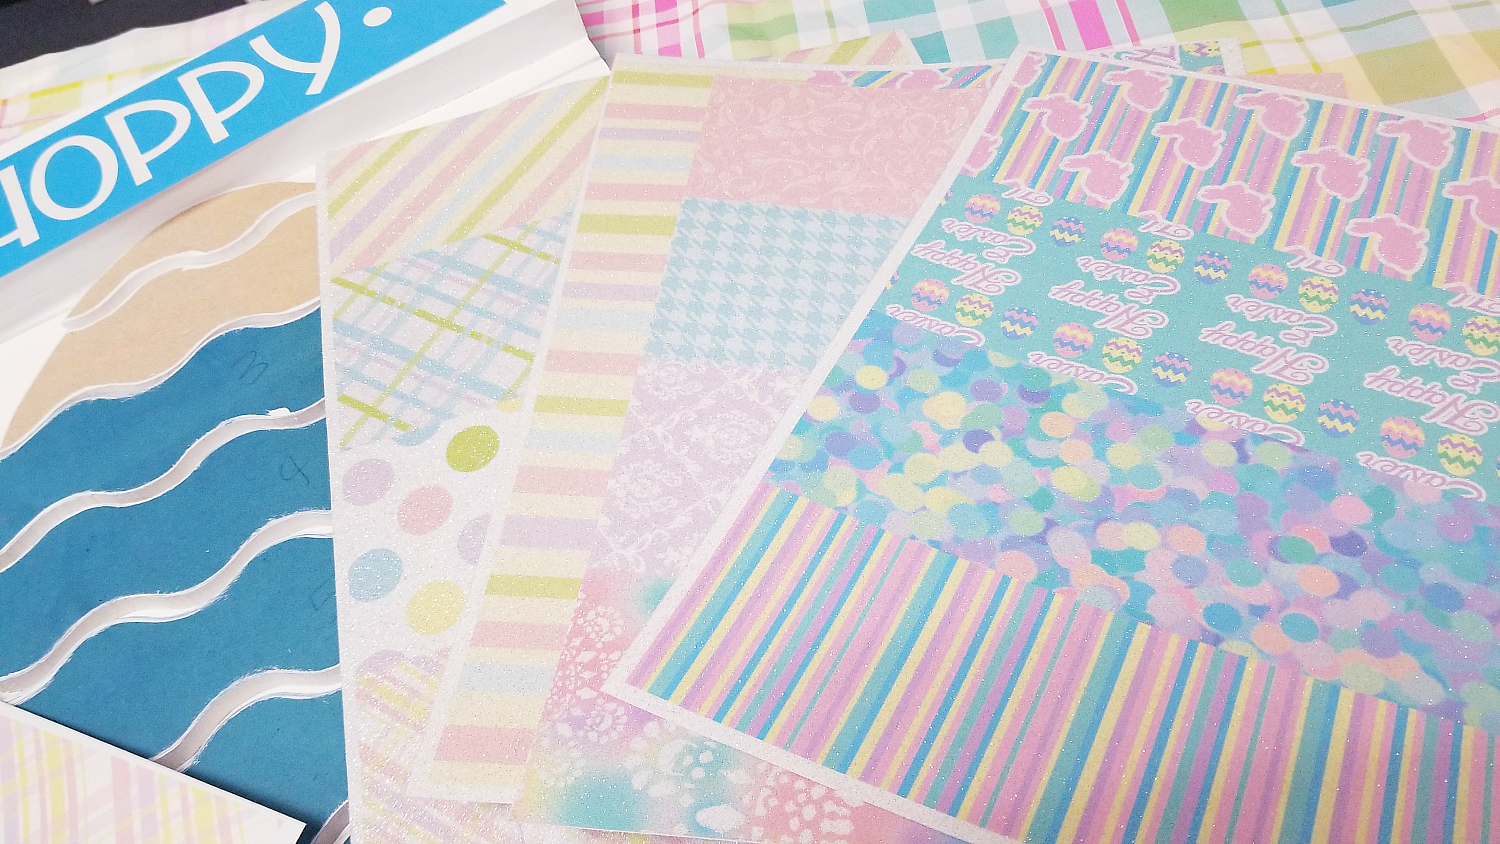
Yep!
Normally to improve the life of the vinyl, especially if going outside. You would laminate it with our Premium or Economy laminates to give it a nice finish. The Printable is waterproof either way.
But! This time we used the StarDust Glitter which is a clear Glitter; a part of the Glitter FX line, NOT the Transparents, but there are some awesome colors in that line that will add a bit more color if you wish.
All you need to do is apply it to the top as if it were transfer tape and be mindful of bubbles so slow and steady.
Inkjet Printable Plus StarDust Glitter FX....EQUALS!!! Your own patterned Glitter Vinyl. HOW COOL!!!

If you want these fun patterns from Etsy check them out here (Easter Pastels and ClementineDigitals)as well as many other fun patterns you can purchase and download into your Silhouette Studio.
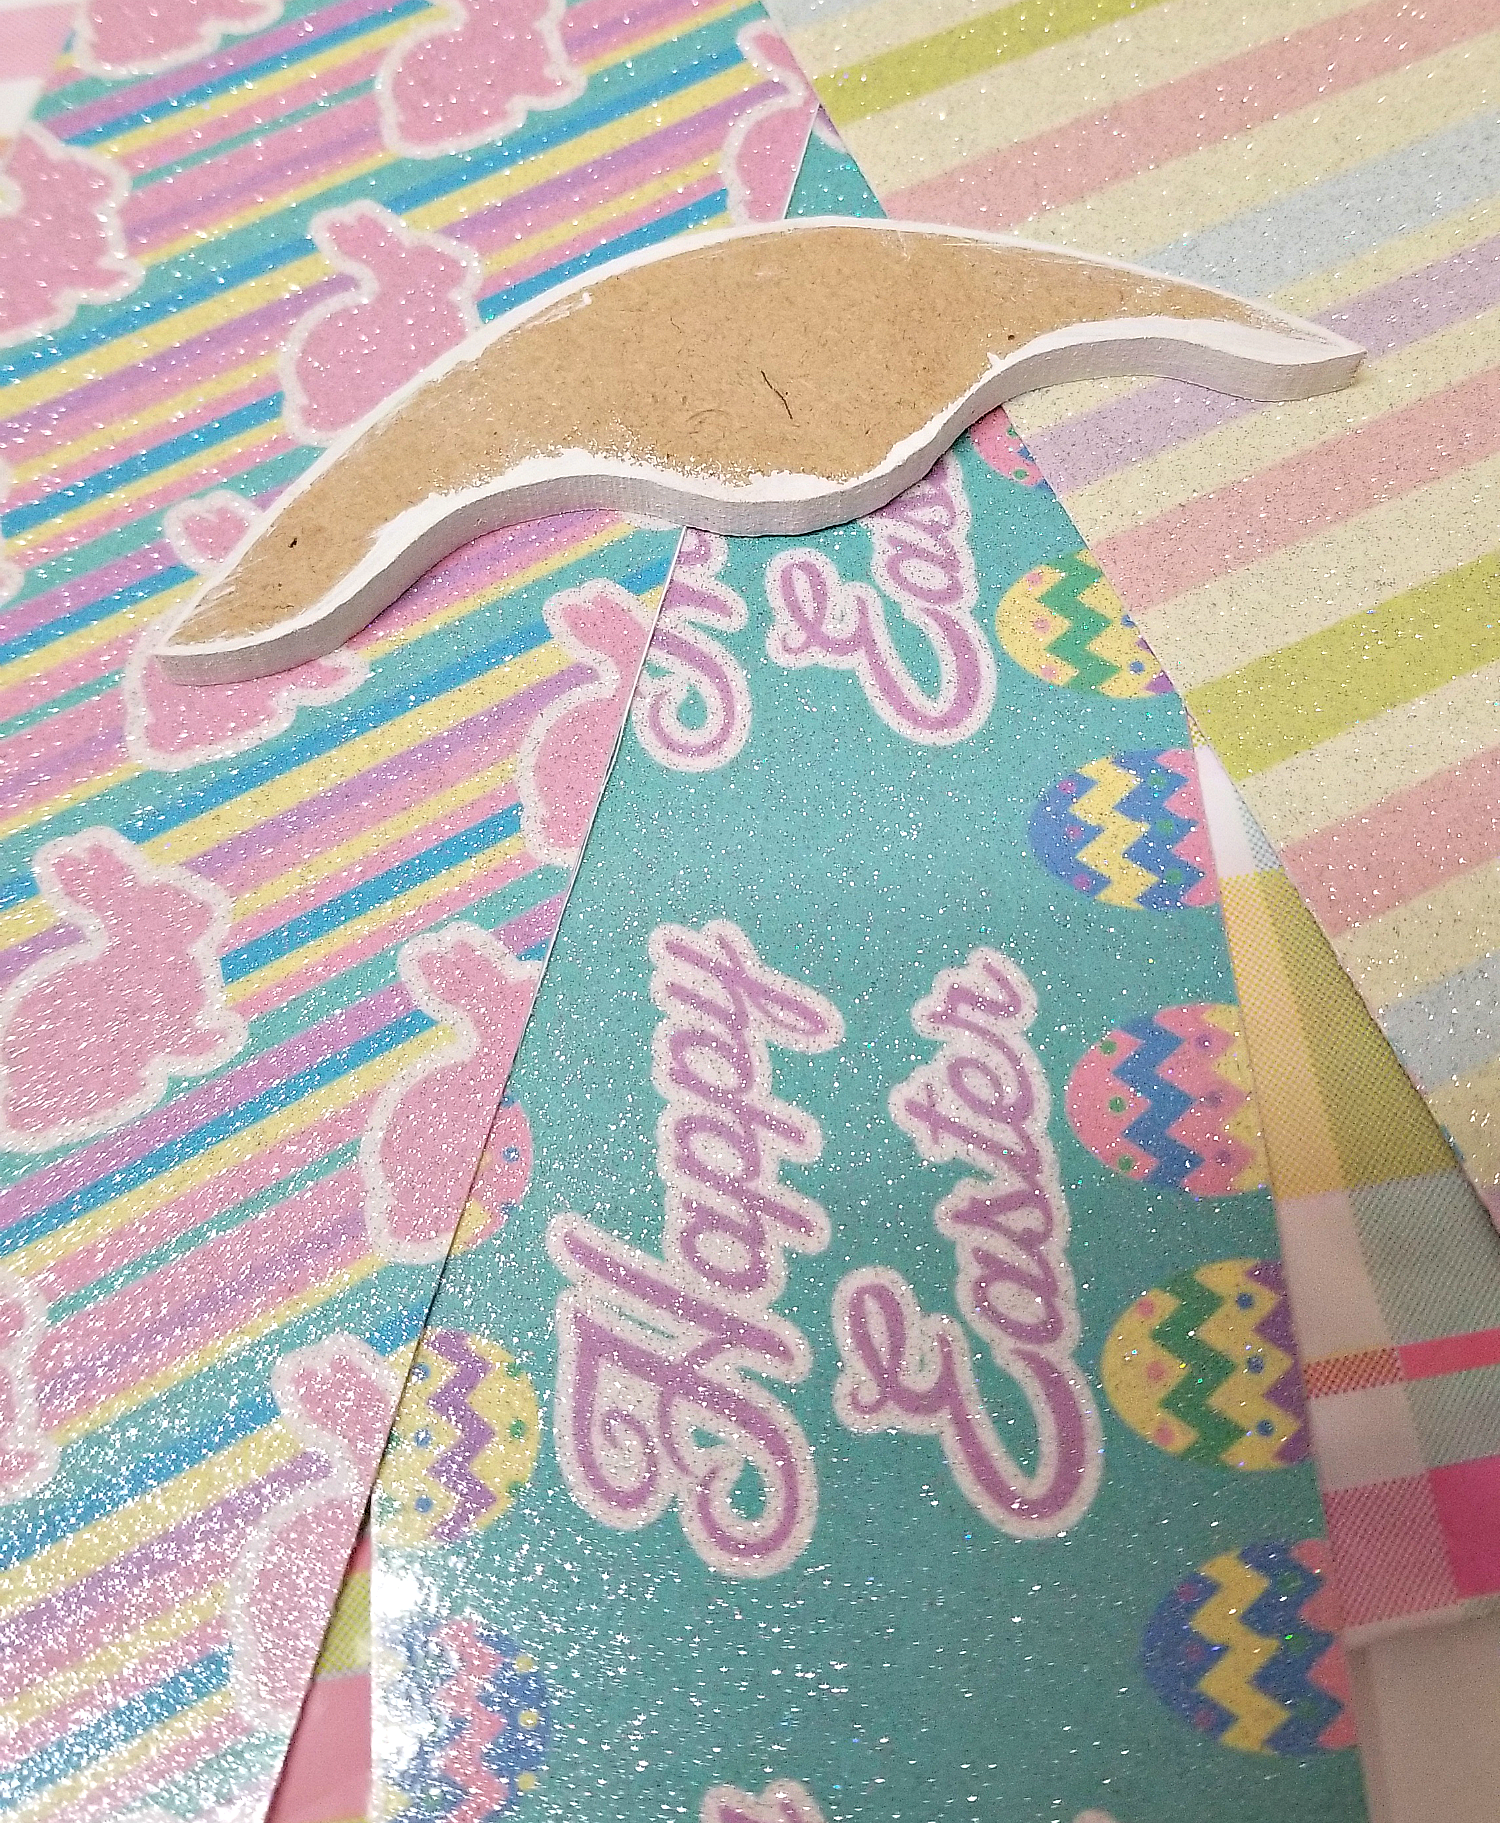
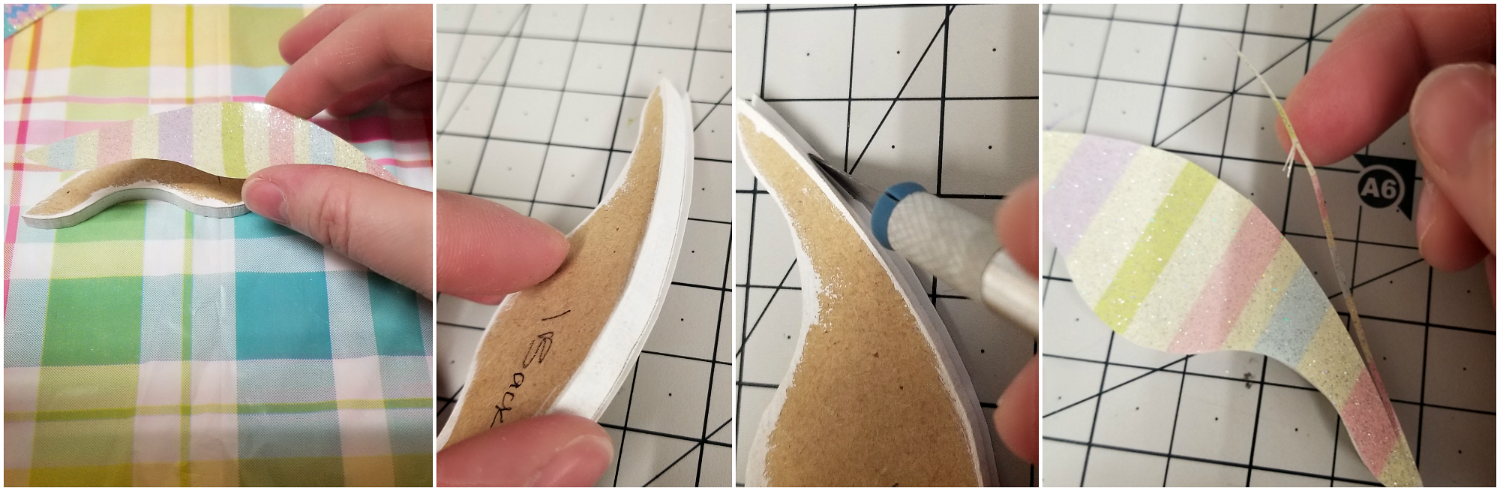
Now, you are ready to start tracing and Cutting. You can trace either on the back or front, since you will need to trim a little bit off no matter what. Just keep in mind which side needs to be your front and back. I label my back pieces as well.
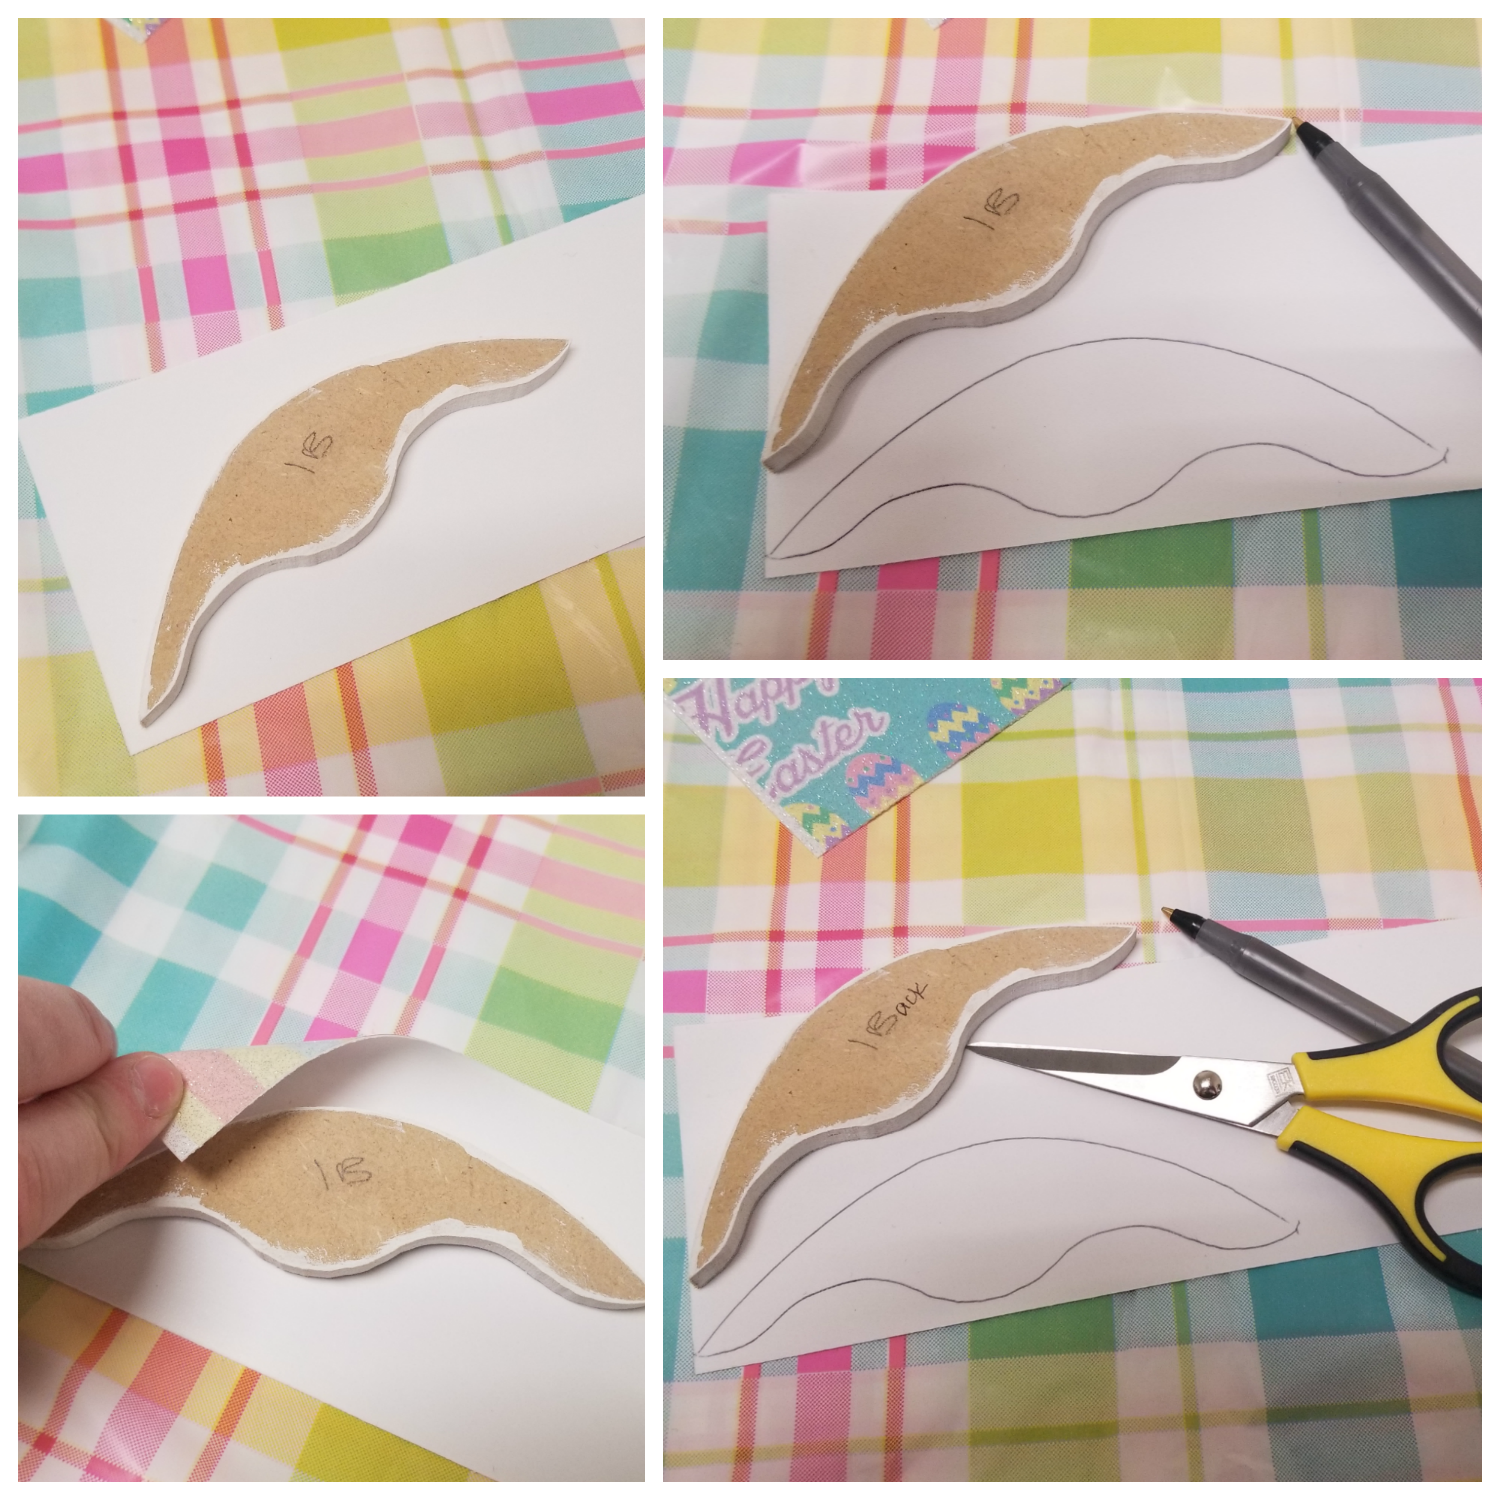
I found it helped when I cut the strips of glitterized Vinyl apart and layed them out so I know what my egg layout will look like.
Once you have all your pieces cut out, just stick them on the designated piece and trim any excess off. If you want a more distressed look, a sharp knife will cut into the wood just a bit to give a distressed edge.
Repeat this step over and over until you have all your colors layed out. Then space them and close or as far apart as you wish.
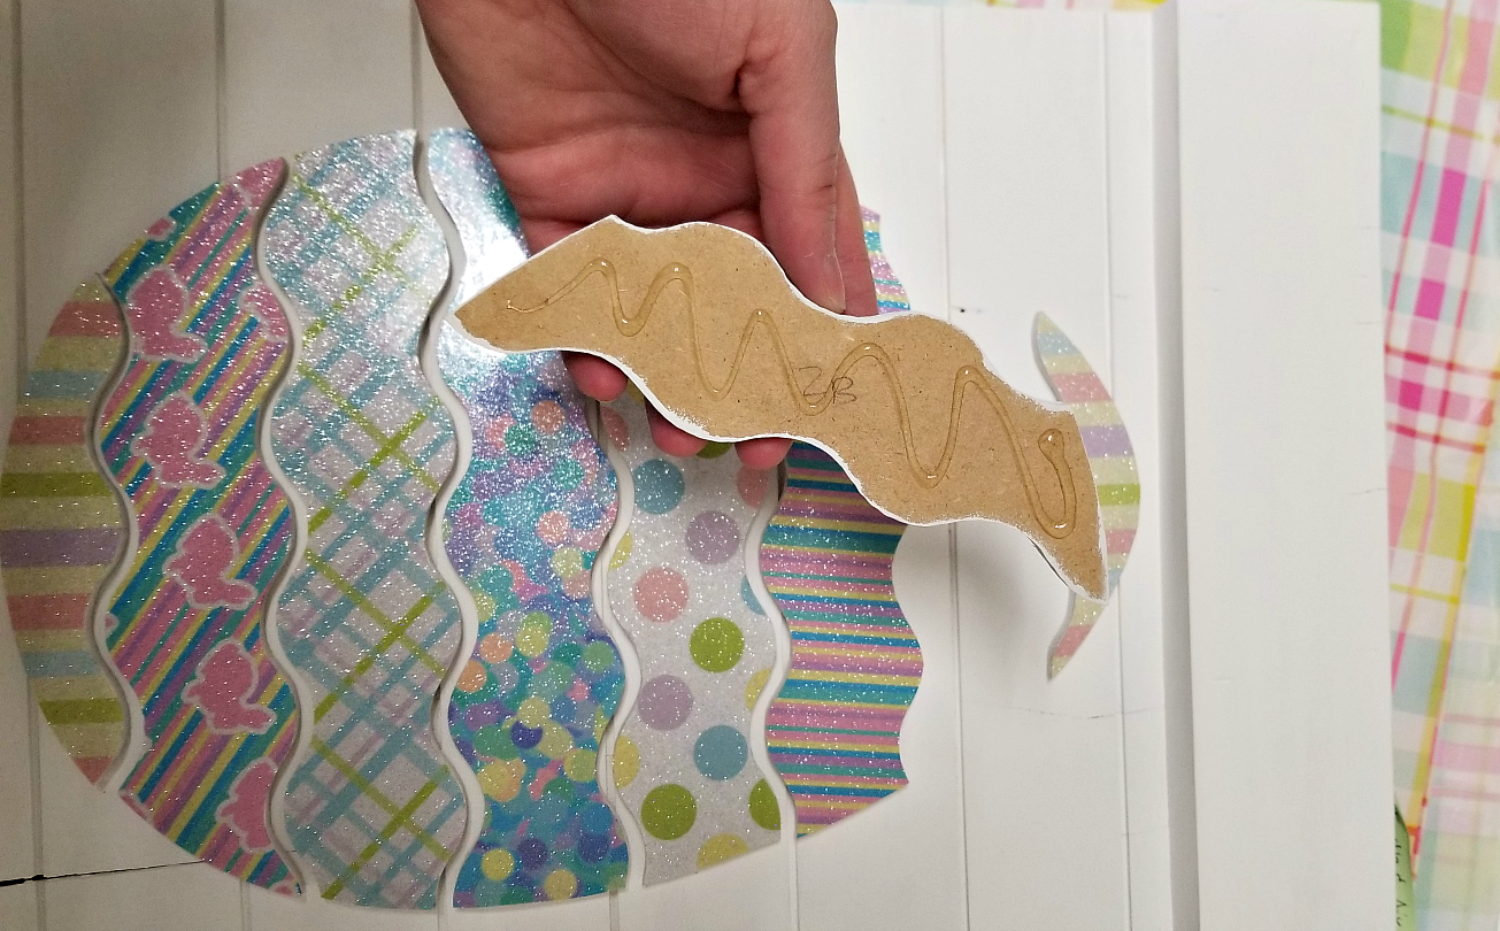
When you have them placed where you want, start with the top and the bottom hot gluing them down and work your way to the middle. This helps with keeping everything in place.
And add some fun Easter saying with your favorite font (ZP Earth and Air #238690) to the top and bottom and your board is now finished and ready to hang or display.

This is so fun and easy you could do some cute project for your kids or just any craft day and everyone will love this.

Recent Posts
-
NEW Holographic Eclipse Heat Transfer Vinyl
April 15th, 2024 3 Ways to Use the New Holographic Eclipse Heat Transfer Vinyl from Siser …Apr 29th 2024 -
Hop into Spring with Cute Easter Vinyl Crafts
Do you love our Vinyl? Sign up for Vinyl Club today to get FREE vinyl and save big! …Mar 28th 2024 -

Fixing Wrinkles and Bubbles in Vinyl
How do you get air bubbles out of vinyl? There are a few different ways to ensure a flawless …Mar 26th 2024