

Creating a Curved Design to Match the Curve of Your Piece
Hey guys, It’s Jessica with Expressions Vinyl and today I want to show you how to curve your design to match a curve on your project. I have a platter that I bought from Hobby Lobby that is a circle, and I want to make my design kind of curve around the edges of that. So I'm going to show you how I set that up.
We are going to be recreating the image on the left. The first thing I did is to go over to the "Draw an Eclipse" tool, and draw a circle that is the same size as my platter. I measured my platter, and it was 12 inches across.
Then I clicked on my "Text" button, and I typed out, "Burnt by Dad".
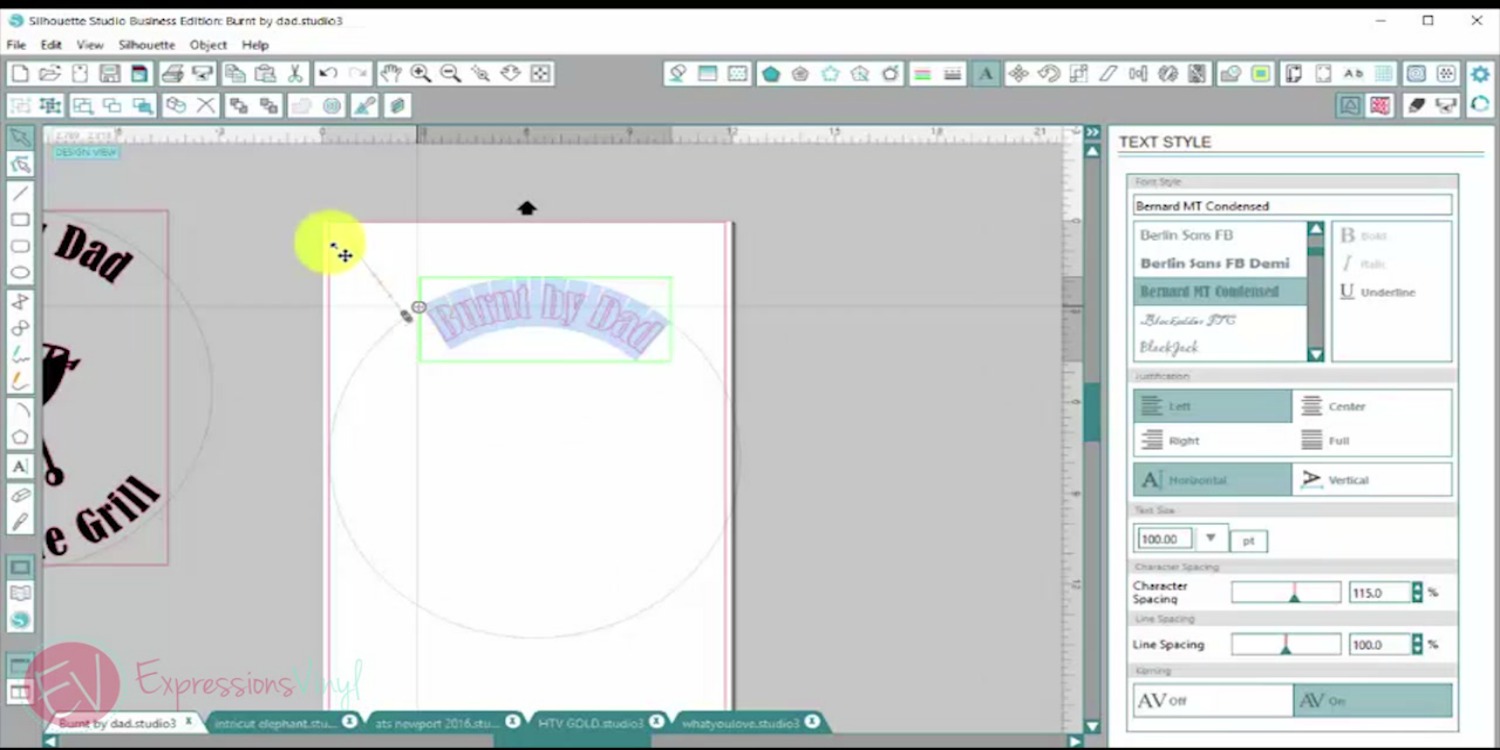

Now I have this little circle here with the arrows. I dragged it over and put it on top of my circle. See how it connected it to my circle it just grabbed on? You could also do it underneath, it just depends on which way you want it to face.
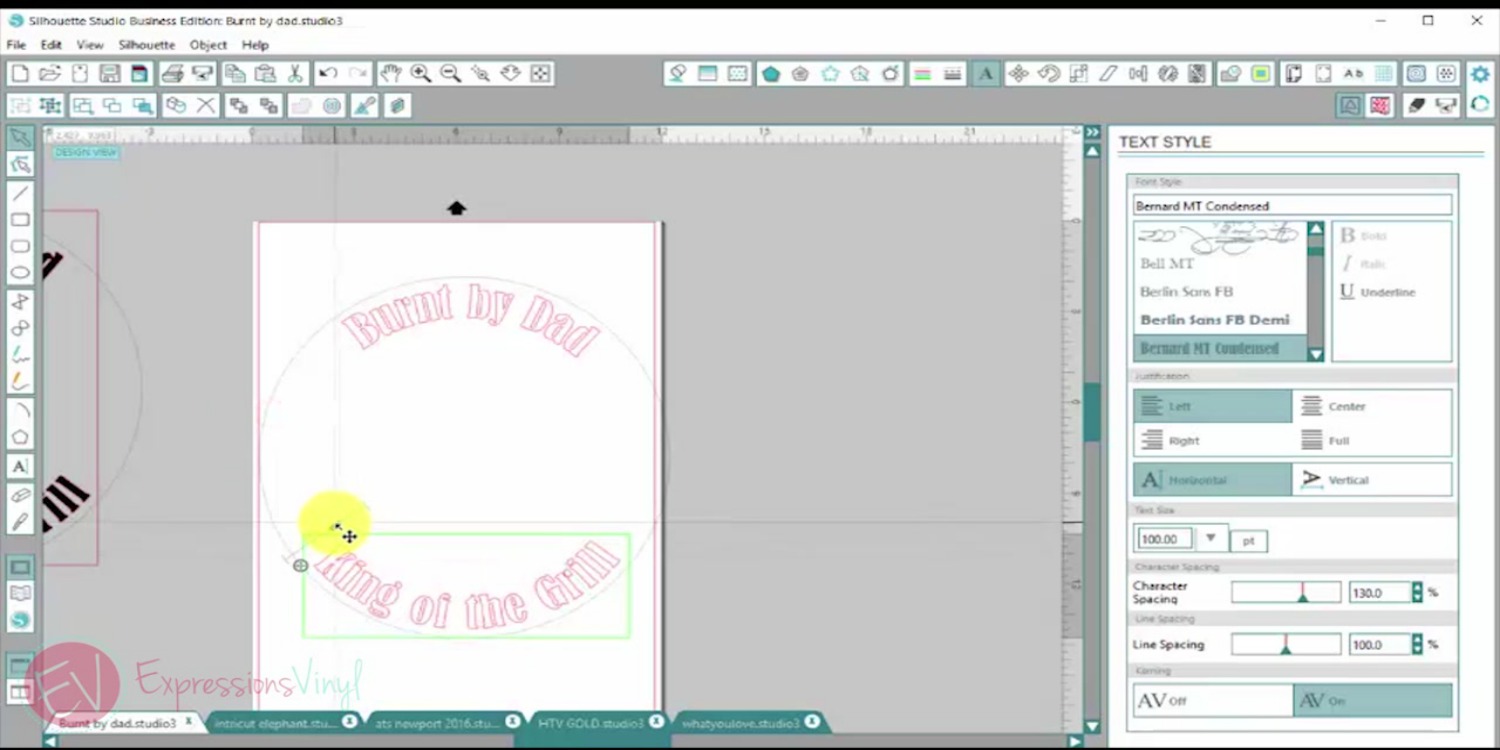

Next I just wrote in the rest of my phrase, "King of the Grill", and drug it down to the bottom to hook it onto my circle.
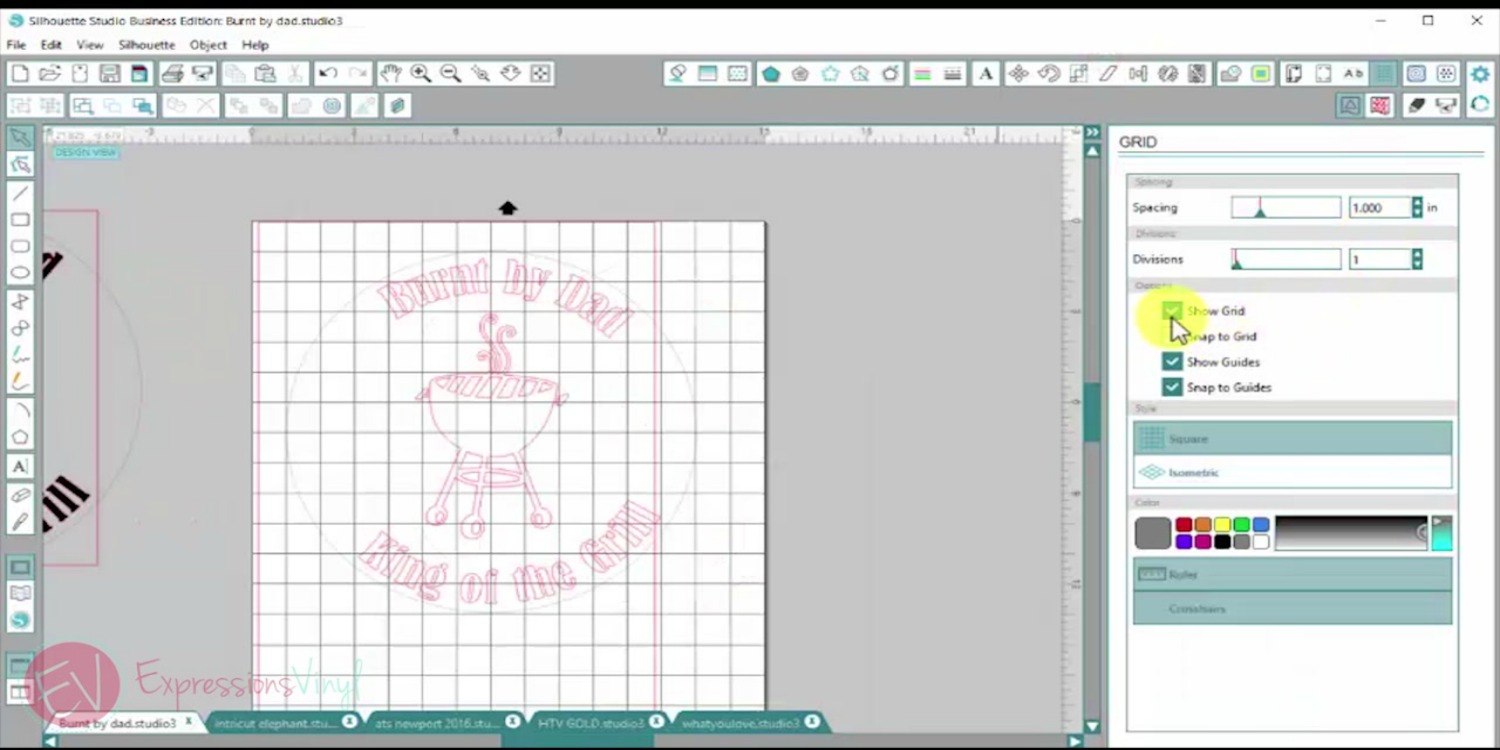

Okay, and now I had to make sure it was centered. I went up here to the right-hand corner, and opened the "Grid Settings" window, and clicked on 'Show Grid'. I want the one inch and I don't want any division. So these are one-inch squares. I also went to my Design Page Setting, and changed the size of my page for just a minute so I could get this centered. To center my circle, I lined it up with the squares so I could see the middle. Then I double clicked on my letters, and got those centered in the circle.
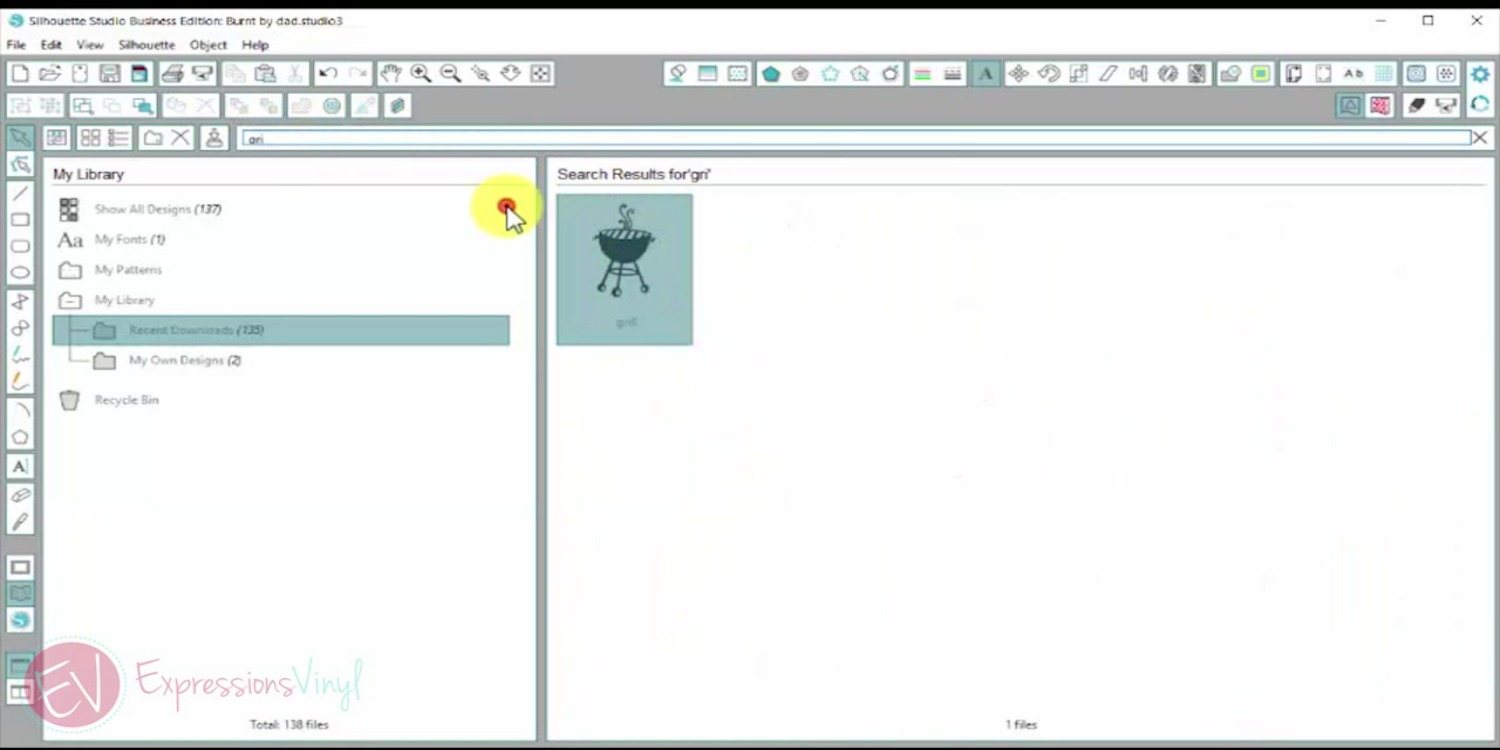

Then I went into my Library and grabbed my grill, which is one I purchased from the Silhouette Store.
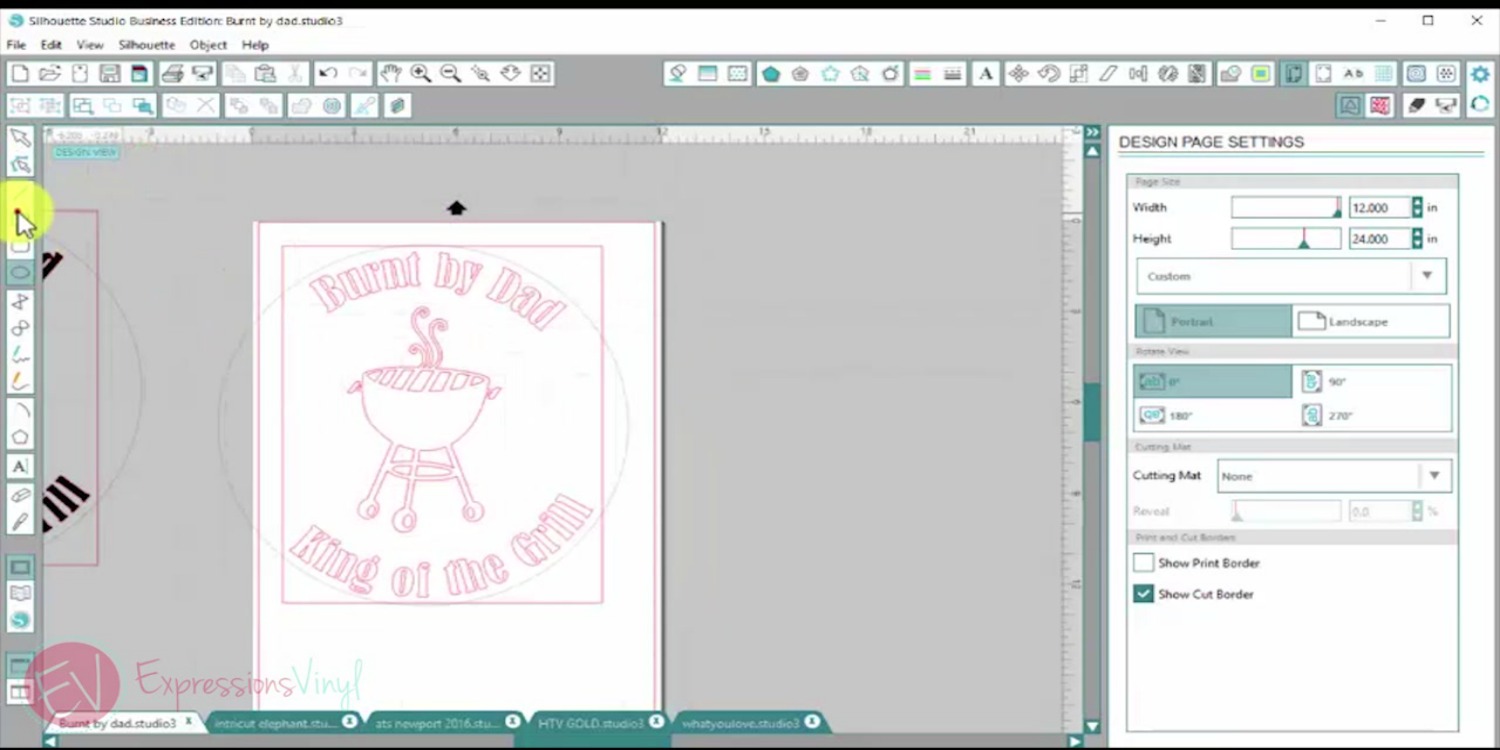

I dropped him into my design and then just drug the corner of the design with my mouse to make it larger.
I then drew a weeding box around my finished design (stay tuned for a post strictly on weeding boxes), and made sure my design fit on my page. Then sent it to cut.


Fun Tip: See below how I drew a circle, and it's a red line, so that means it's going to cut if I were to put it on my mat, and send it to my machine. But, when I type letters, and drag them and hook them to that circle, it just becomes a guide, it's not going to cut only the letters would.
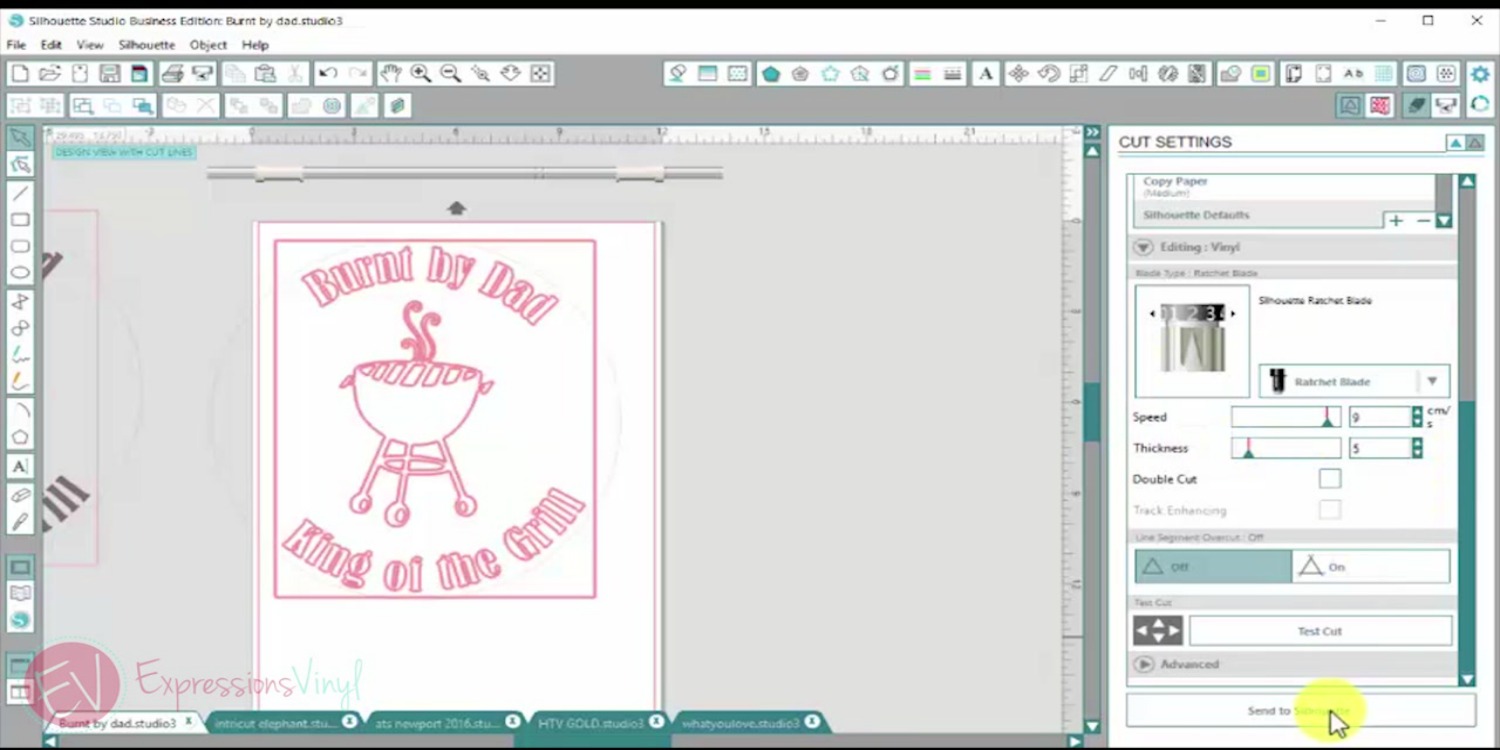

I used Series 51 Permanent Vinyl and my cut settings for my Cameo were: Speed 7, Thickness 5, and Blade at 2.
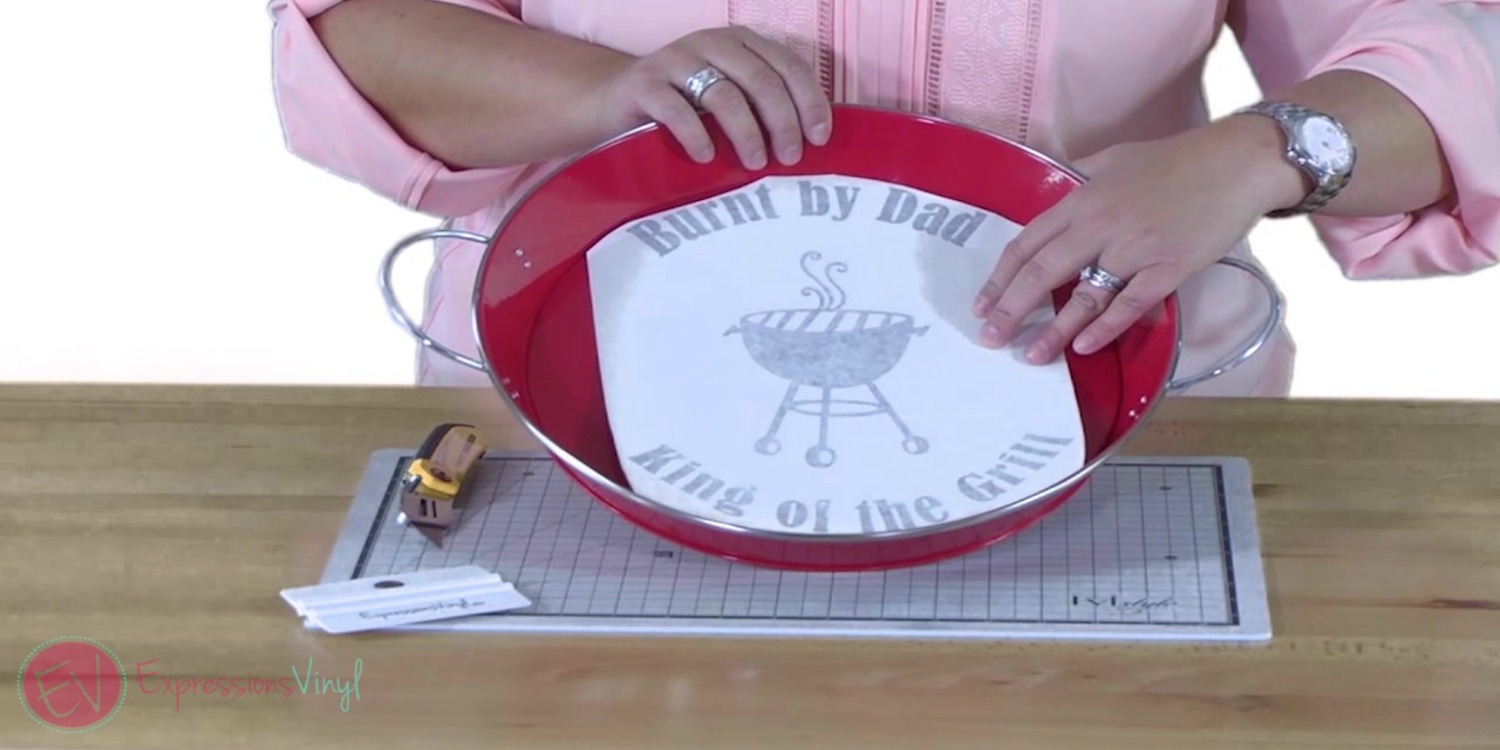

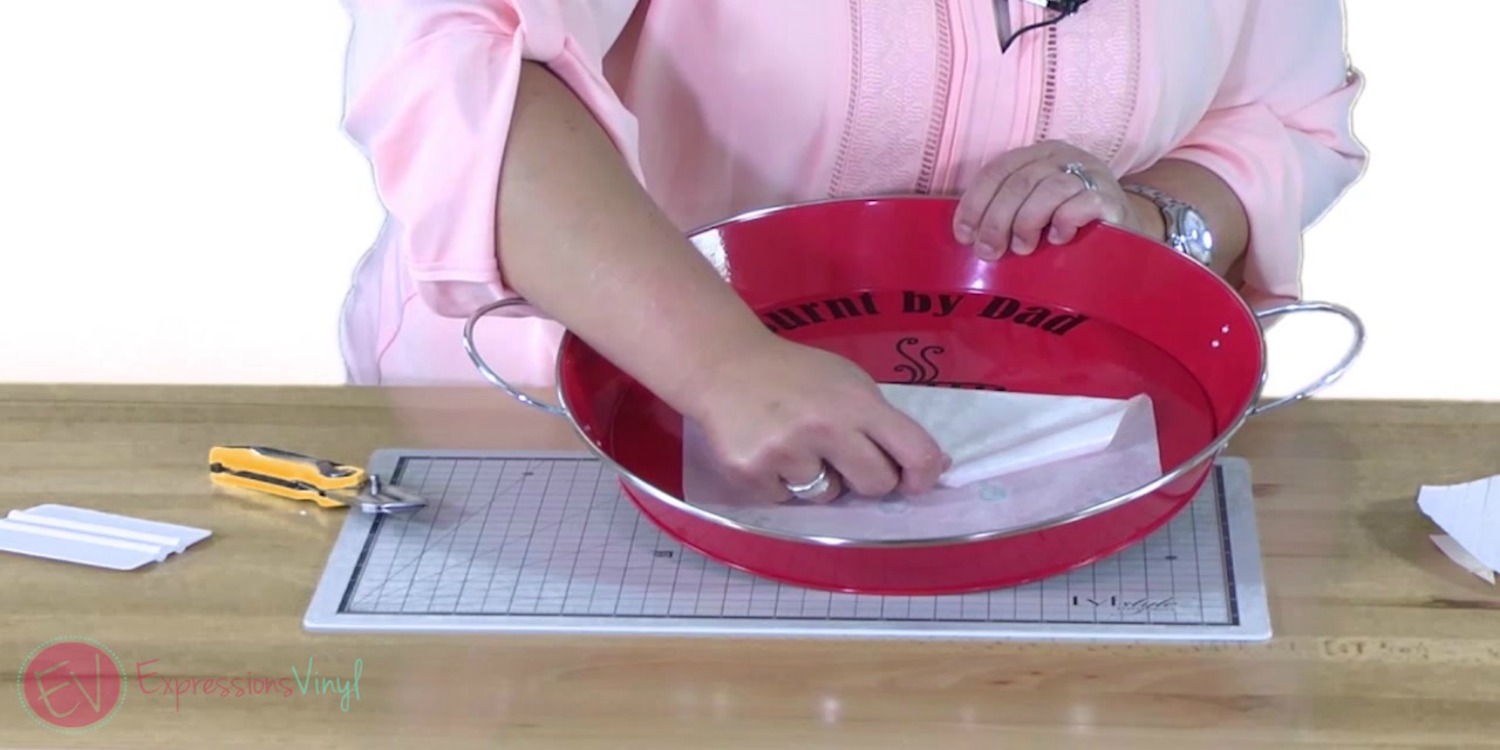
Once it's all cut out I trimmed around my design so that it would fit easily in my metal tray.
Before removing the transfer tape and applying the vinyl, make sure it is going to line up the way you want it.
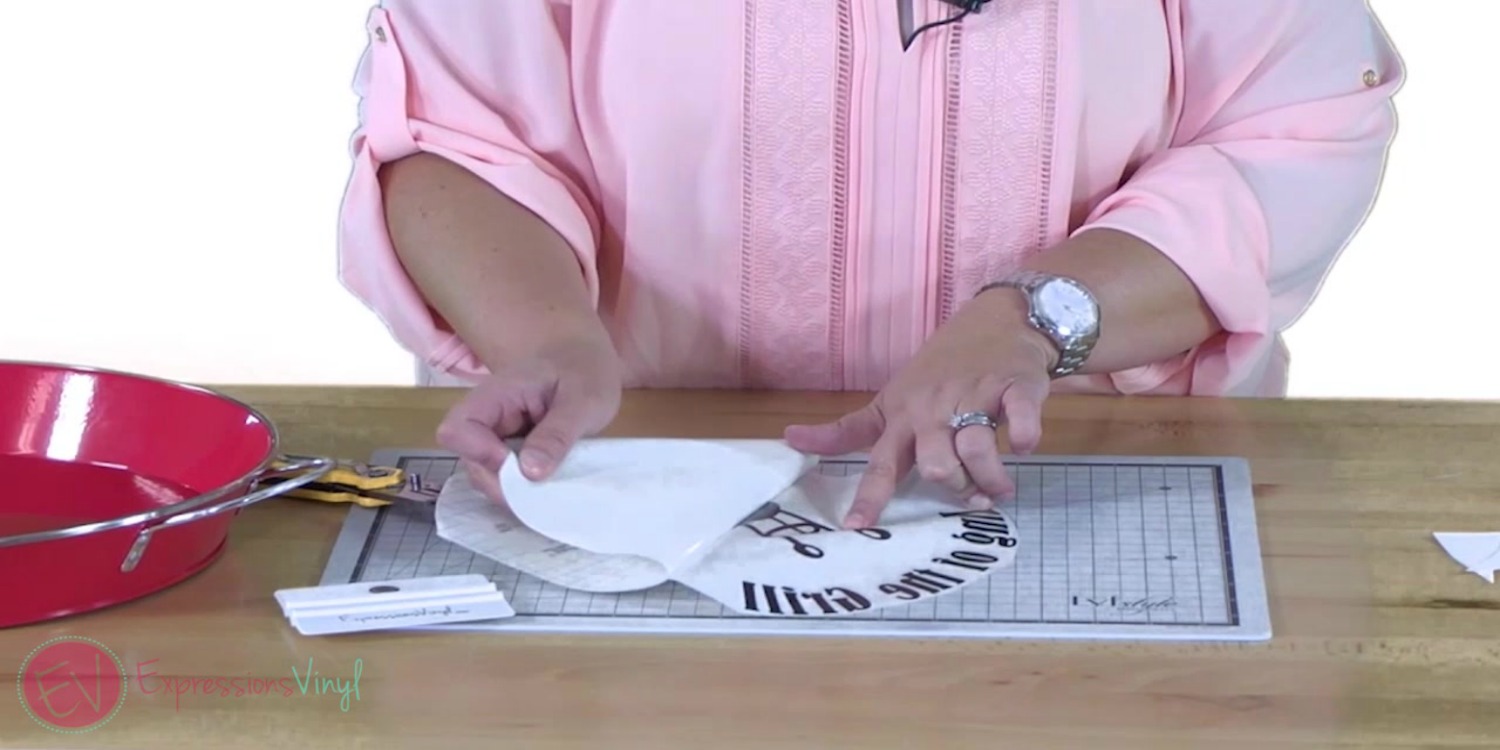

Another great tip: Only remove half of the transfer tape at a time on larger projects. This will help alleviate any bubble issues and give you more control when laying the vinyl down.

Almost done....
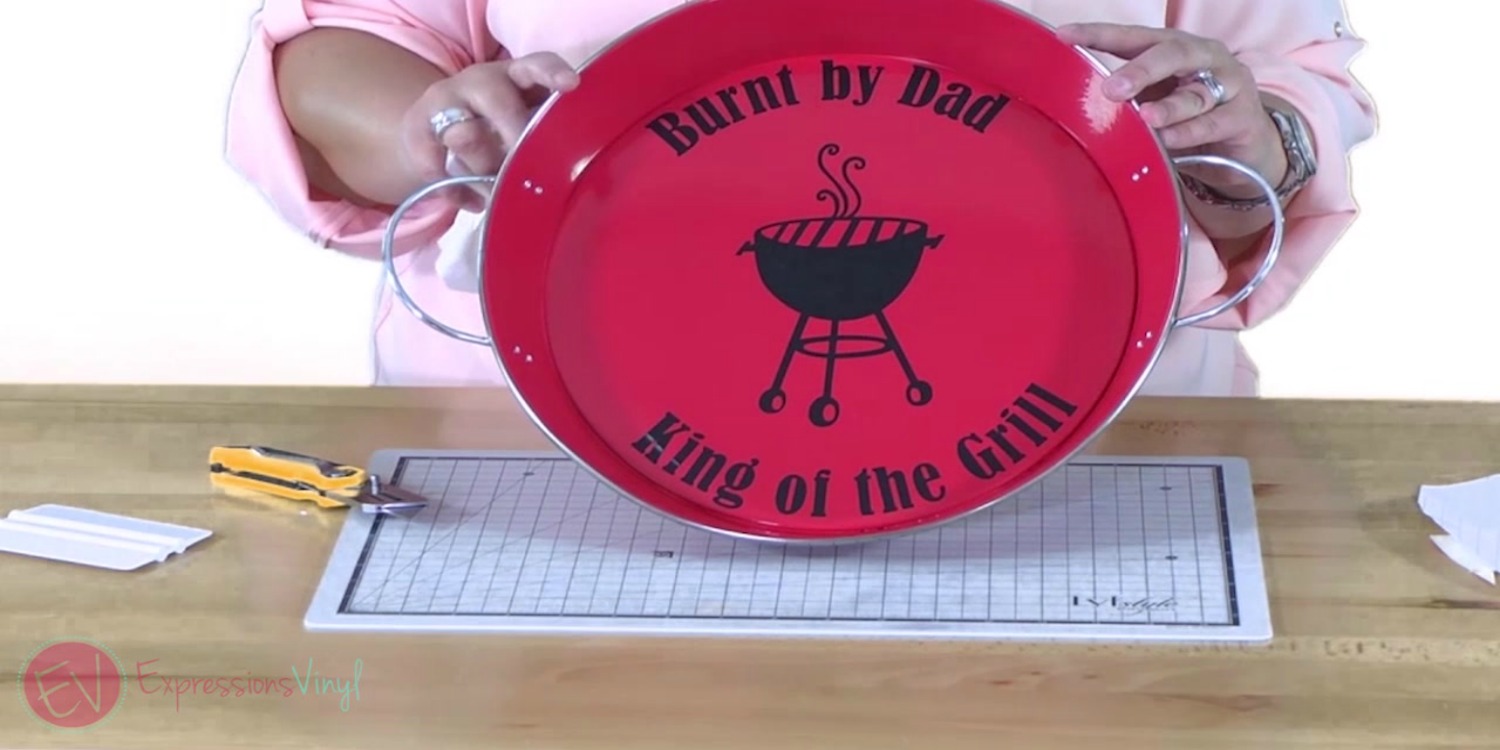

And BAM! My font matches the curve of my platter and I think it looks great!
If you have any questions or comments, please let me know in the comments below. And make sure to watch the full video of these tips here!
Recent Posts
-
Hop into Spring with Cute Easter Vinyl Crafts
Do you love our Vinyl? Sign up for Vinyl Club today to get FREE vinyl and save big! …Mar 28th 2024 -

Fixing Wrinkles and Bubbles in Vinyl
How do you get air bubbles out of vinyl? There are a few different ways to ensure a flawless …Mar 26th 2024 -

20 Creative Craft Quotes You Will Love
March 12, 2024 20 Creative Craft Quotes You Will Love You can never have too many craft …Mar 12th 2024