
Buffalo Check vinyl cookie tray
I love fresh cookies and I also love sharing them with others! Forget the paper plate and deliver your cookies on a fun decorated tray that they can reuse! This tray is perfect for an after-school snack for the kiddos, or for any other yummy food gift. All you need is some adhesive vinyl and a small metal tray! Read on to learn how to make one (or 10!) for yourself.
Supplies needed:
-adhesive vinyl in white and black -patterned adhesive vinyl in black and white buffalo plaid -transfer tape -cutting machine (I used a Silhouette Cameo) -weeding hook or craft tweezers -metal tray (found at the dollar store or any craft store)
Step One: Prepare design in software
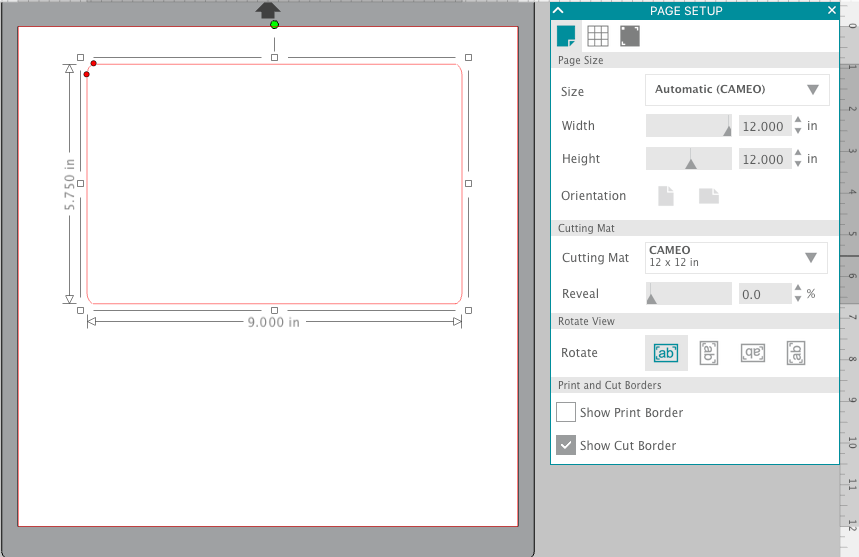
Open your software program (I used Silhouette Studio) and begin by drawing a rectangle the size of your tray. This will give you the exact measurements on the area we have to work with.

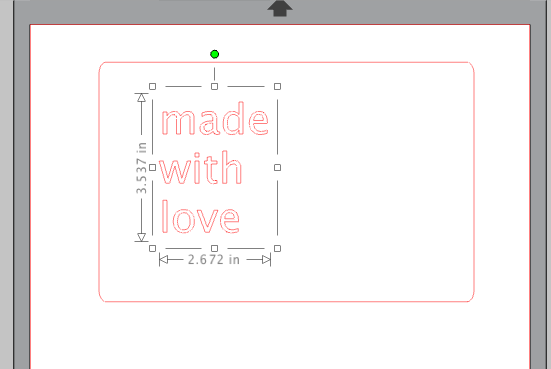
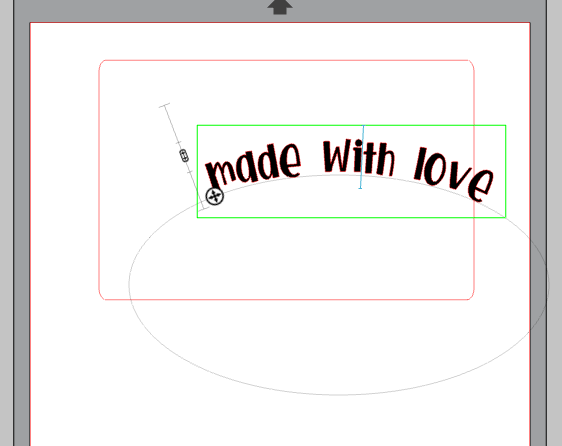
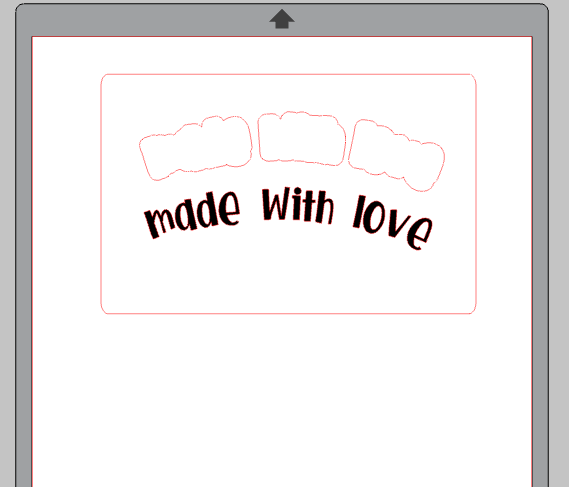
Use the text tool to add your phrase. I wanted it to say "Made with love."

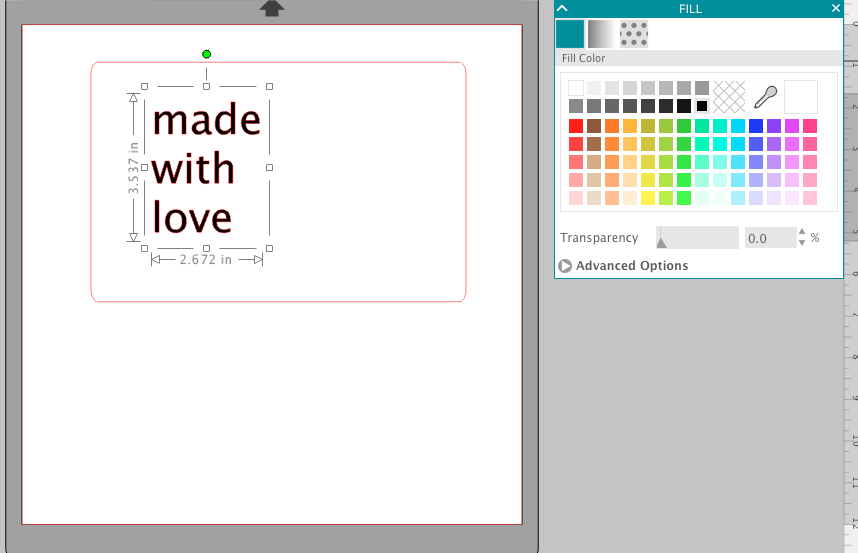
Use the fill color tool and fill the text so it gives you a better idea of what the design will look like.

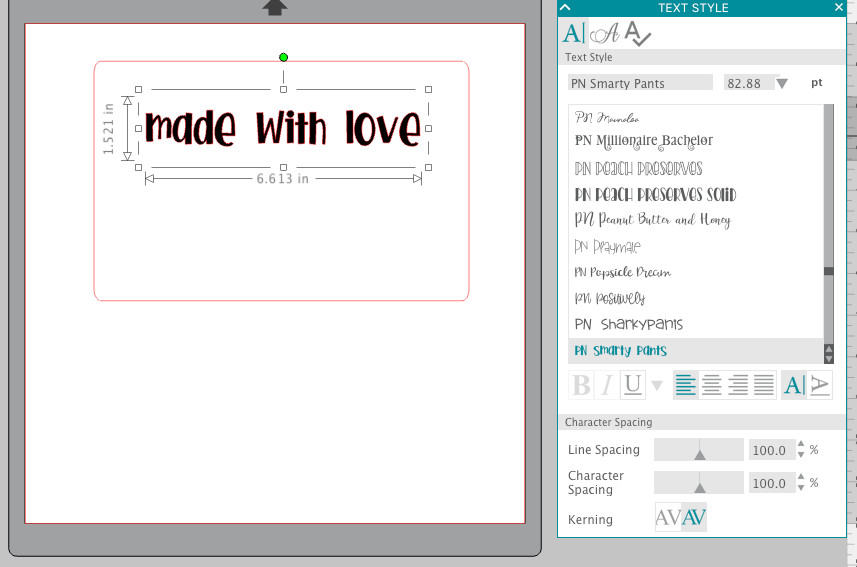
Change up the font to be the style you want. So many options!

To add a little flare to my project, I wanted my text to curve just a bit. To do this, draw an oval and then drag the text over the oval until it follows the curved path.

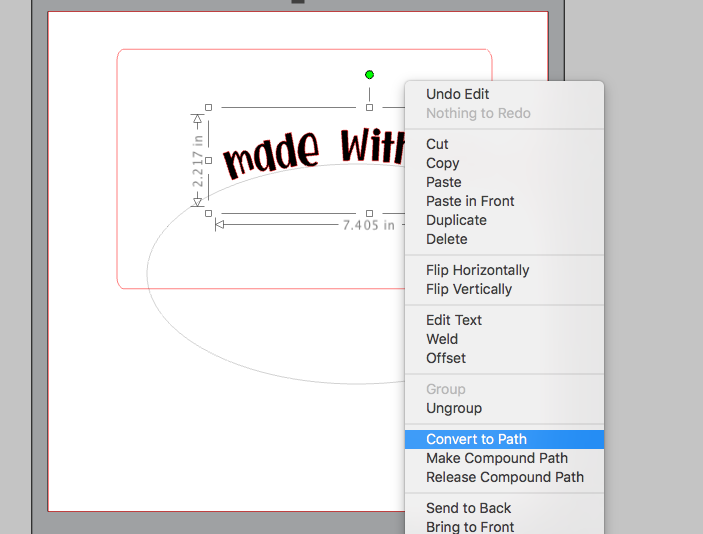
Once the text is curved how you'd like, right click and select Convert to path. Now you can delete the oval and your text will stay curved!

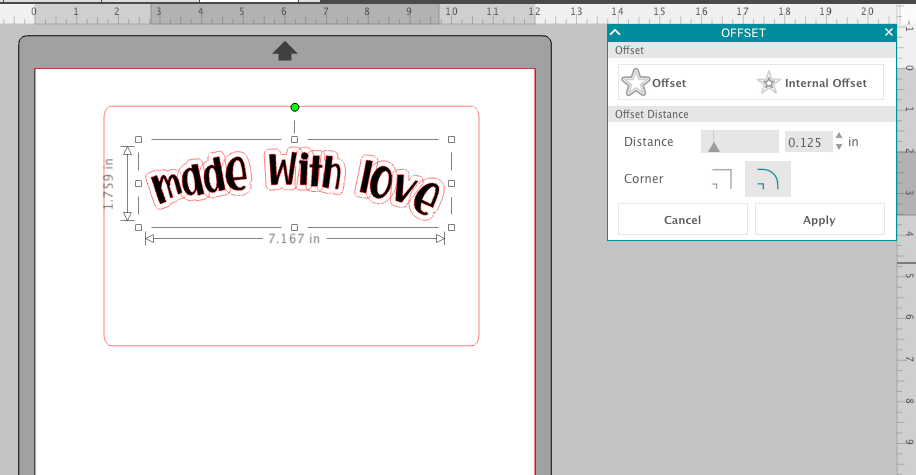
Since I am layering my vinyl, I need to create an offset. Select the text and click the Offset icon. Choose how thick you want your offset to be and then select Apply.

Once your offset is made, group the offset pieces together by right clicking and selecting Group.

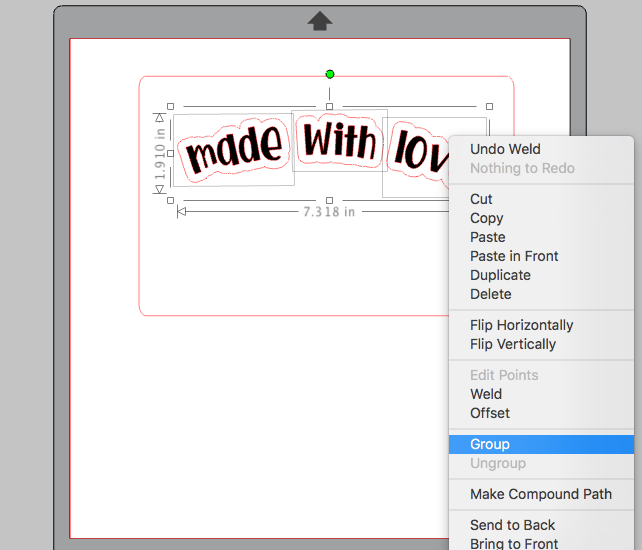
Now we have both parts of our design ready to go!

Step Two: Cut designs out of adhesive vinyl
Once your design is ready, it's time to cut! Go to the cut settings menu and select the material you will use. I am using glossy permanent vinyl so I chose that option. Remember to adjust your blade accordingly if you aren't using the auto blade feature on the Silhouette Cameo 3.

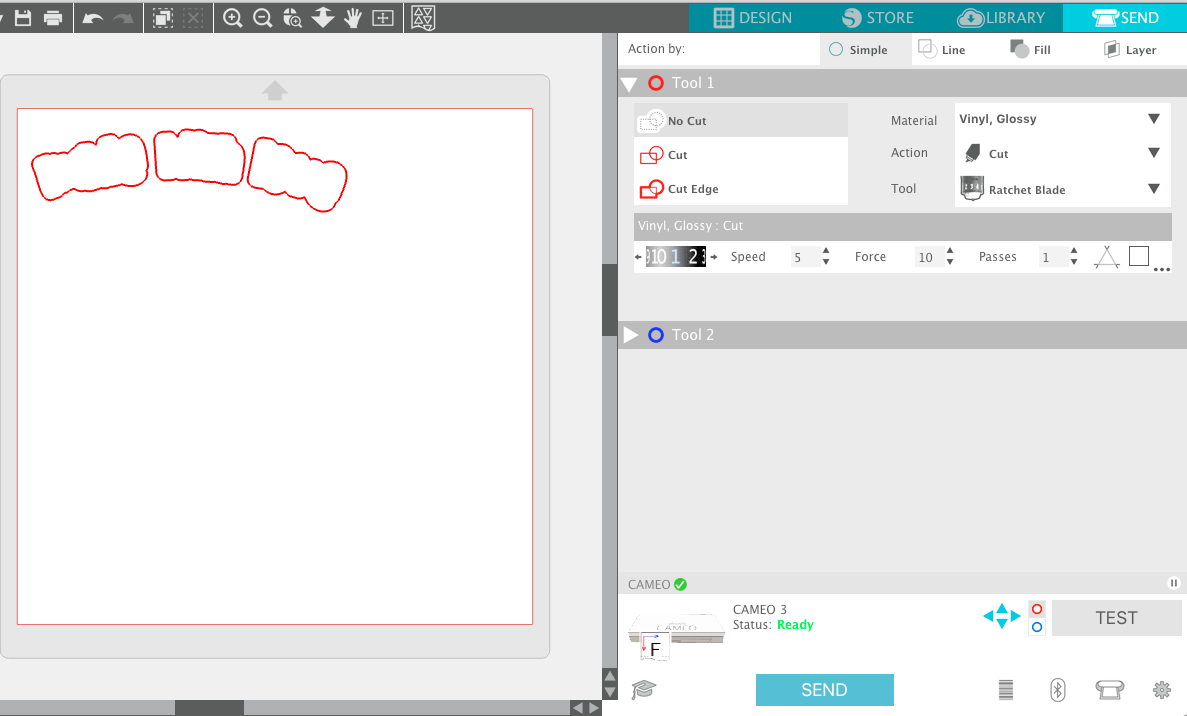
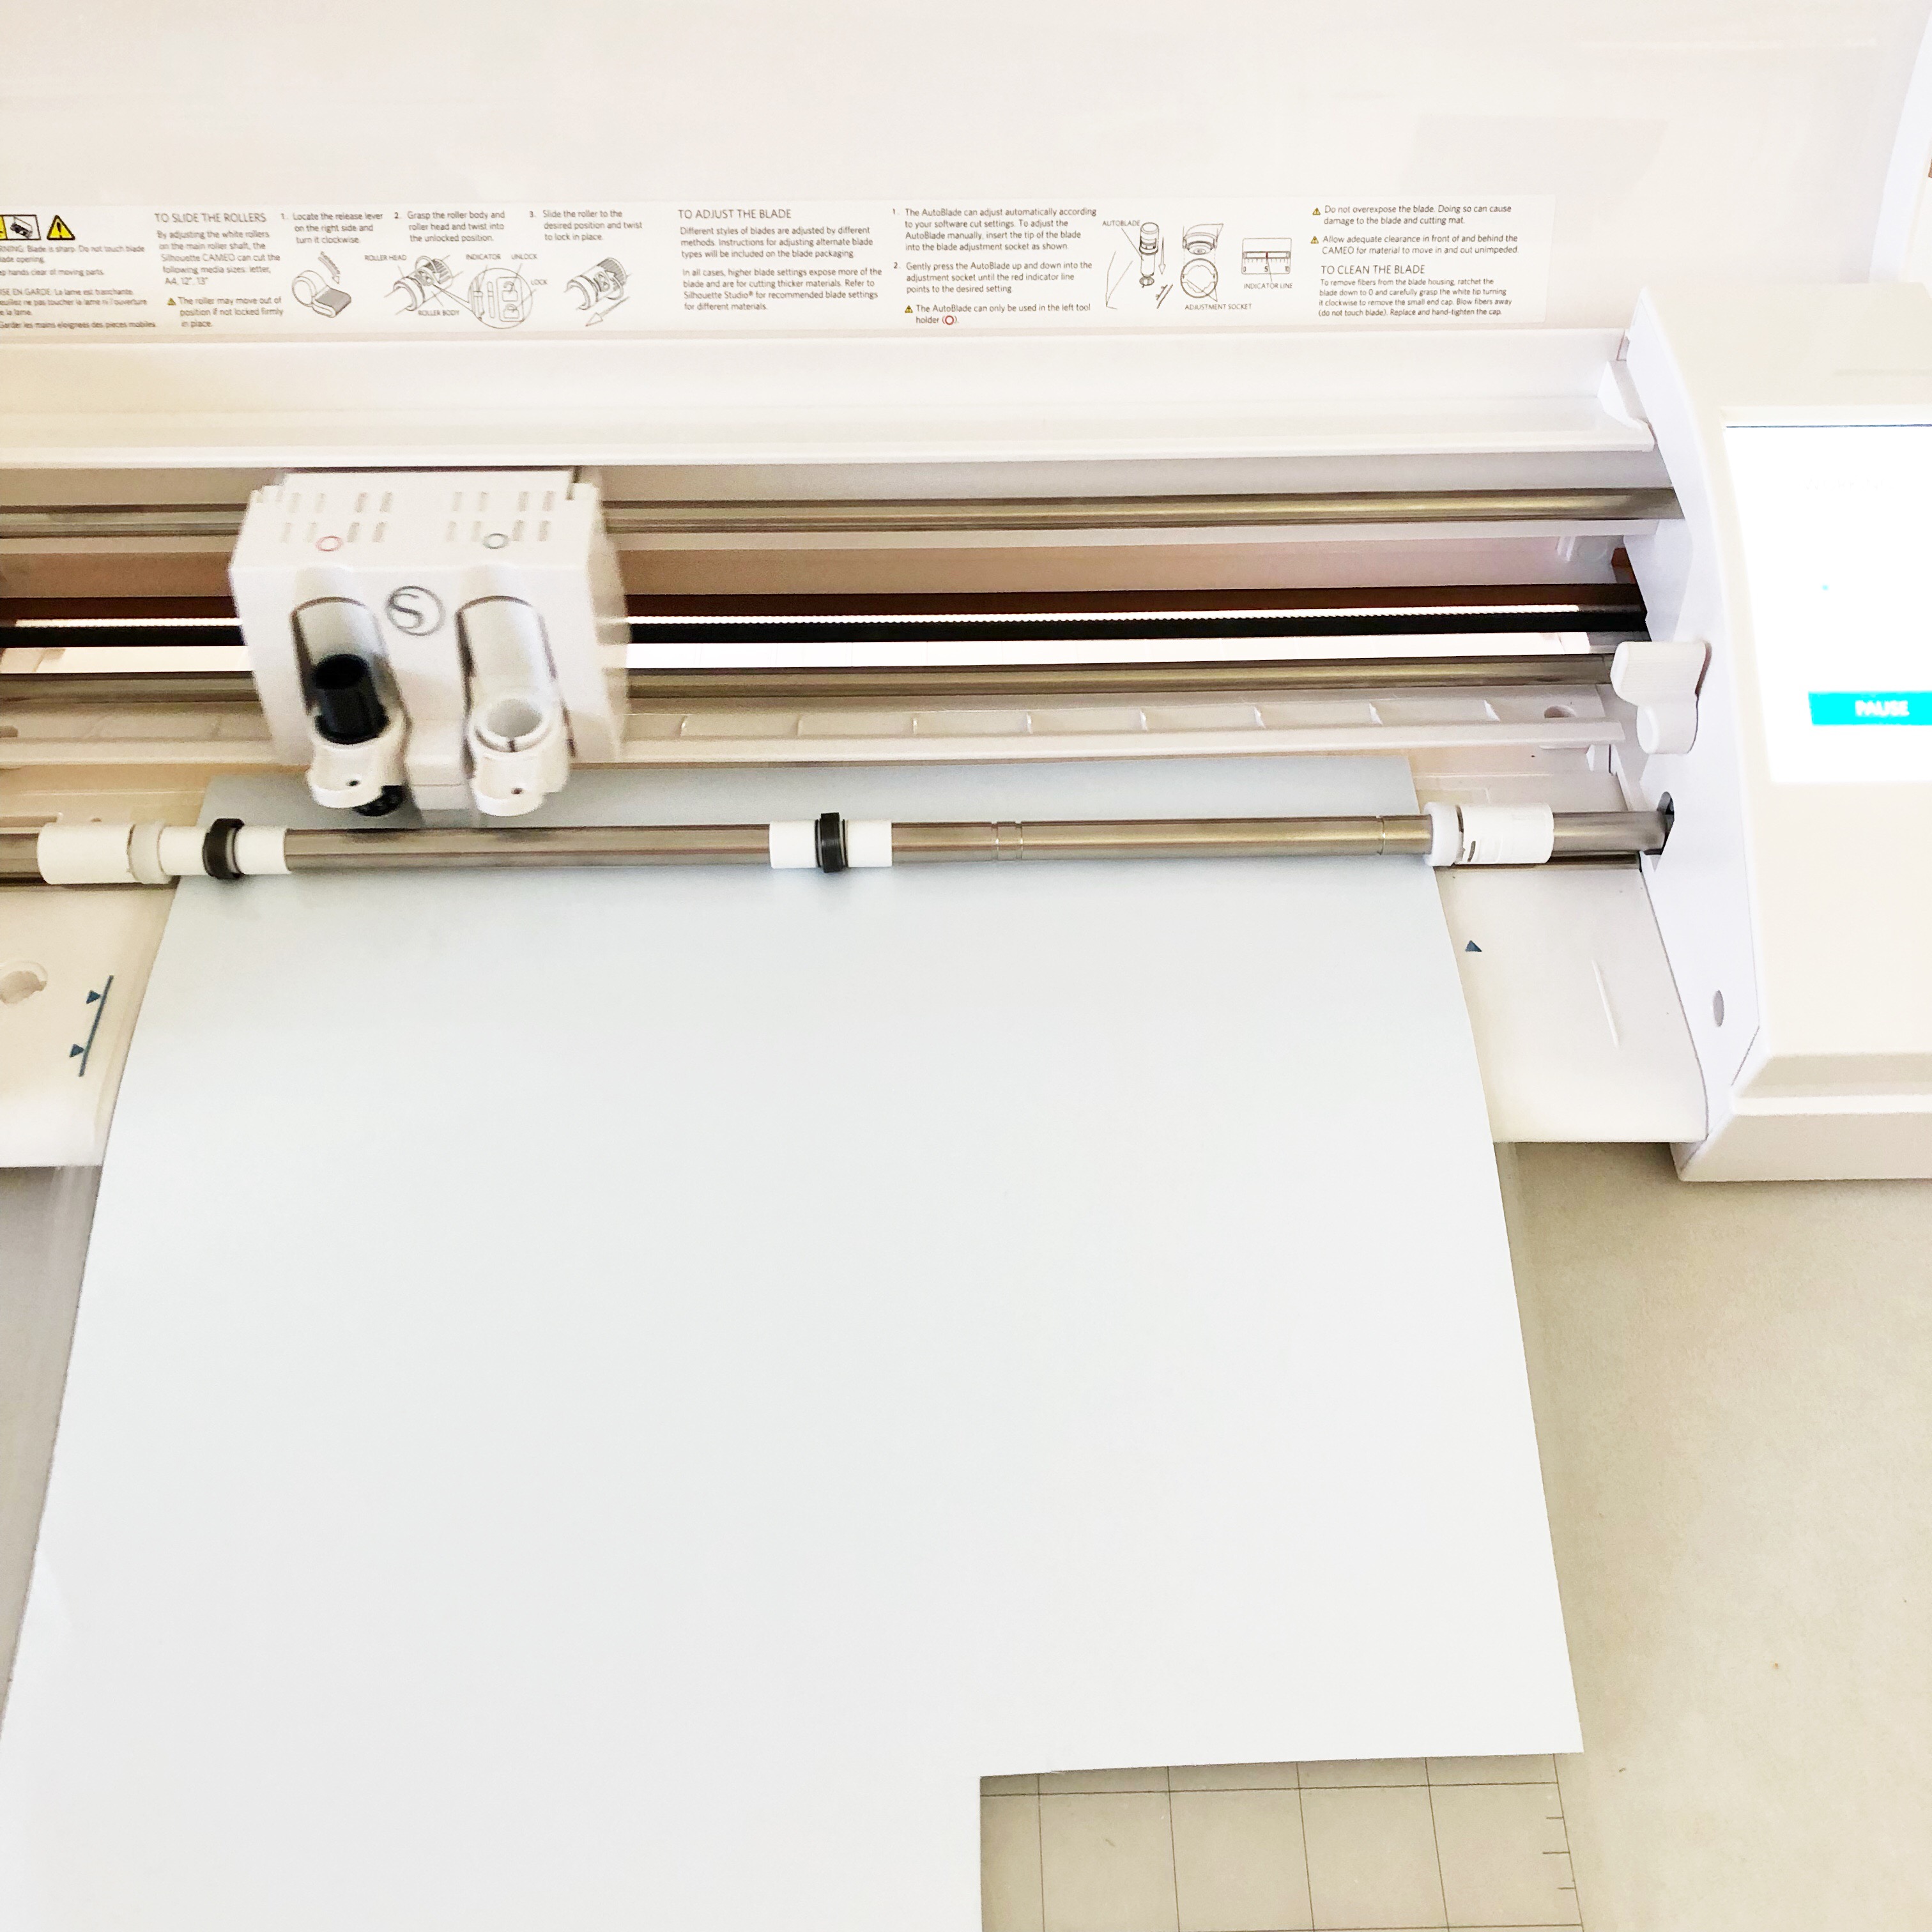
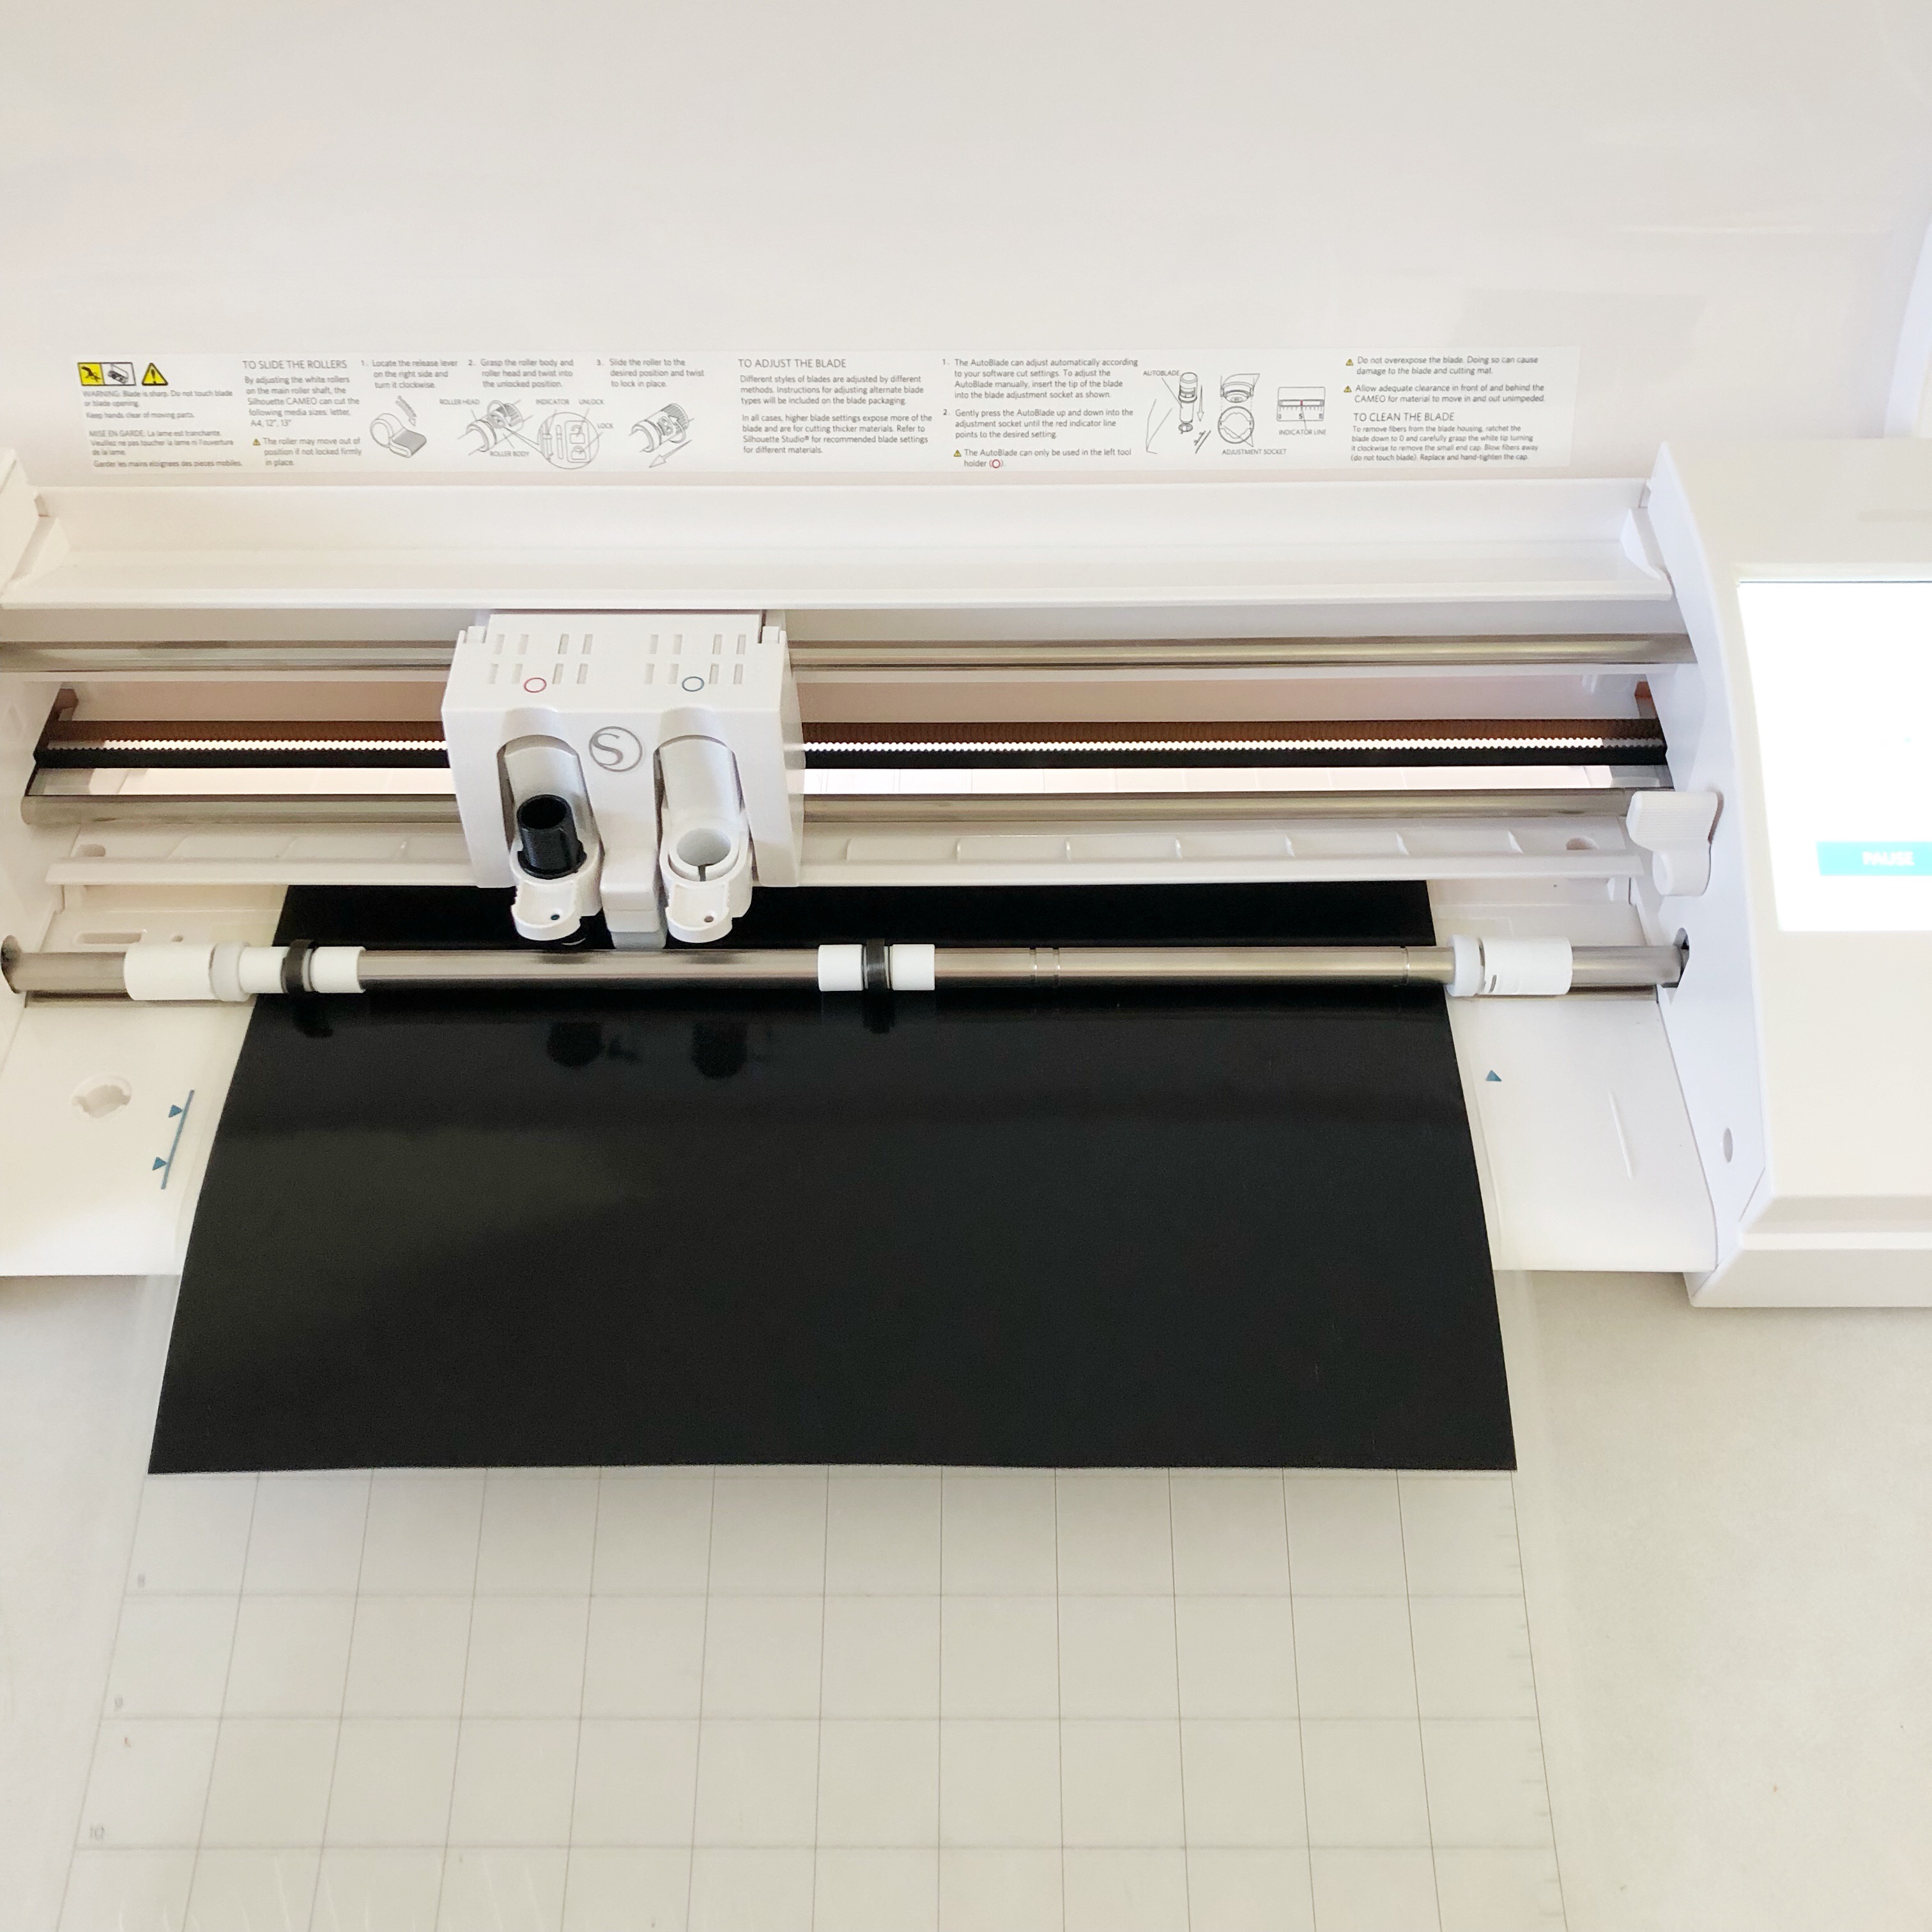
Place the adhesive vinyl onto the cutting mat with right side up. Load it into the machine and let it do it's magic!

Repeat for the black text.

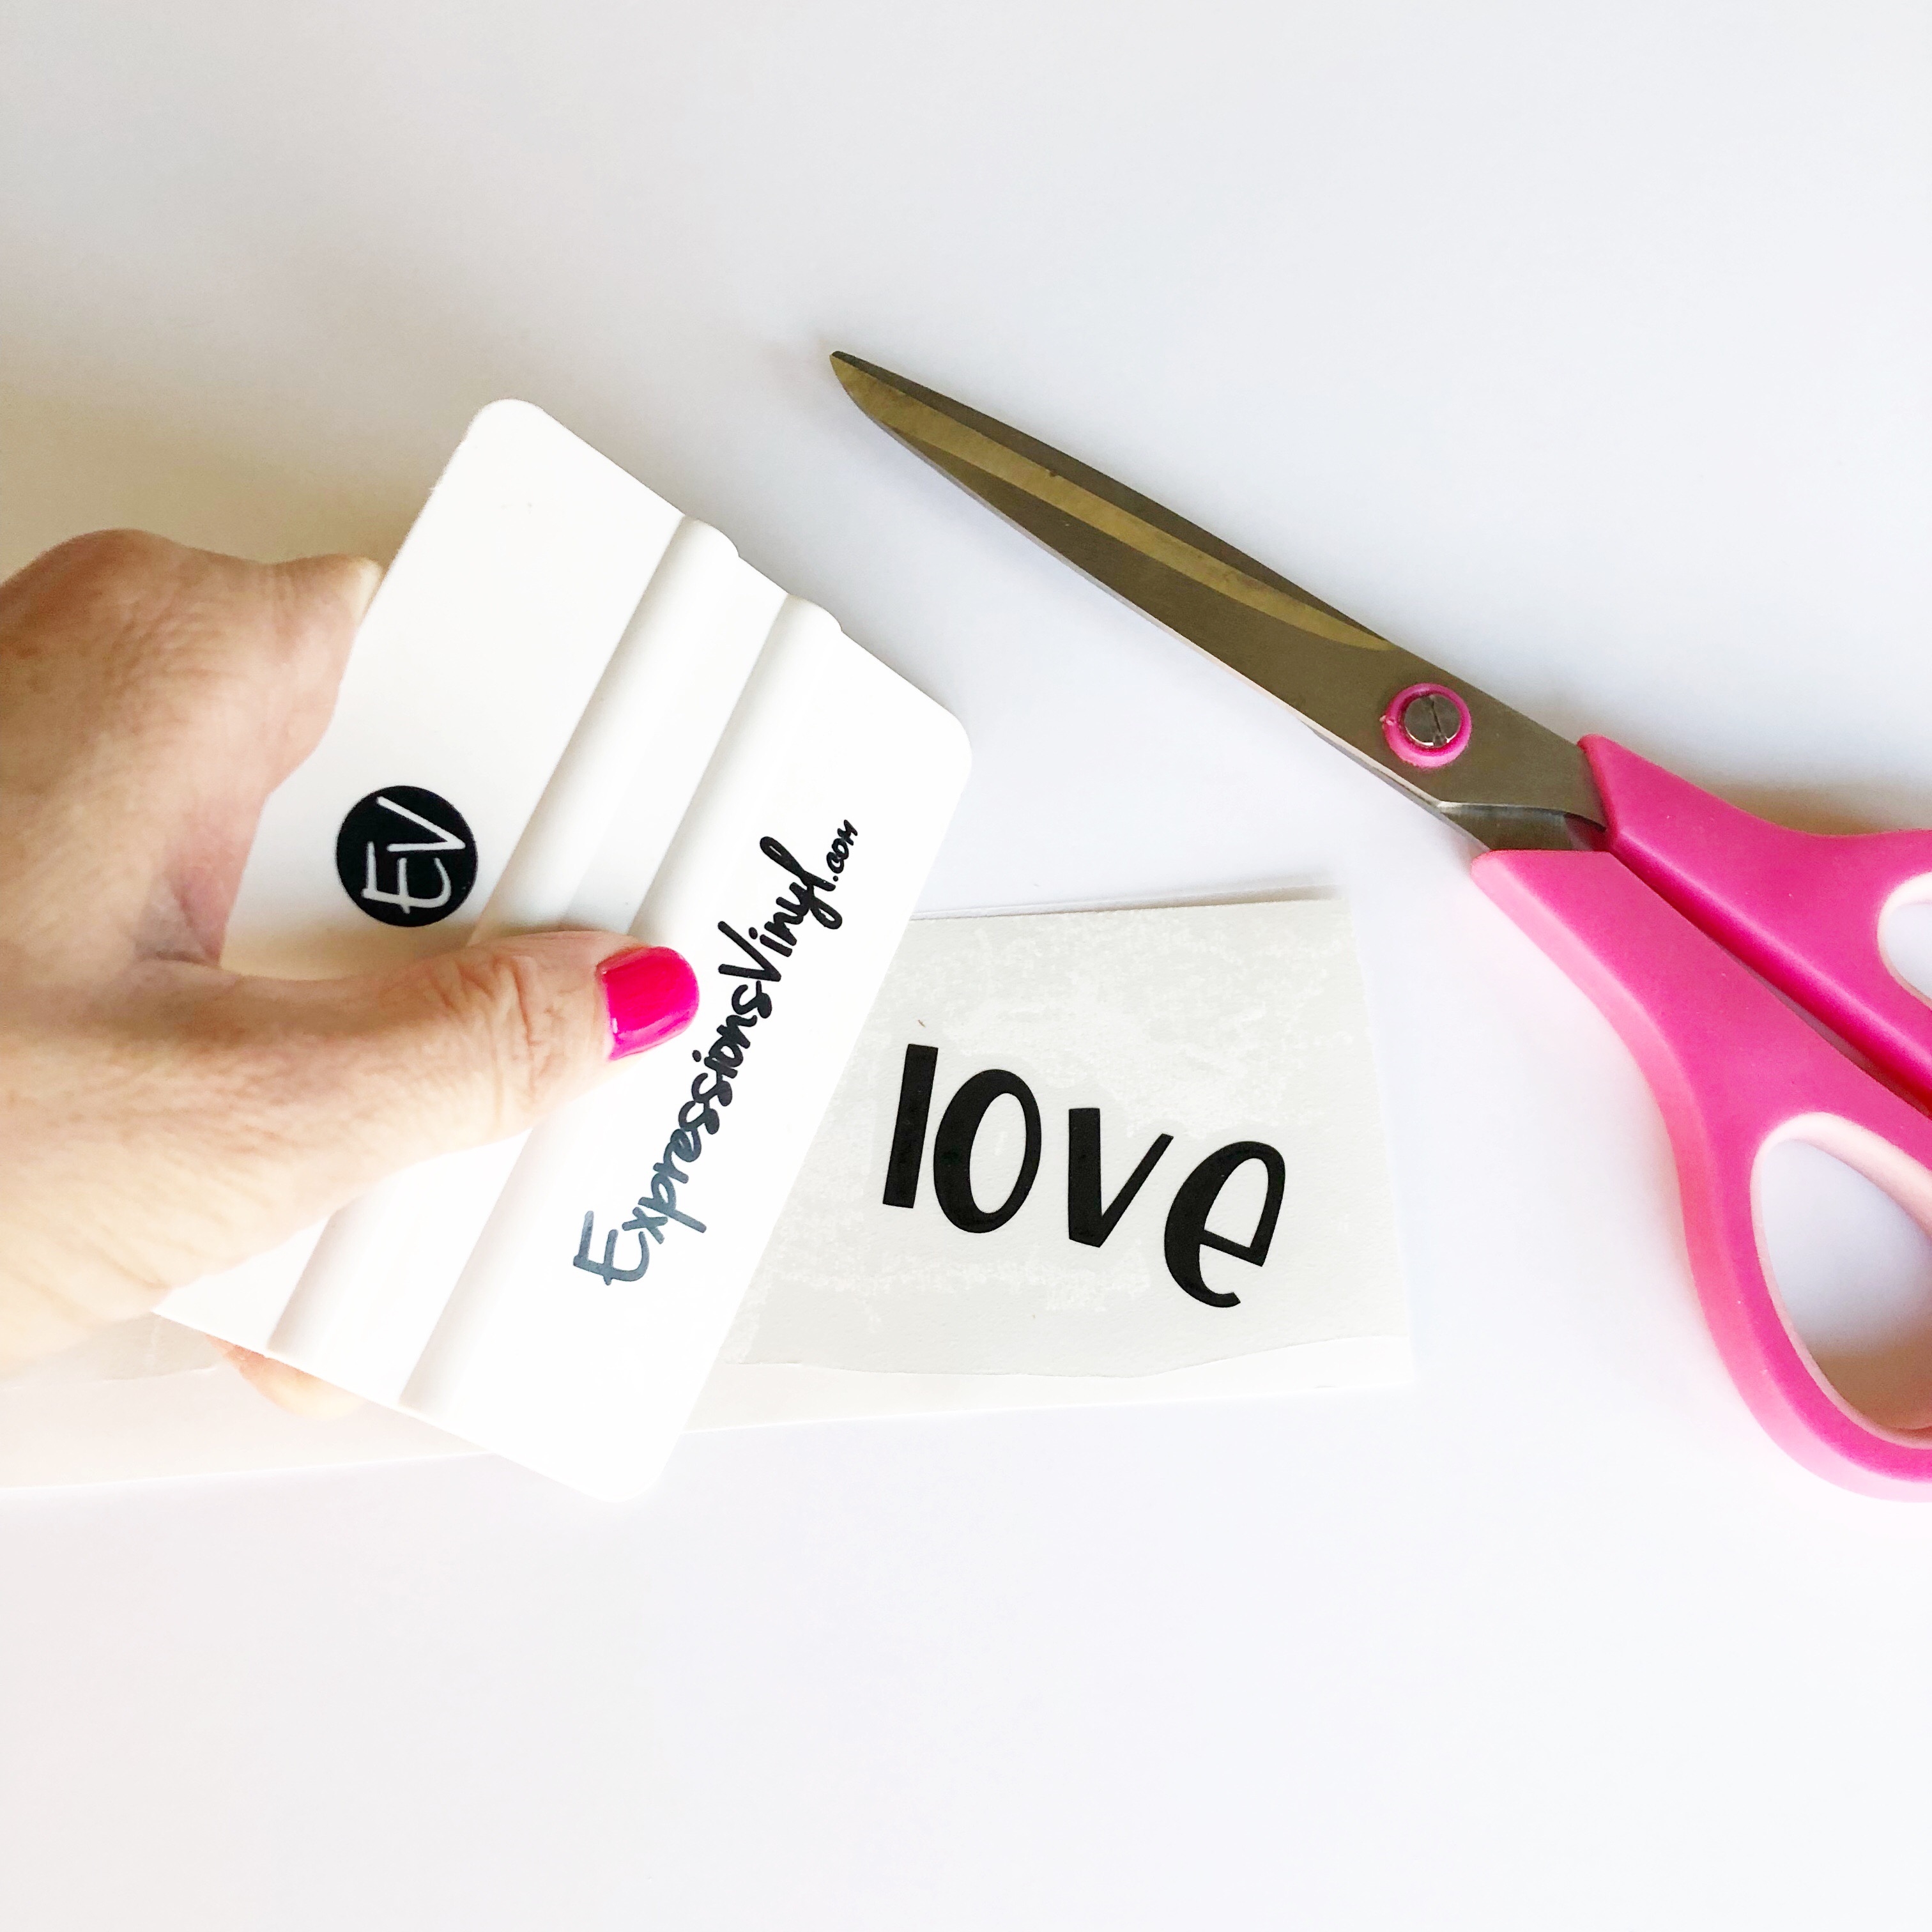
Step Three: Weed vinyl designs
Once both parts of the text have been cut, it's time to weed. Begin by peeling away a corner of the vinyl, leaving the text.

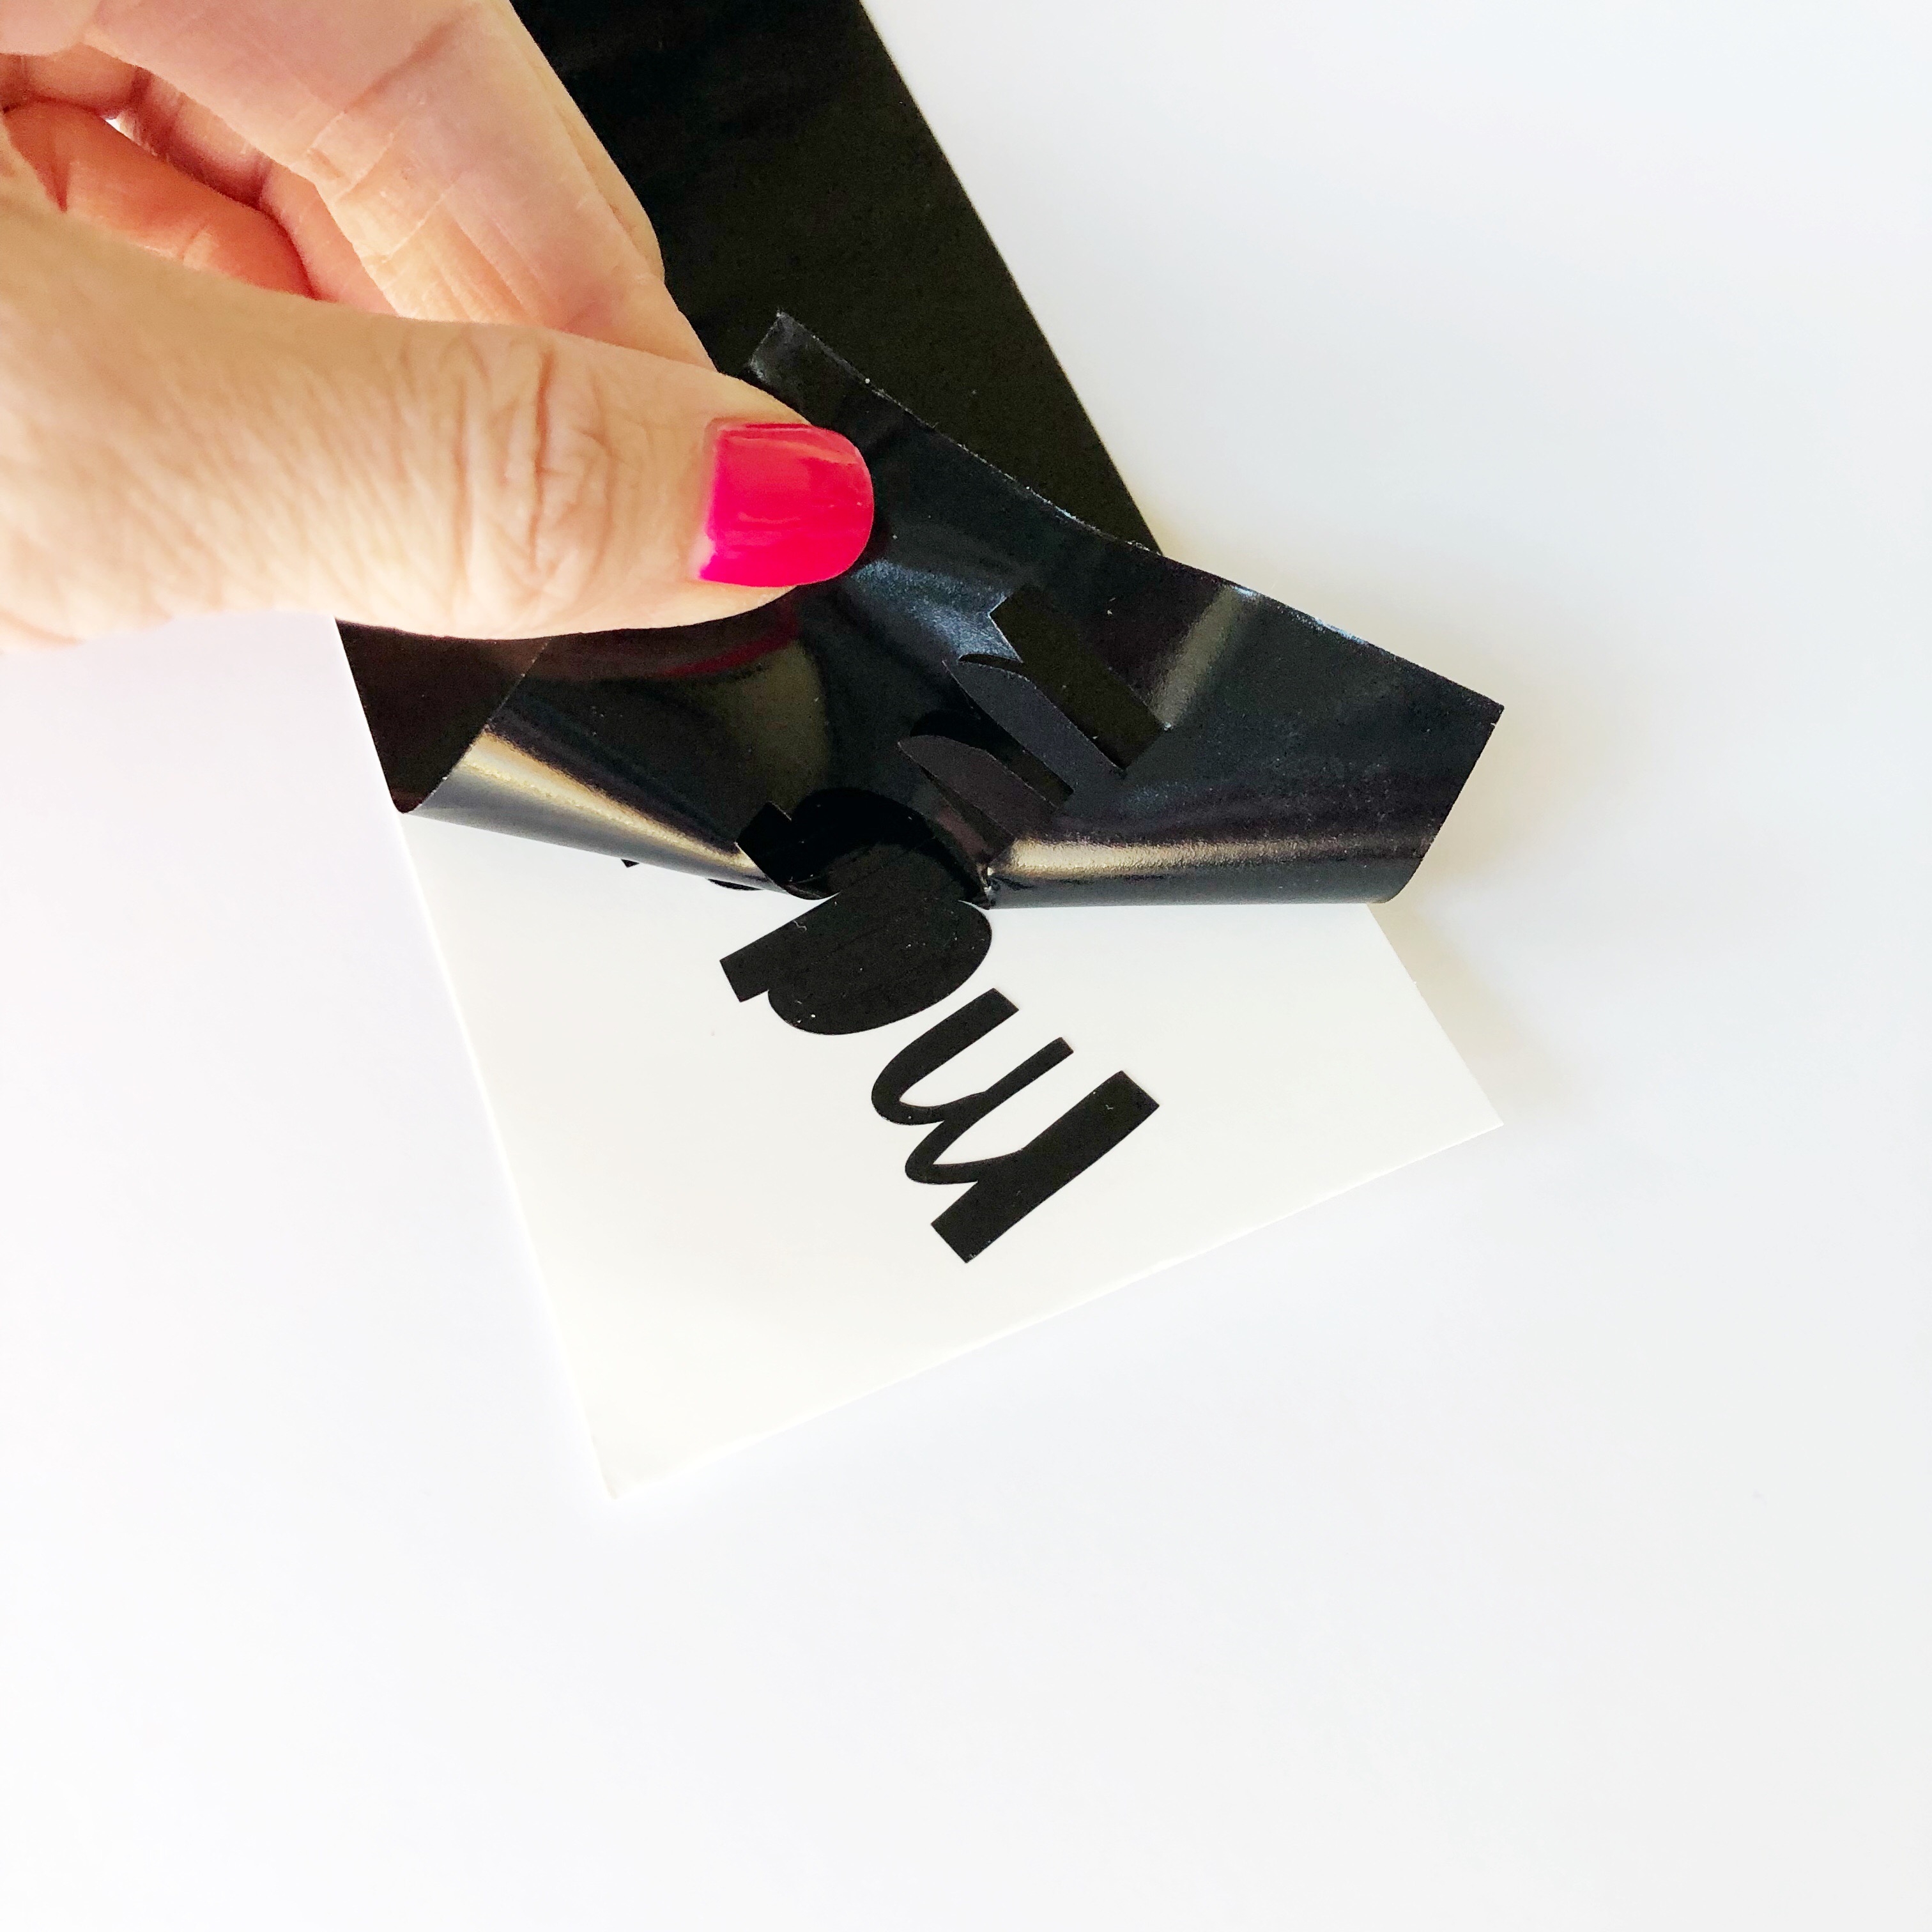
Use a weeding hook or a pair of craft tweezers to weed out the little insides of the letters.

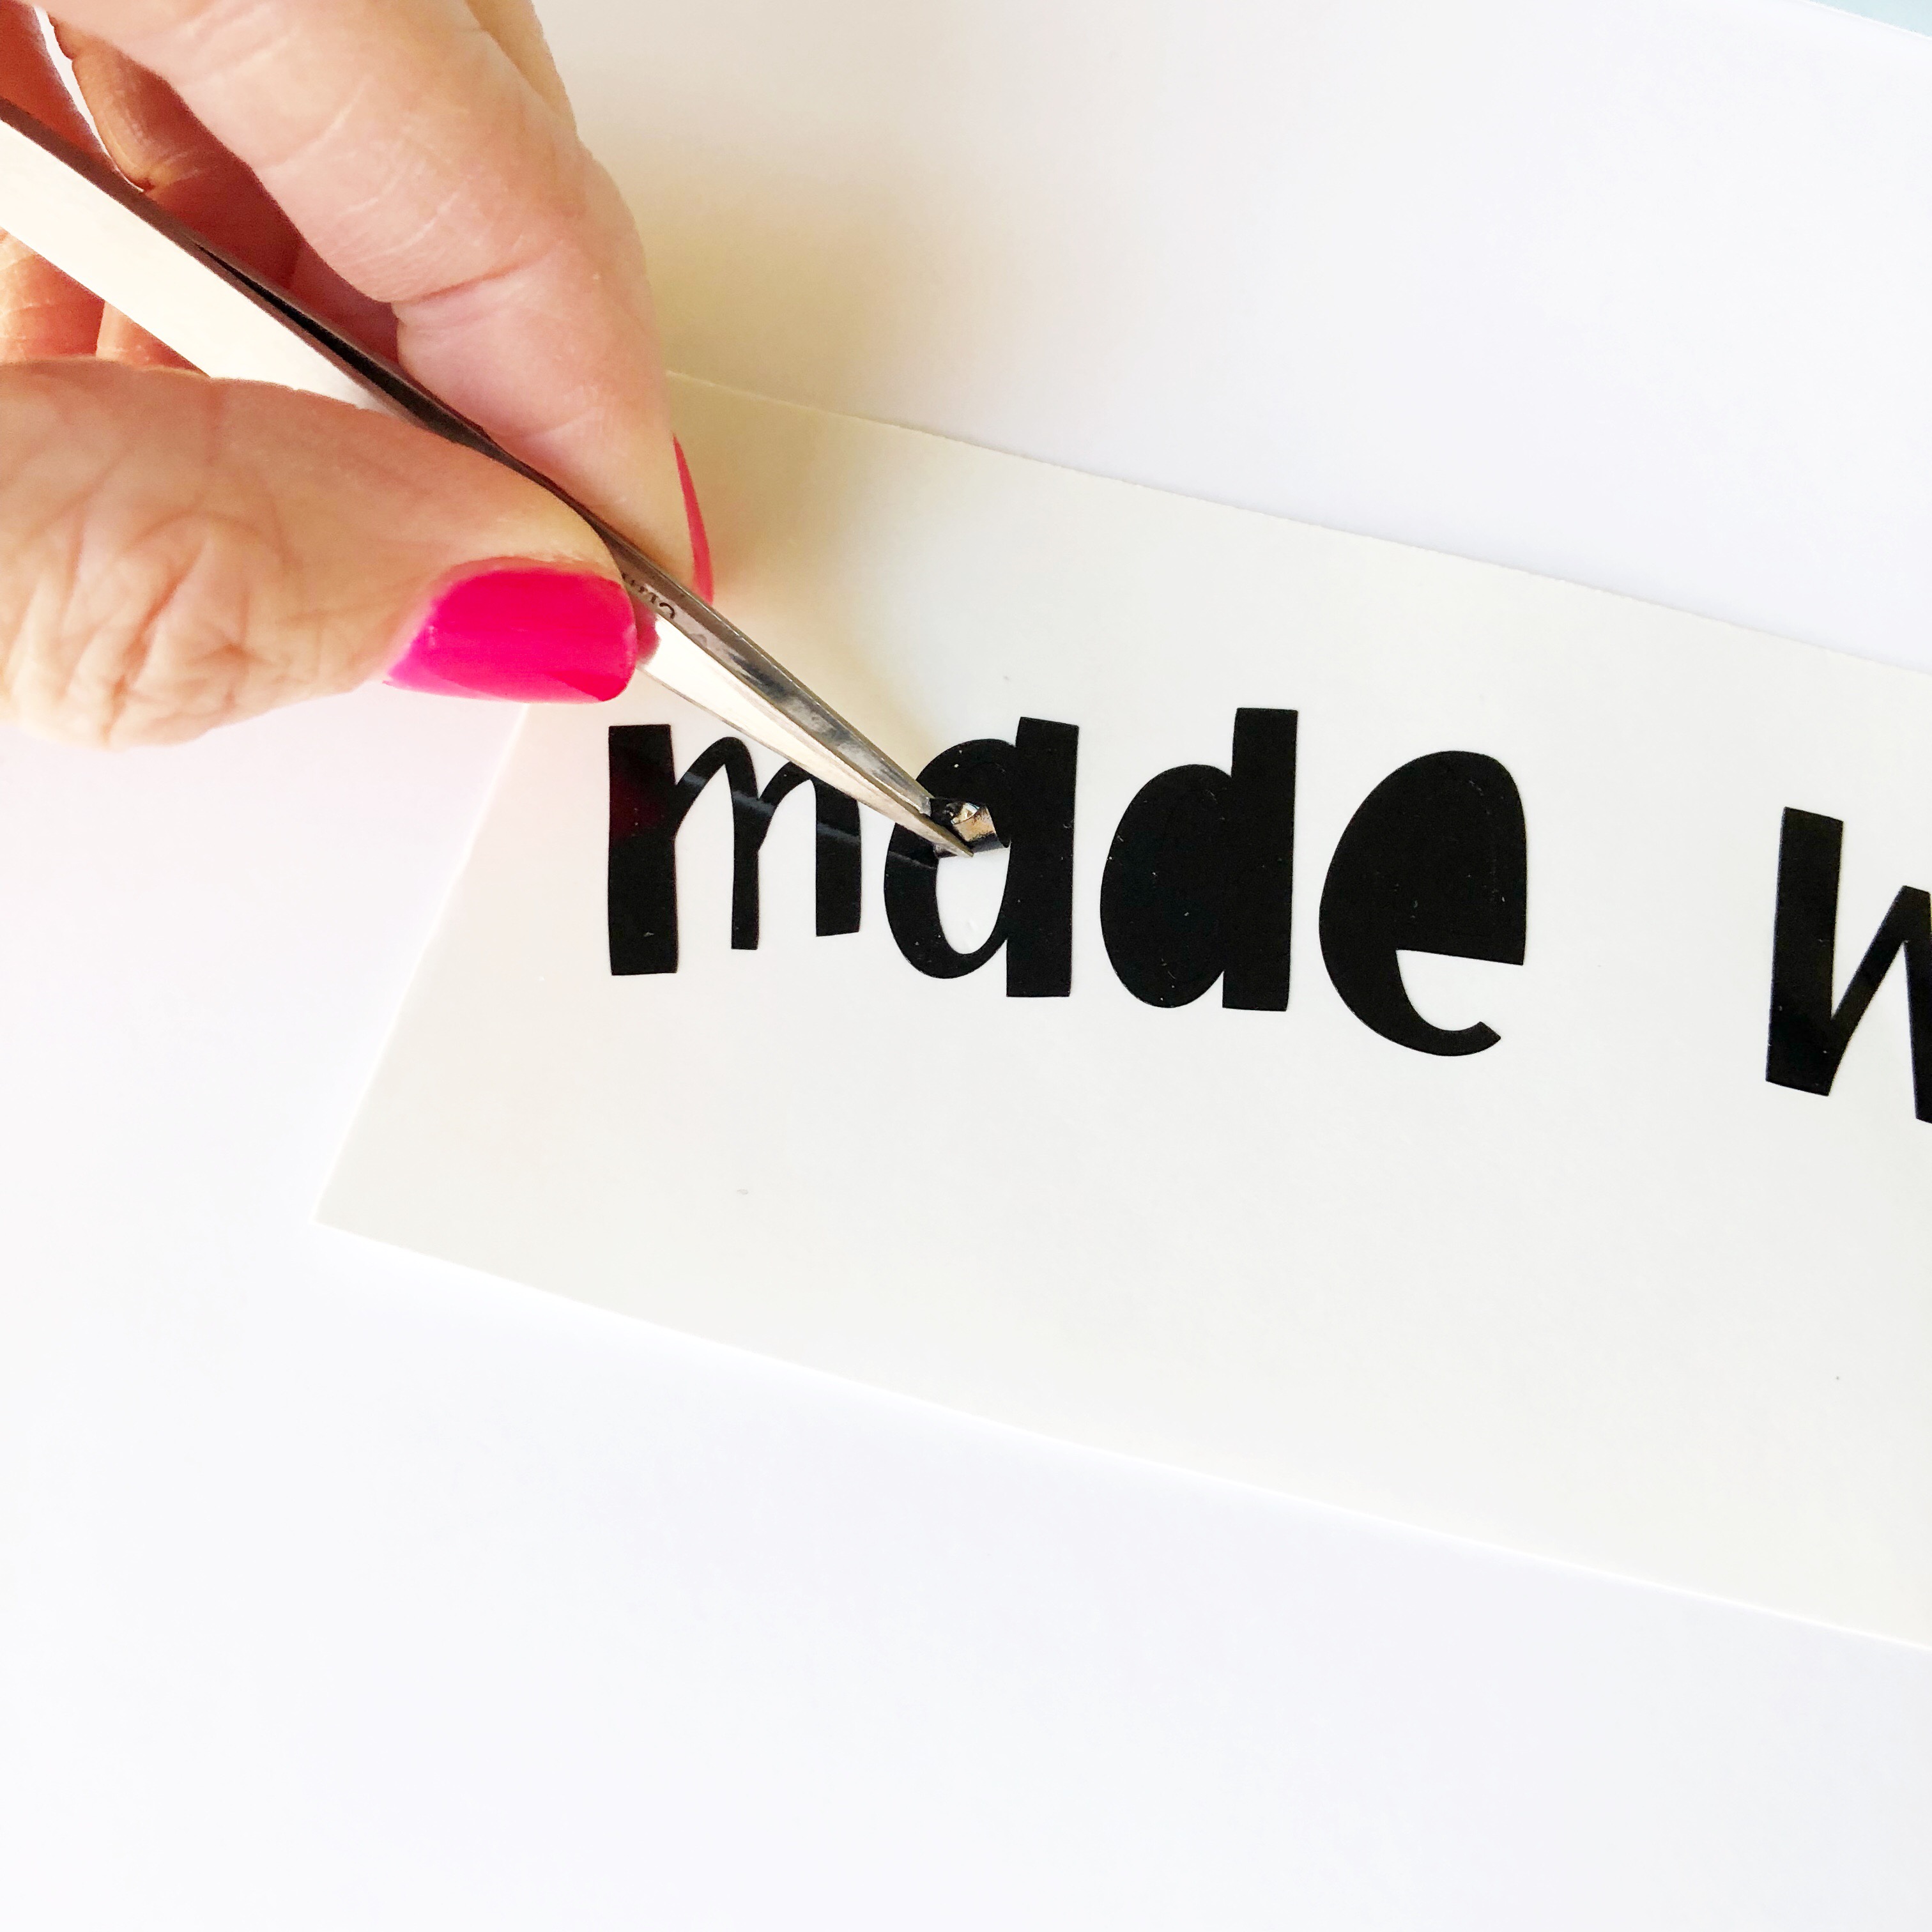
Repeat until both designs have been weeded.


Step Four: Transfer vinyl onto metal tray
After our cute designs have been weeded, it's time to beautify the tray! Grab your amazing buffalo plaid vinyl and transfer tape.

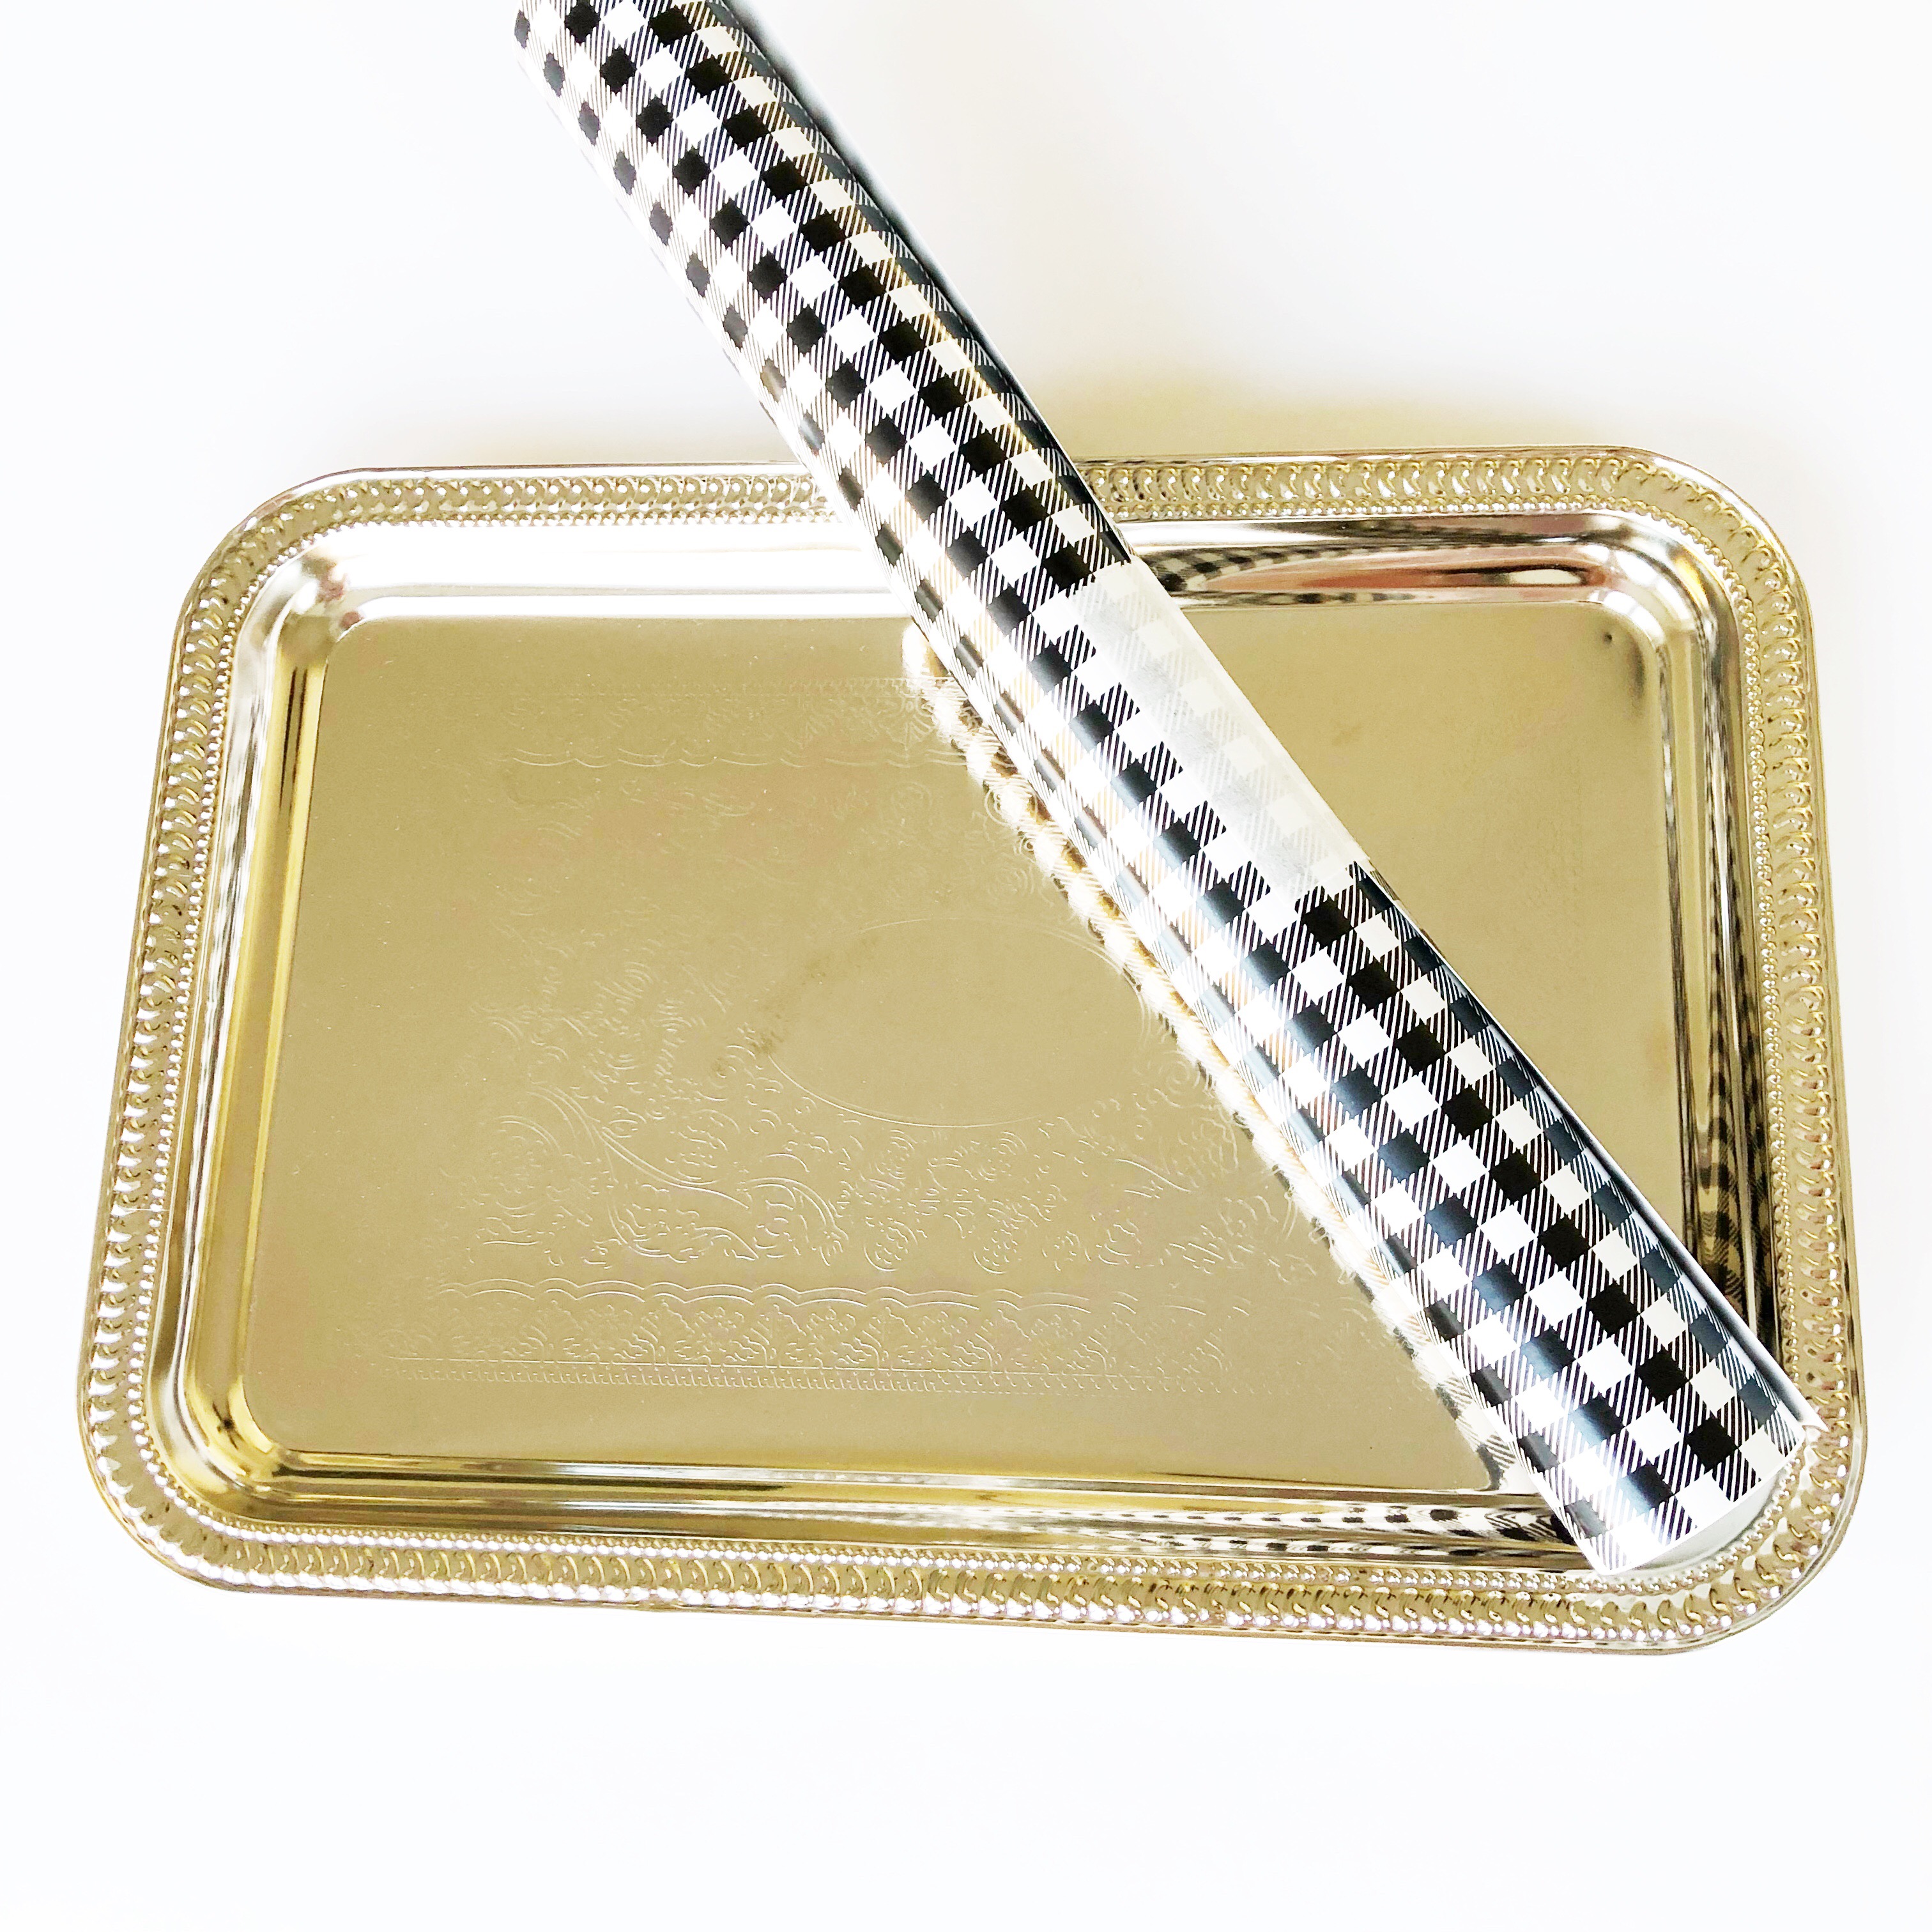
Cut the plaid vinyl to be a little bigger than the inside of the tray. Pull back a little of the vinyl backing and crease it. This is called the hinge method and is a way to transfer a large piece of vinyl without creating too many bubbles.

Place the vinyl onto the tray and use the scraper tool to smooth out the adhesive part.

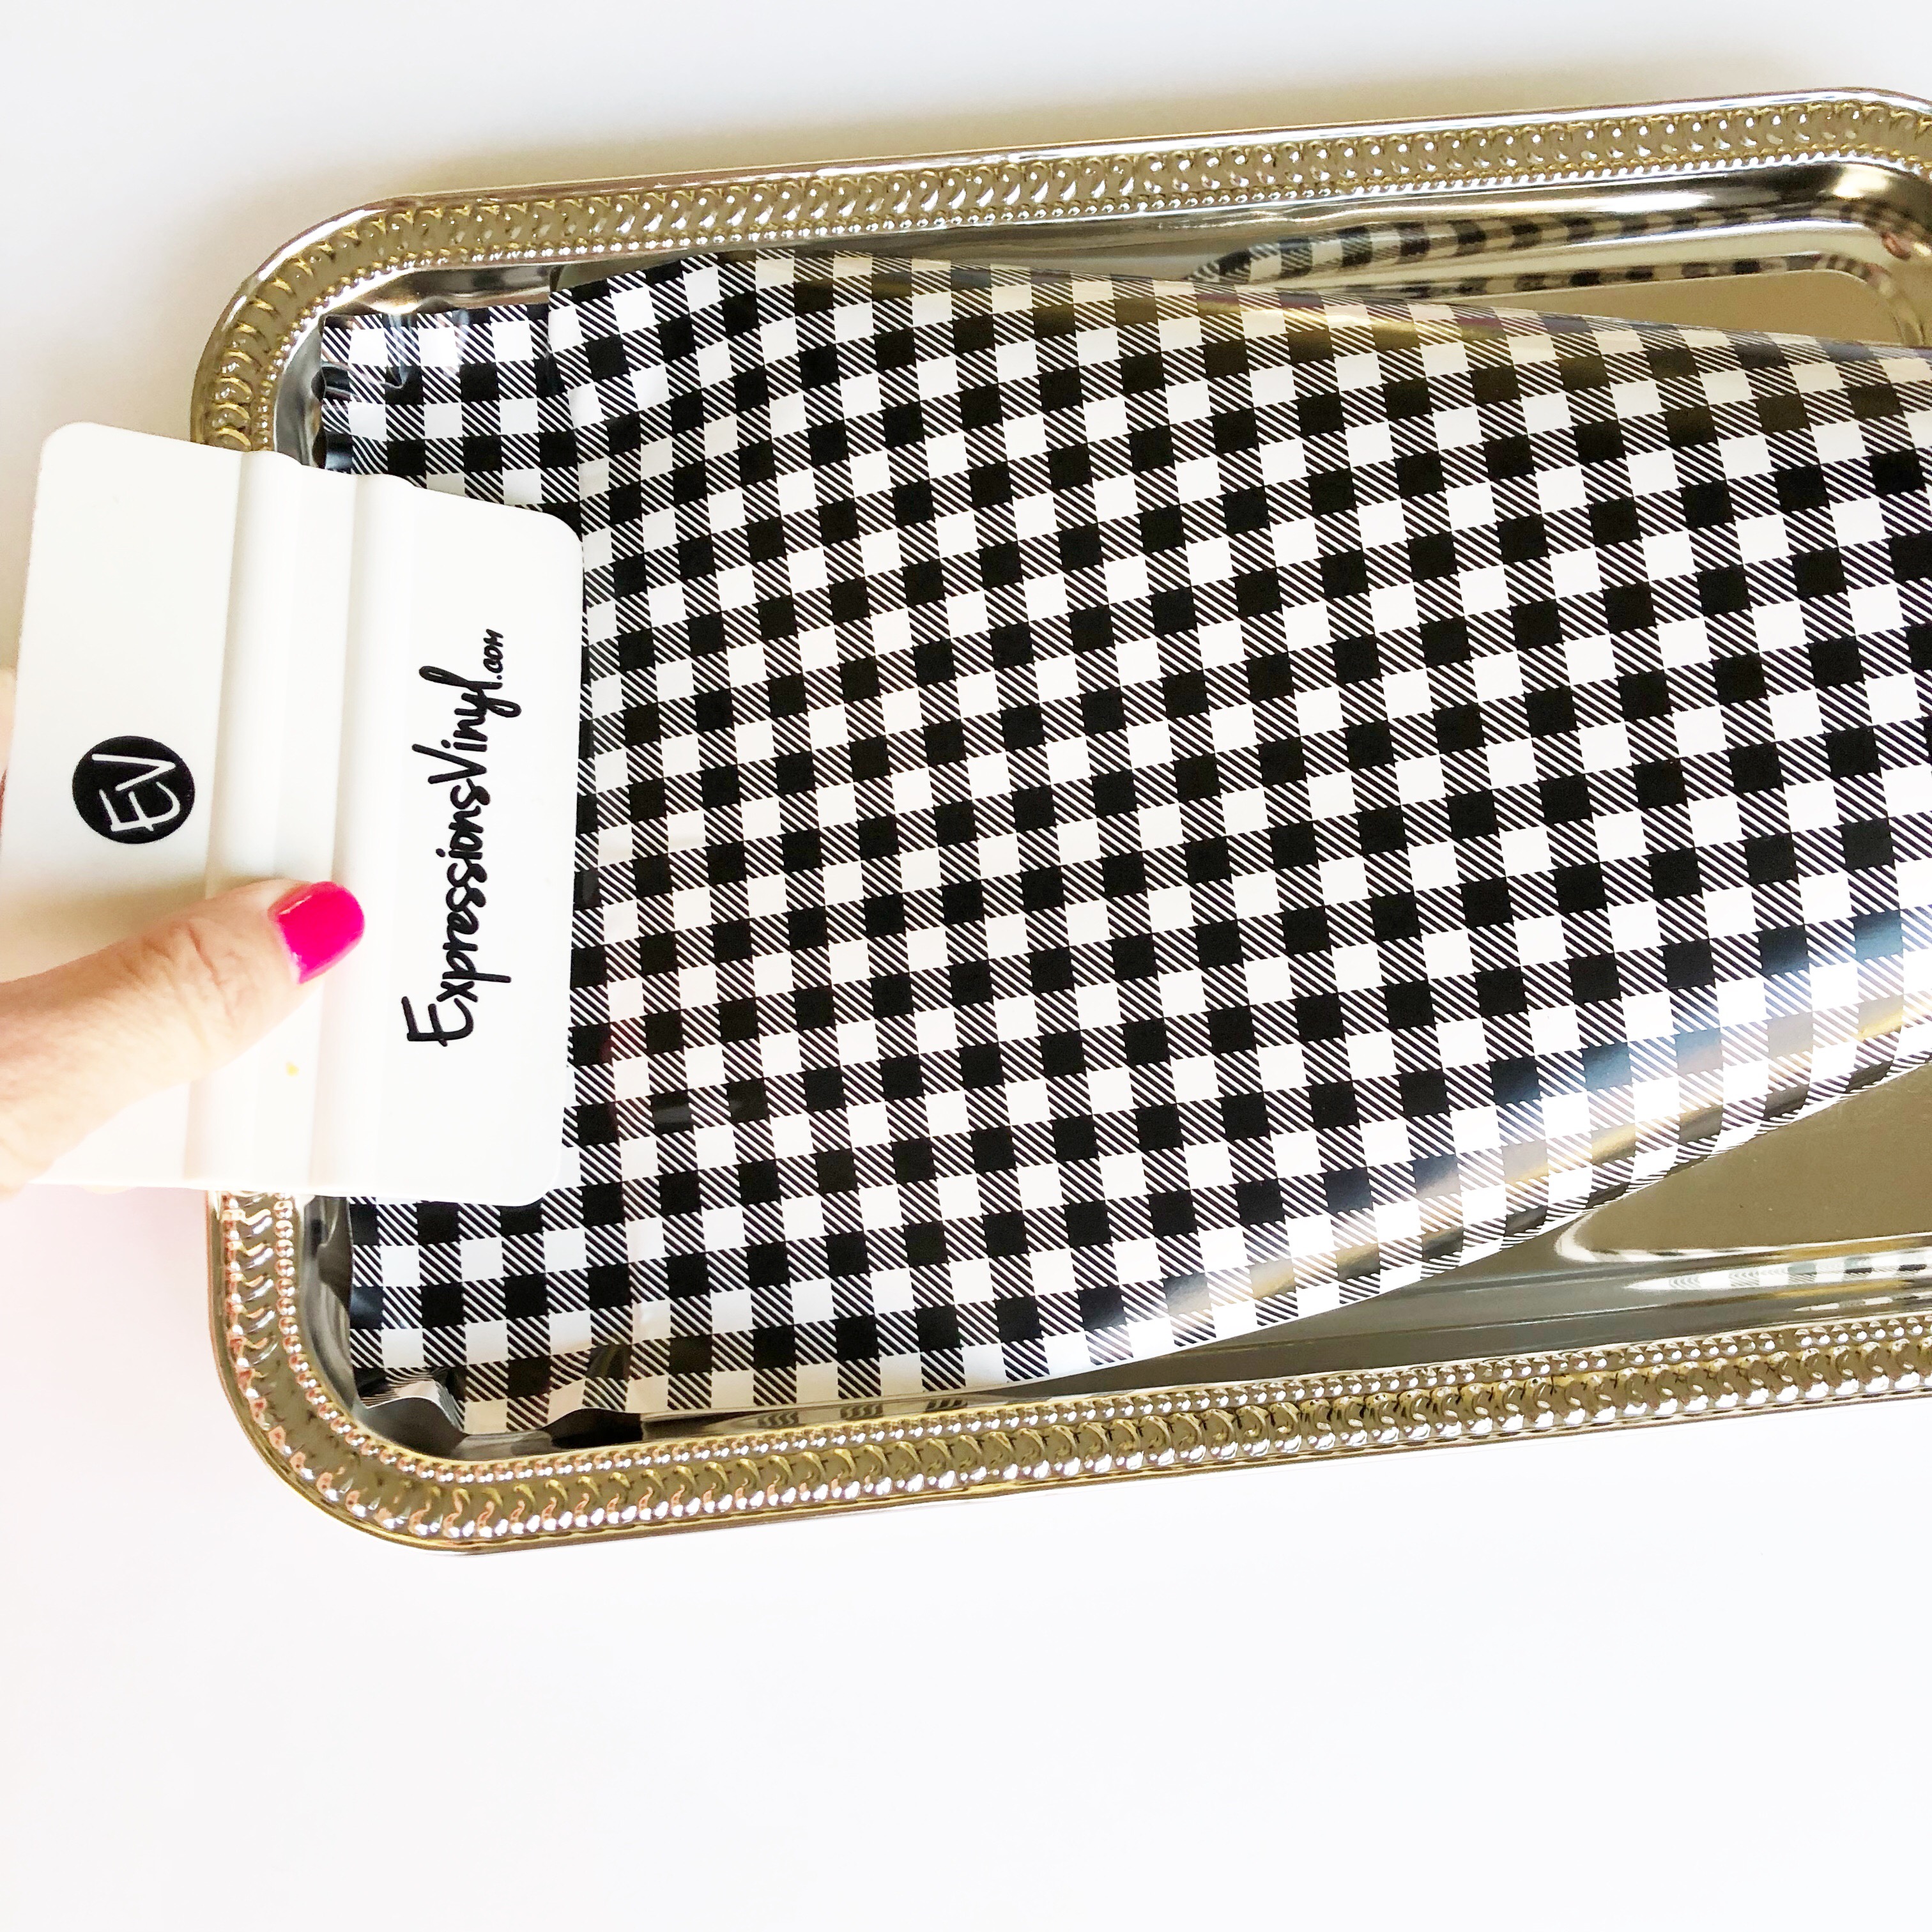
Using one hand to slowly peel the backing off, and the other hand to scrape, continue until the whole piece is adhered to the tray.

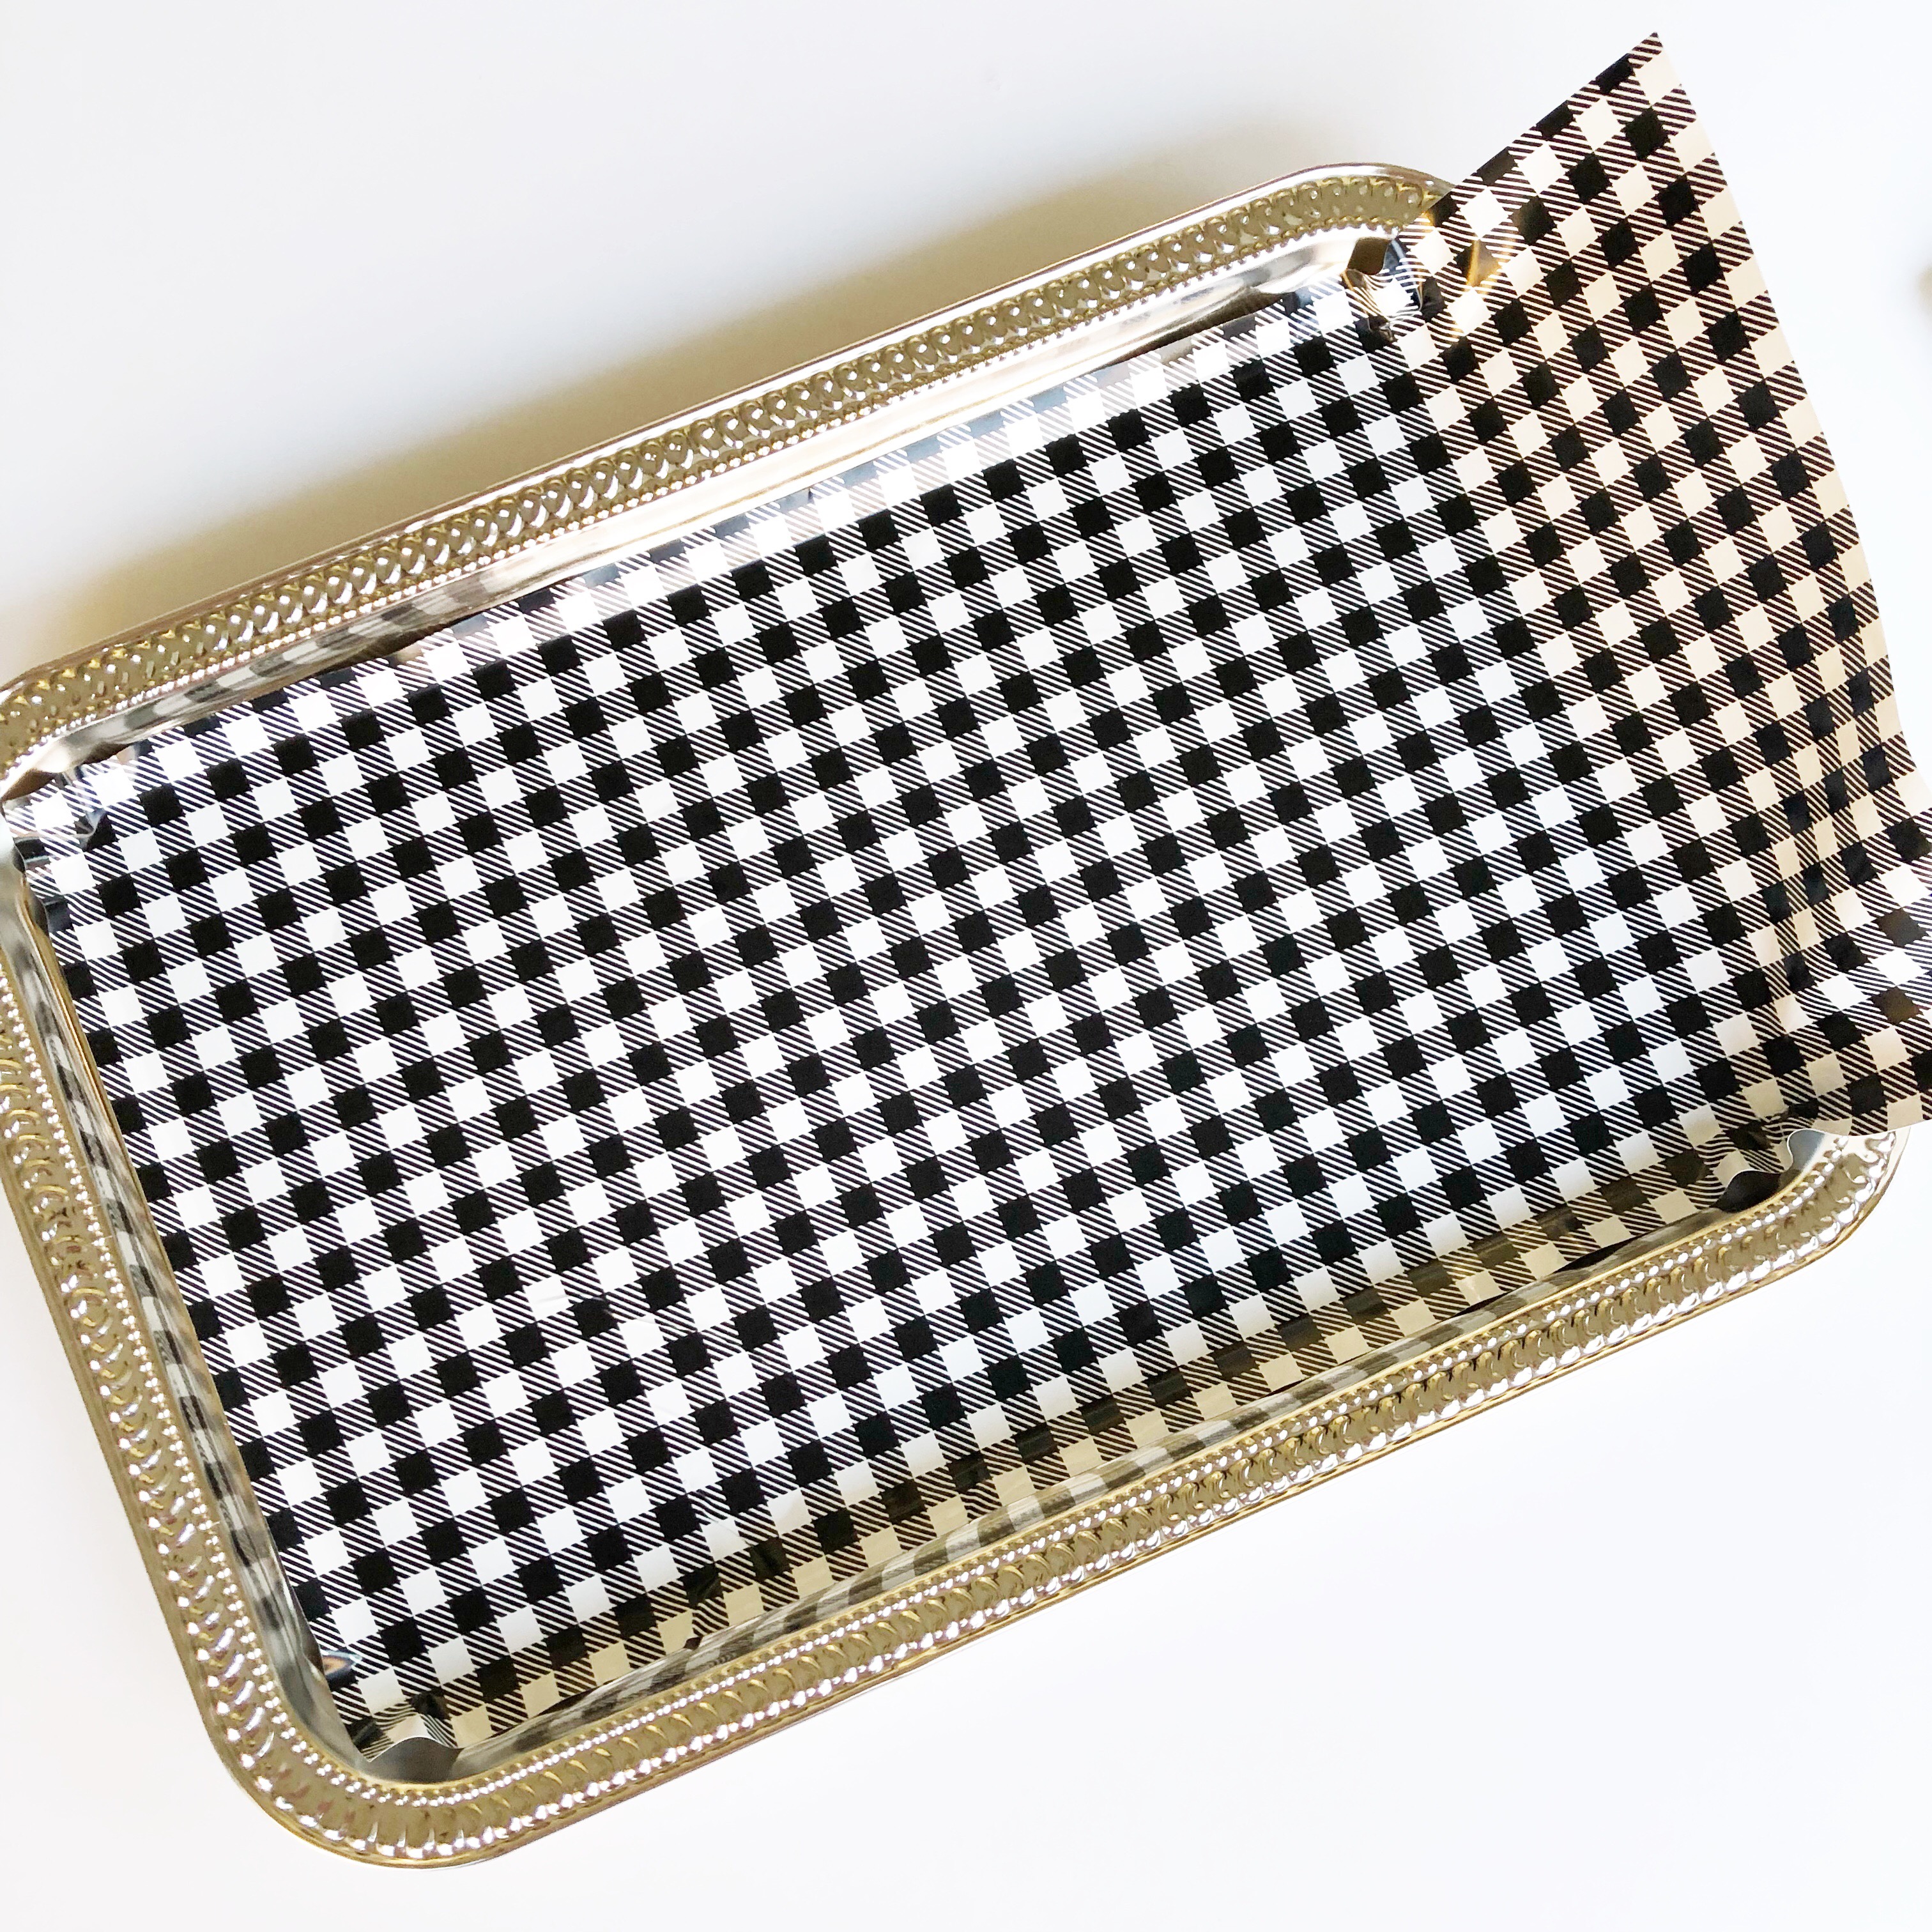
Now you can easily take an Xacto knife and trim the excess off around the edges.

Now it looks perfect!

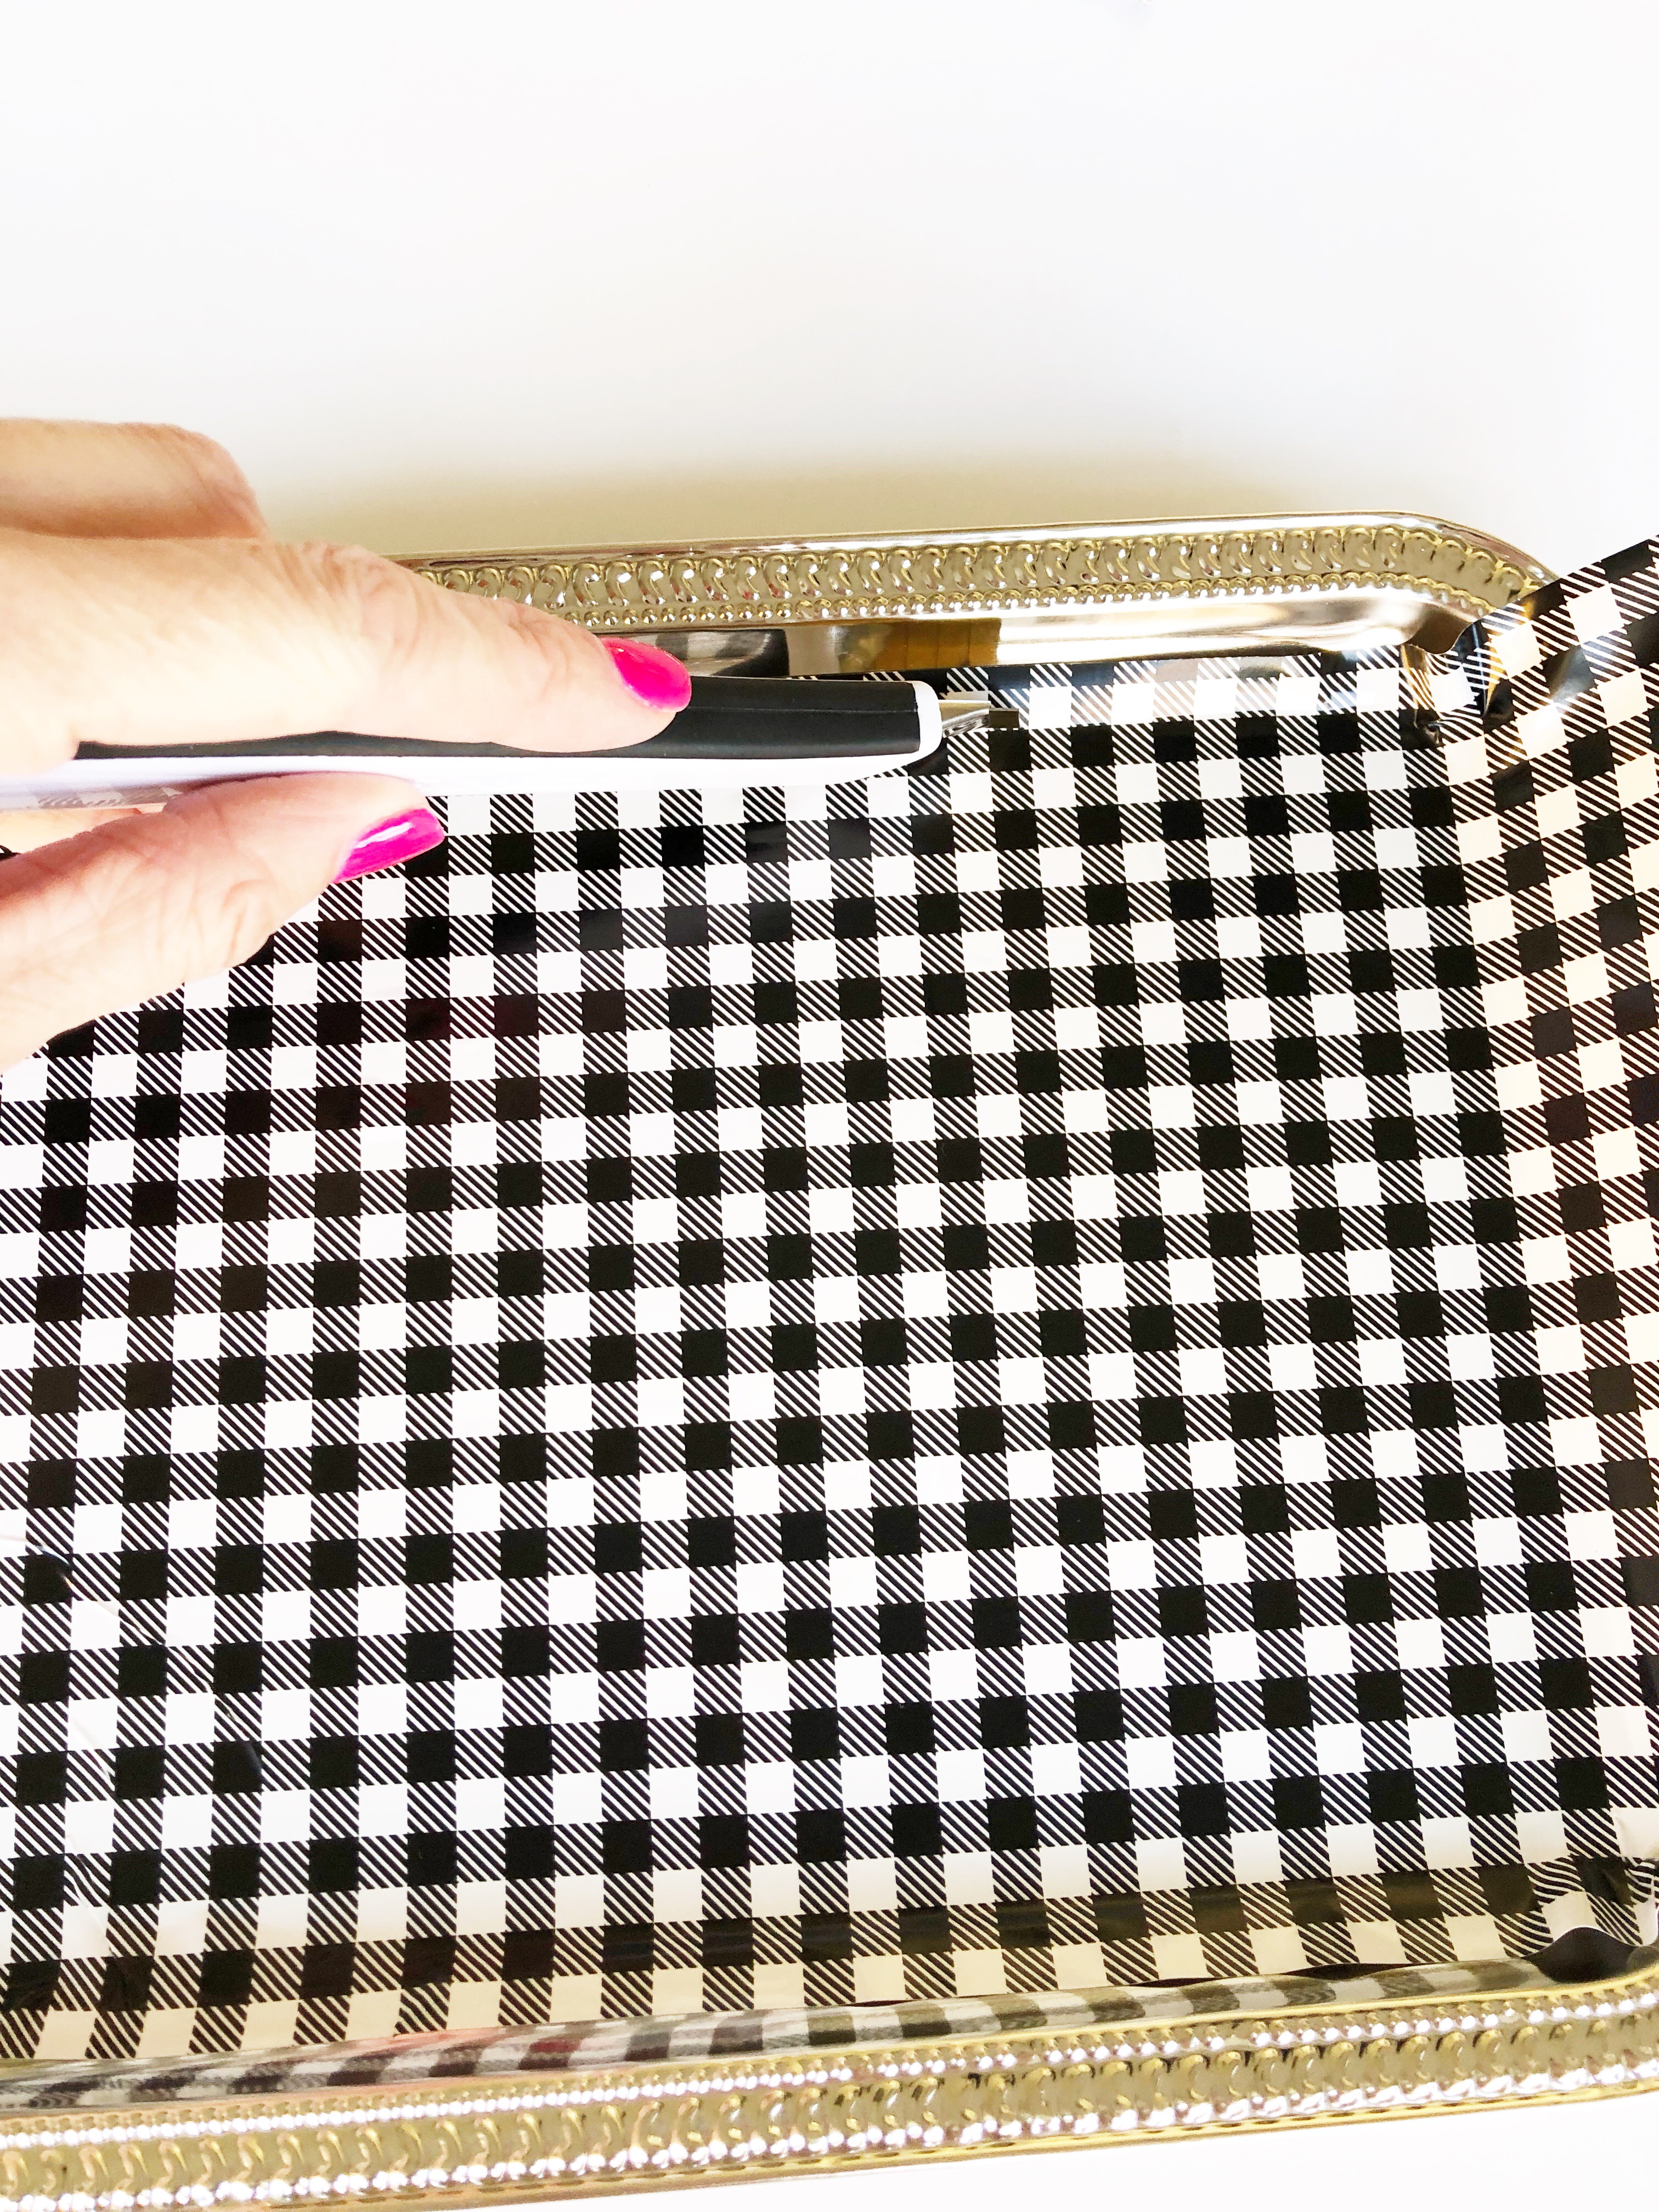
Take your transfer tape and place it over the two text designs.
![]()
![]()
Use the scraper tool to smooth the bubbles out.

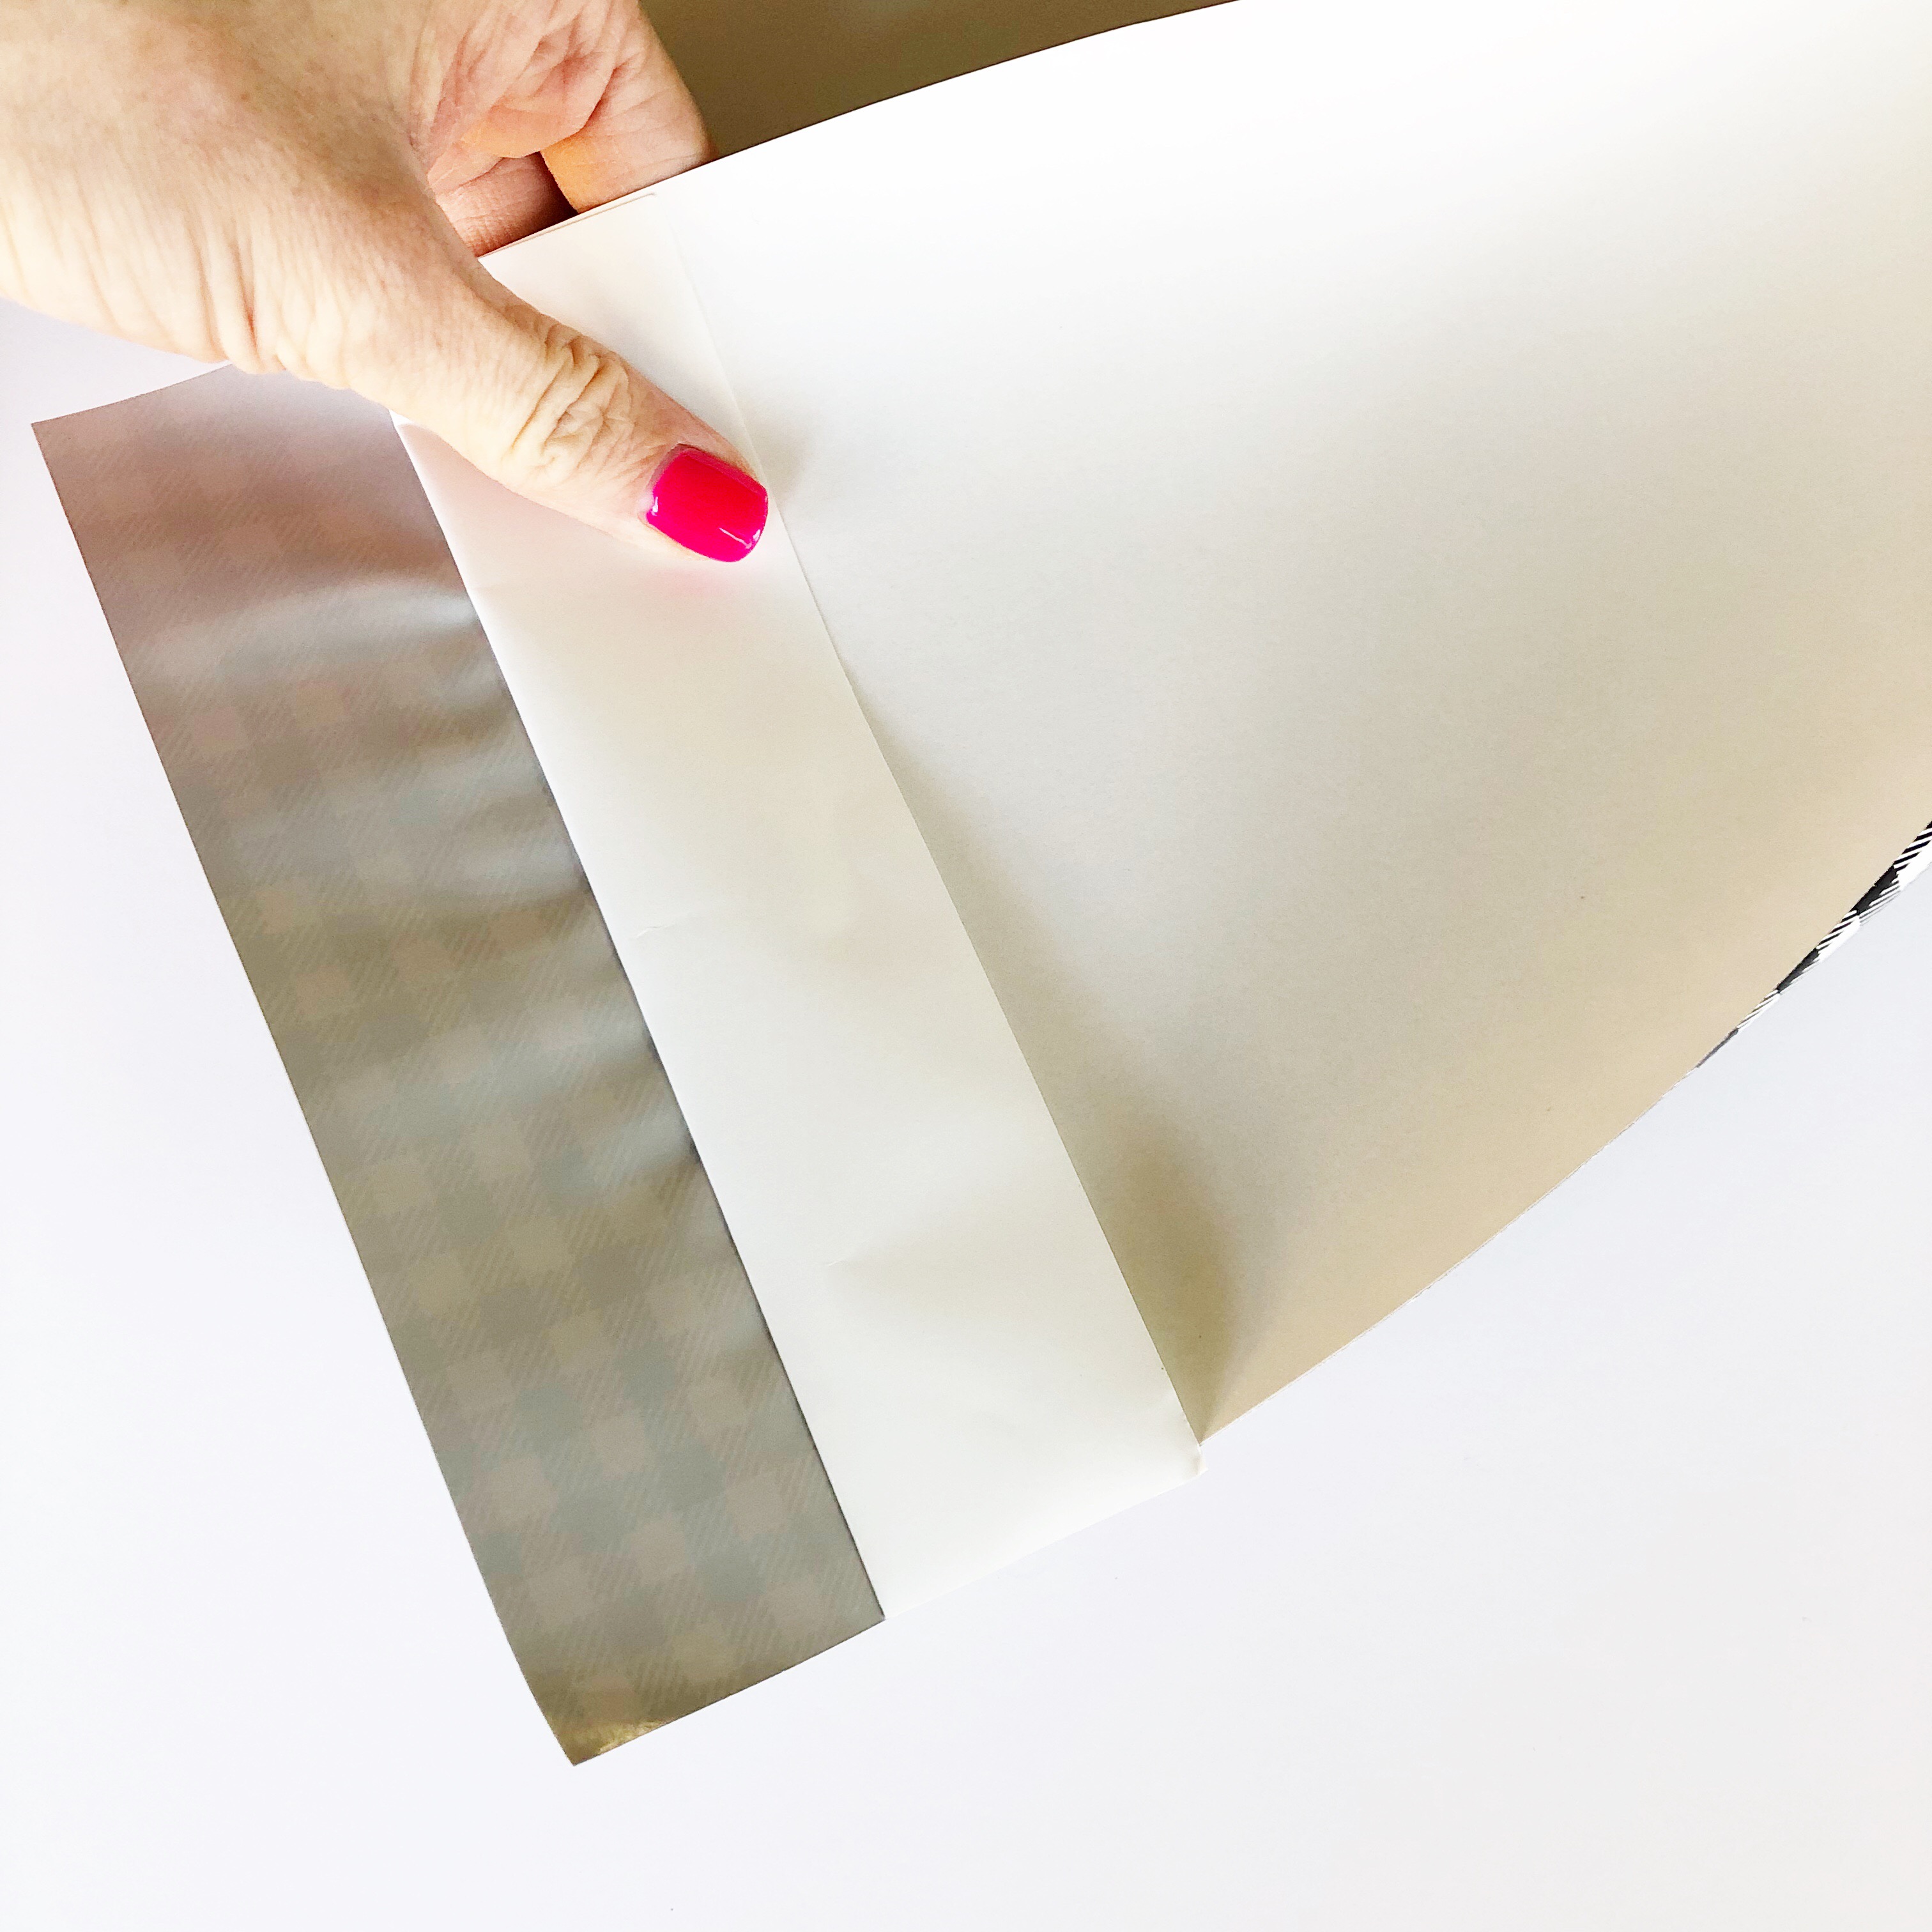
Turn the vinyl over and peel off the backing paper to expose the adhesive side.

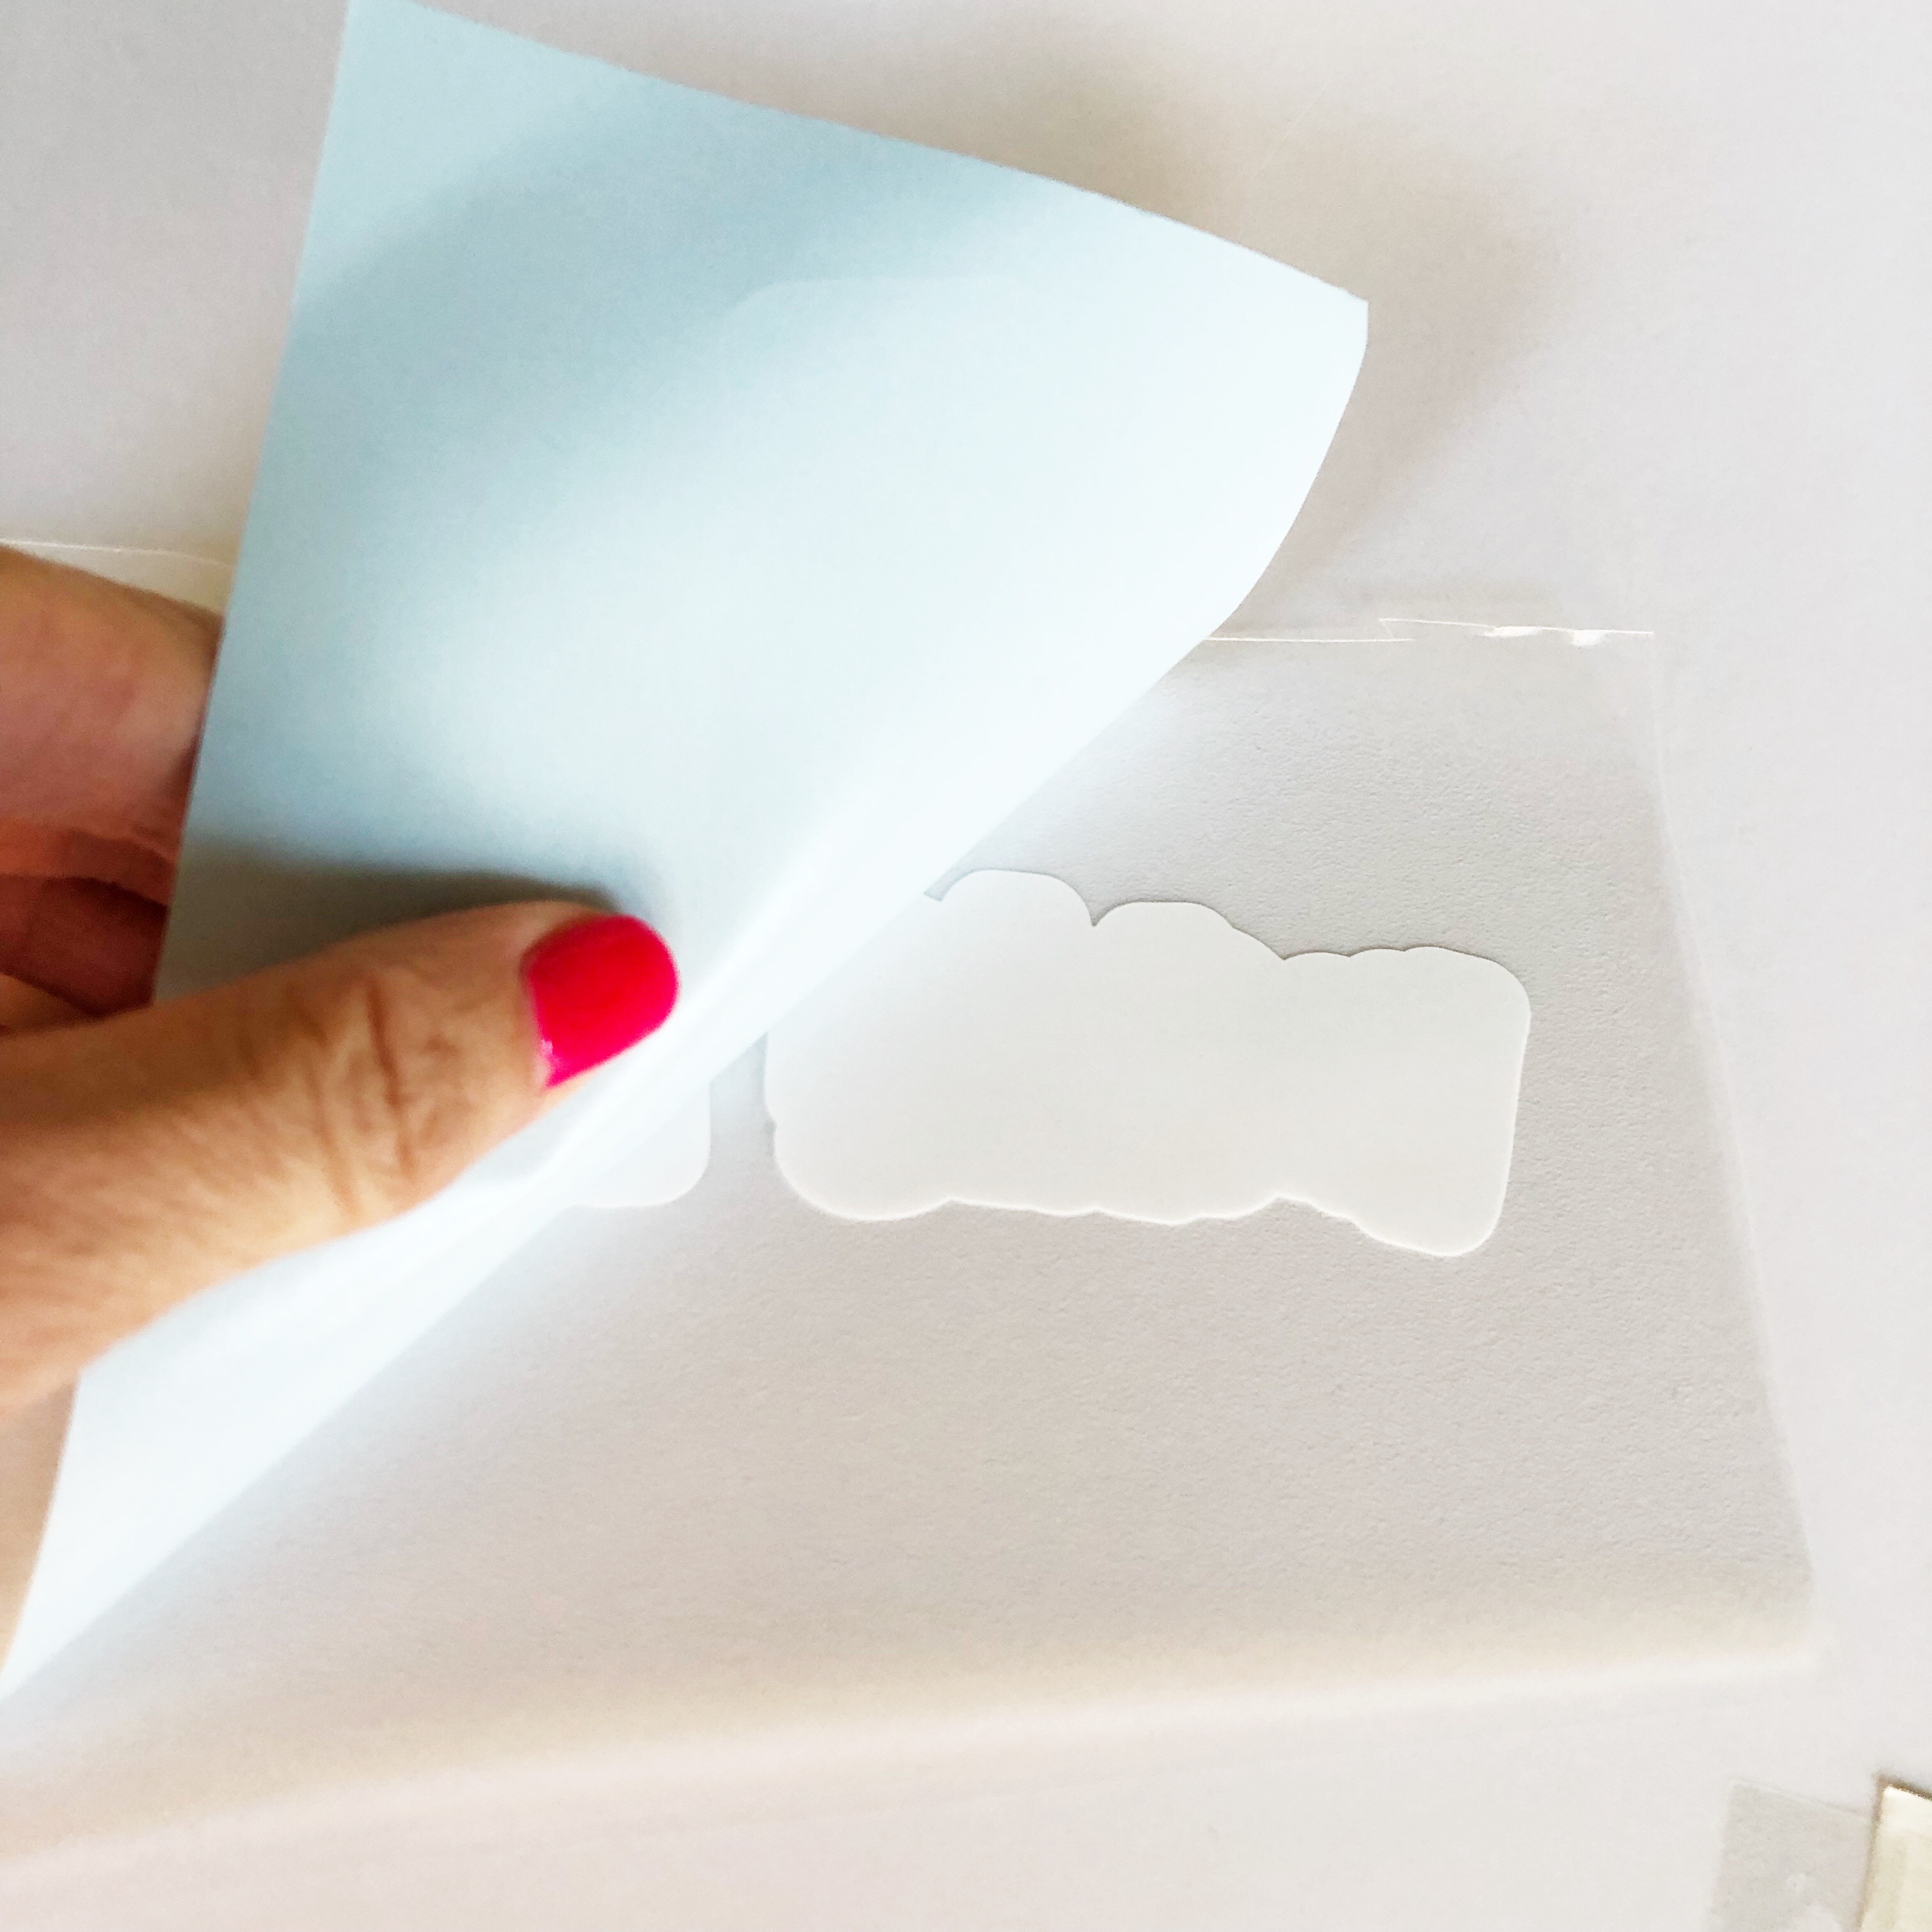
Center the white offset part onto the tray and rub it on well.

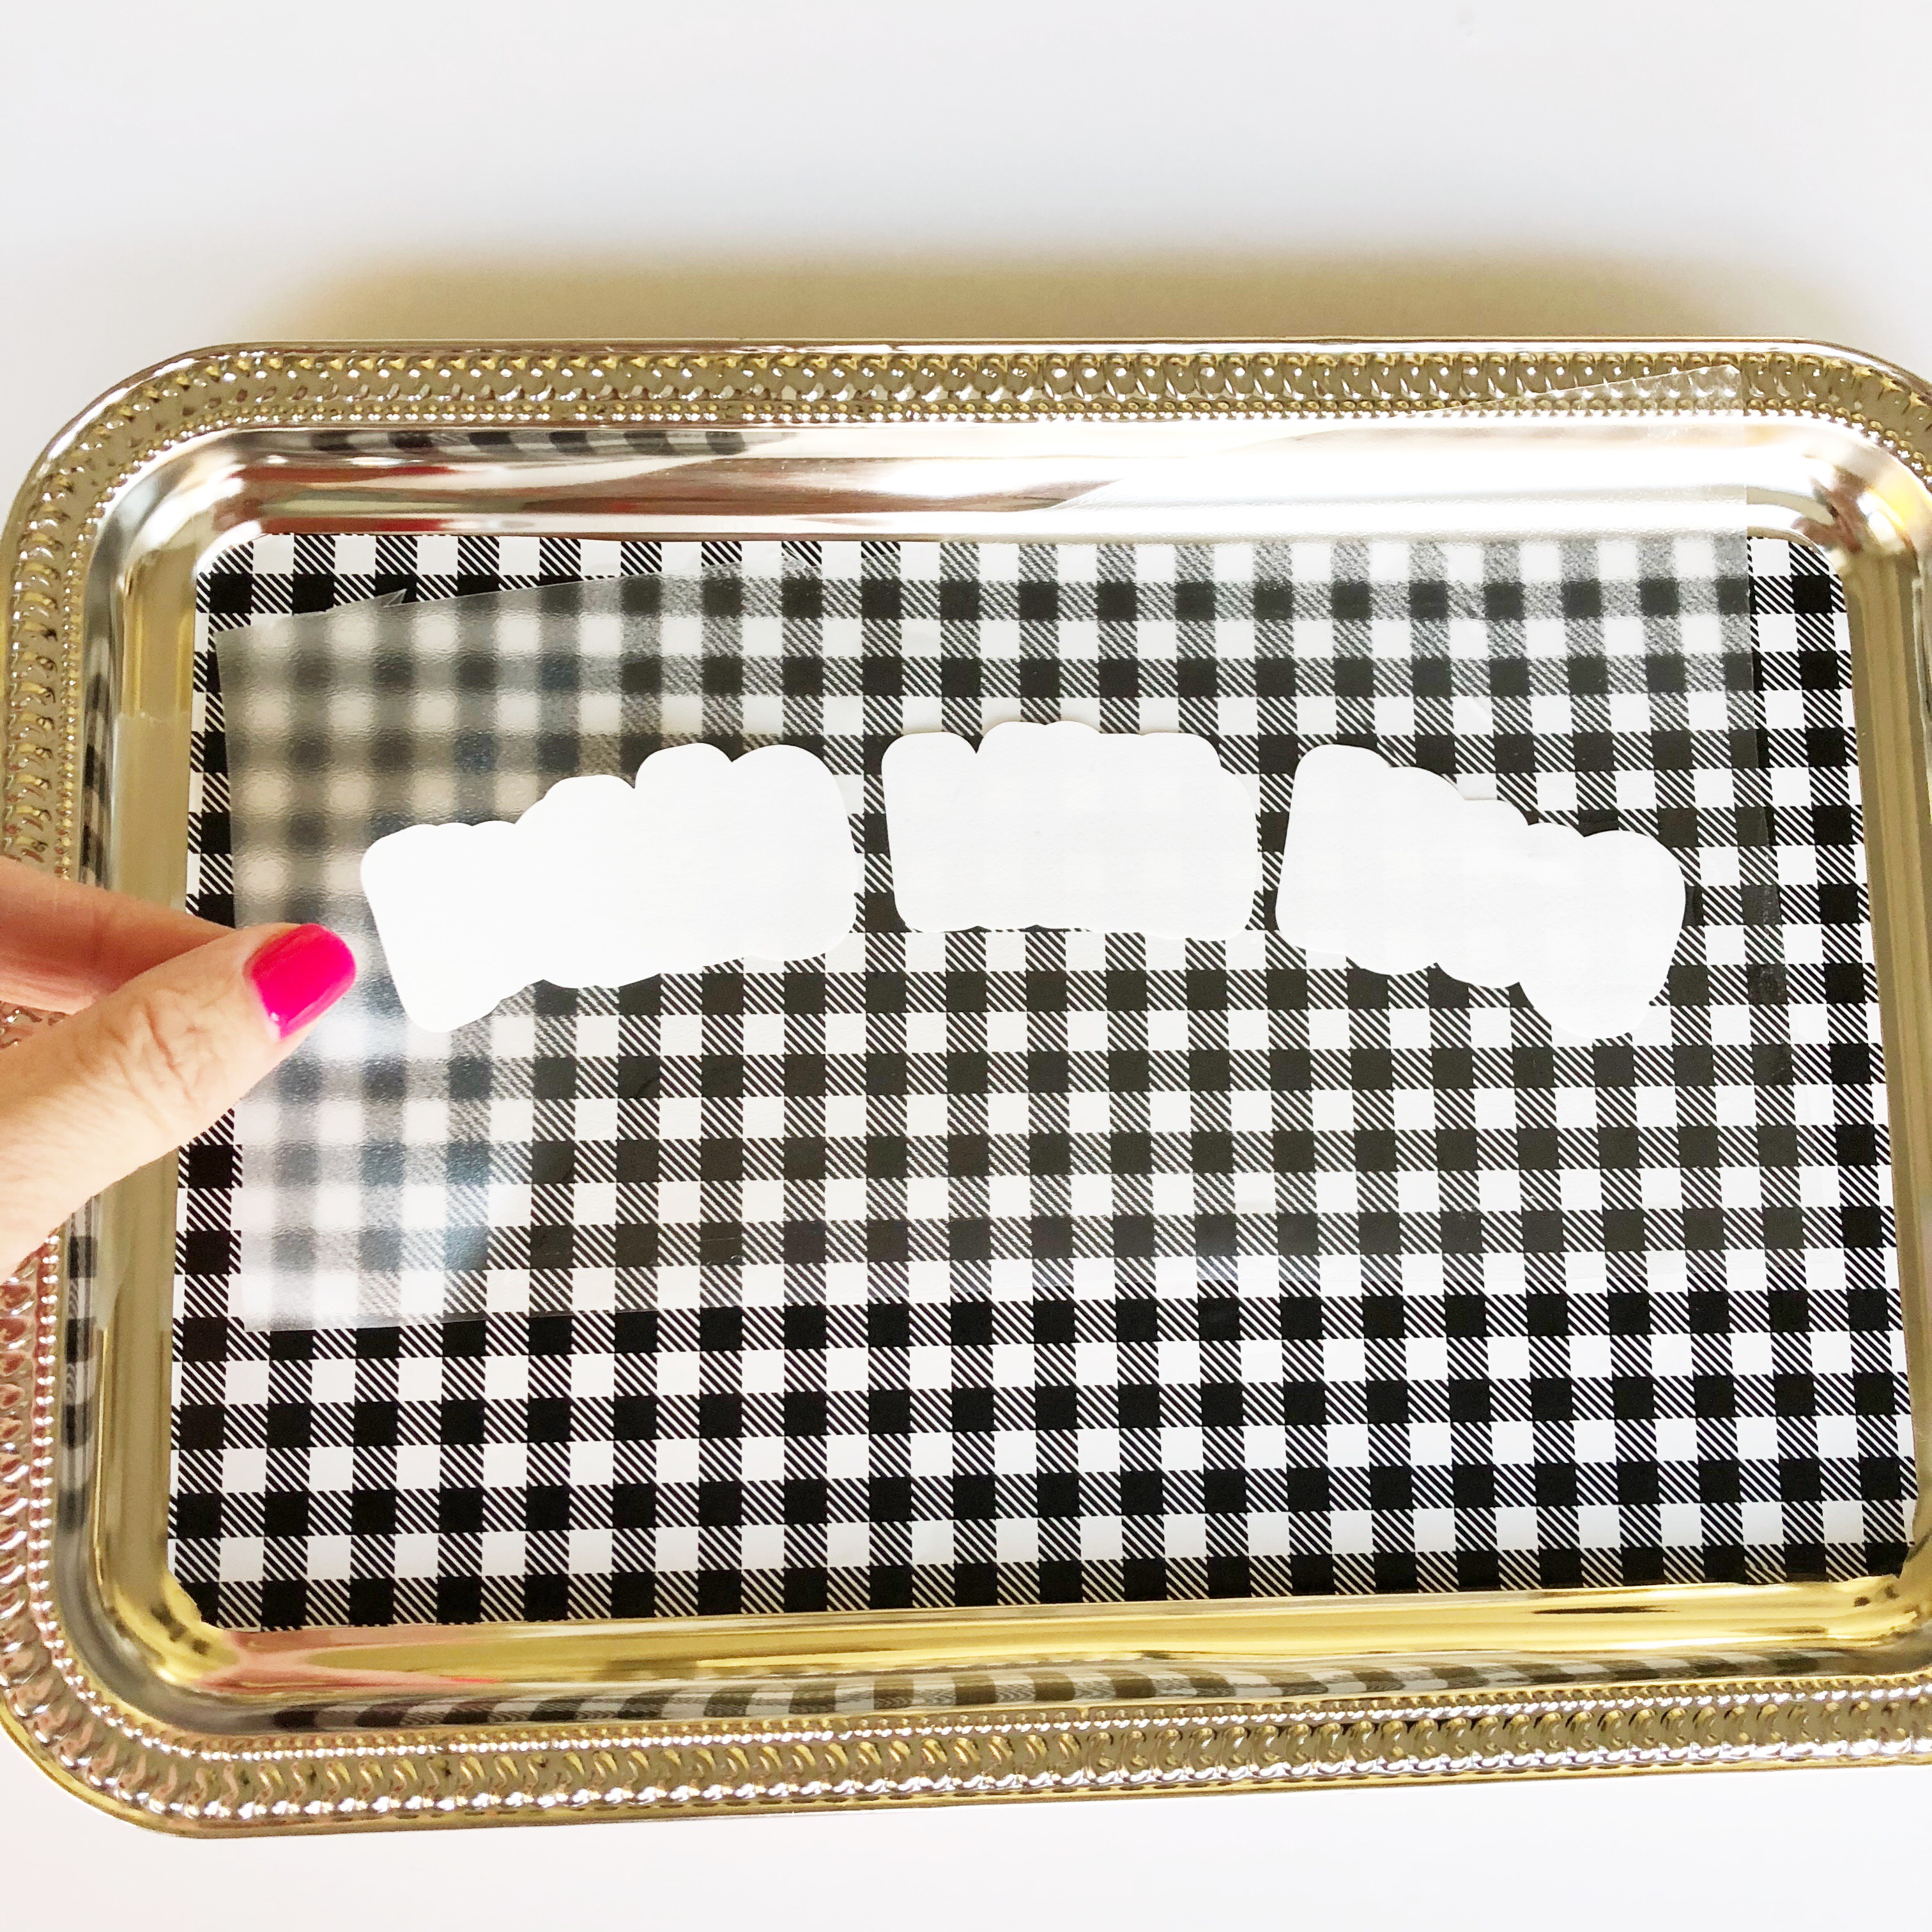
Now peel off the transfer tape starting in one corner and working towards the other side.
![]()
![]()
Follow the same steps for the black text, then peel off the transfer tape for the second layer.
![]()
![]()
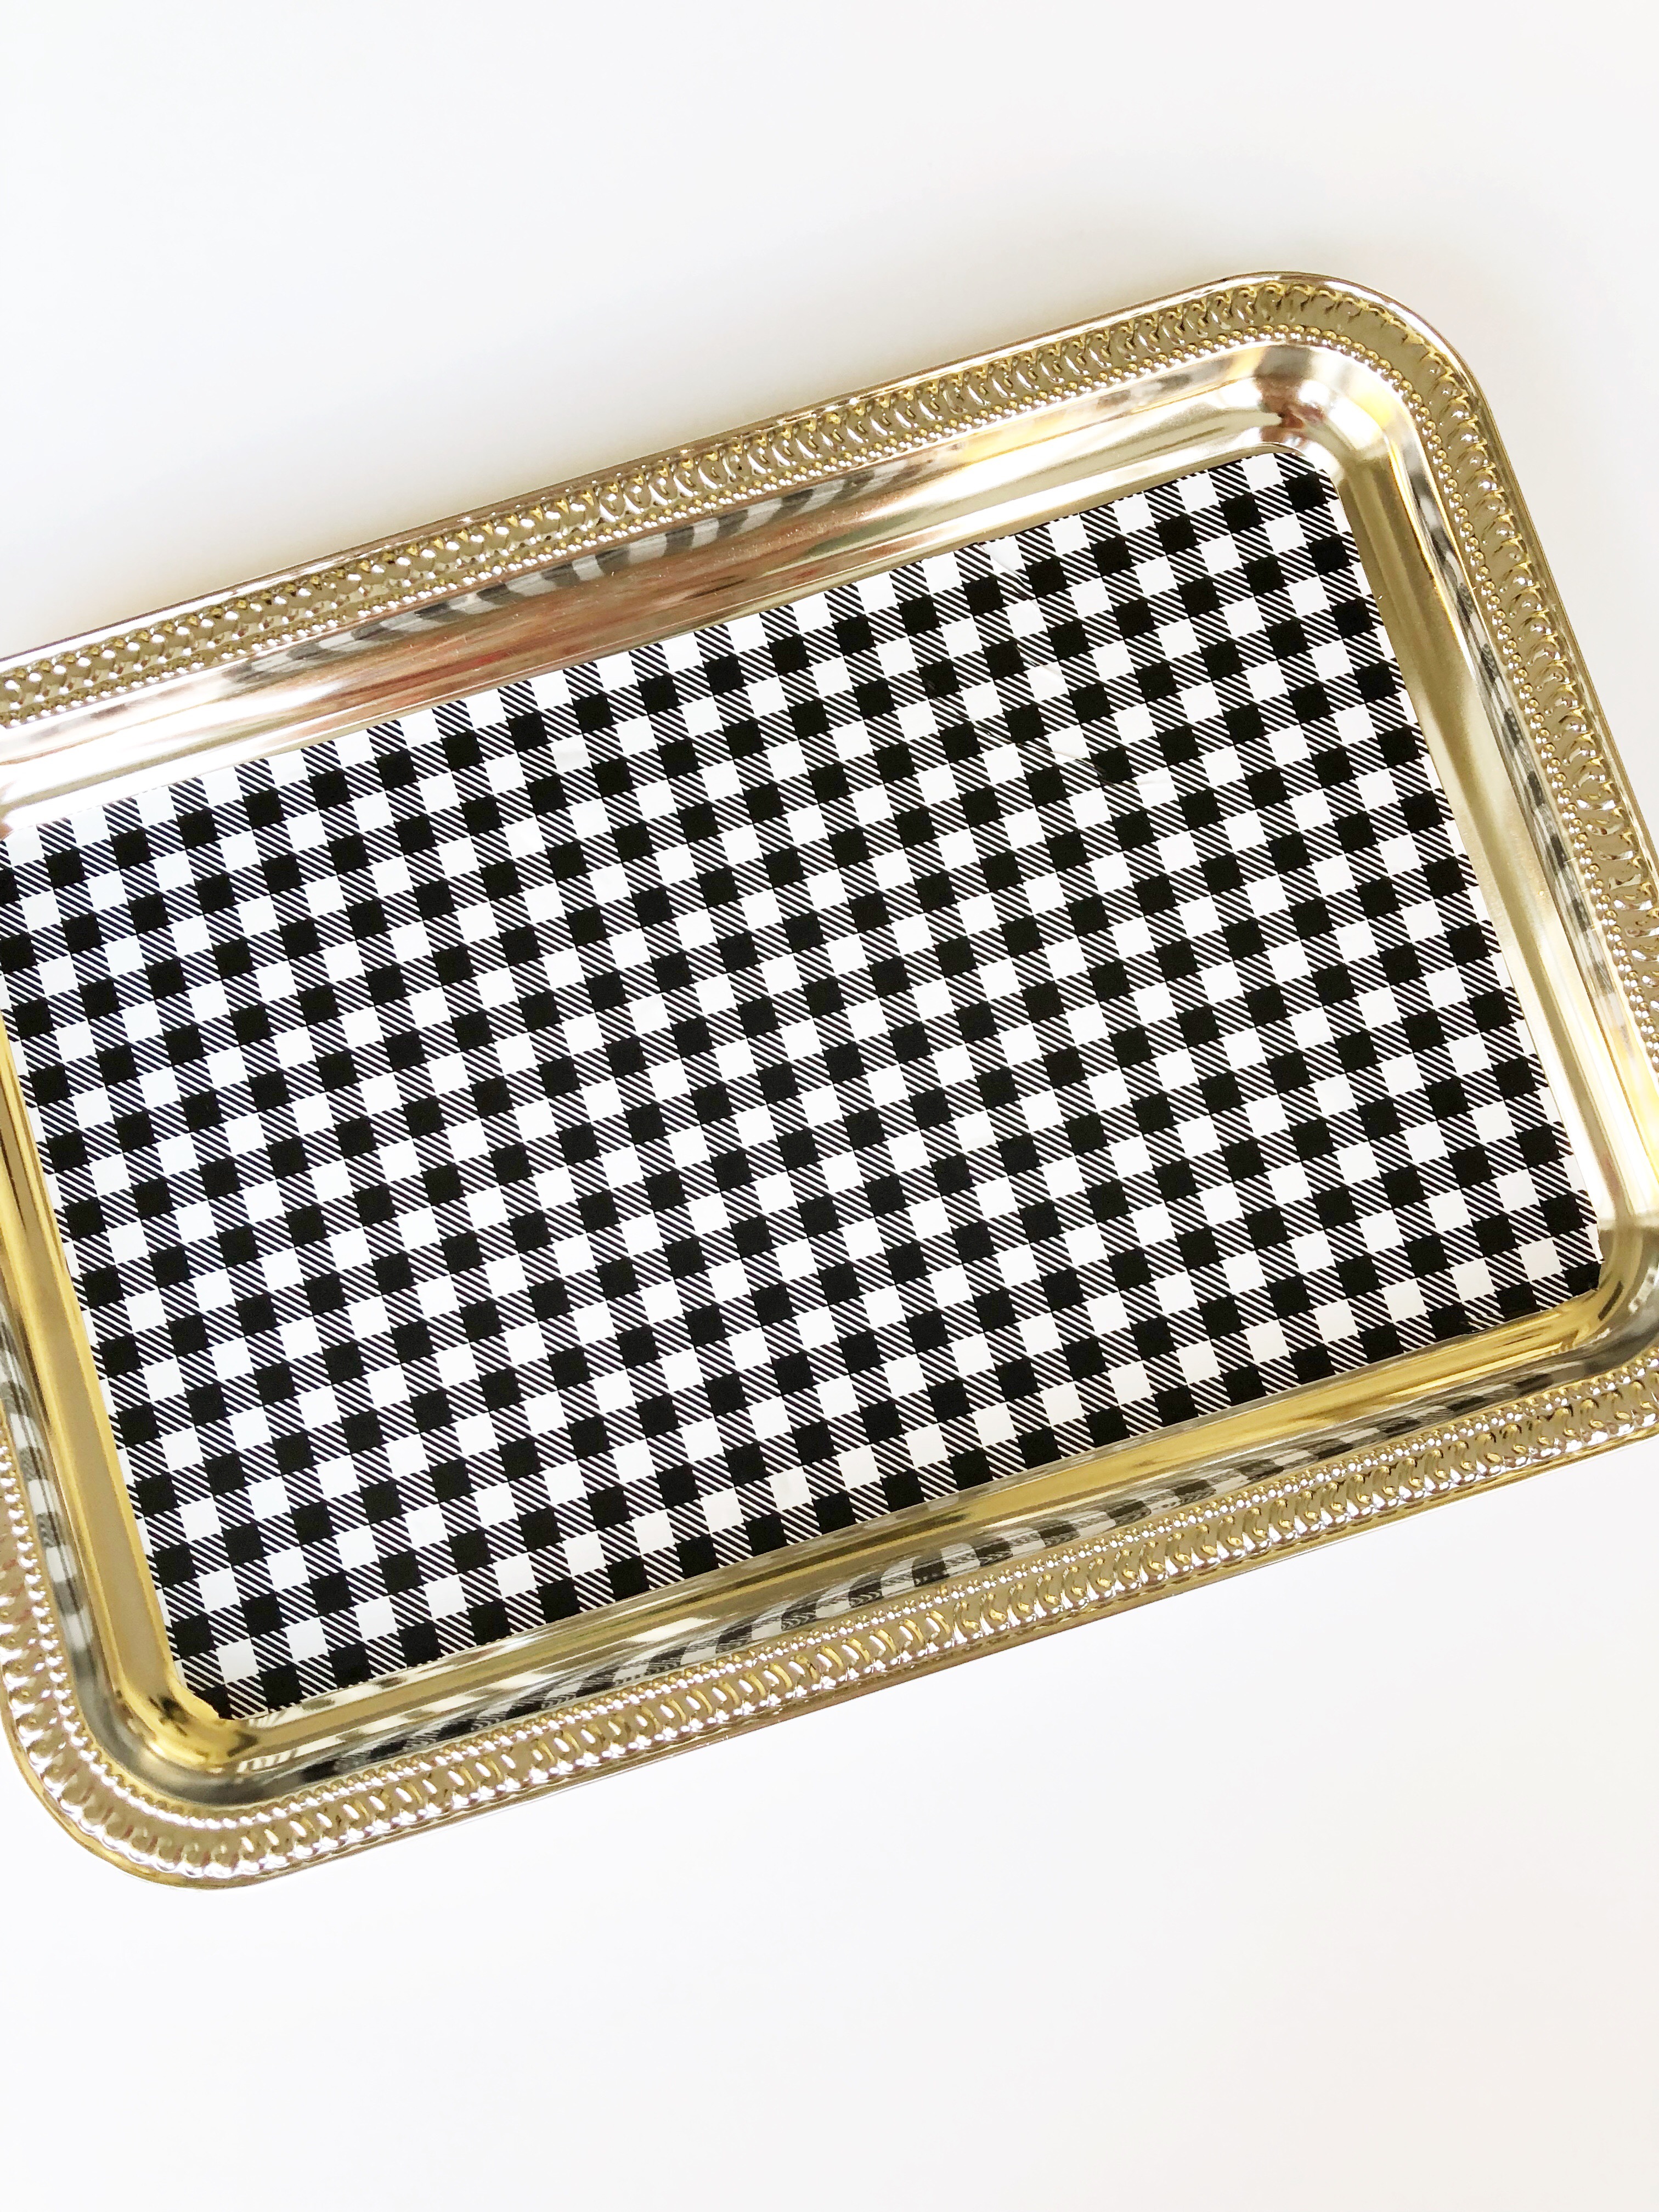
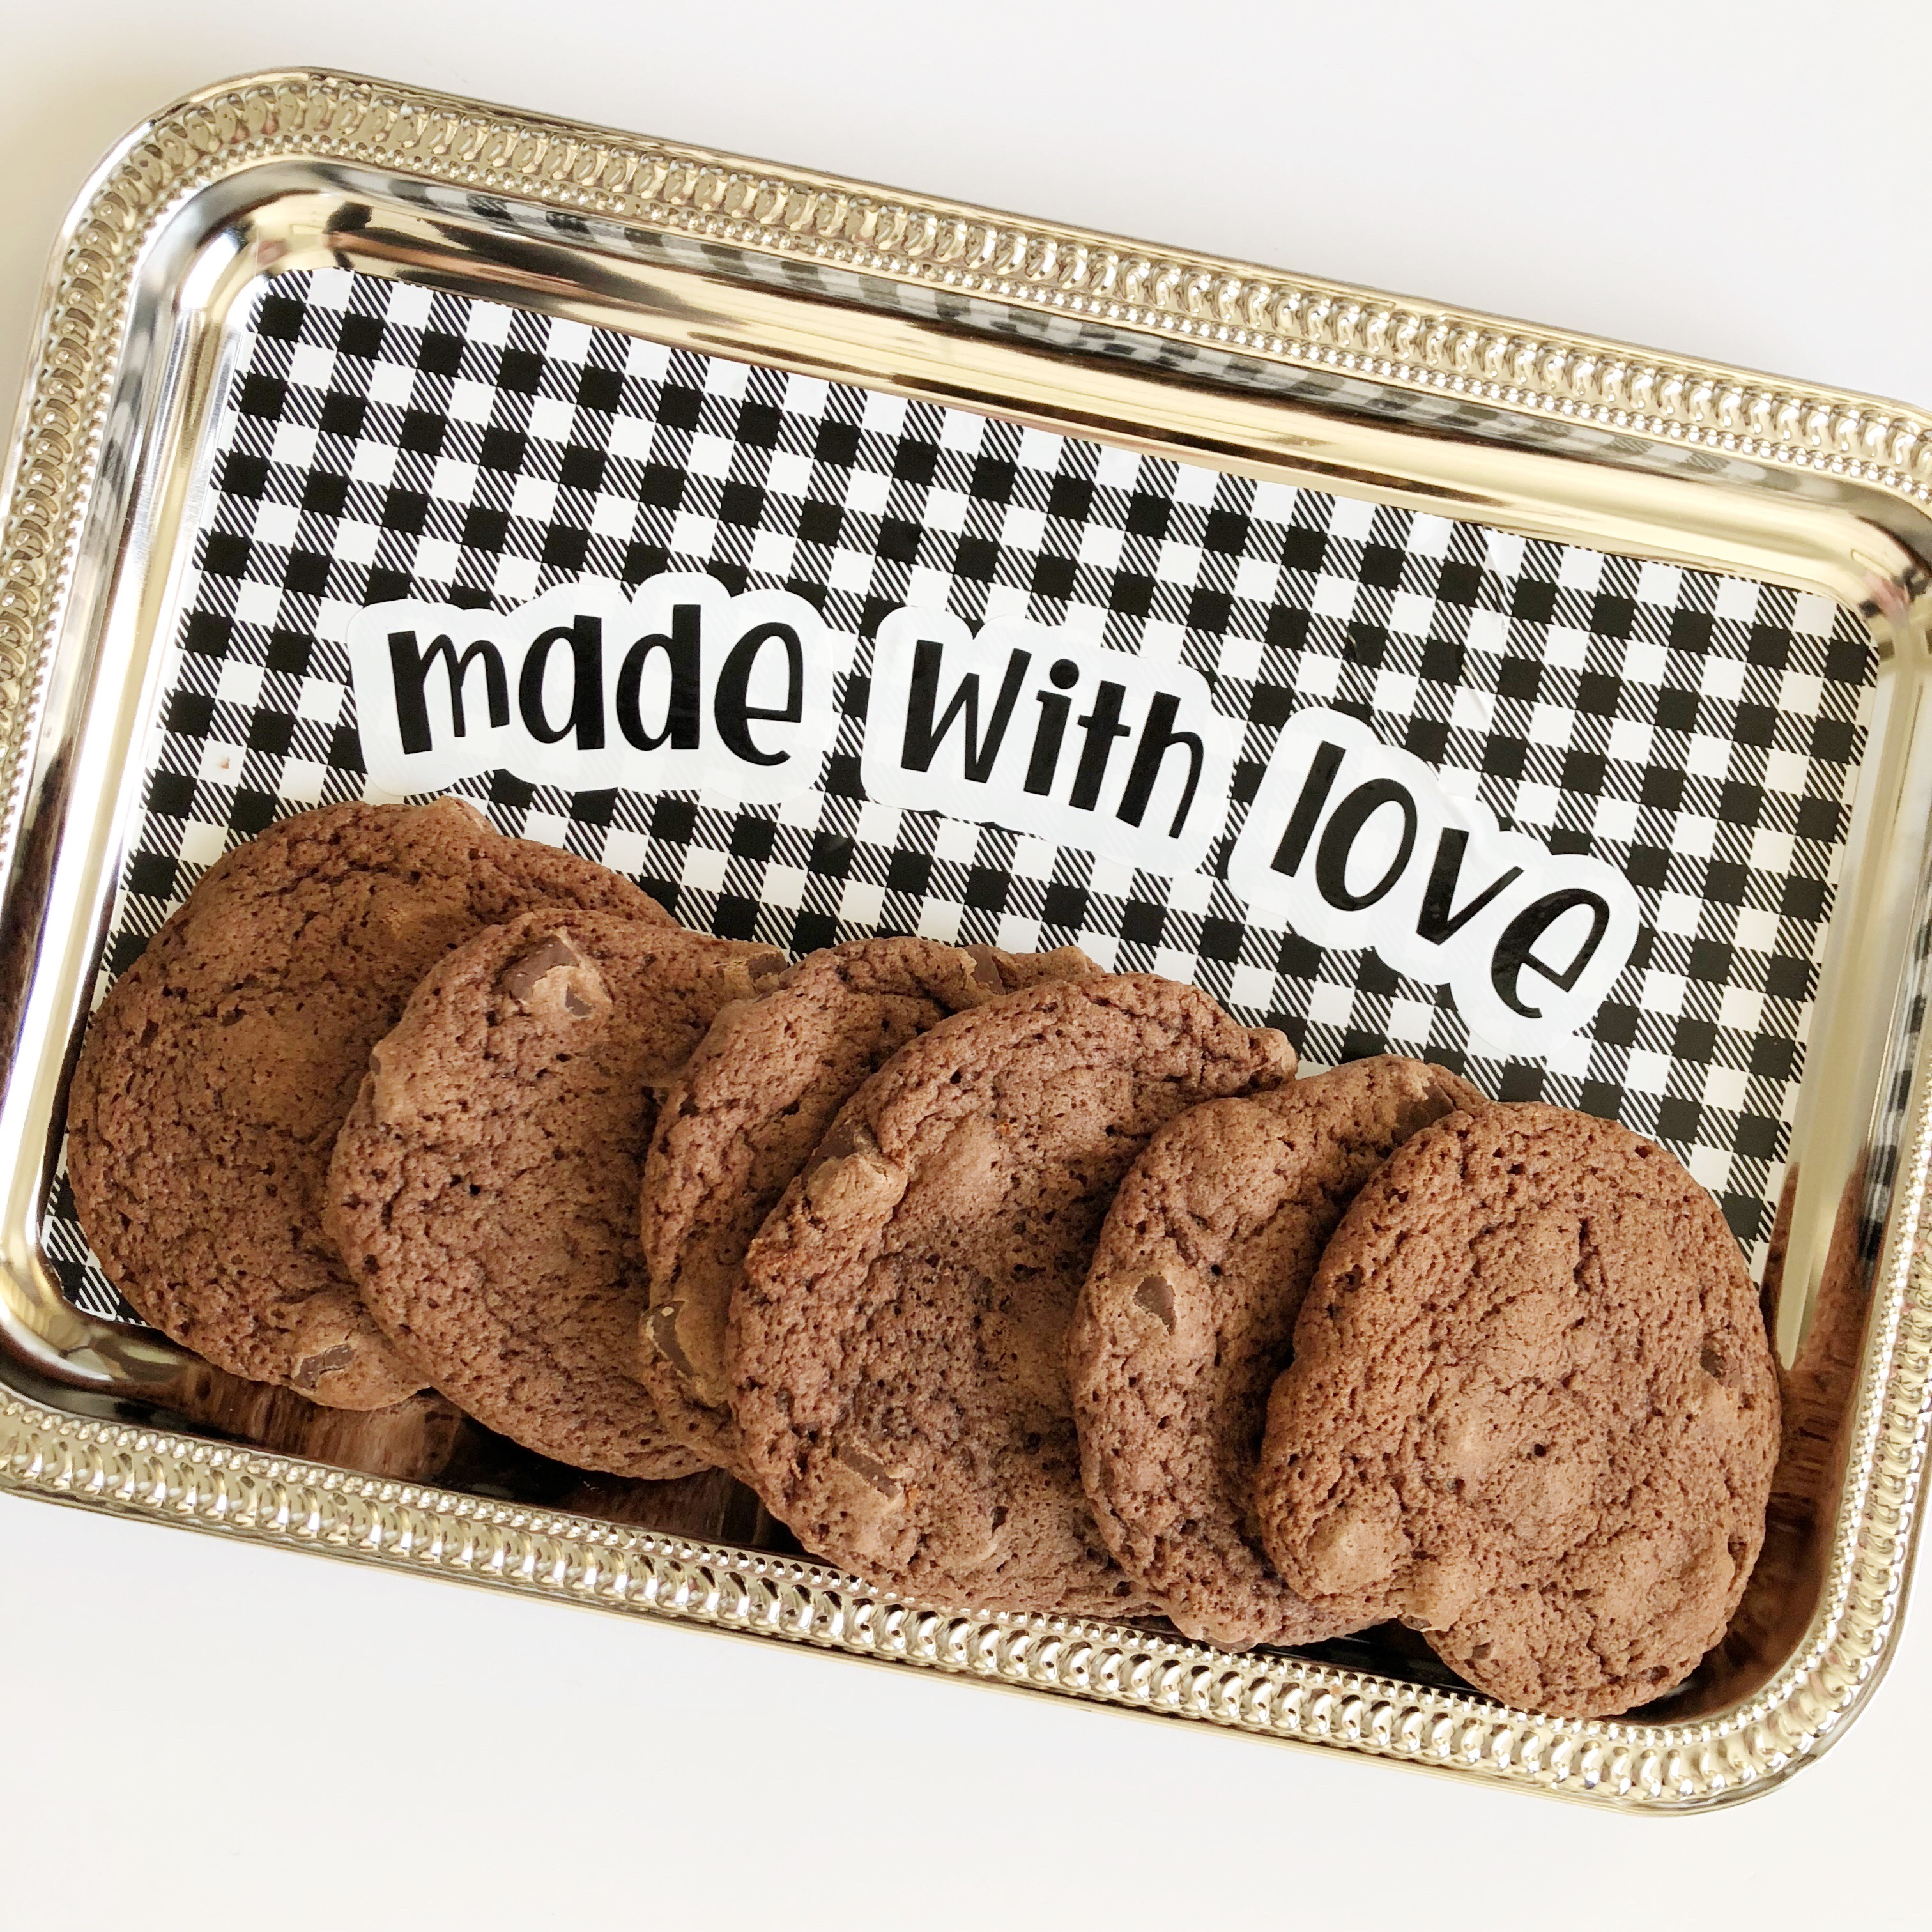
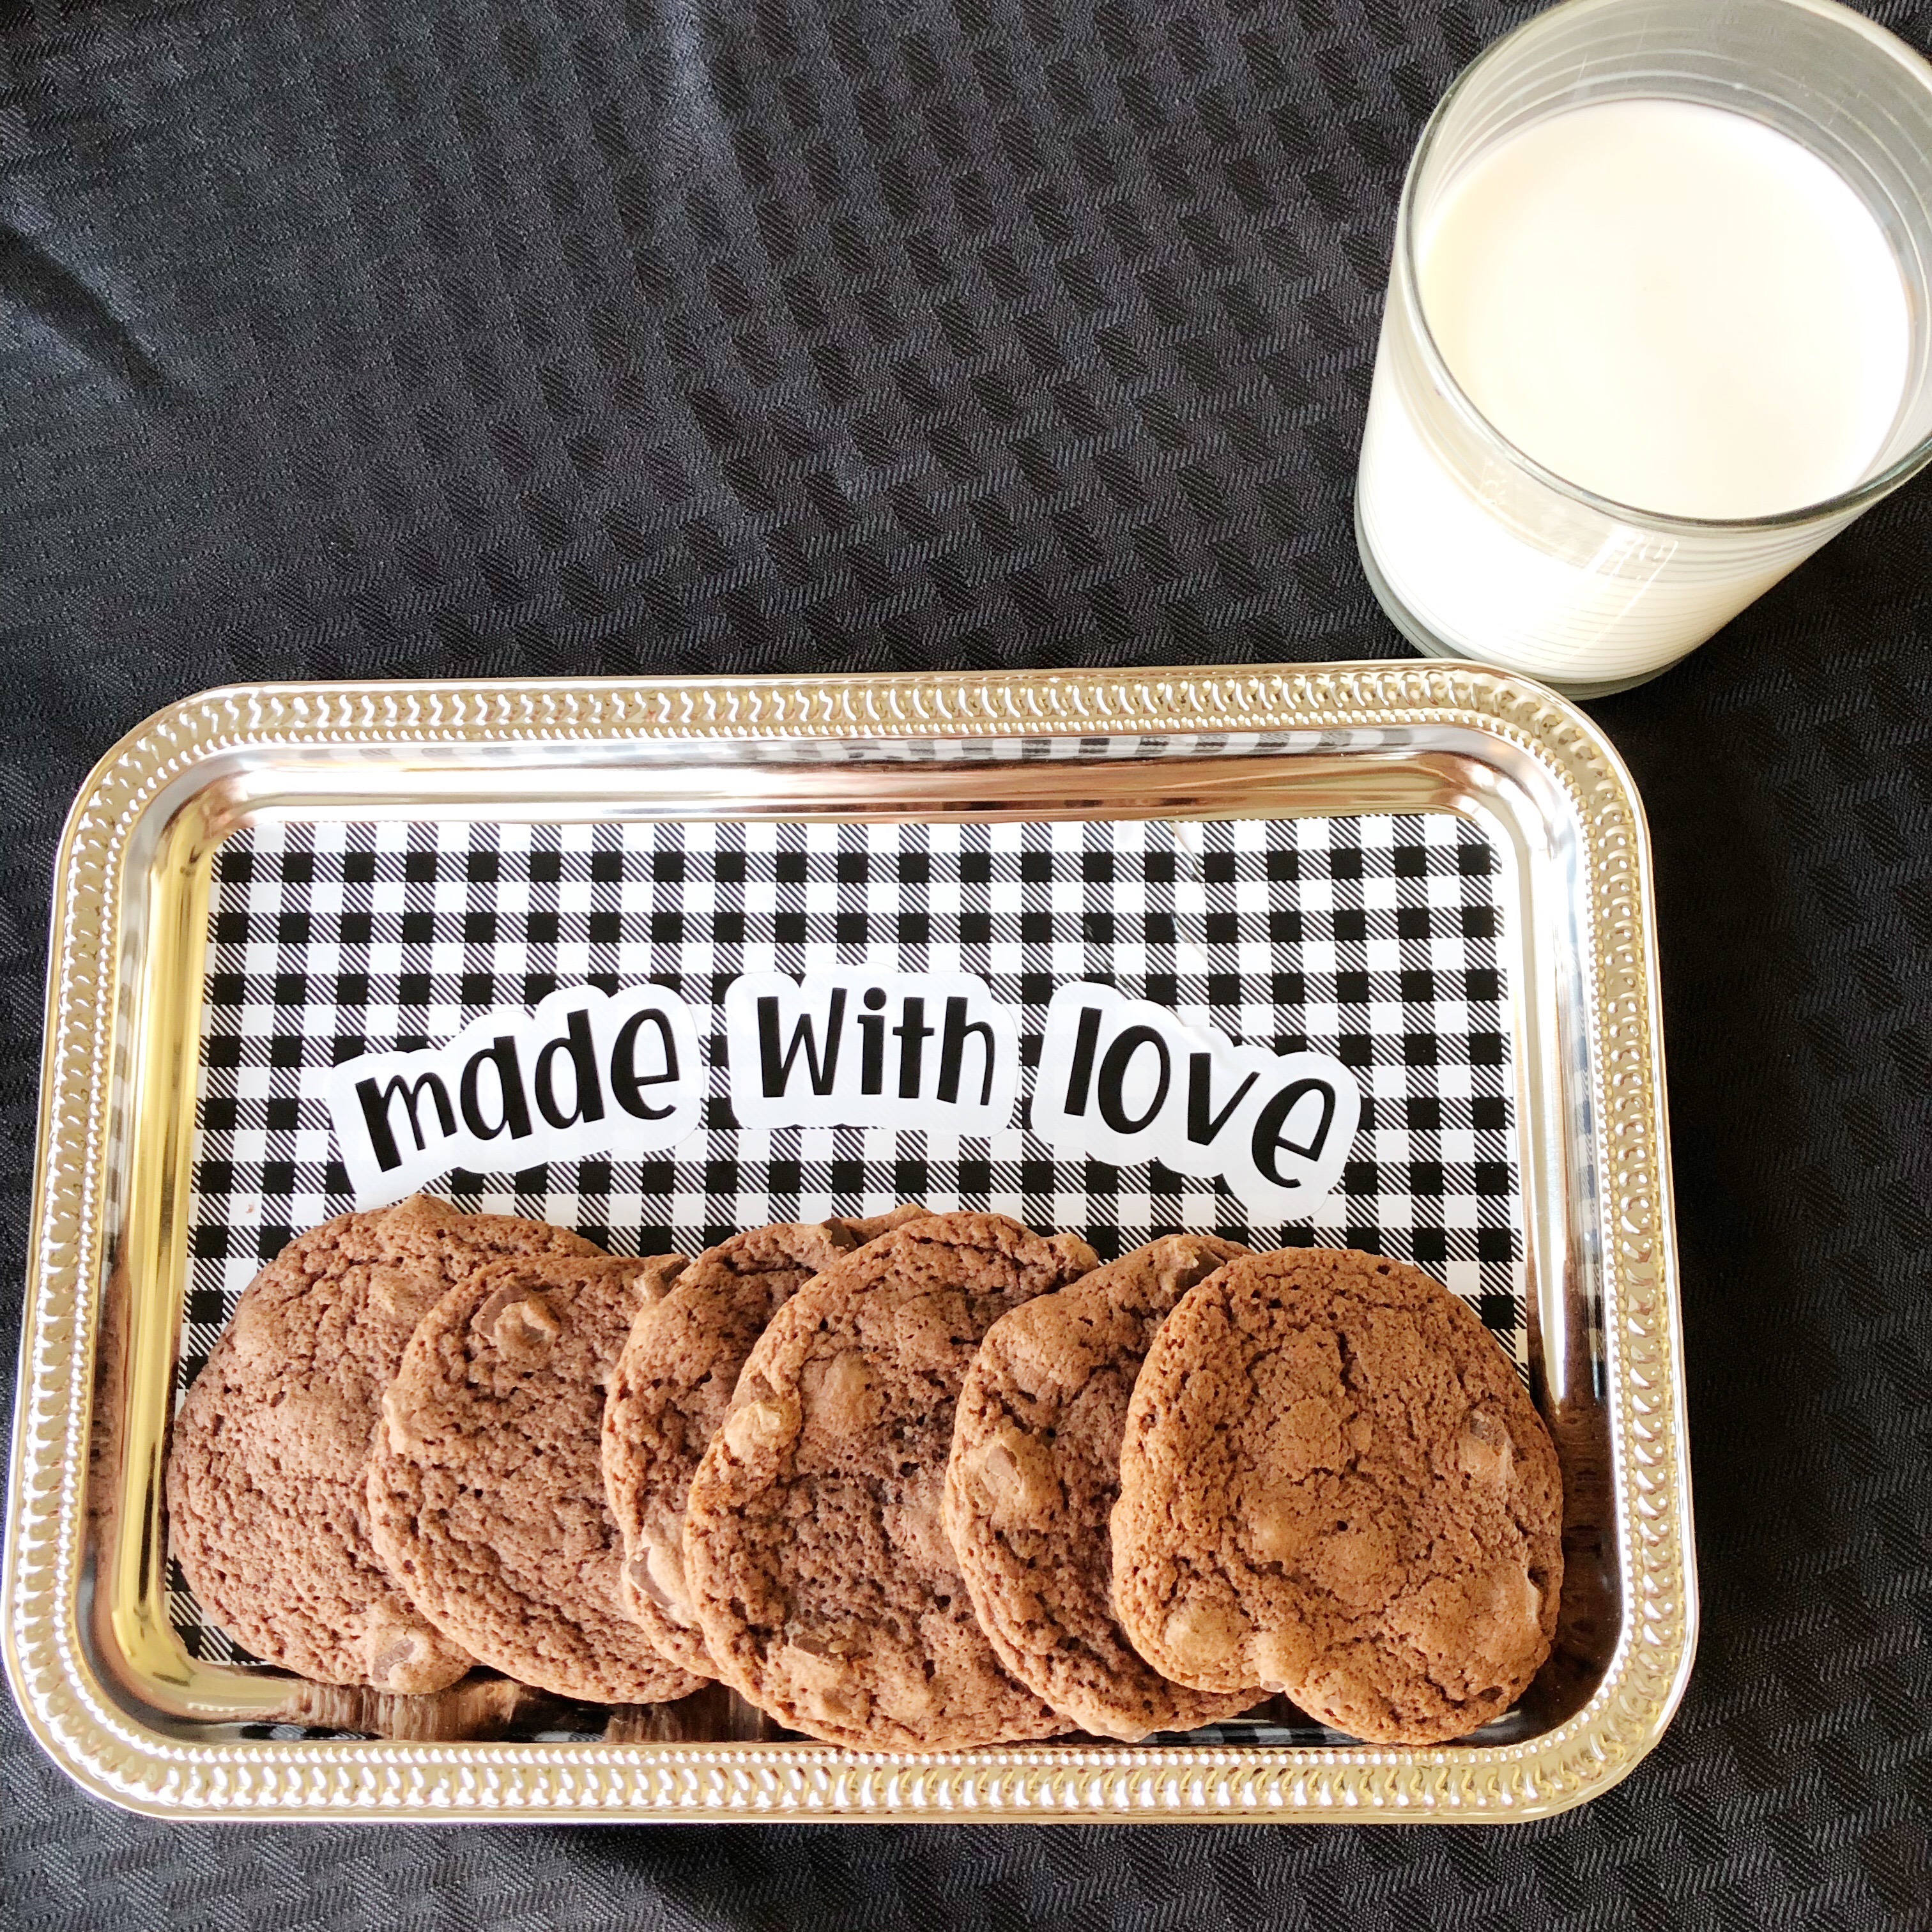
And ta-da! You've got a customized tray that can be filled with any goodies!

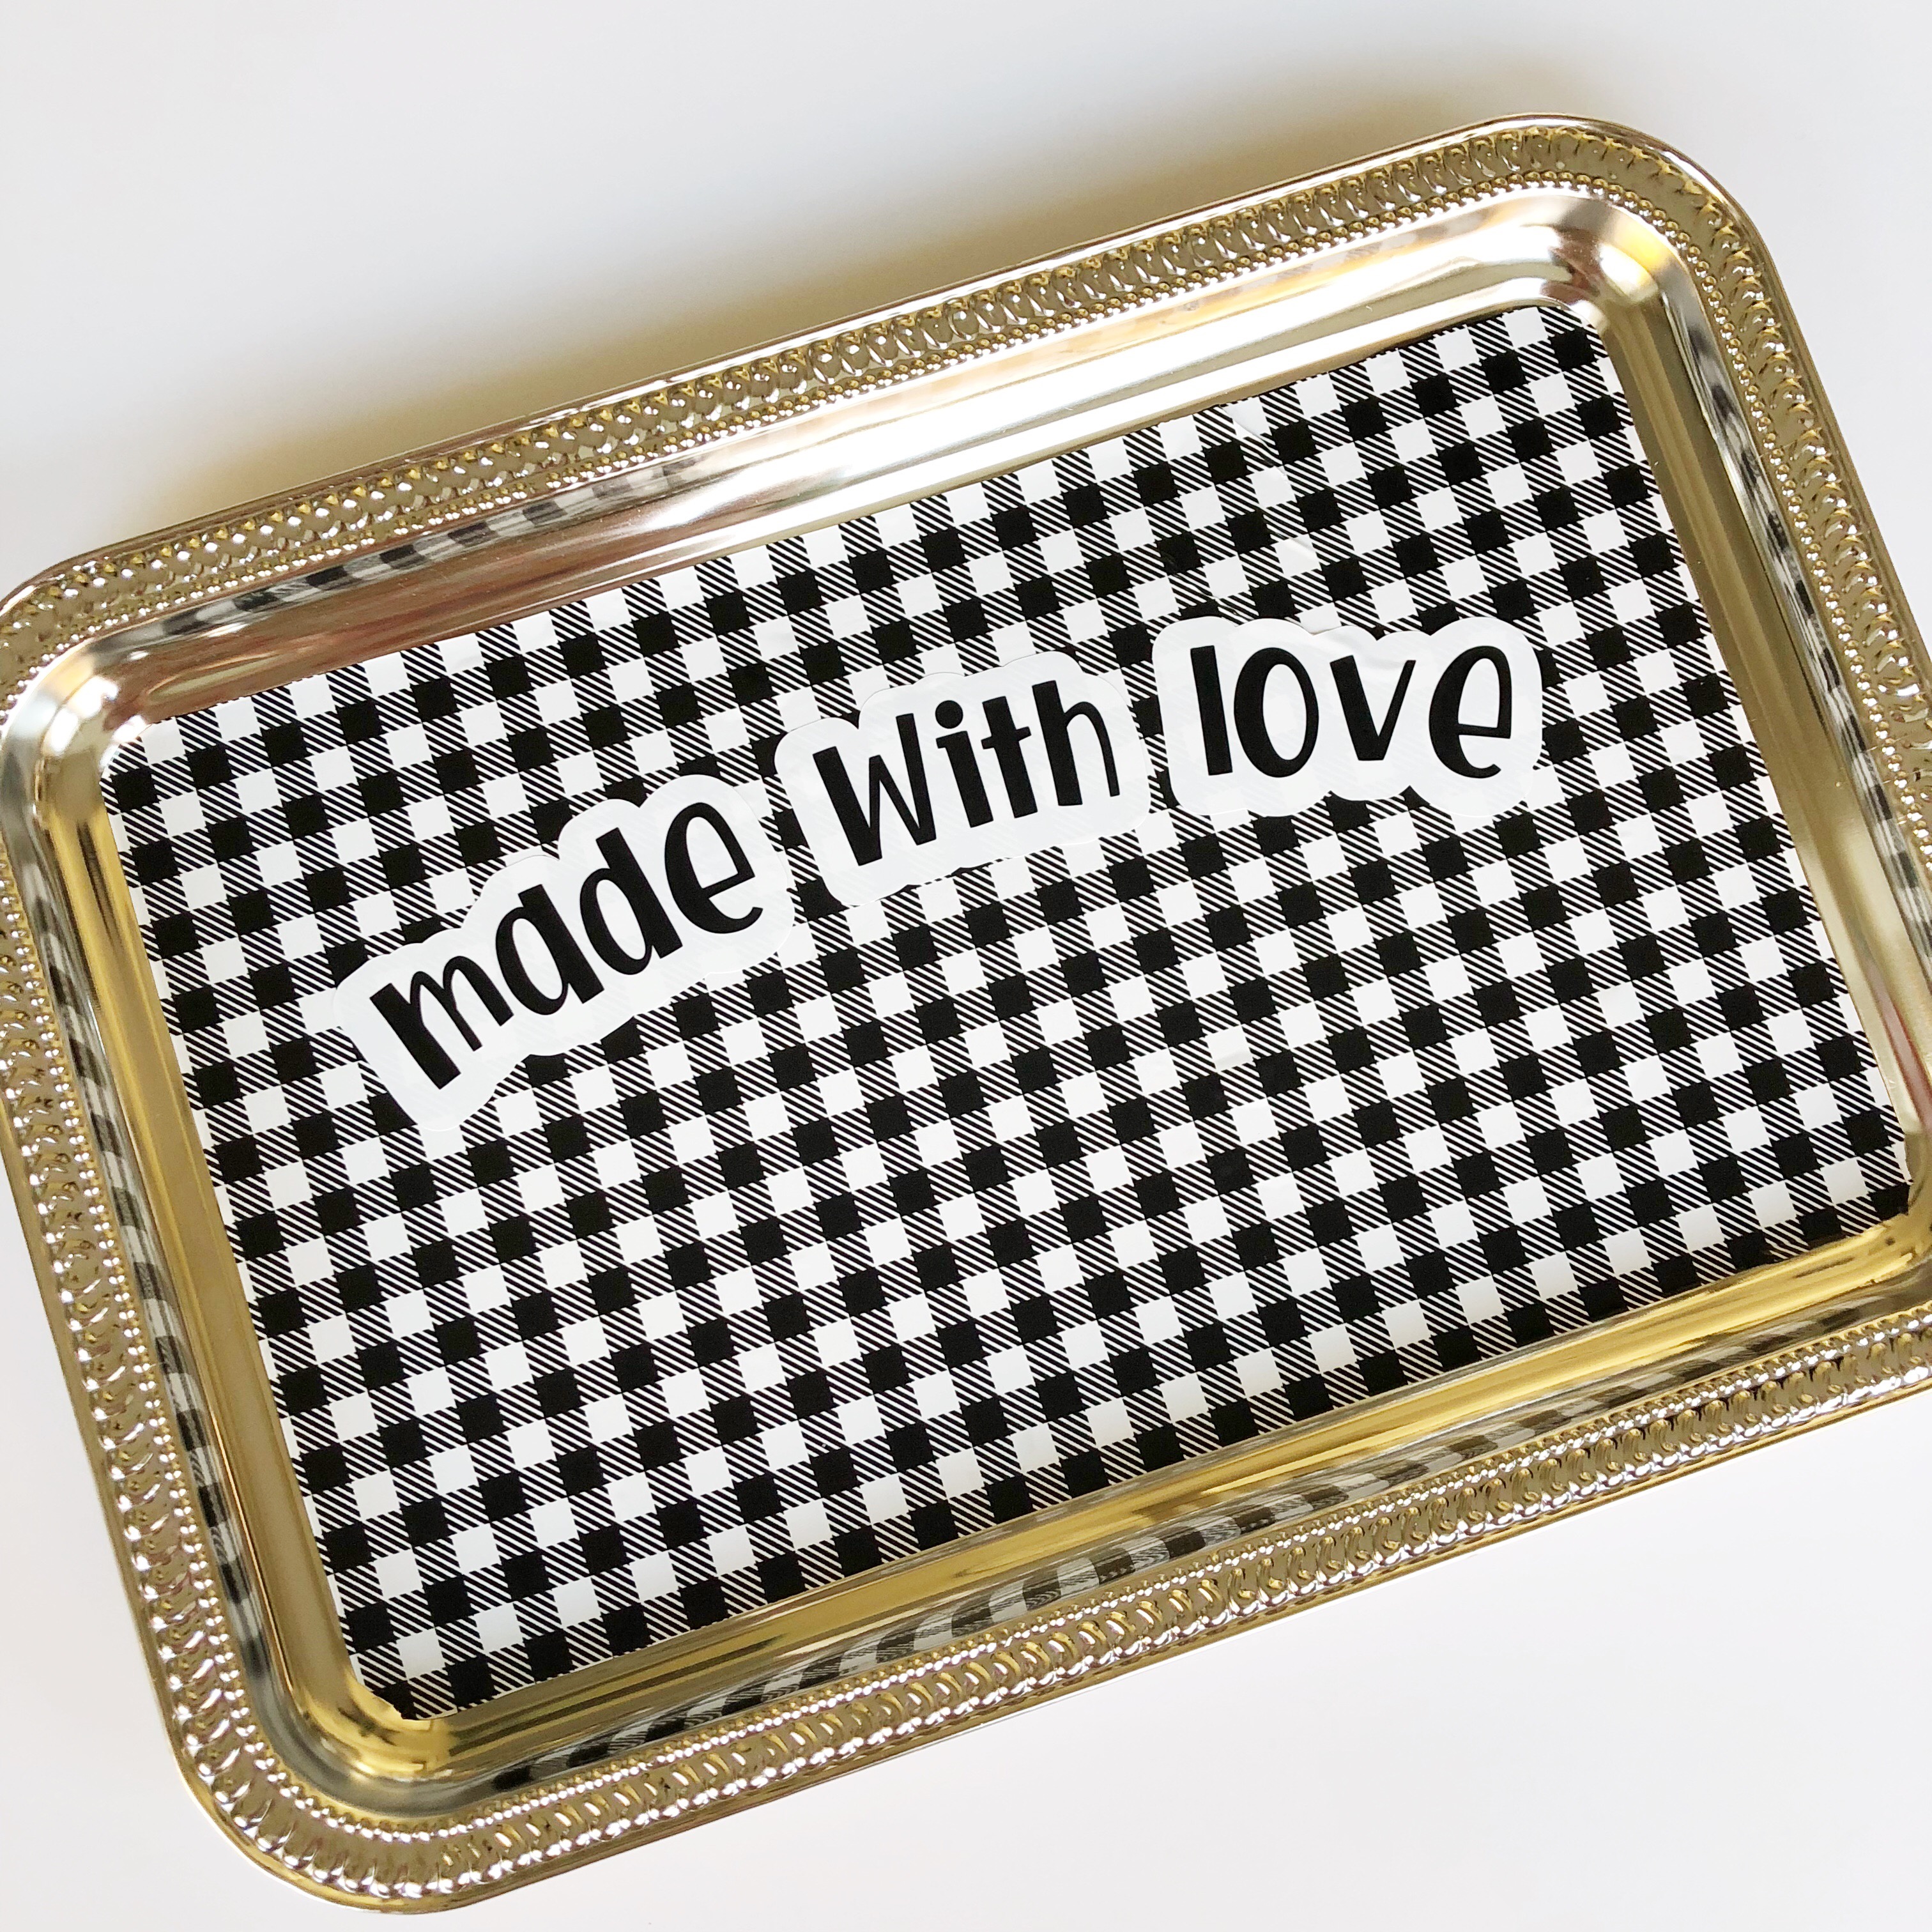
You can fill the tray with cookies and wrap it all in cellophane with a pretty bow and it would make the perfect holiday gift! (Or just use it for cookies yourself and enjoy the fruits of your labors!)

I'll admit...I poured myself a glass of milk and ate one of these goodies because the cookies AND the tray were both made with love!

Vinyl makes it so easy to customize anything, and with all the holidays that are coming up, vinyl is the perfect crafting material to create so many unique gifts. Happy crafting!
Recent Posts
-
NEW Holographic Eclipse Heat Transfer Vinyl
April 15th, 2024 3 Ways to Use the New Holographic Eclipse Heat Transfer Vinyl from Siser …Apr 29th 2024 -
Hop into Spring with Cute Easter Vinyl Crafts
Do you love our Vinyl? Sign up for Vinyl Club today to get FREE vinyl and save big! …Mar 28th 2024 -

Fixing Wrinkles and Bubbles in Vinyl
How do you get air bubbles out of vinyl? There are a few different ways to ensure a flawless …Mar 26th 2024