
Christmas shirt idea with vinyl
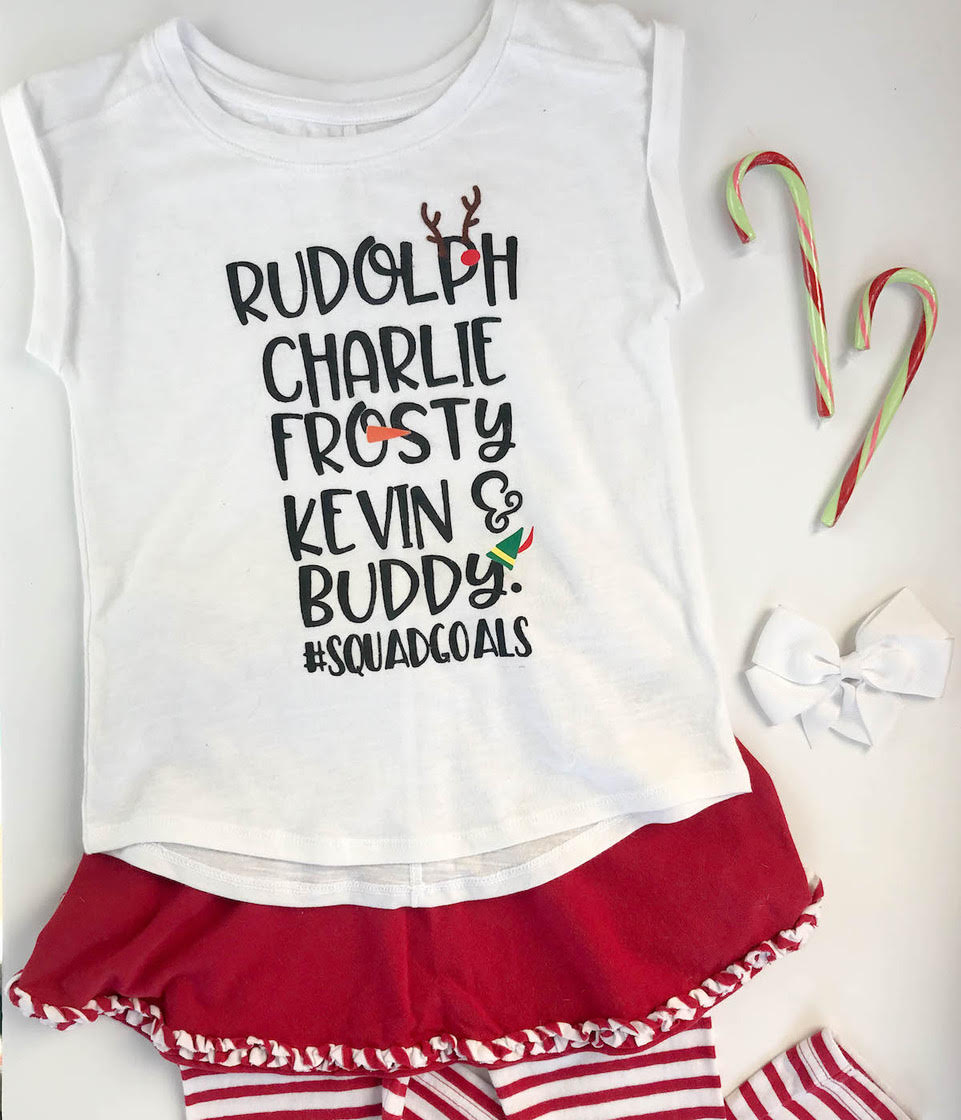
What do you do when you can't find the perfect kids shirt? You make one, of course! I love the #squadgoals shirts floating around the internet so I took inspiration from those and chose my personal Christmas movie faves! Rudolph, Charlie Brown, Frosty the snowman, Kevin McAllister and Buddy the elf!As much as I love heat transfer vinyl, sometimes I like to mix it up and change my process! So, for this shirt I used fabric ink for the main part of the design and accented it with different colors of HTV.
Here's what you need:
Step One: Cut, Weed and Apply Transfer Tape

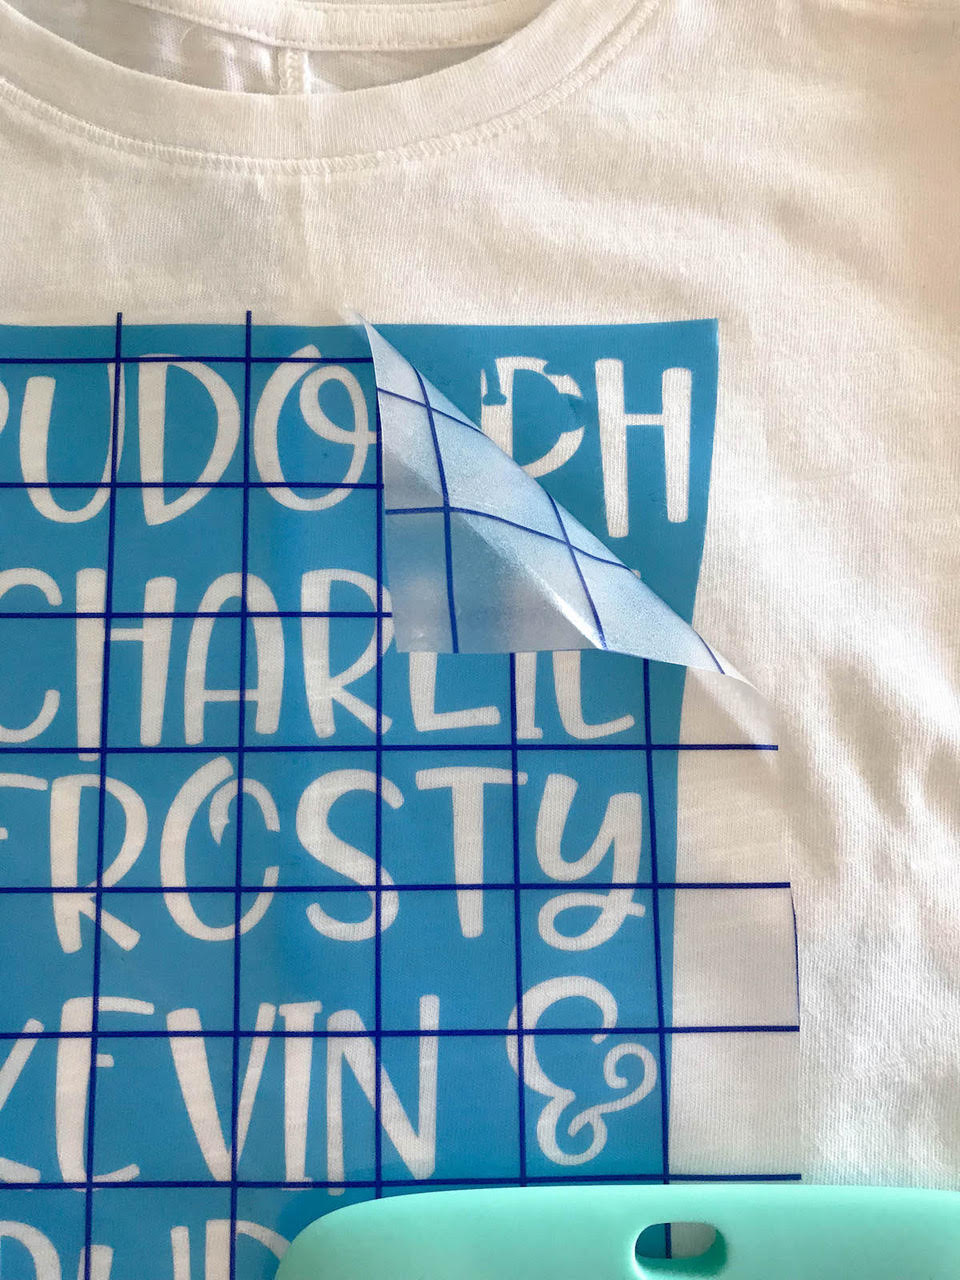
Cut the Oramask the same way you would a sheet of vinyl. On my Cricut I use the vinyl setting and it cuts nicely. When you go to weed the design, weed away the letters so that you're left with a stencil. Apply transfer tape to the Oramask and transfer it to the t-shirt.
Step Two: Apply Fabric Ink
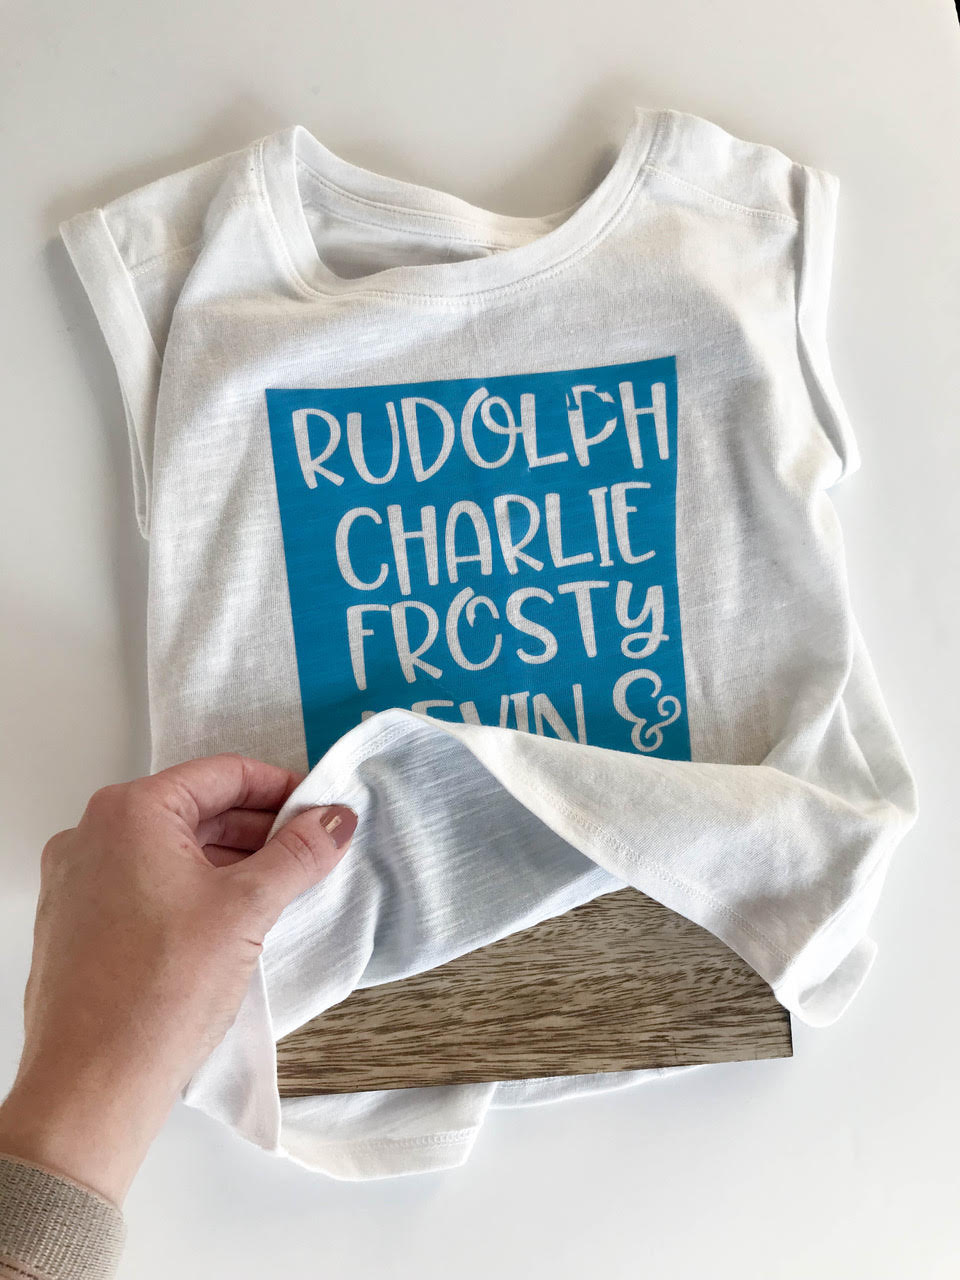
Remove the transfer tape and place something inside your shirt to protect it from bleeding. 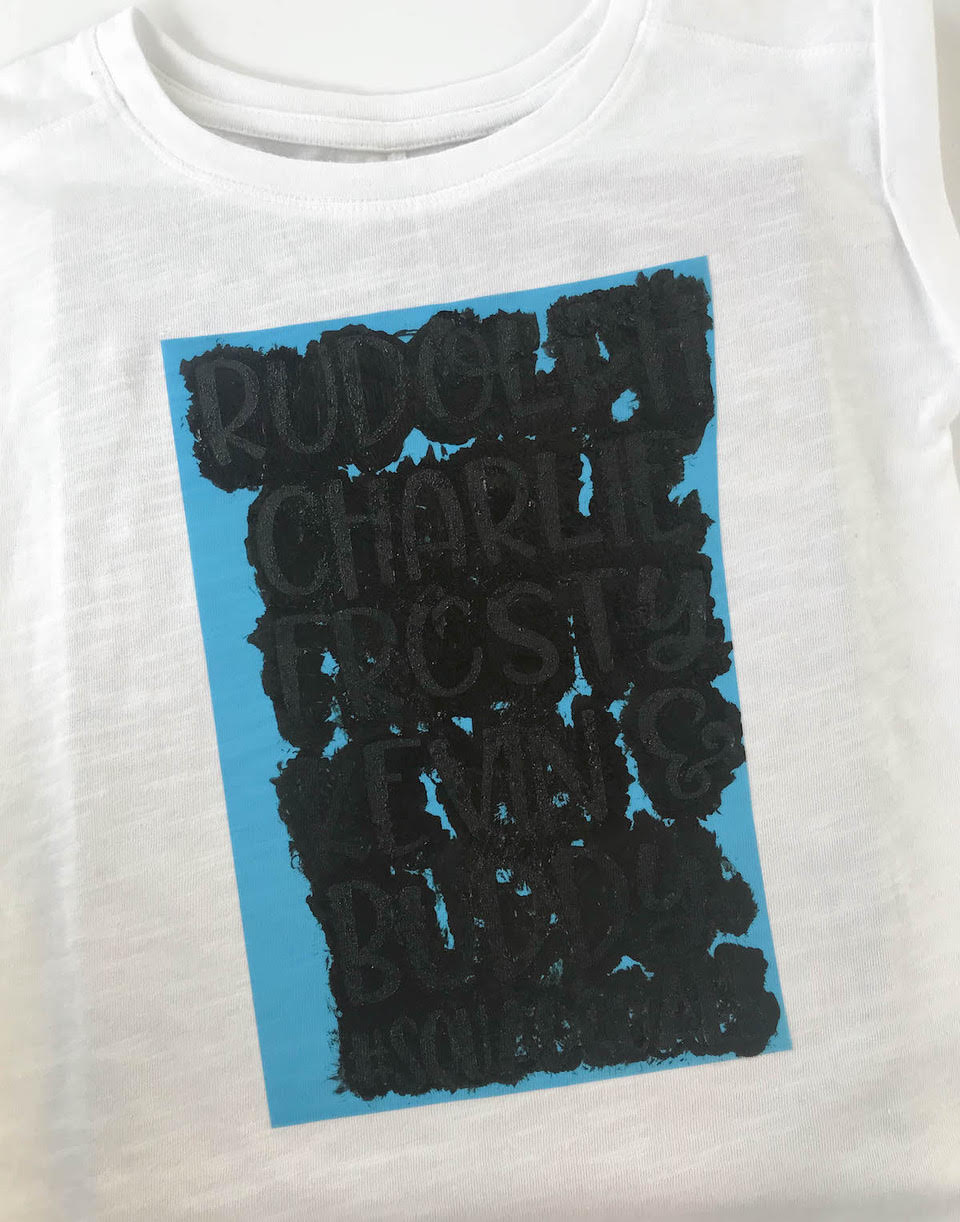
Use a small brush or foam dauber to apply the ink over the entire design.
Step Three:Remove Stencil and Weed Away Small Pieces
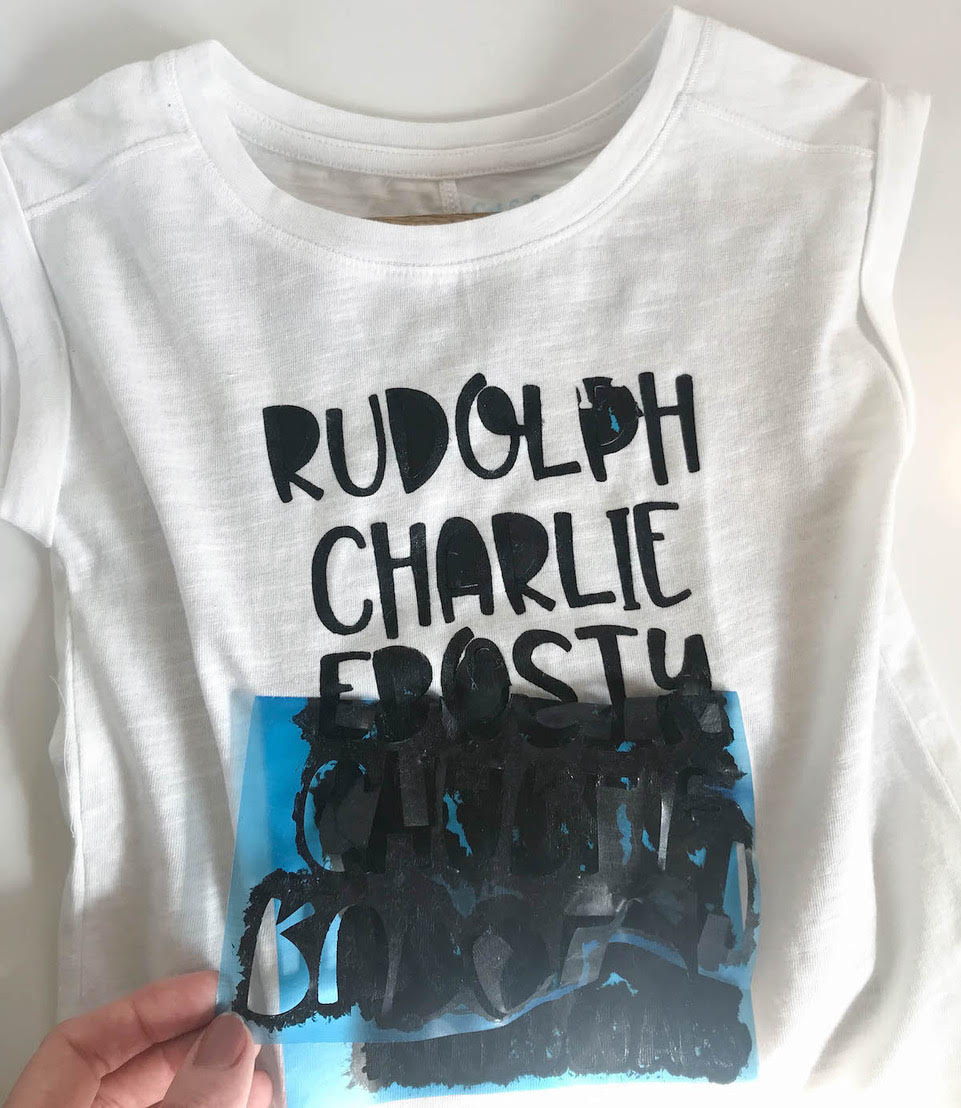
After the ink has dried, remove the stencil and weed away the small pieces of stencil vinyl. I use my Cricut tweezers and weeding tool to grab the teeny tiny ones. Set the ink by ironing over it! It's easier to do this before going to the next step.
Step Four: Cut and Layer Heat Transfer Vinyl
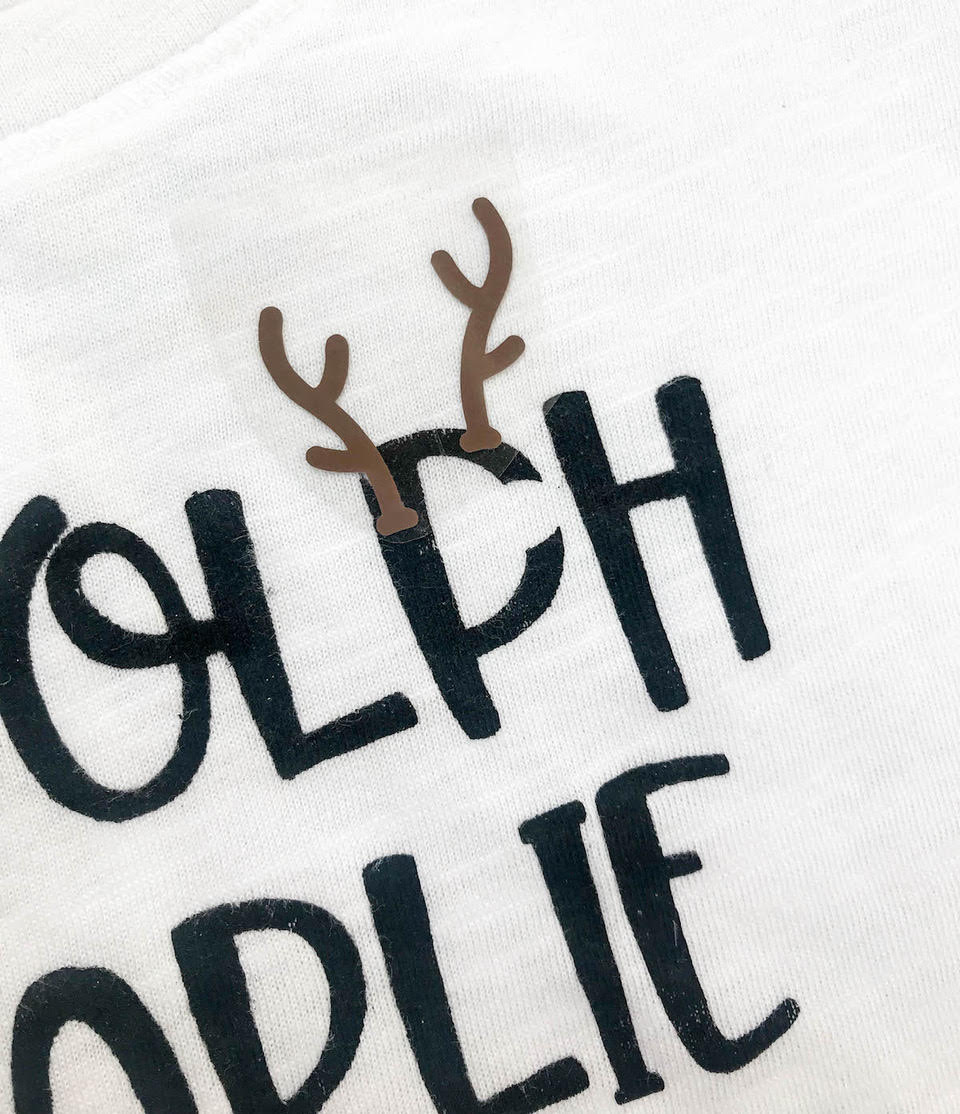
I love adding in these little details to give life to the characters! I chose to do Buddy the elf's hat, Frosty's carrot nose and Rudolph's nose and antlers.
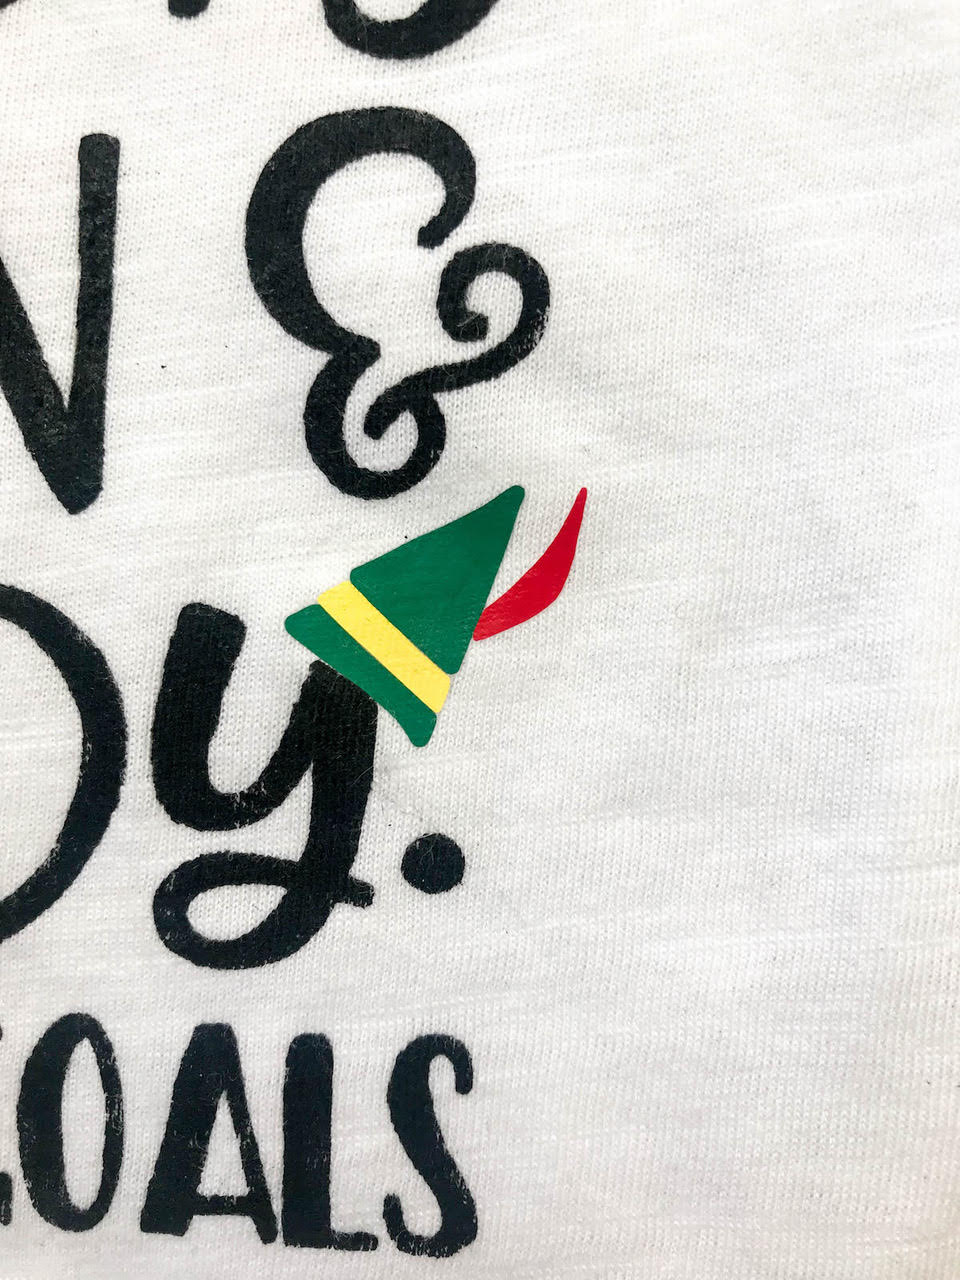
I definitely recommend using an iron for these little pieces instead of a heat press. It just makes things easier! Follow the directions here for EasyWeed application.
You could also do this whole design in HTV if you wanted! Happy Crafting!
Recent Posts
-
NEW Holographic Eclipse Heat Transfer Vinyl
April 15th, 2024 3 Ways to Use the New Holographic Eclipse Heat Transfer Vinyl from Siser …Apr 29th 2024 -
Hop into Spring with Cute Easter Vinyl Crafts
Do you love our Vinyl? Sign up for Vinyl Club today to get FREE vinyl and save big! …Mar 28th 2024 -

Fixing Wrinkles and Bubbles in Vinyl
How do you get air bubbles out of vinyl? There are a few different ways to ensure a flawless …Mar 26th 2024