
Framed Vinyl Typography
Hi everyone! It's Katie again from Addicted 2 DIY. I'm back sharing this simple and pretty framed vinyl typography.
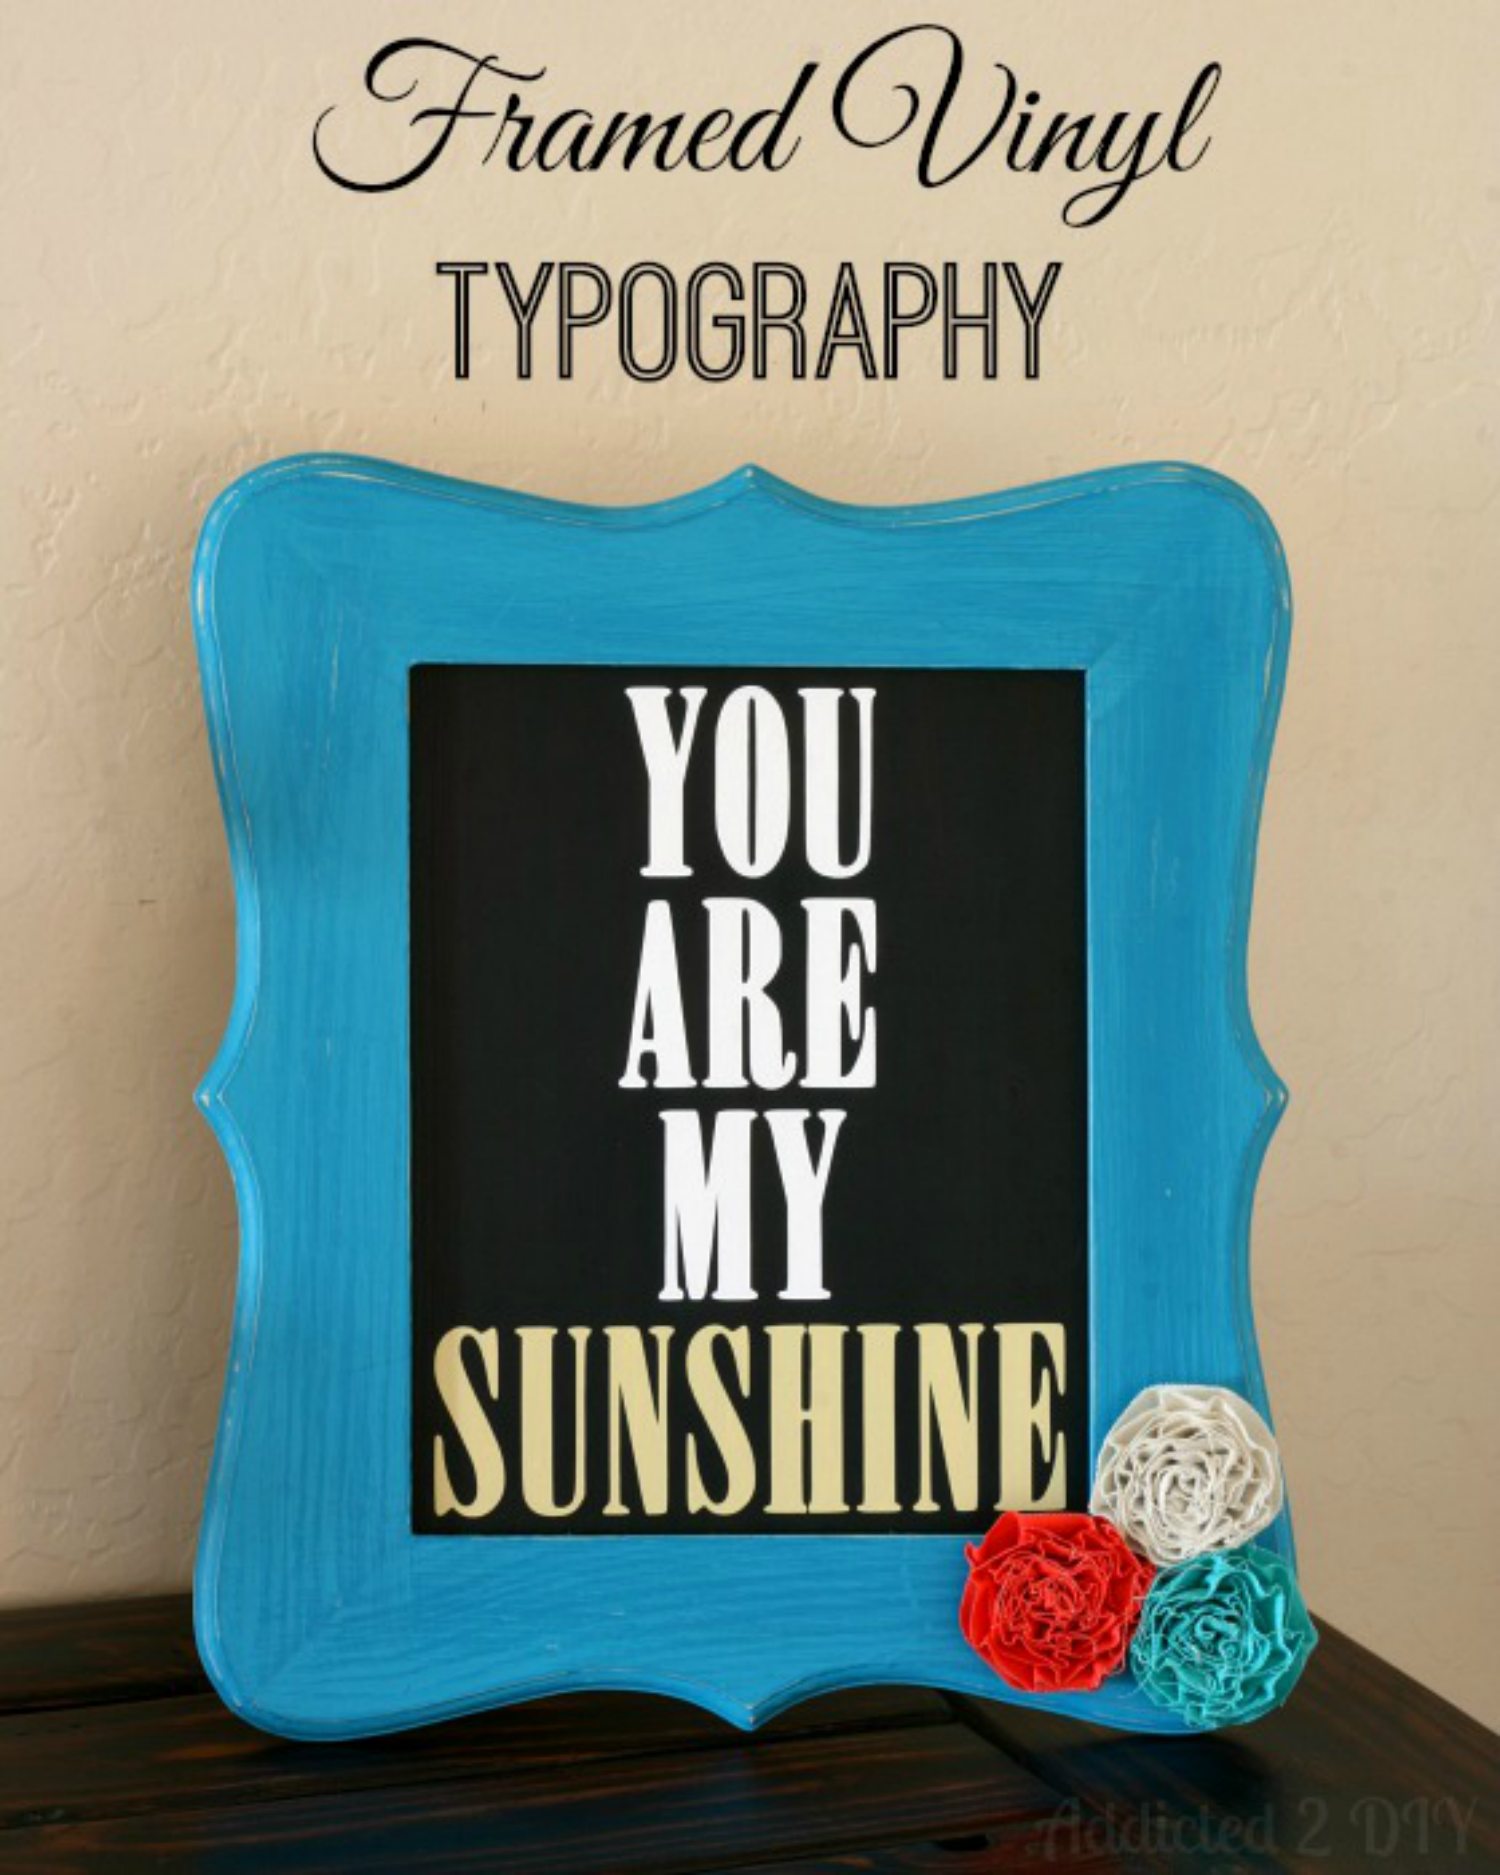
When I originally had the idea to make this project, I wanted to find a wood plaque with this curly shape to it. Unfortunately, those seem to be impossible to find. At least in the shape I was looking for. I was challenged to improvise and found this adorable frame at Michaels. It was on sale for $6.99, so not a bad price! I had originally planned to make this to include in a gallery wall in the hallway between my boys' bedrooms, but I ended up coming up with a different idea for their hallway and I liked this better on my entry table.

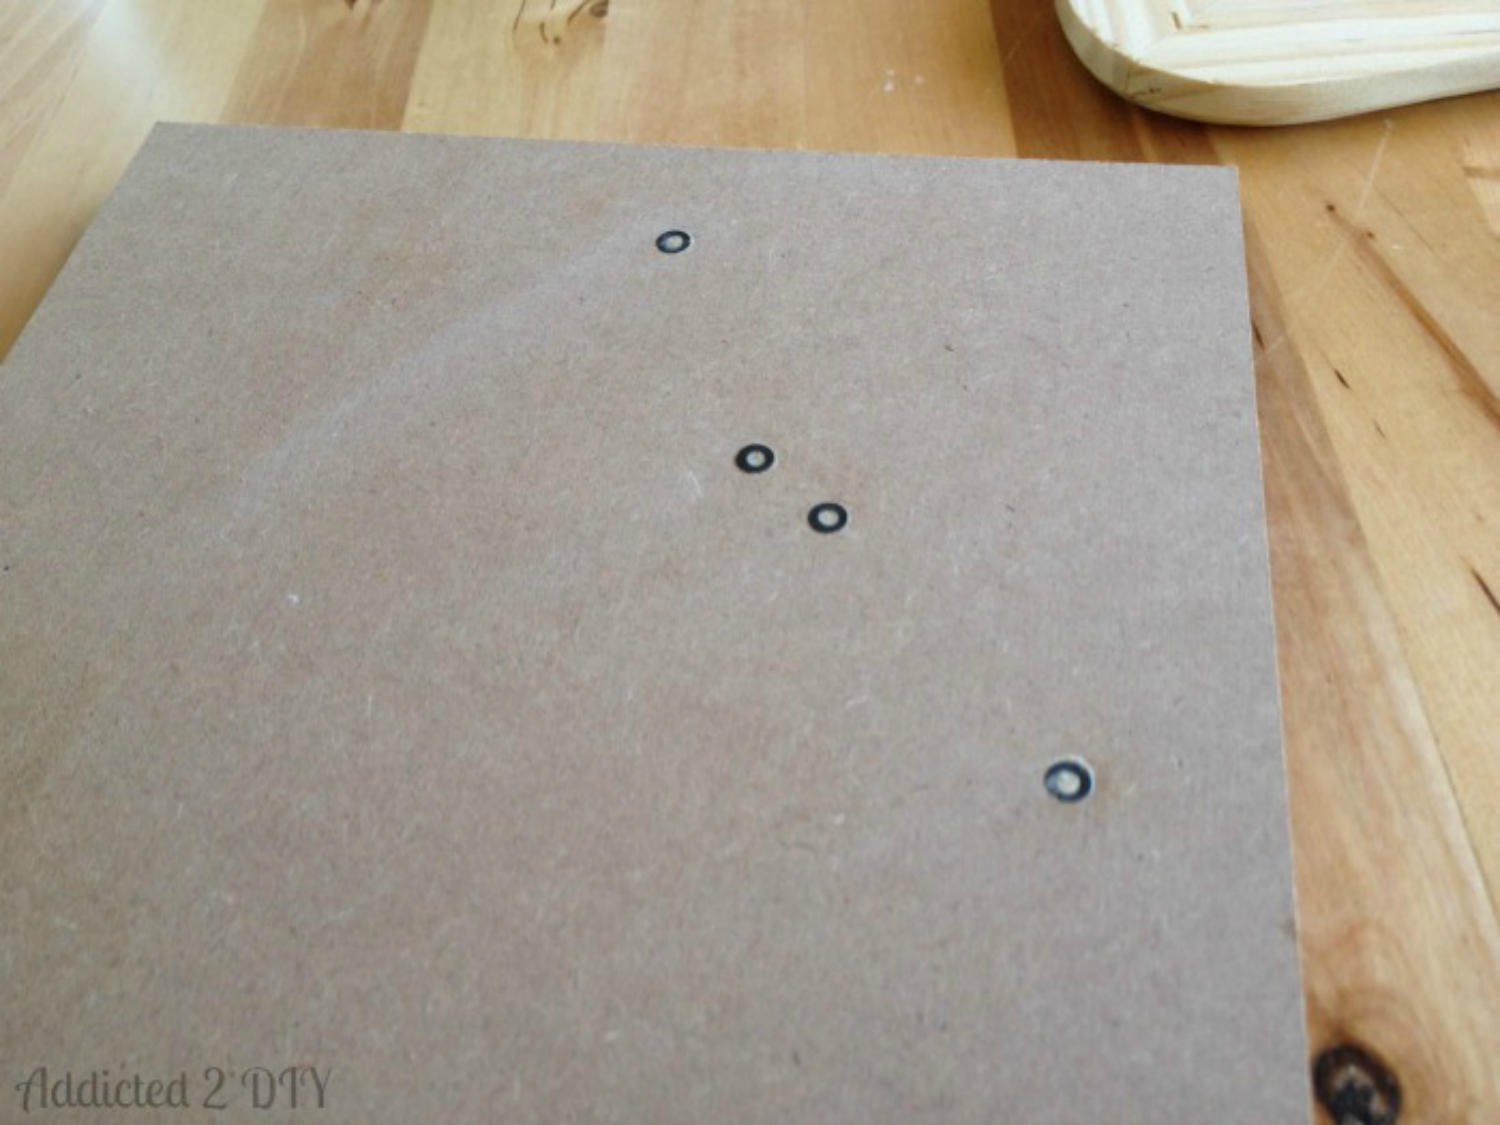
I started by taking the backing off of my frame. There were little rivets in the backing where the frame hooks and stand are attached, so I filled those in with some wood putty I had on hand.

I painted the backing with black acrylic paint. I used Americana Multi-Surface Paint in Black Tie.

I then painted a coat of Americana Decor Chalky Finish Paint in Yesteryear.

I followed that up with a coat of Americana Decor Chalky Finish Paint in Treasure. Once the paint dried, I took some 220 grit sandpaper and distressed the edges a bit. All of these paints can be found at Michael's. At this point, you can either leave it as is, or you can use Americana Creme Wax or Varnish. I chose to use the Americana Soft-Touch Varnish. It leaves a soft, velvety feel to the finished wood.

You can choose to leave the frame as is, or you can make these pretty rosettes like I did for mine. To see how I made these, just hop on over to my blog for this simple rosette tutorial.
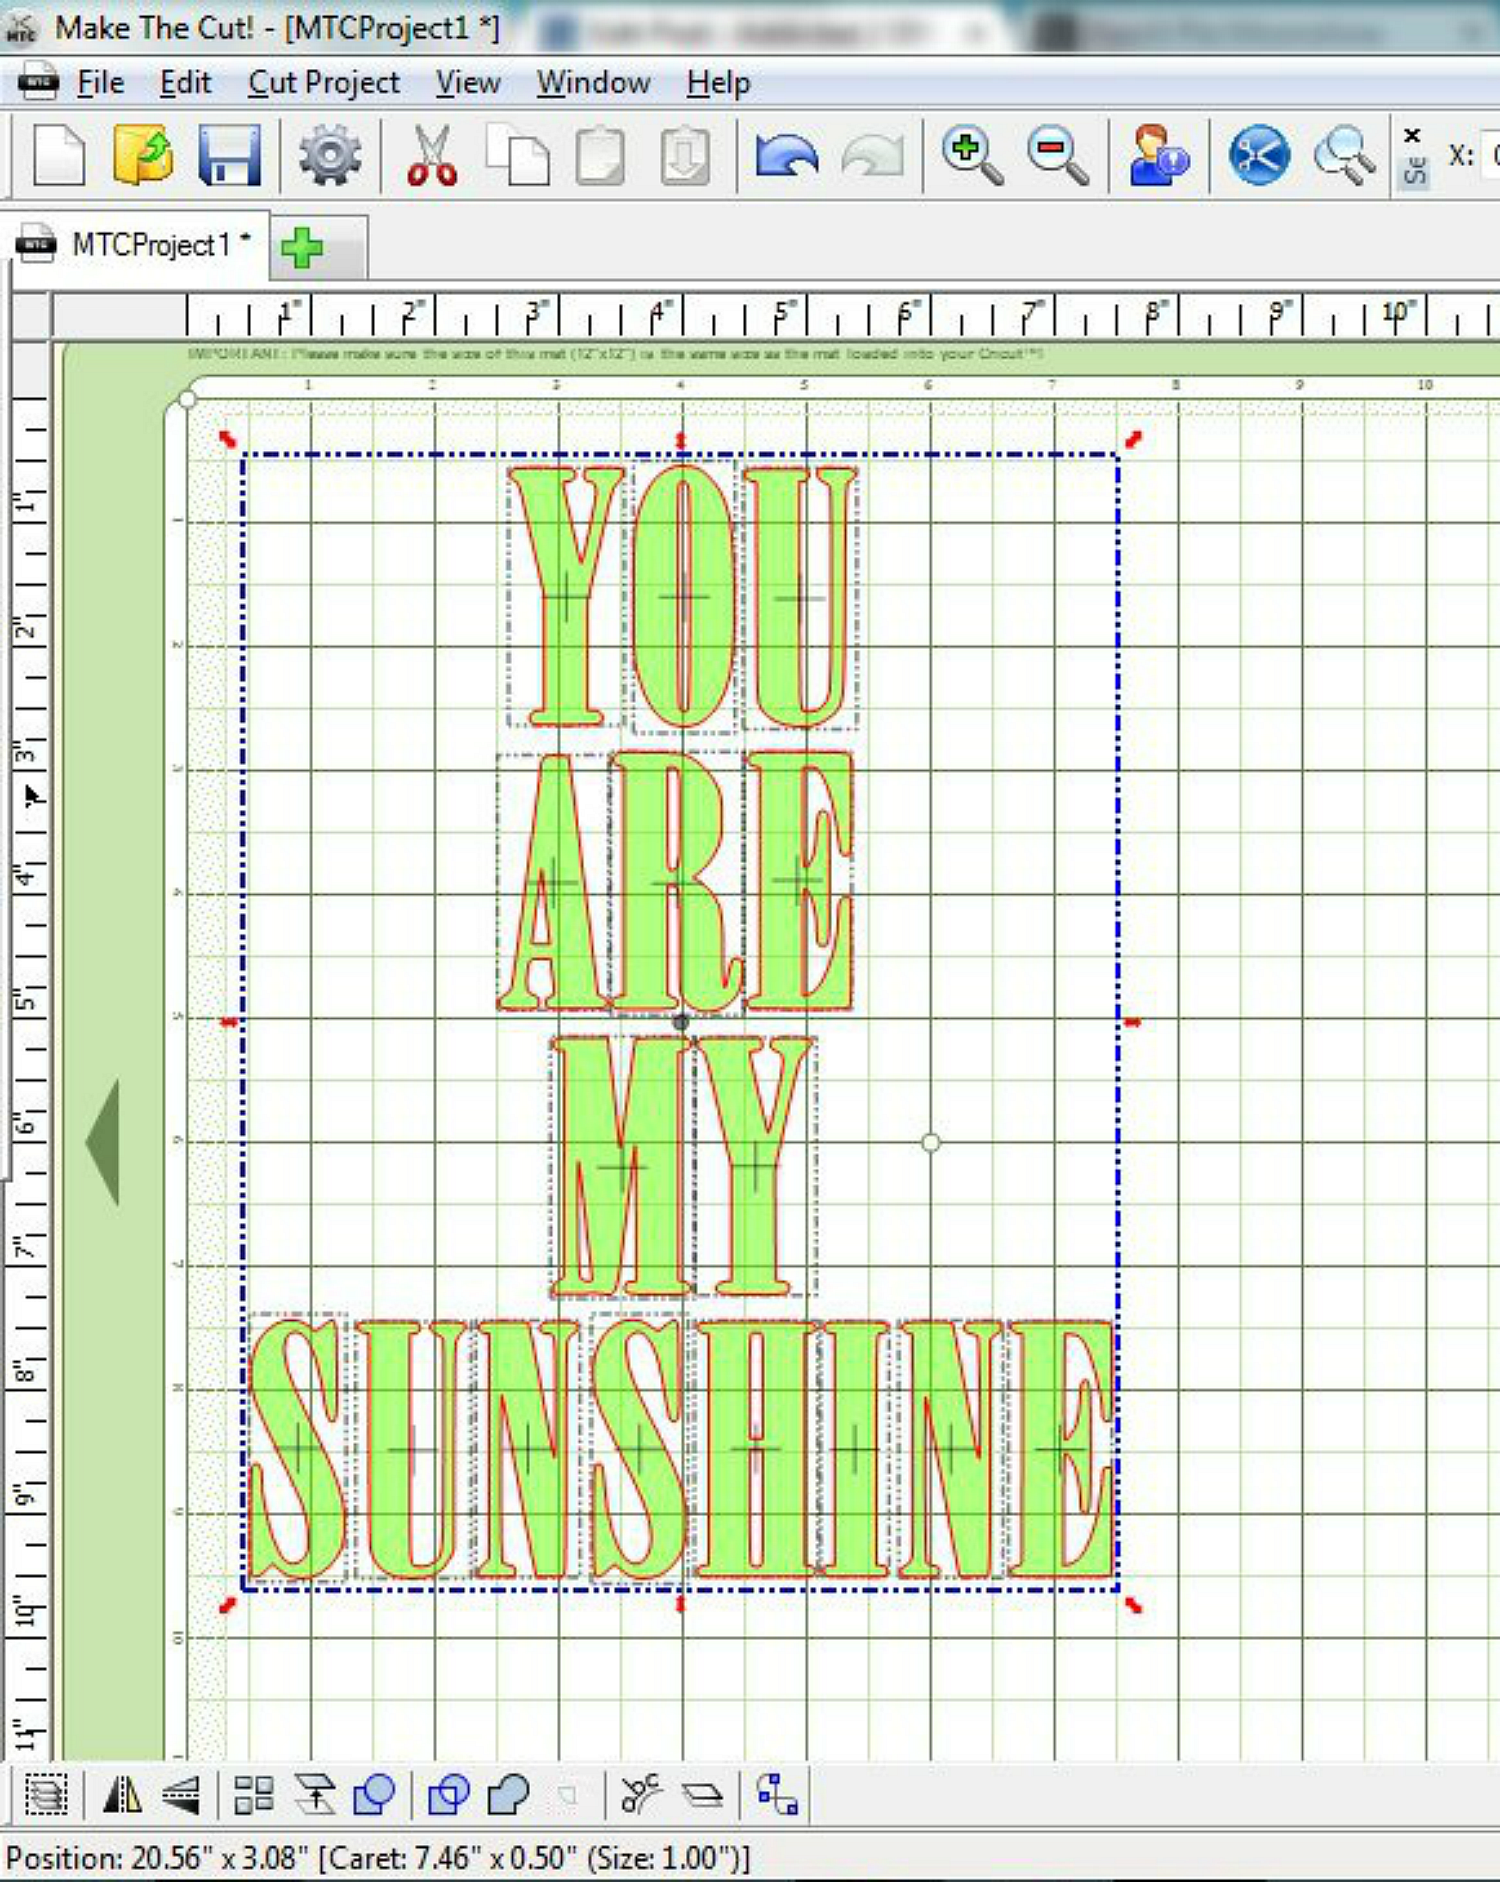
I create an SVG file for this project and uploaded it to my Make the Cut program. I sized it to fit into the 8x10 frame, which would put the image size at 7x9". I've included the free SVG file at the end of this post for you:) I used vinyl in white and maize for this project. The maize color stands out more in real life than it does in the pictures, but if you are looking for more of a contrasting color, the light yellow vinyl would be a good choice as well.

Because I chose such a bold font, some of the letters needed to be trimmed up a bit. I grabbed my craft knife and just made tiny little cuts to the "M" and the "H".
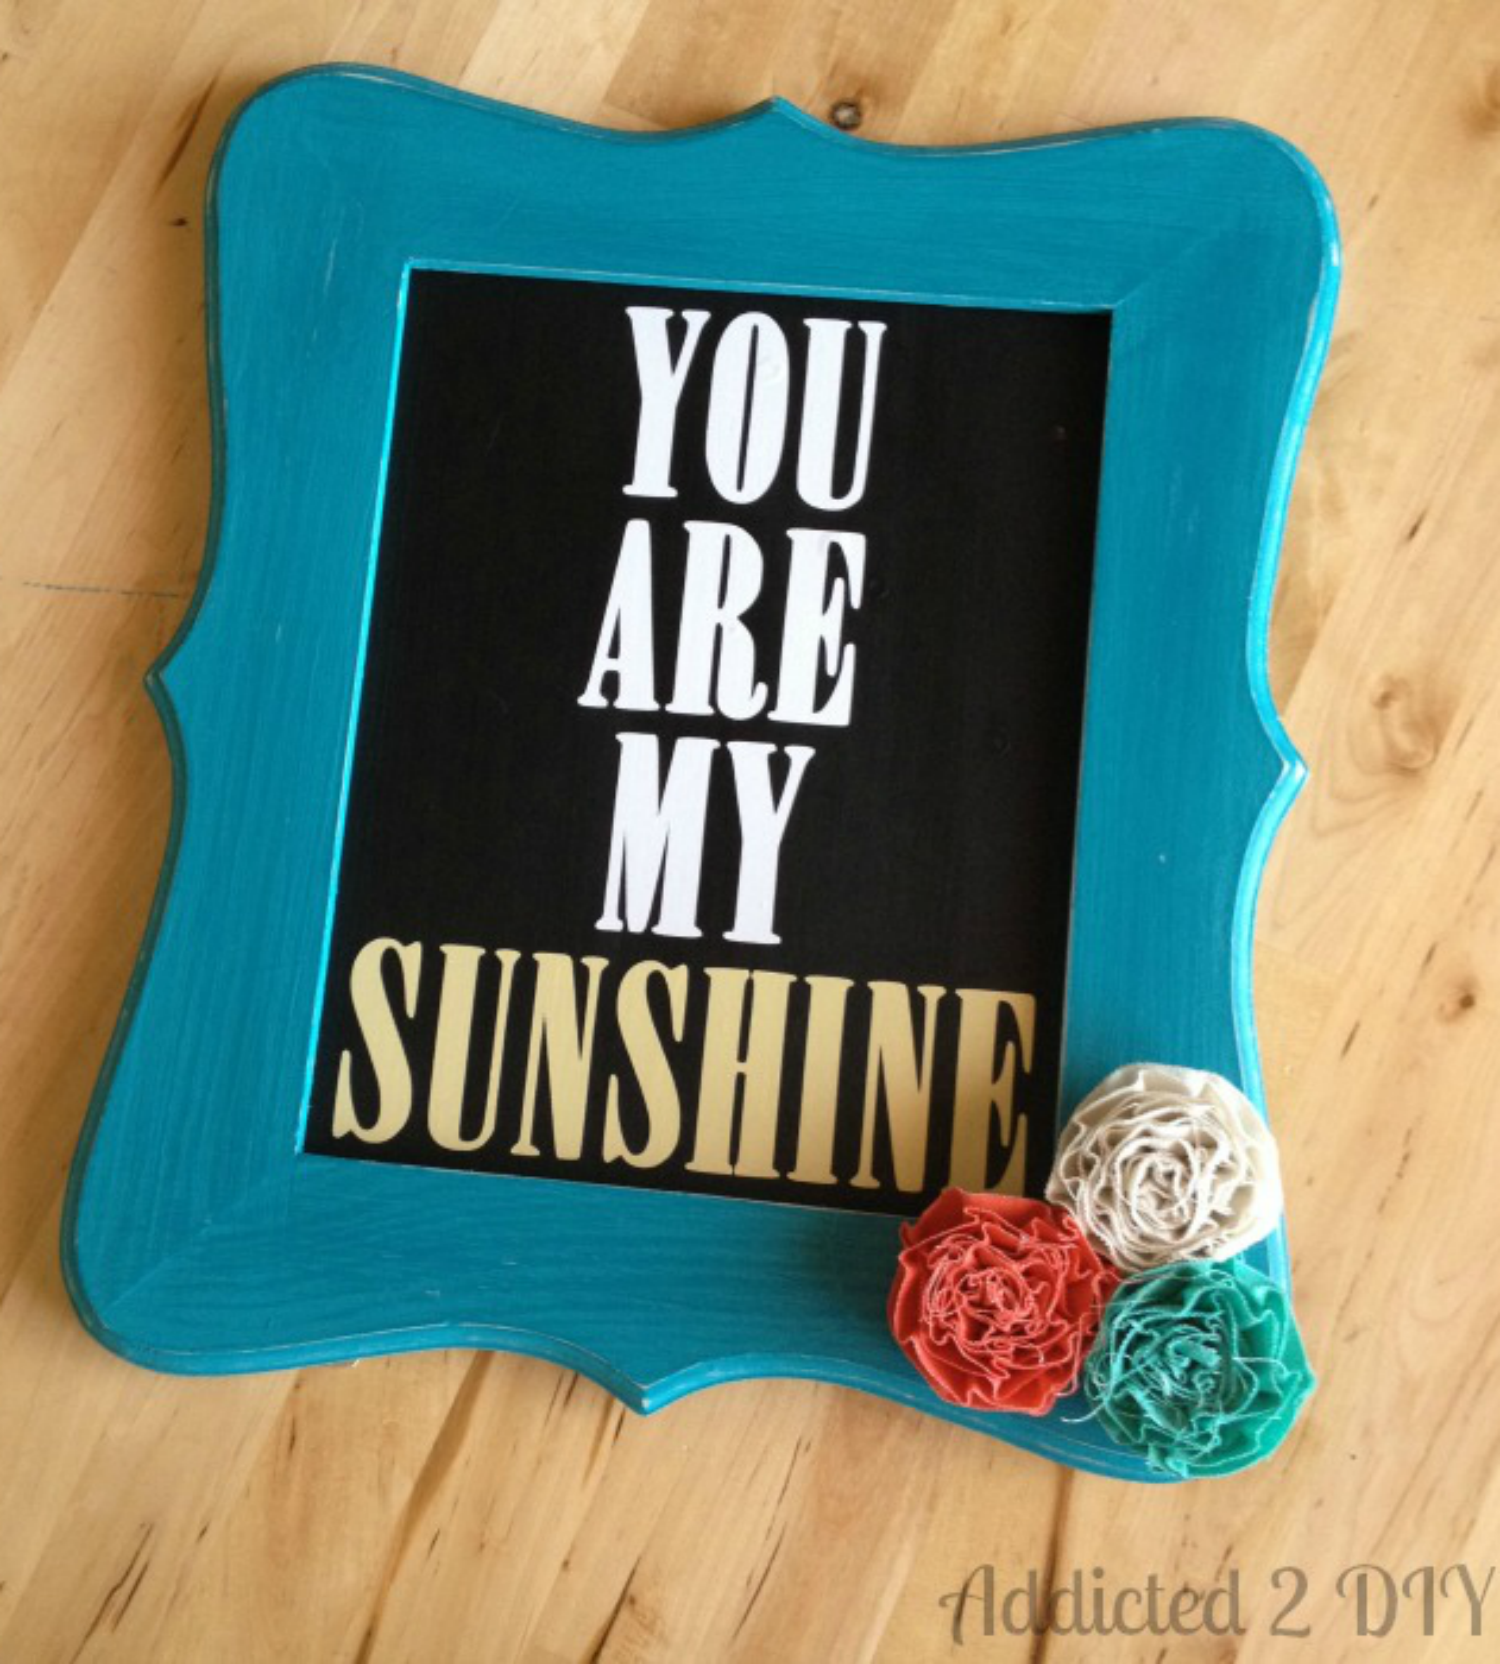
And that is it! This project was super simple, yet I love how pretty it came out. I live in a house full of boys, so I love it when I get to make something that has a little bit of a feminine flair, yet isn't too girly that I'd get weird looks from my husband or boys:)
As promised, here is the SVG file for you to download to create your own project!
You Are My Sunshine - SVG File
~Katie
Recent Posts
-
NEW Holographic Eclipse Heat Transfer Vinyl
April 15th, 2024 3 Ways to Use the New Holographic Eclipse Heat Transfer Vinyl from Siser …Apr 29th 2024 -
Hop into Spring with Cute Easter Vinyl Crafts
Do you love our Vinyl? Sign up for Vinyl Club today to get FREE vinyl and save big! …Mar 28th 2024 -

Fixing Wrinkles and Bubbles in Vinyl
How do you get air bubbles out of vinyl? There are a few different ways to ensure a flawless …Mar 26th 2024