
Library Quotes
There is always a story behind every DIY project. For this one, it is my addiction for books and a wonderful husband who decided my 600+ books needed a home library. So he built me bookcases in this almost century old home which led to a cozy reading room.
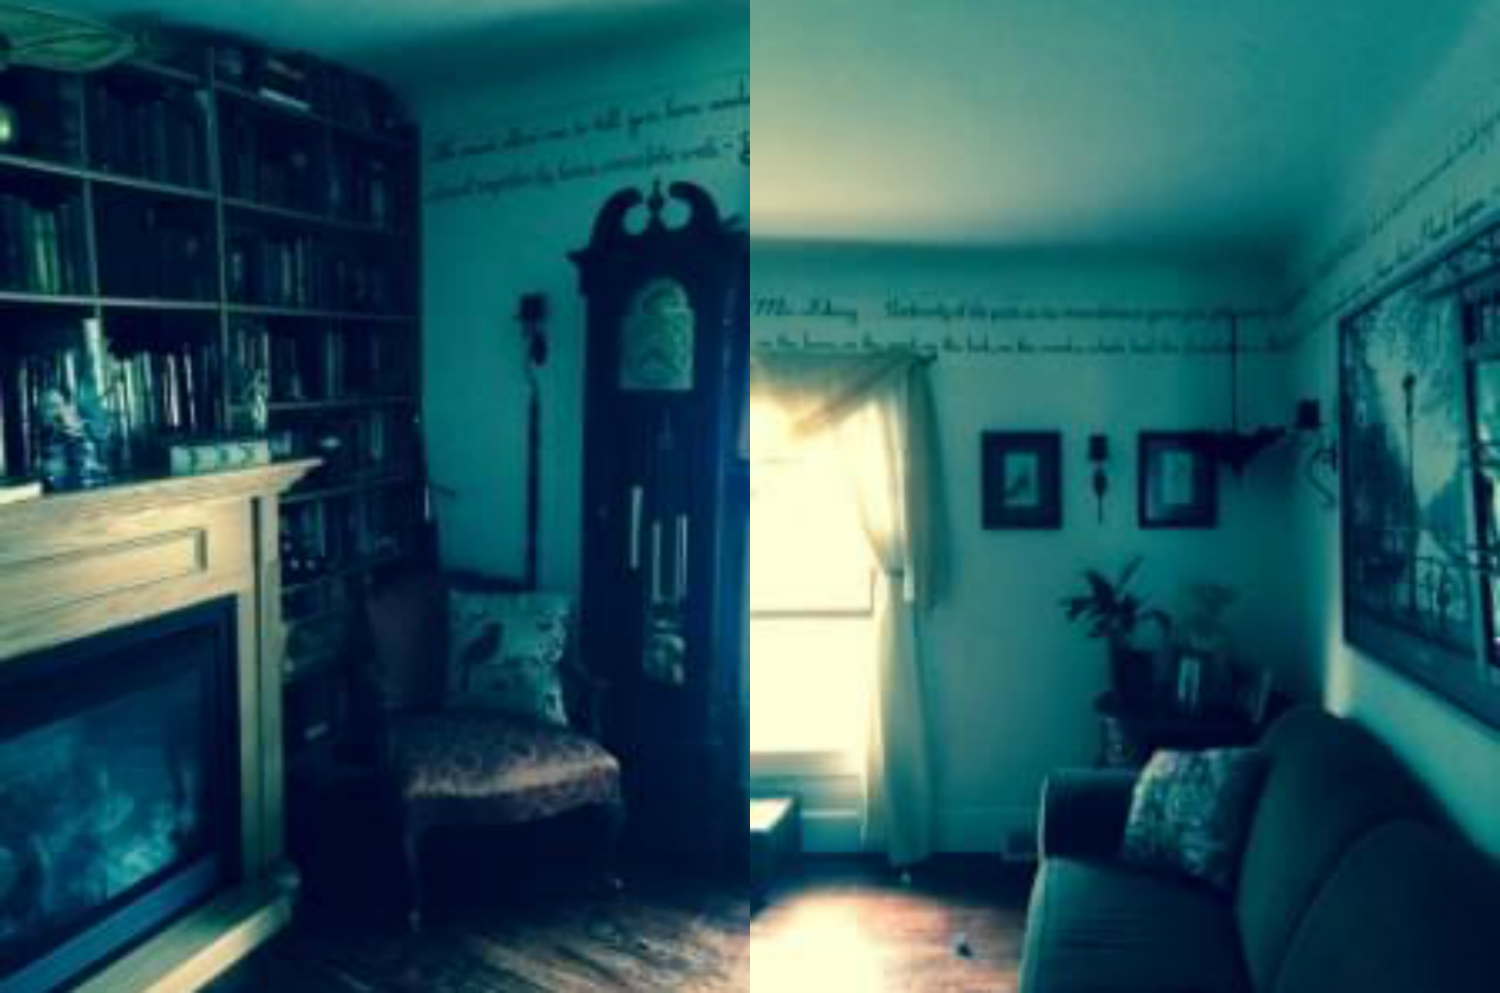
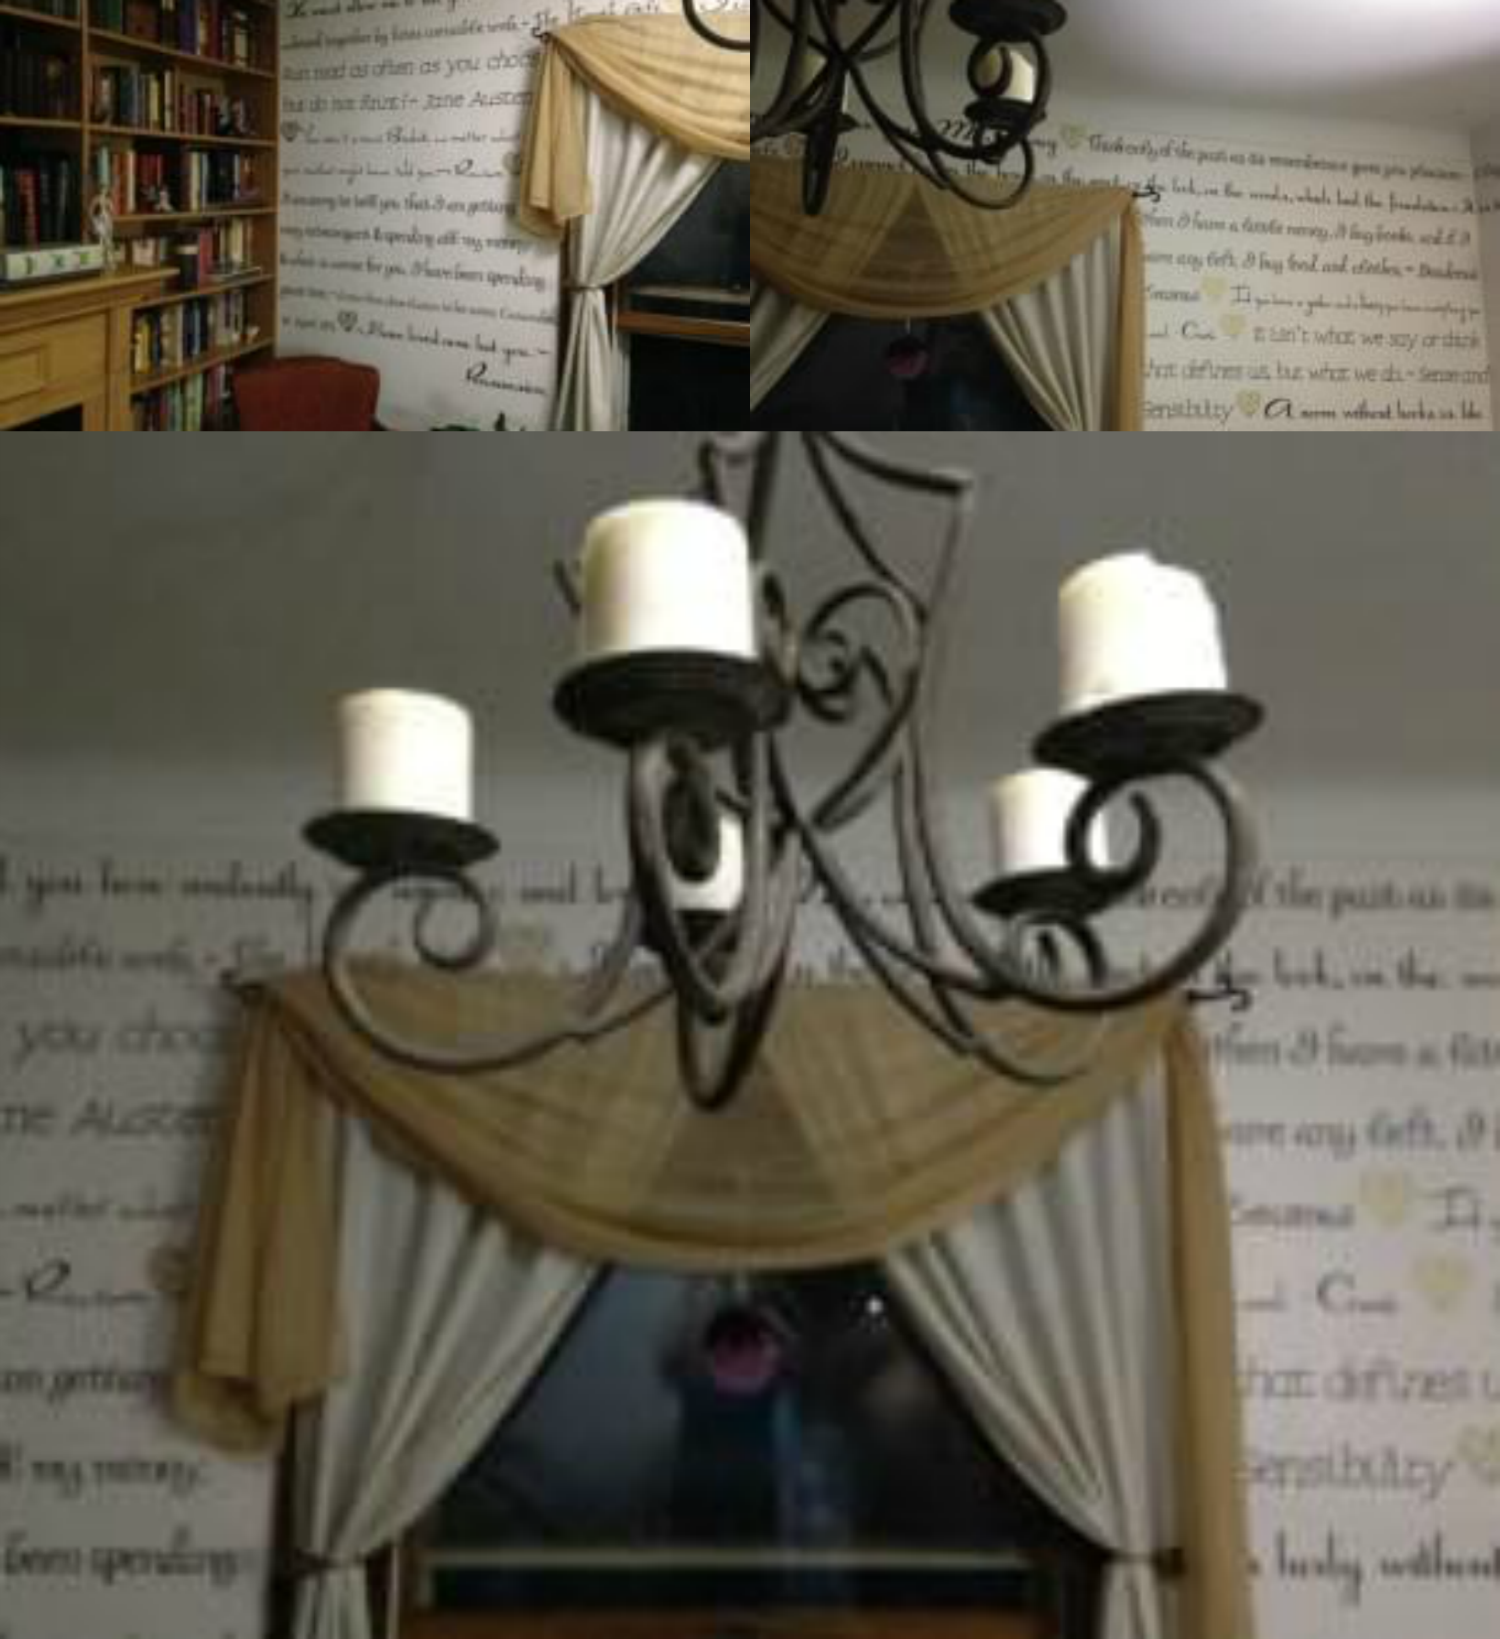
I just wanted to do something with the walls. They just didn’t speak to me. They needed something…
More book shelves? I could handle buying more books. What about painting them something other than white? Besides my office, it was the only room with white walls we had in the house. Being undecided with the walls, I sat on the project until I could make up my mind.
It was inevitable the day my kids bought me a Cricut Mini that my DIY path would lead me to this project. The perfect solution to my boring walls was finally solved! I decided to create my favorite quotes from vinyl and make a wallpaper of sorts for a truly unique room.
This is where you get to let your creativity run wild!
A great way to search quotes is on Goodreads.com https://www.goodreads.com/quotes You can search by author or topics. For me, a Jane Austen and Julie Garwood fan, I did not have to rummage through hundreds of pages to make sure the wording was correct. Believe me, for the first few quotes were found easily from my favorites, but as I wanted to ensure they were all included, it took about 3-4 hours as I had to re-read sections of books to find them. With Goodreads.com, I was able to get it down to about 1.5 hours a quote from searching to being on the wall.
I believe this project would also be perfect for a kitchen using family recipes. Have fun with the colors! Let you personality shine through.
Materials Needed:
Level
Pencil
Indoor Black Oracal 631 from Expressions Vinyl
12 x 24 inches Indoor Metallic Gold 631
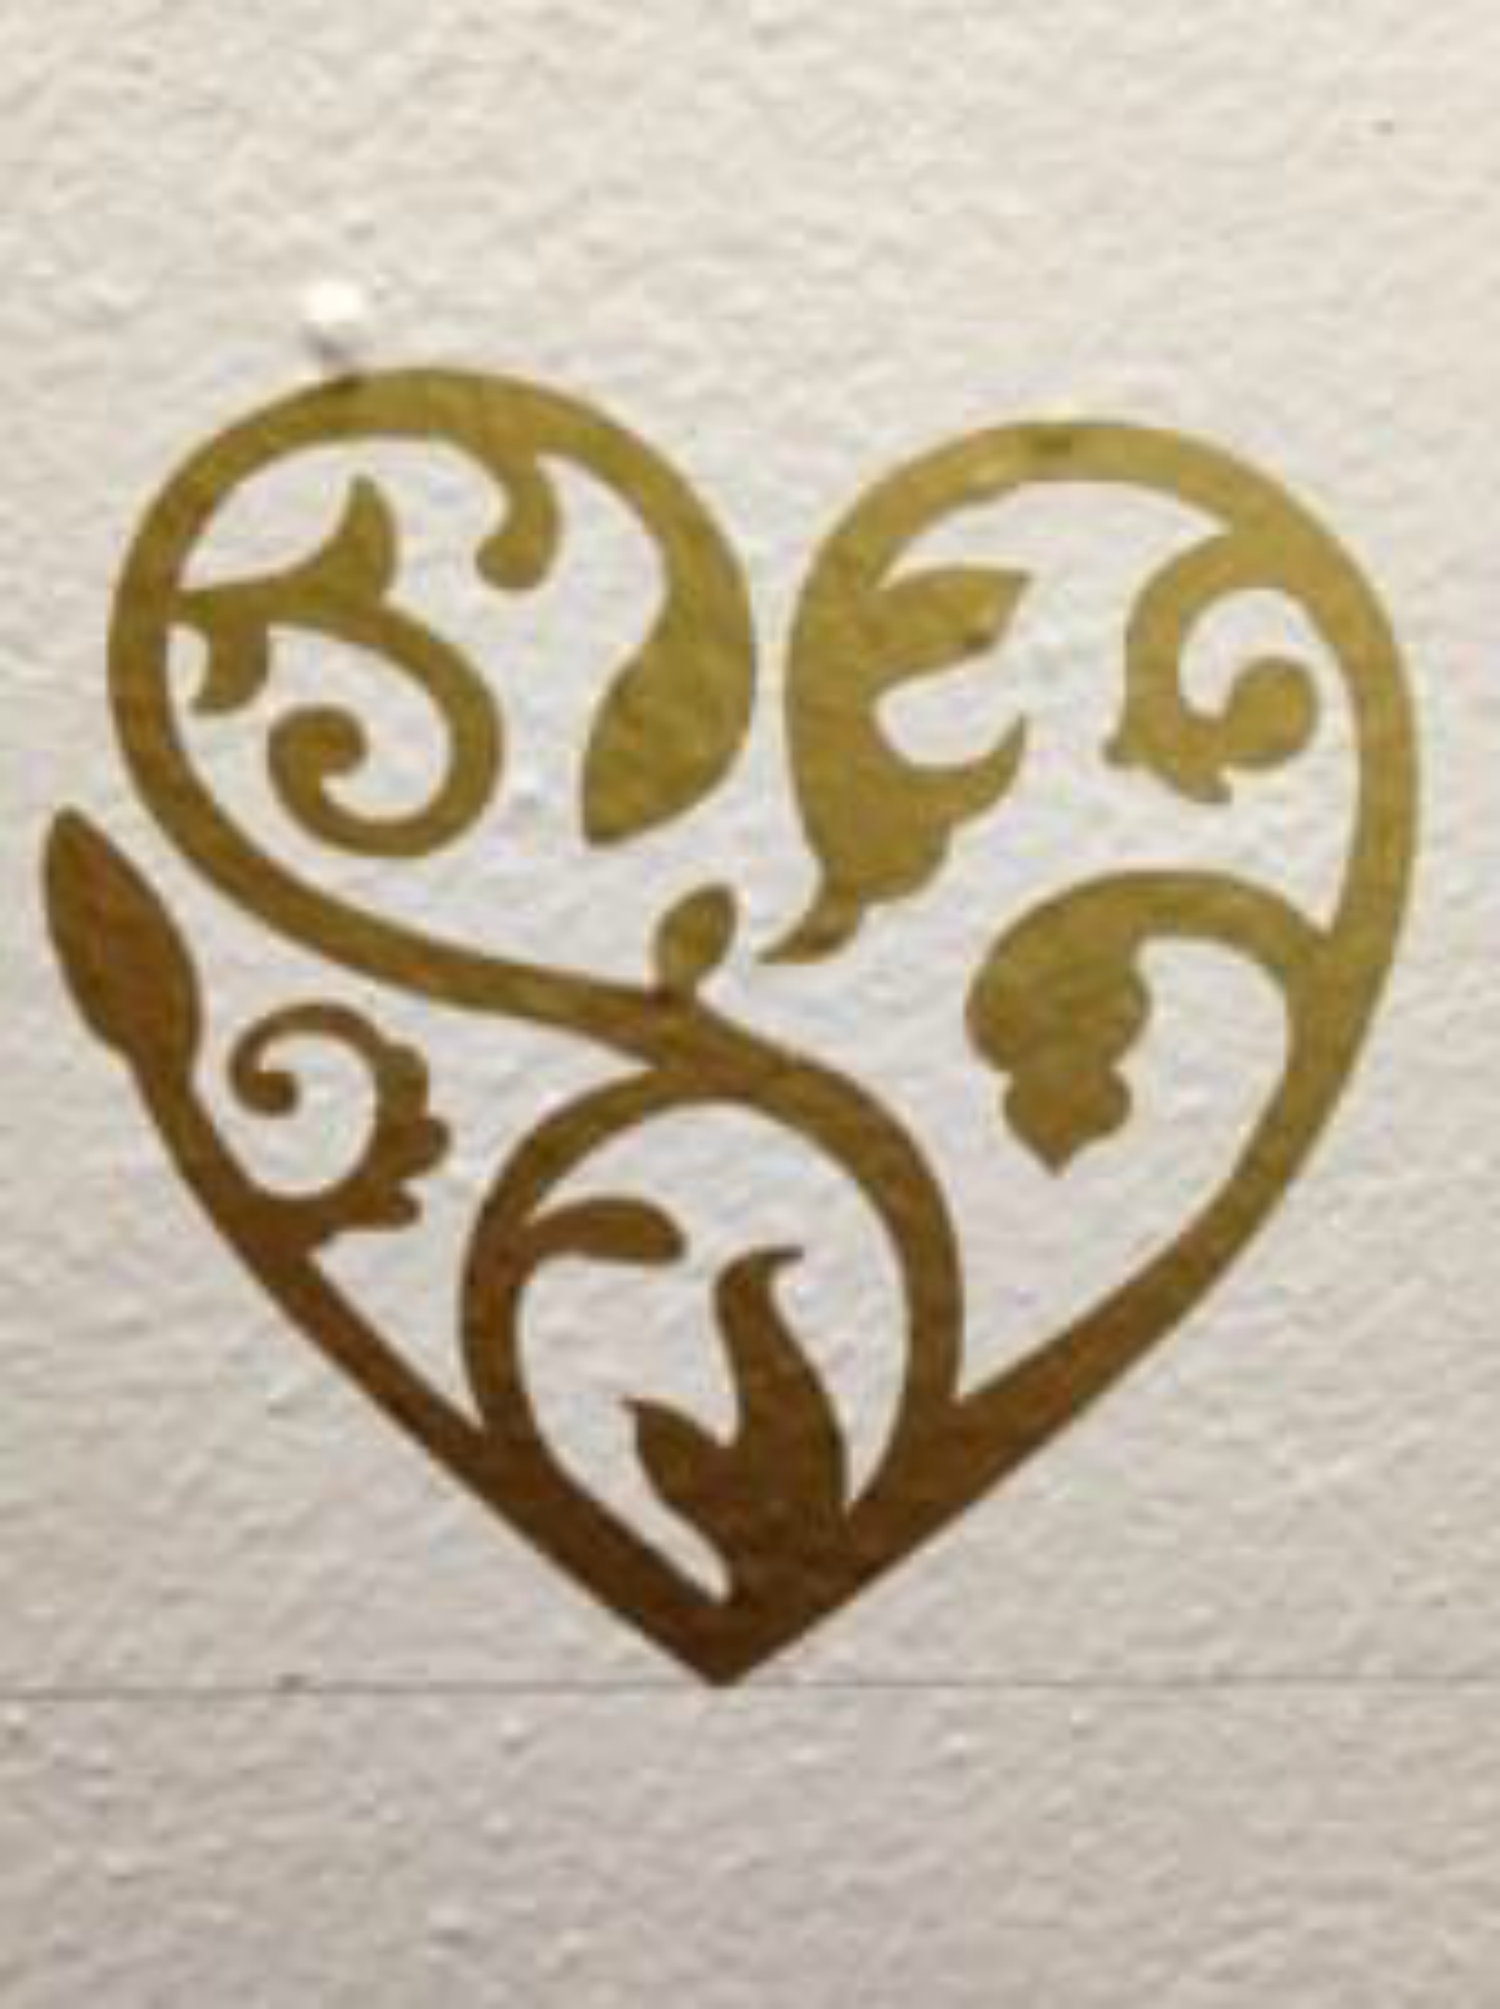
I used with the Cricut Damask cartridge as dividers between quotes.
Vinyl applicator
Transfer Paper
Cricut tools
Step stool
First Step: Is your planning stage. Pick your color(s), quotes, fonts, dividers, and line spacing. Order your supplies.
Second Step: Measure you lines from the ceiling down then using the level and pencil, make sure the line is straight as you draw the guide lines for applying your quotes.
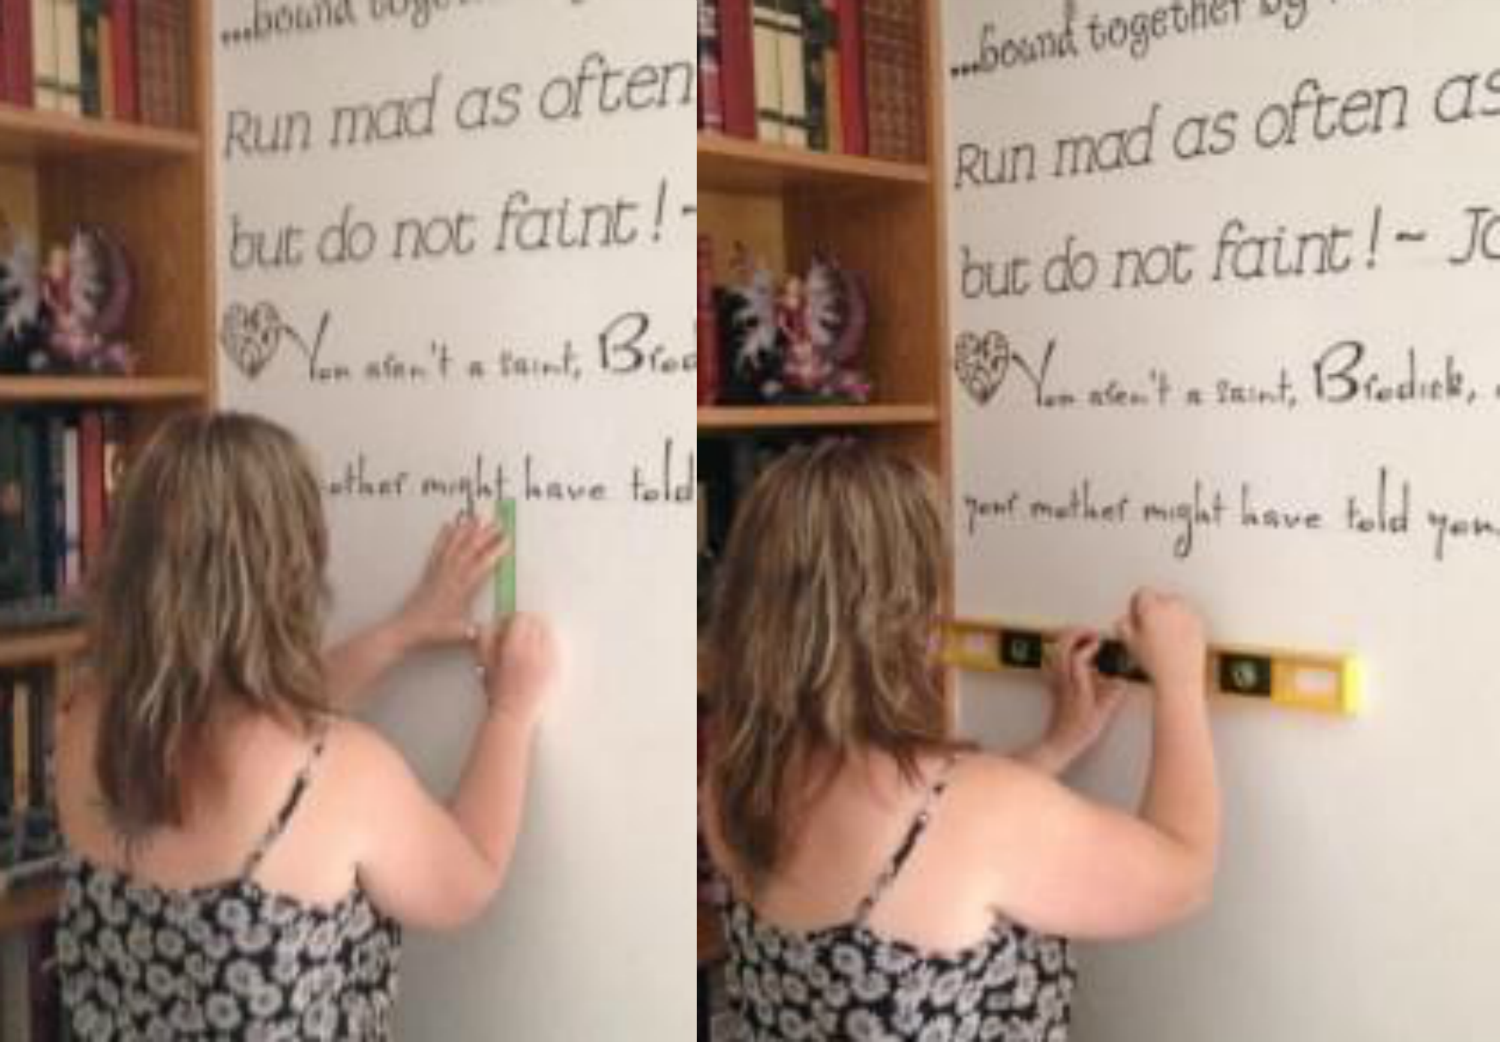
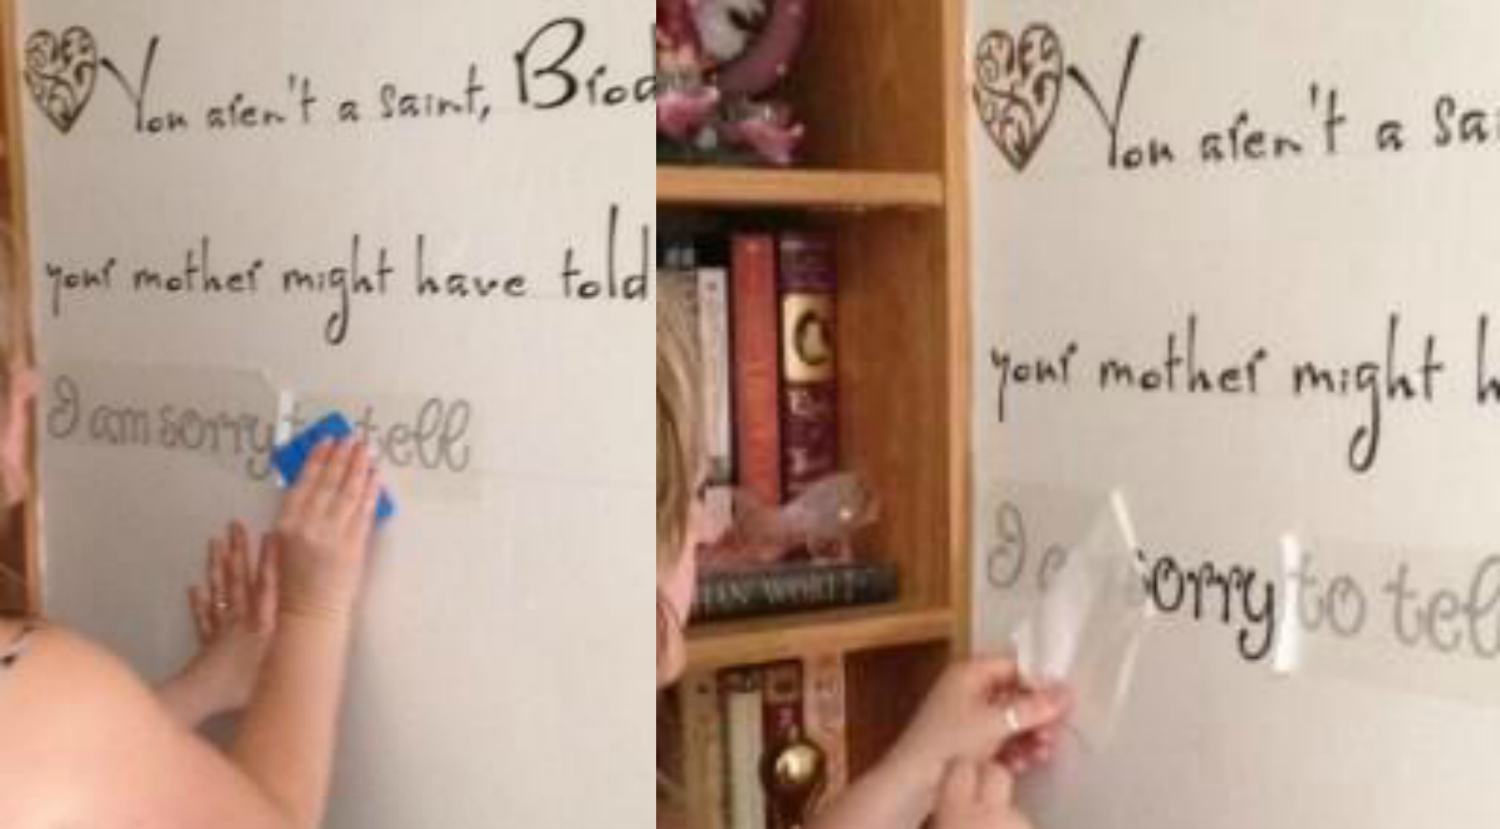
Third Step: Create your quotes using your Cricut machine. Using the Transfer Tape apply it to the walls. I found doing one quote at a time worked the best.
Fourth Step: Cut a quote divider out of another color (for me, this was the gold) and apply it between quotes). Even though I did different fonts to denote a change from one quote to another, I felt the gold pulled the accent color of the gold swag and back of the bookcases together nicely.
Fifth Step: Enjoy your handiwork and creativity!
Recent Posts
-
NEW Holographic Eclipse Heat Transfer Vinyl
April 15th, 2024 3 Ways to Use the New Holographic Eclipse Heat Transfer Vinyl from Siser …Apr 29th 2024 -
Hop into Spring with Cute Easter Vinyl Crafts
Do you love our Vinyl? Sign up for Vinyl Club today to get FREE vinyl and save big! …Mar 28th 2024 -

Fixing Wrinkles and Bubbles in Vinyl
How do you get air bubbles out of vinyl? There are a few different ways to ensure a flawless …Mar 26th 2024