
Memorial Banner with Expressions Vinyl
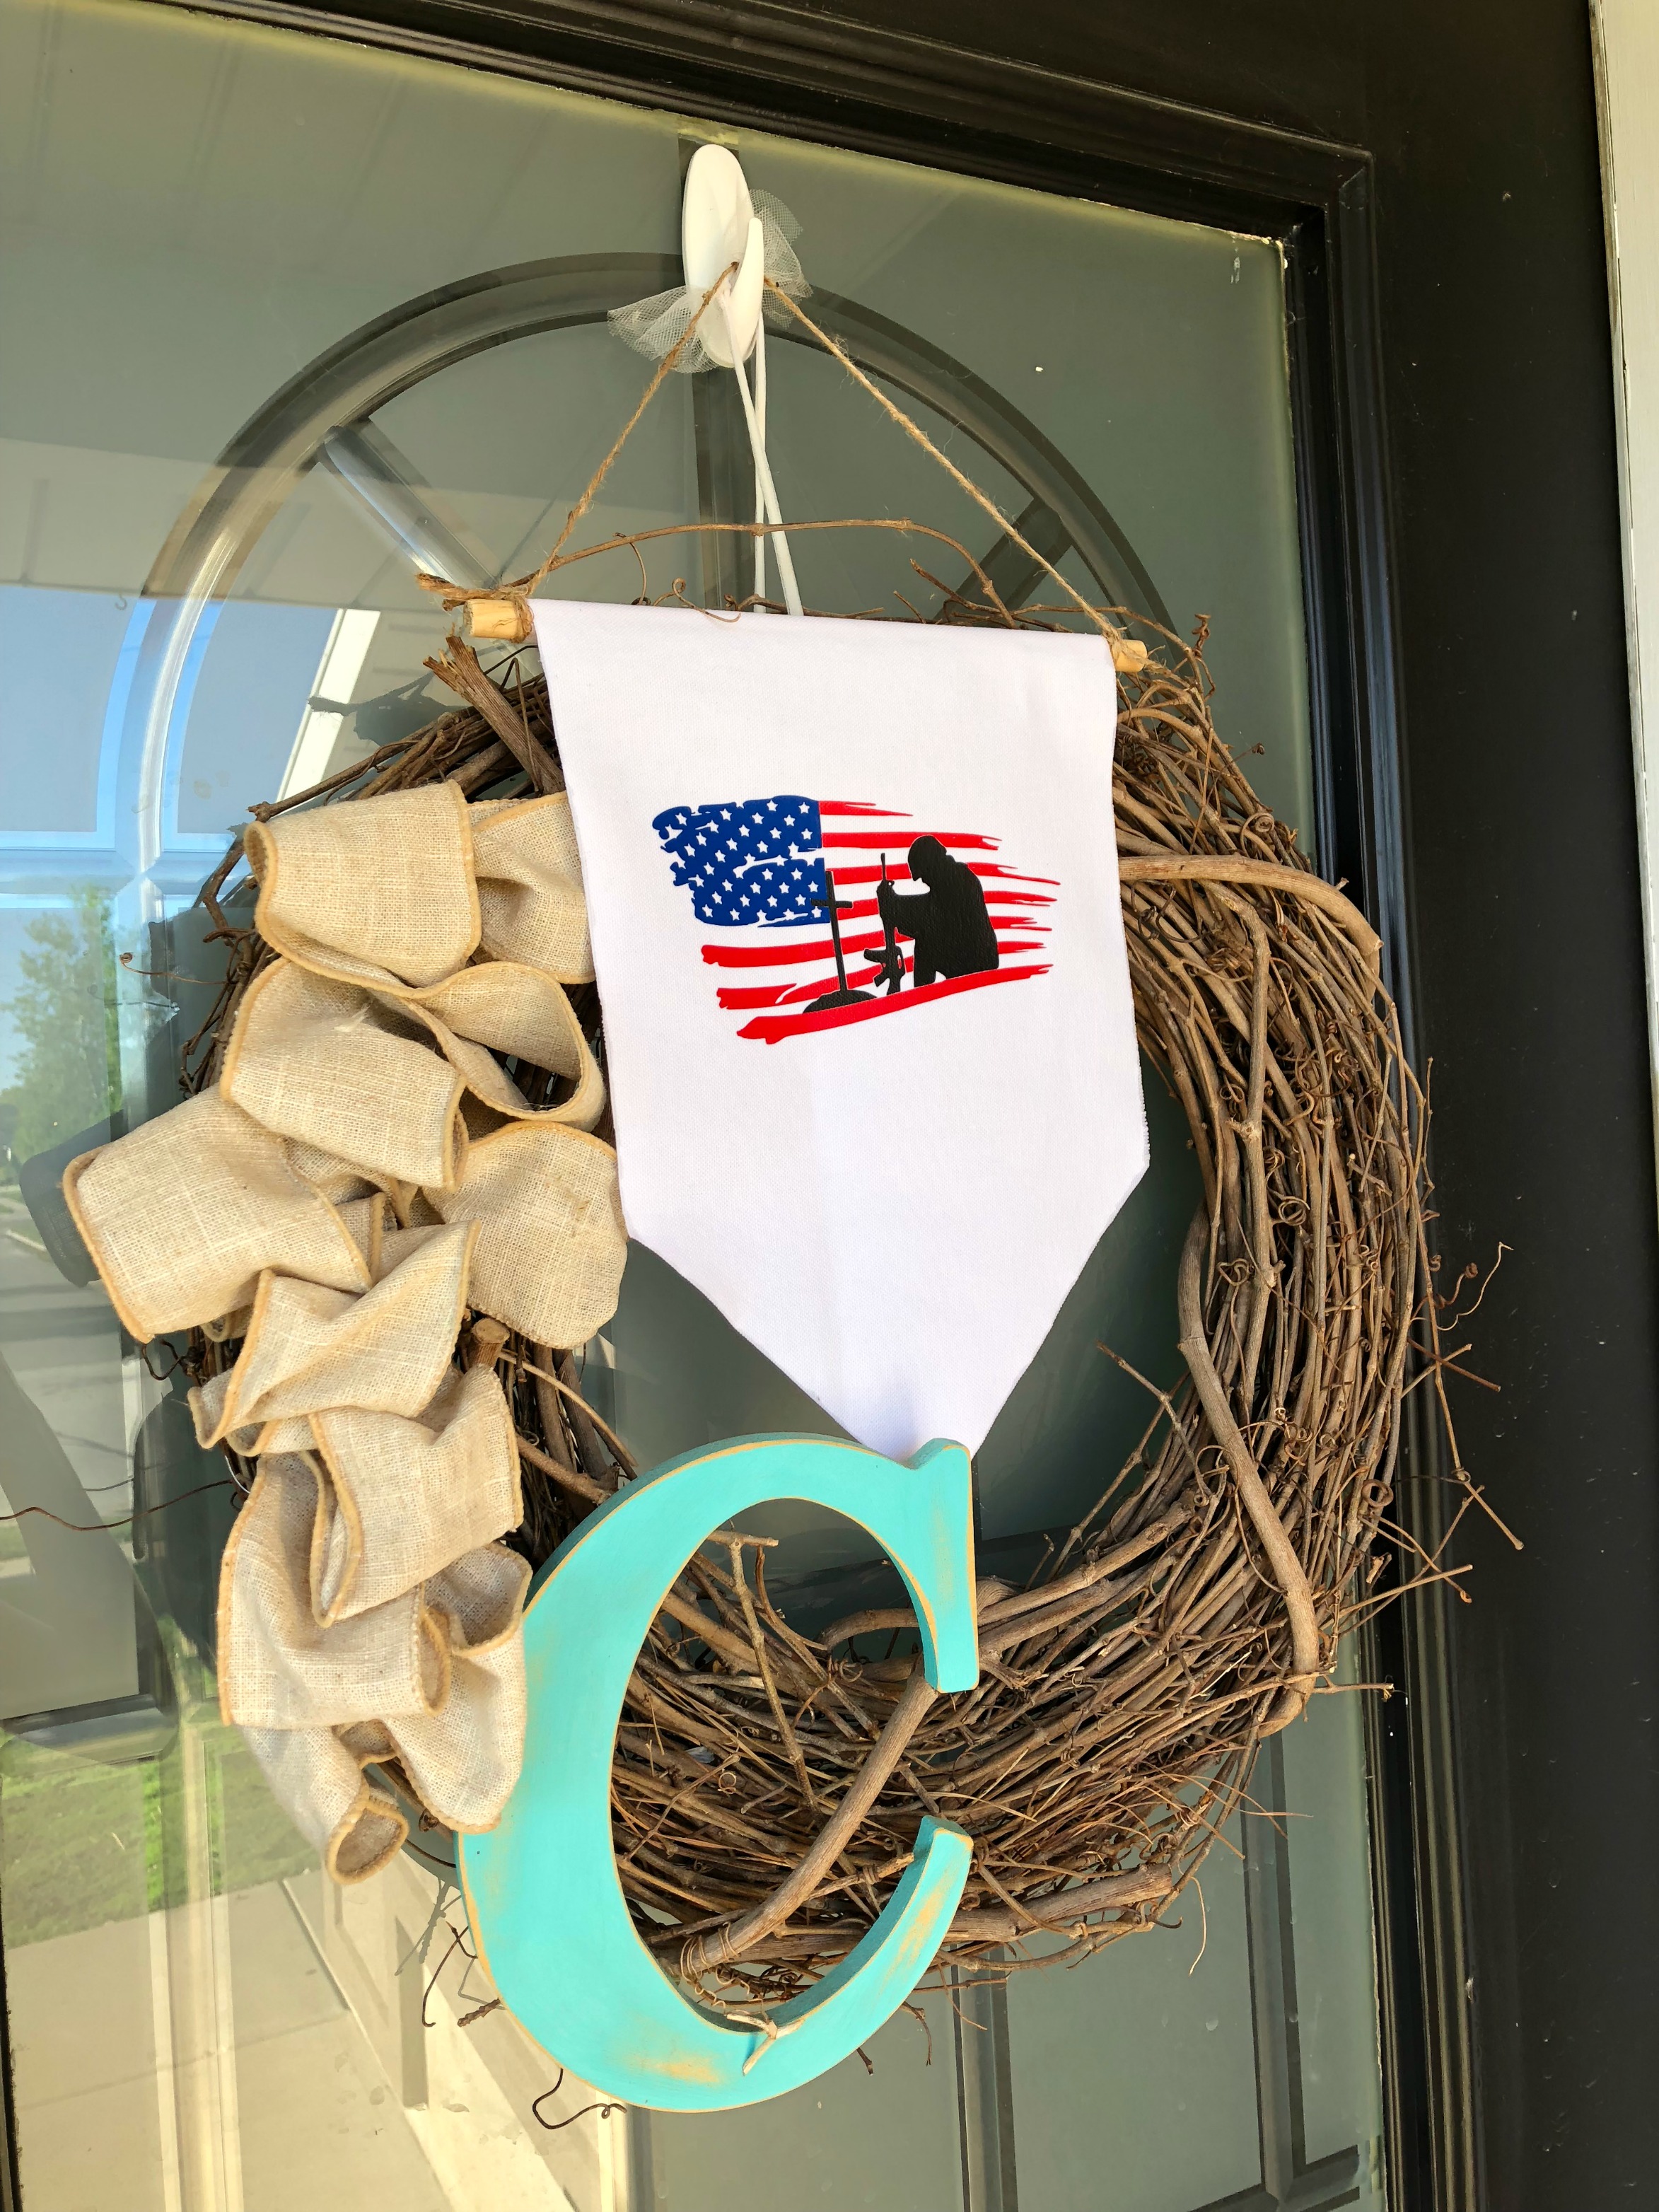
Hey there friends! It's beautiful weather here in Utah and summer will be here in the blink of an eye! I love backyard BBQ's and playing with squirt guns with my kids, and Memorial Day seems to be the day that kickstarts all the fun summer activities! However, I'll be the first to admit that some holidays I get caught up in the celebration and forget the true meaning behind the holiday. Memorial Day is definitely one of those holidays that I forget it's purpose--which is remembering those brave souls who have fought or currently serve our country for our freedom. This year I'm committed to remembering and honoring those individuals, so I created a fun canvas banner that can hang either on my wall or my front door. Luckily, Expressions Vinyl has many sales (and coupons), so be on the lookout!
If you'd like to make one of these fun canvas banners, just follow these steps!
Materials needed:
-Siser Easyweed Heat Transfer Vinyl (in red, blue, and black)
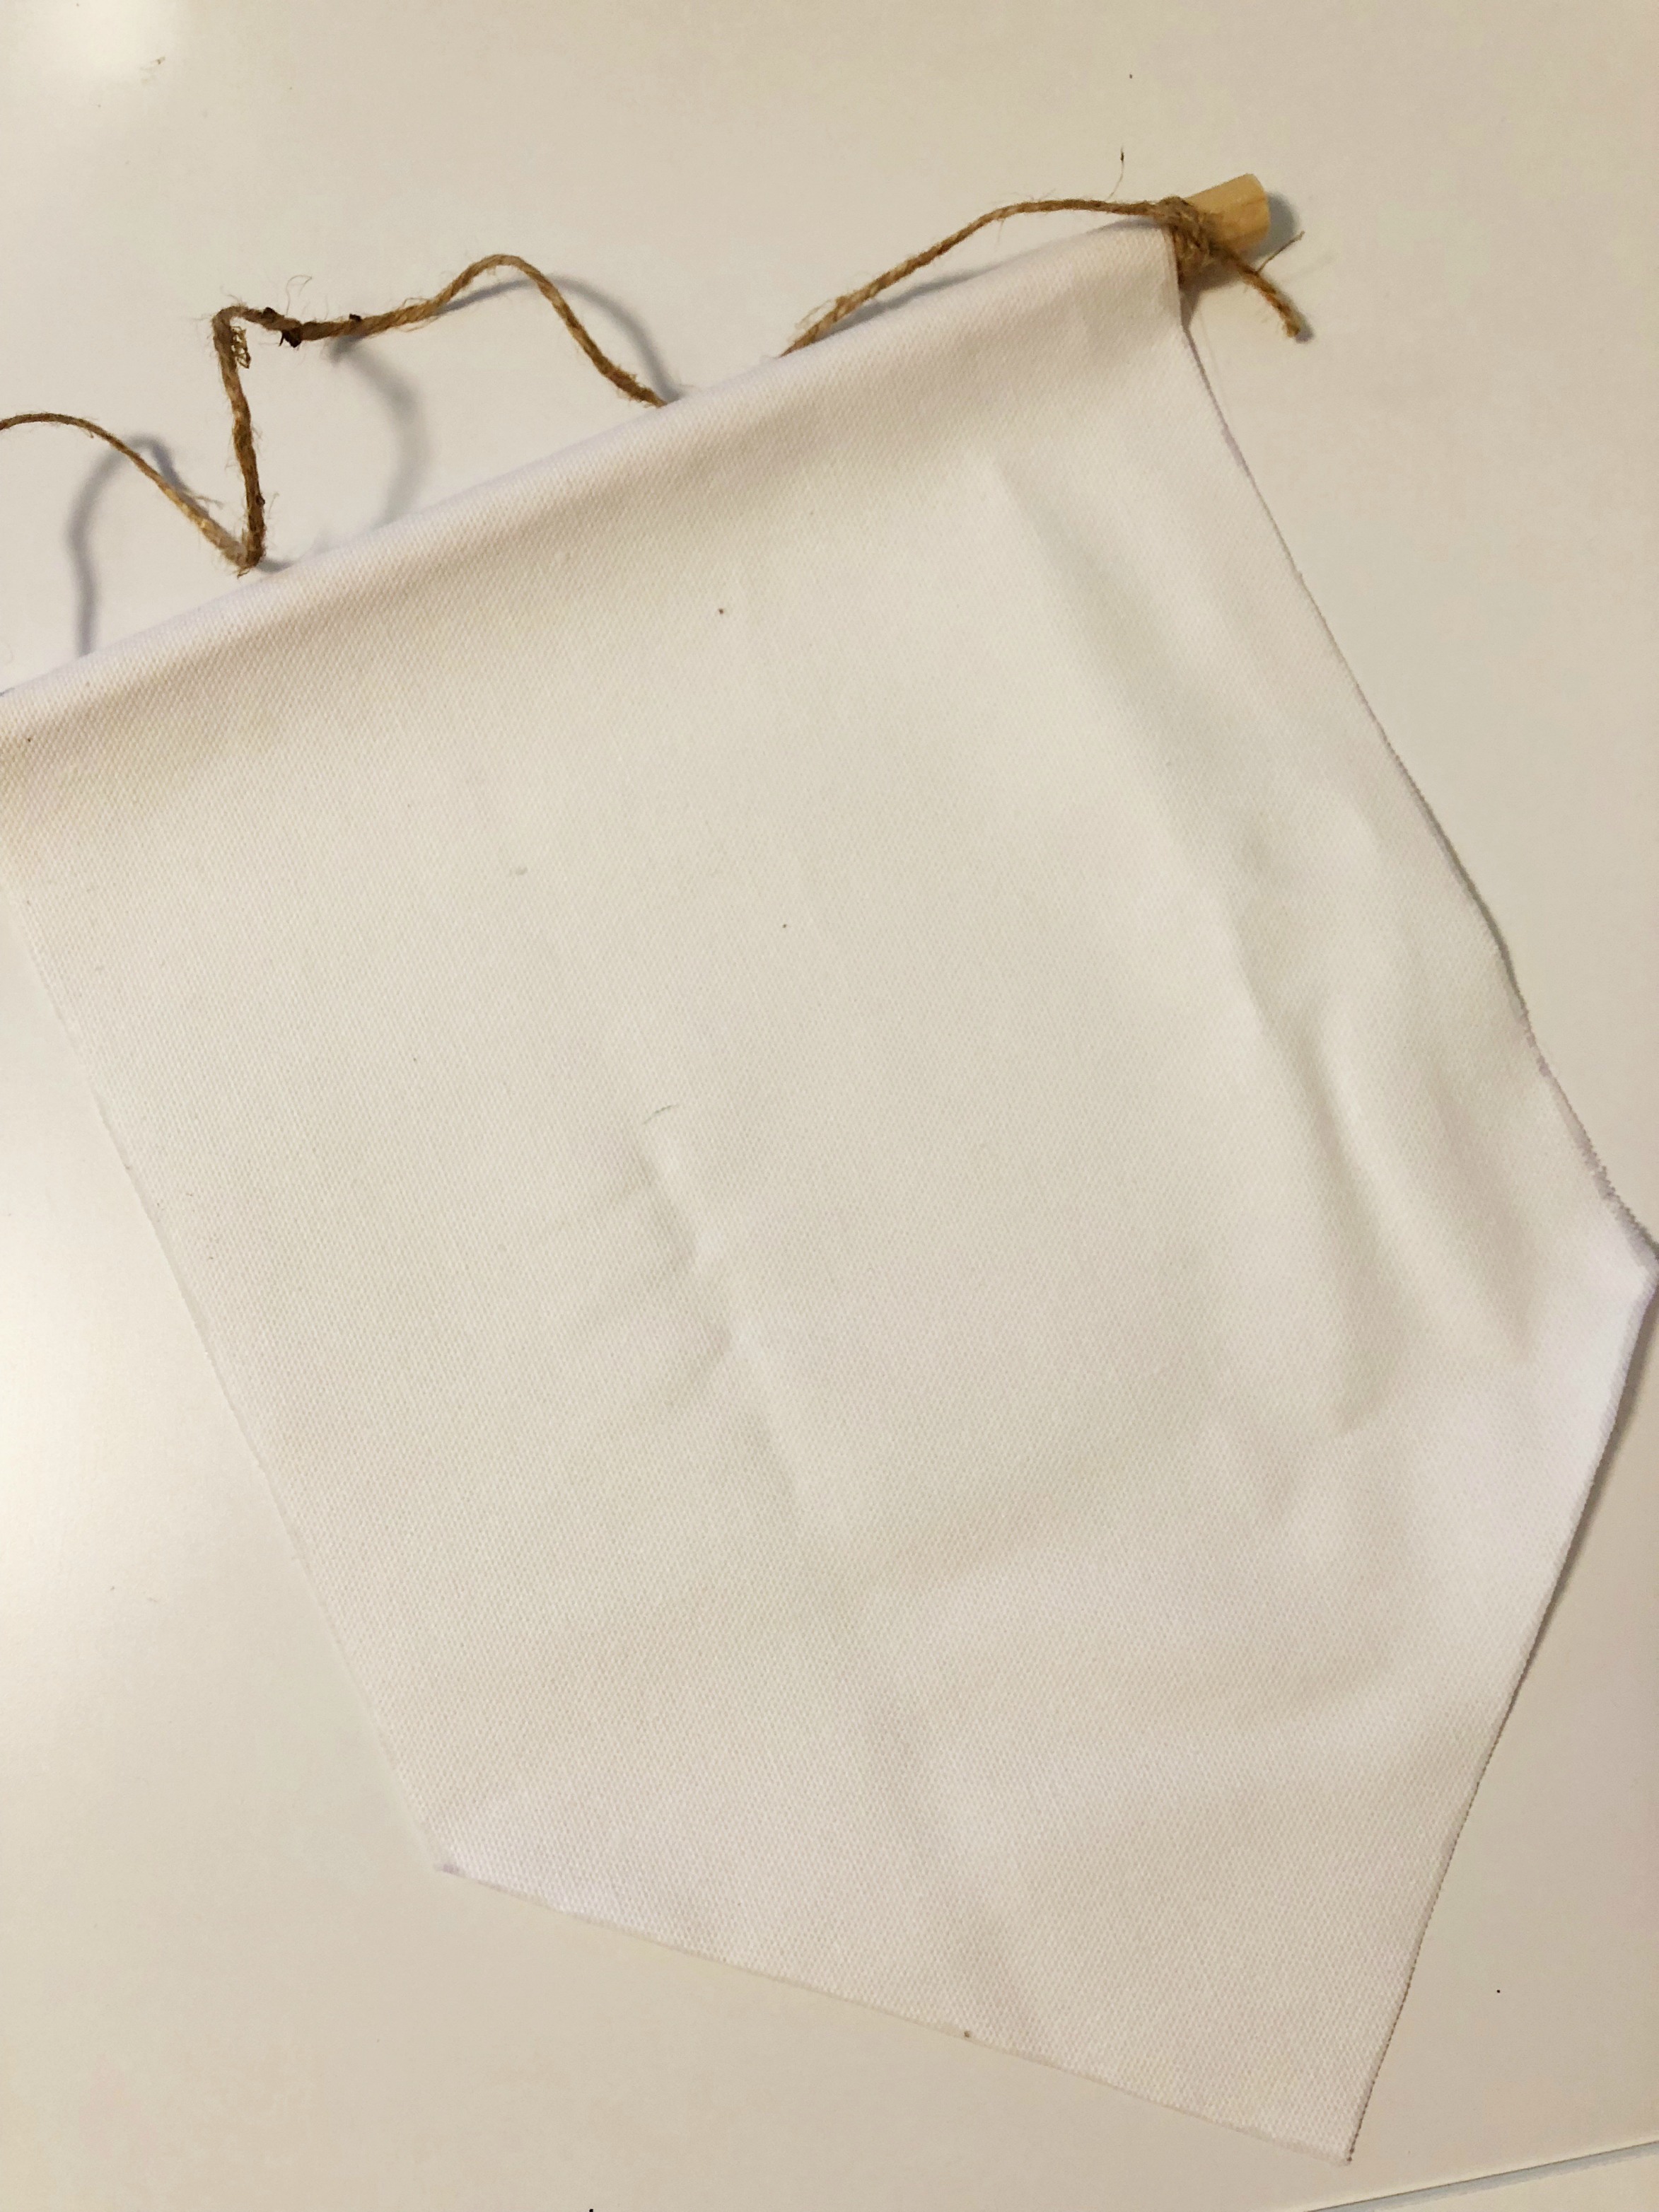
-Canvas Banner (find one at your local craft store or DIY!)
-home iron
-cutting machine (I used my Silhouette CAMEO)
Step 1: Ungroup image by color to prepare for layering. I use Silhouette Studio to design and layout
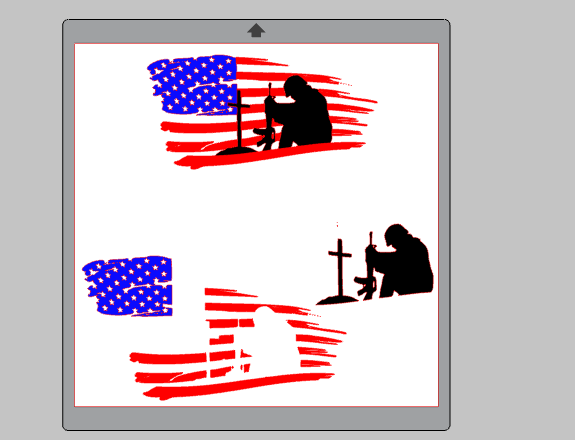
Tip: Layering HTV is technically like a puzzle: you cut out each color and carefully place it right next to the other colors so you're not truly "layering," but fitting each piece right next to eachother (see above image.)
Step 2: Cut out each piece with their respective color. Remember to mirror your image, and then you can move on to weeding out the design!
![]()
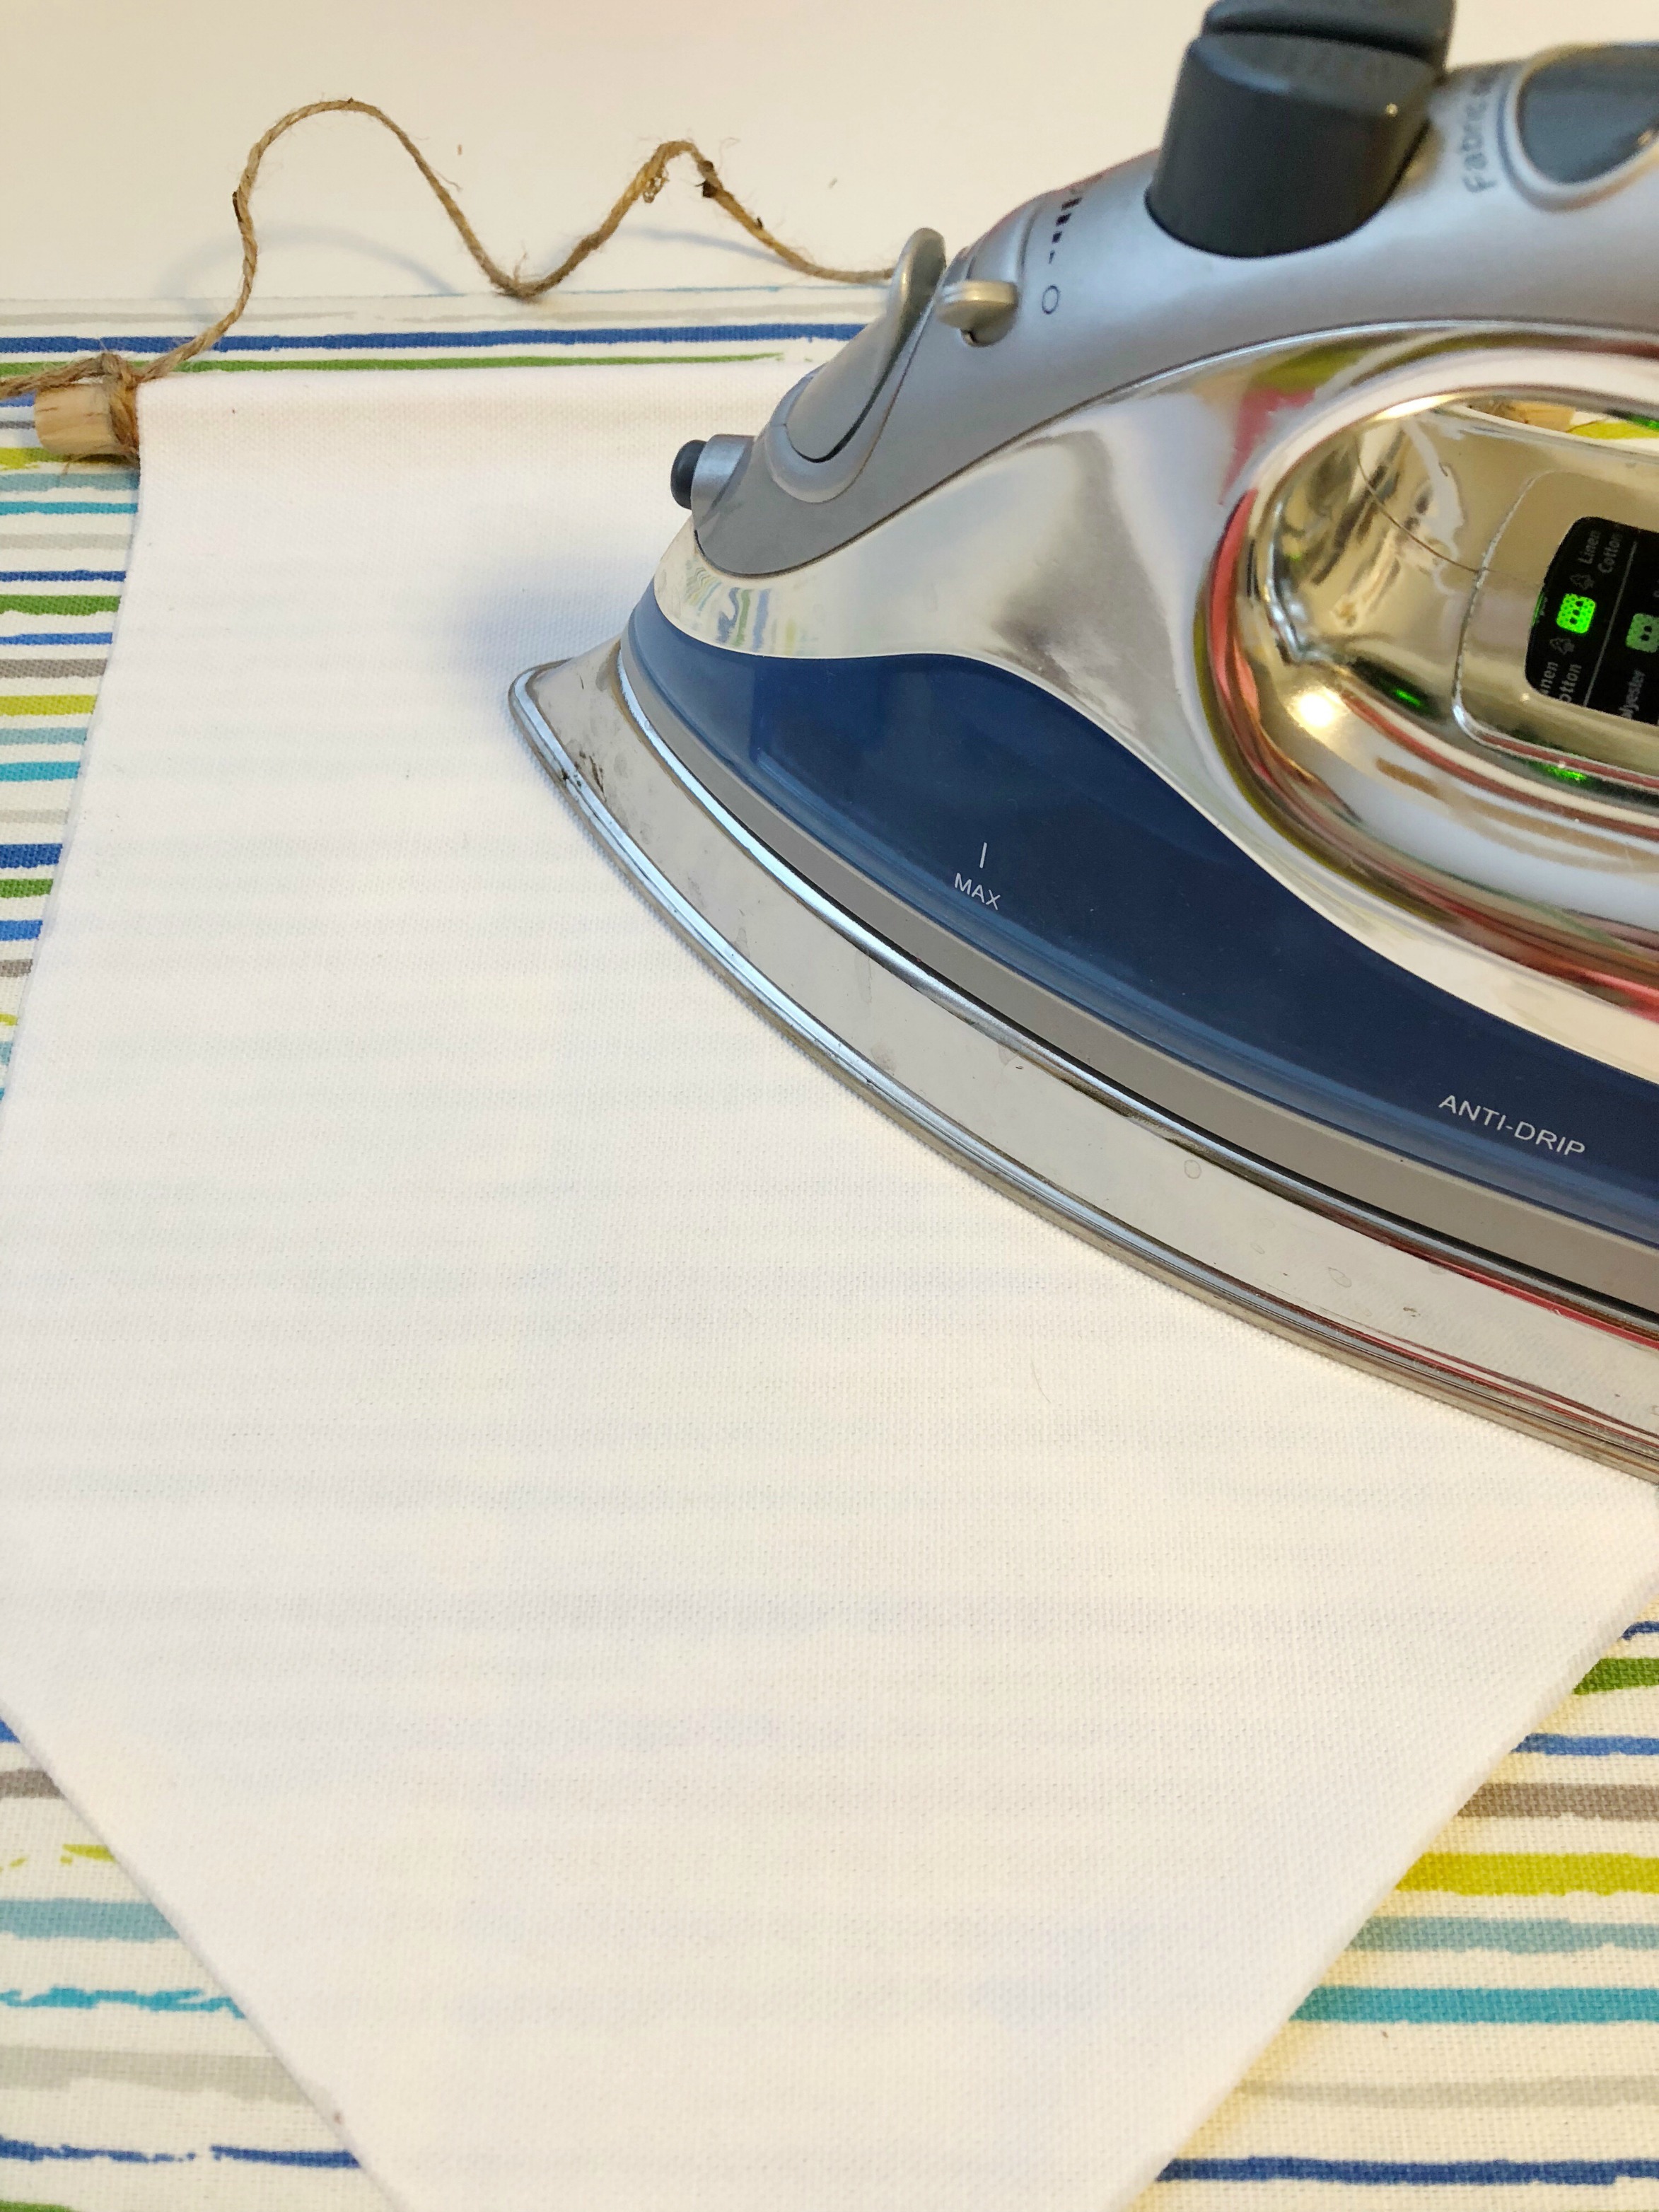
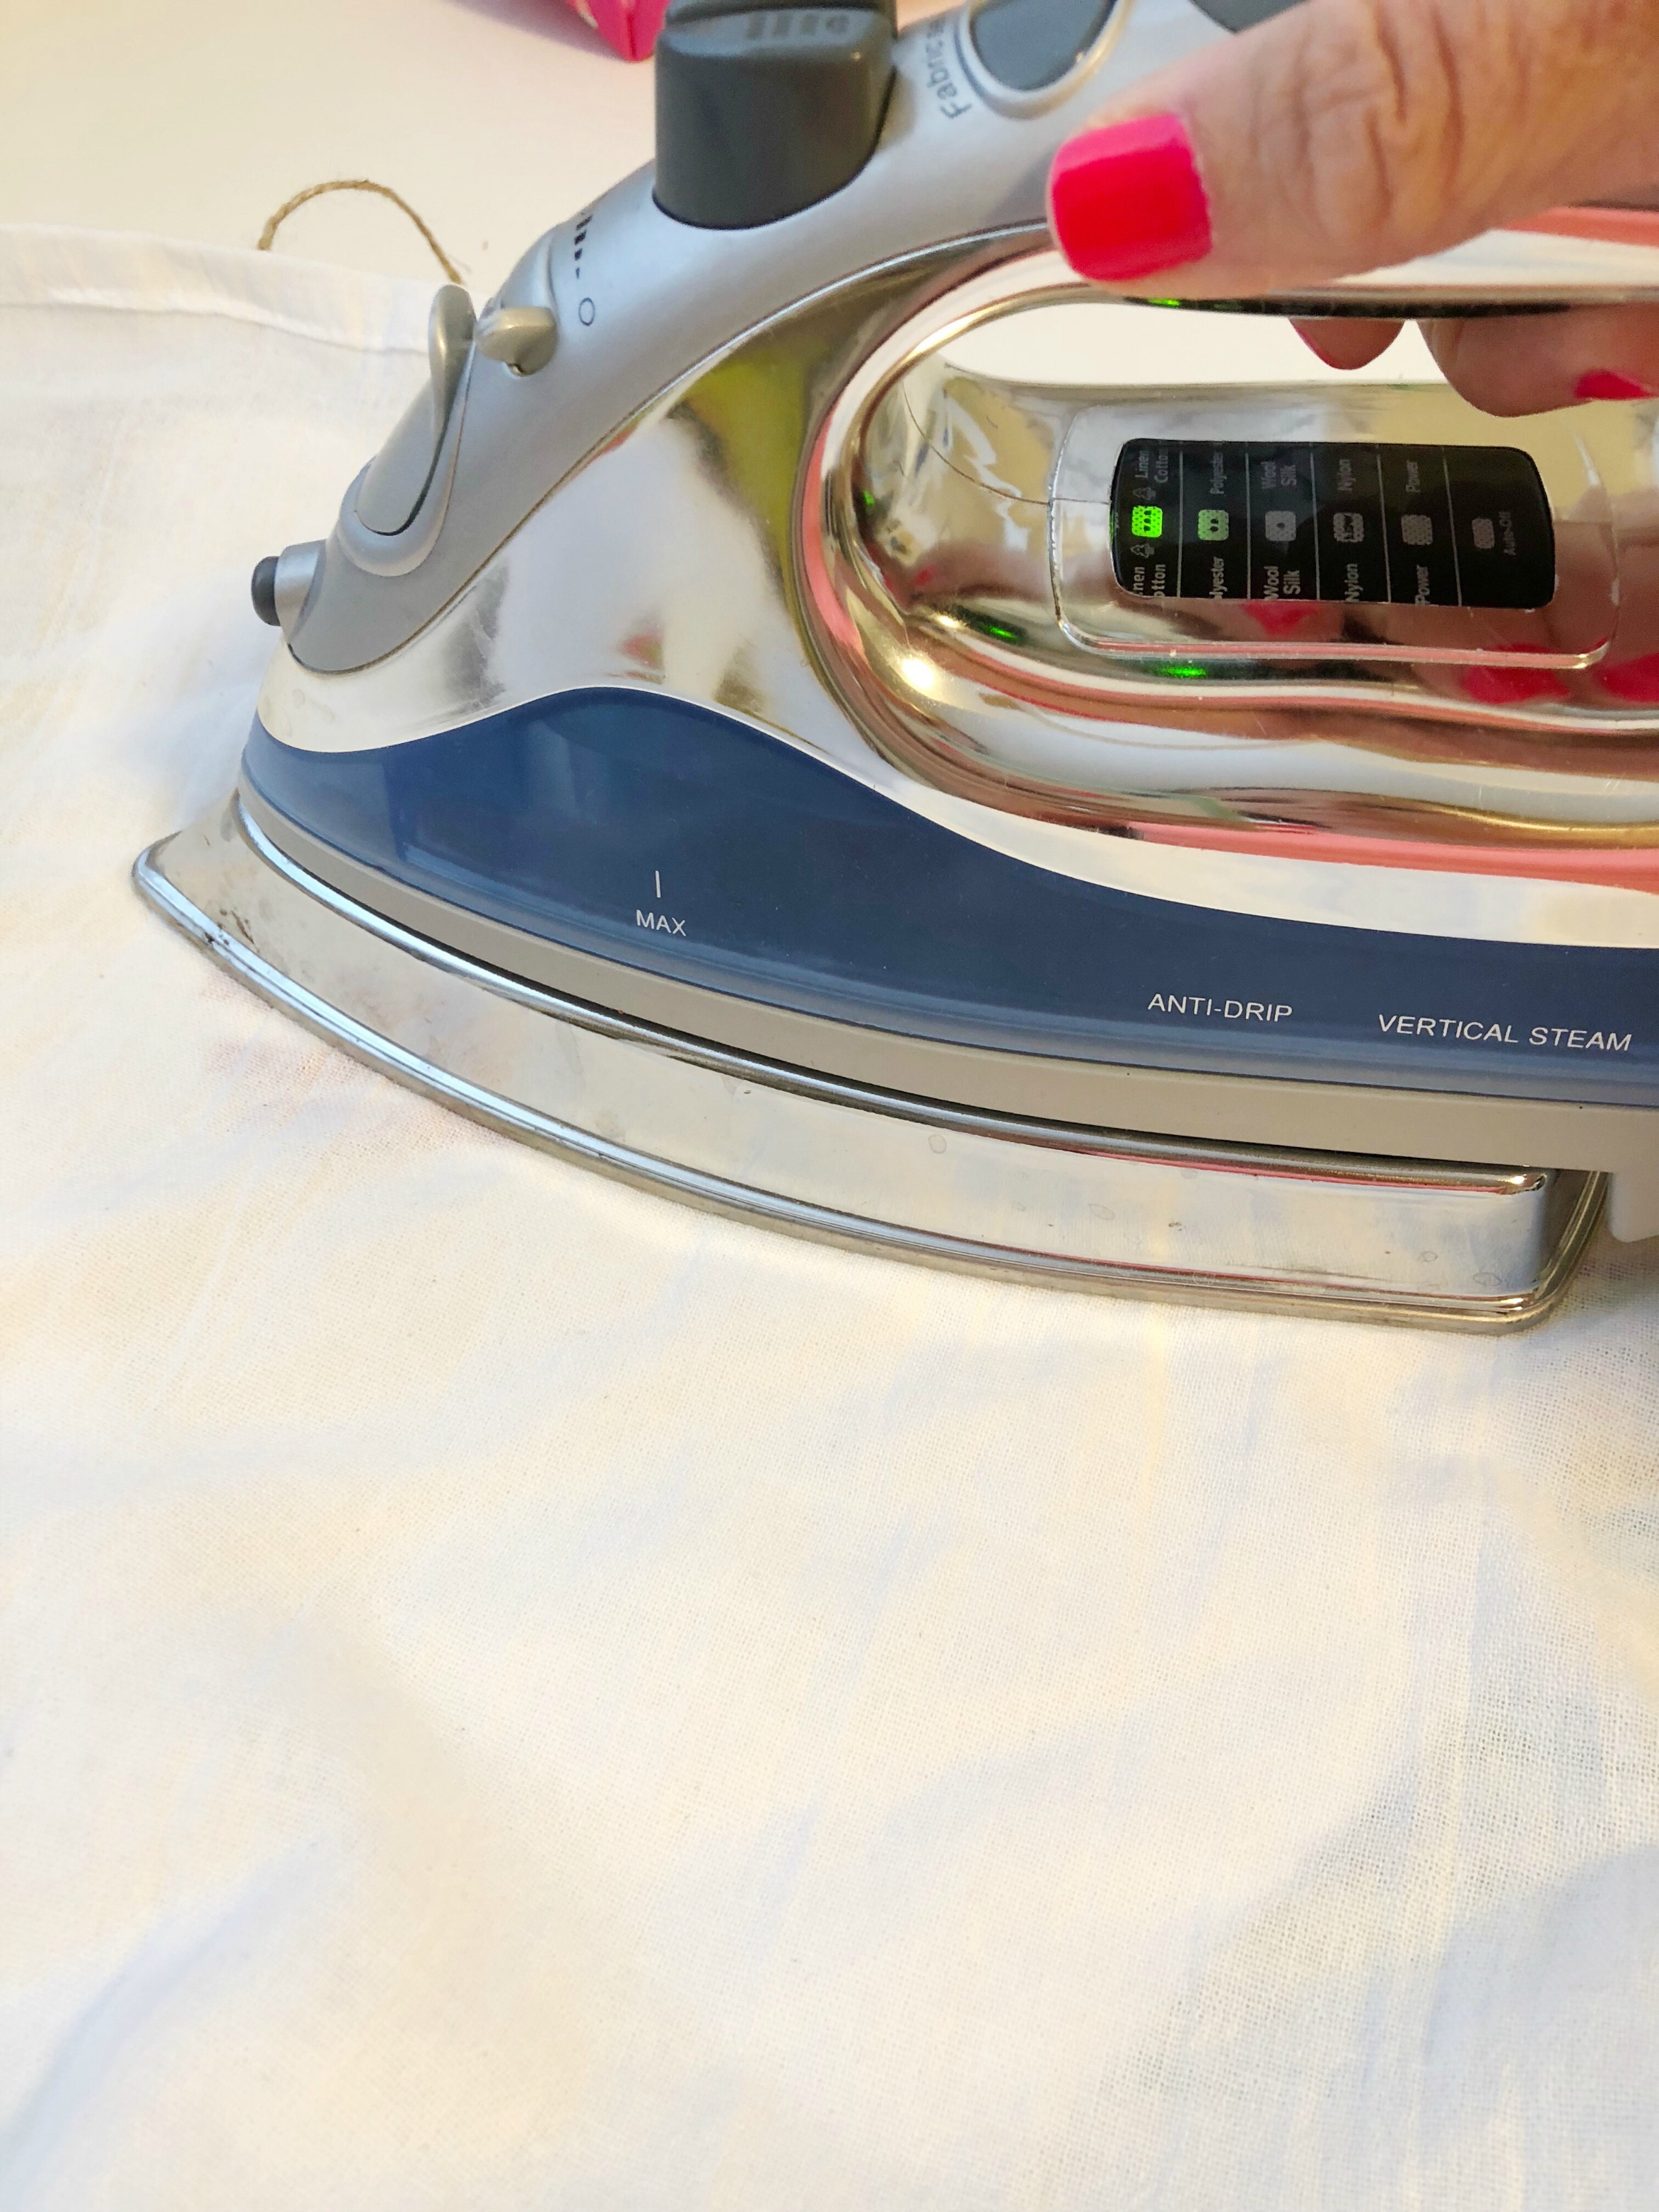
Step 3: Grab a fabric banner (or make one!) and iron until smooth.
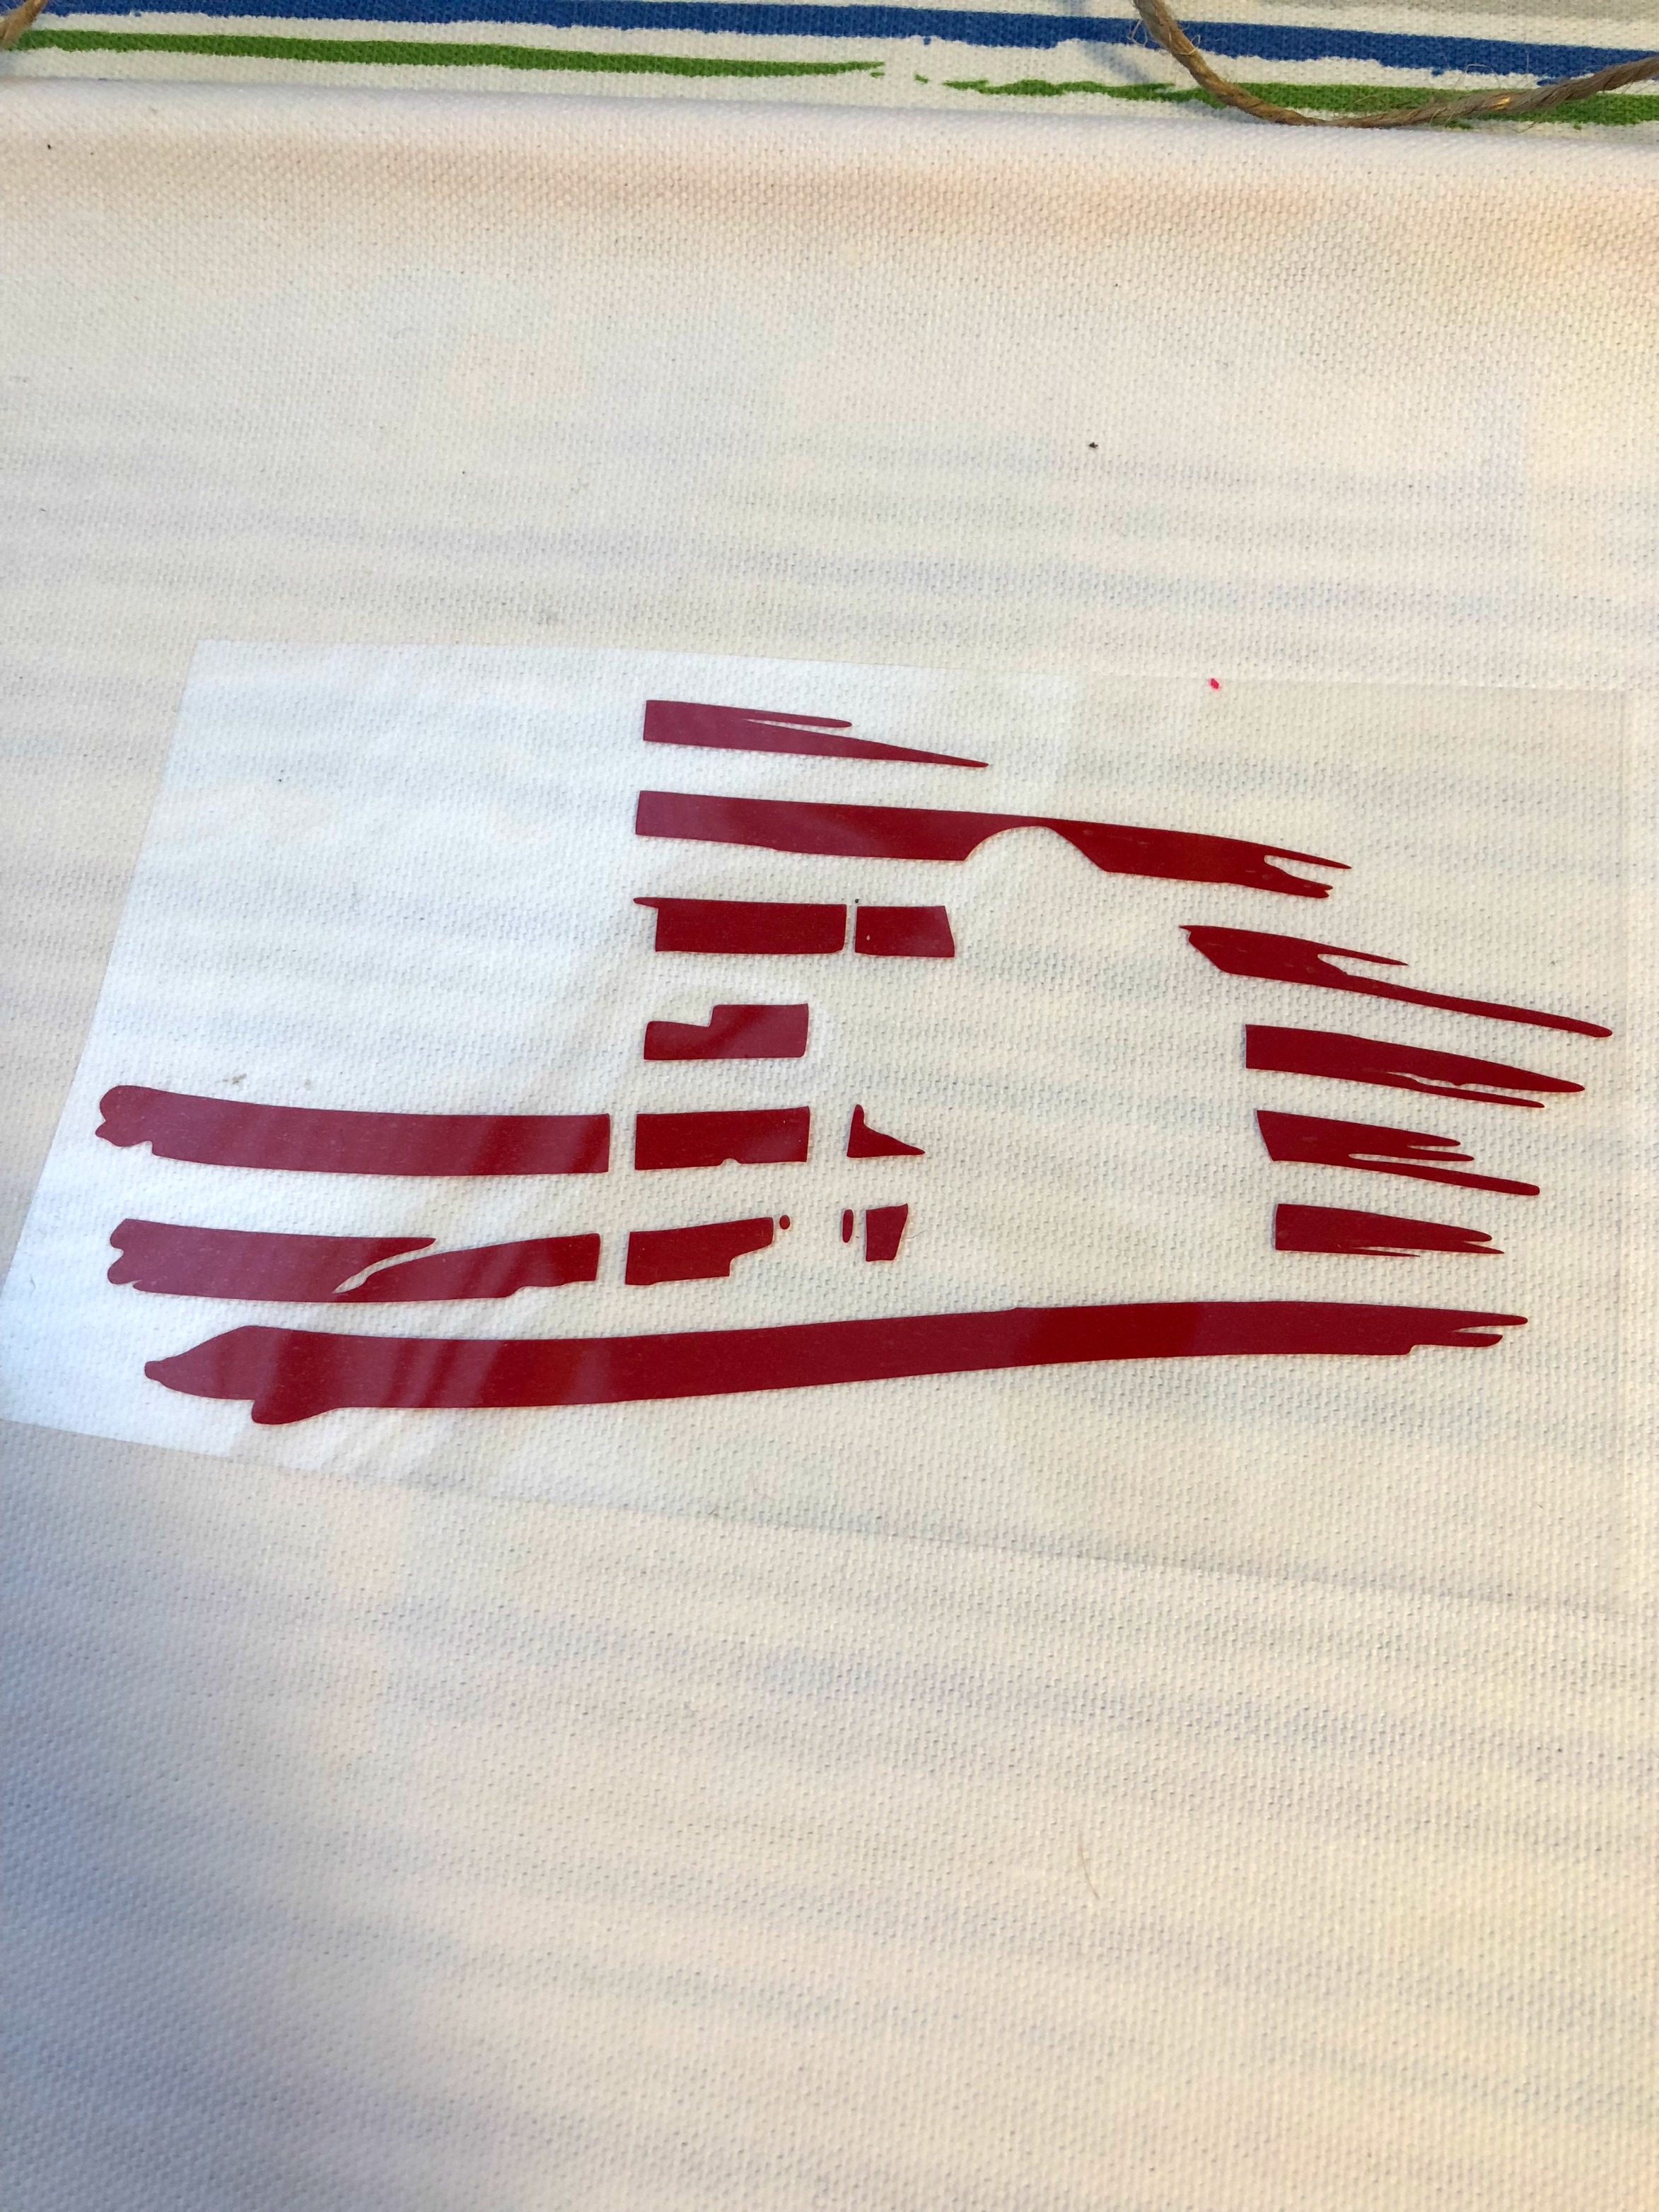
Step 4: Place your first color down where you want it. I started with red because it was the largest part of the design. Place a thin cloth on top and press with your iron for 10-15 seconds on high heat.
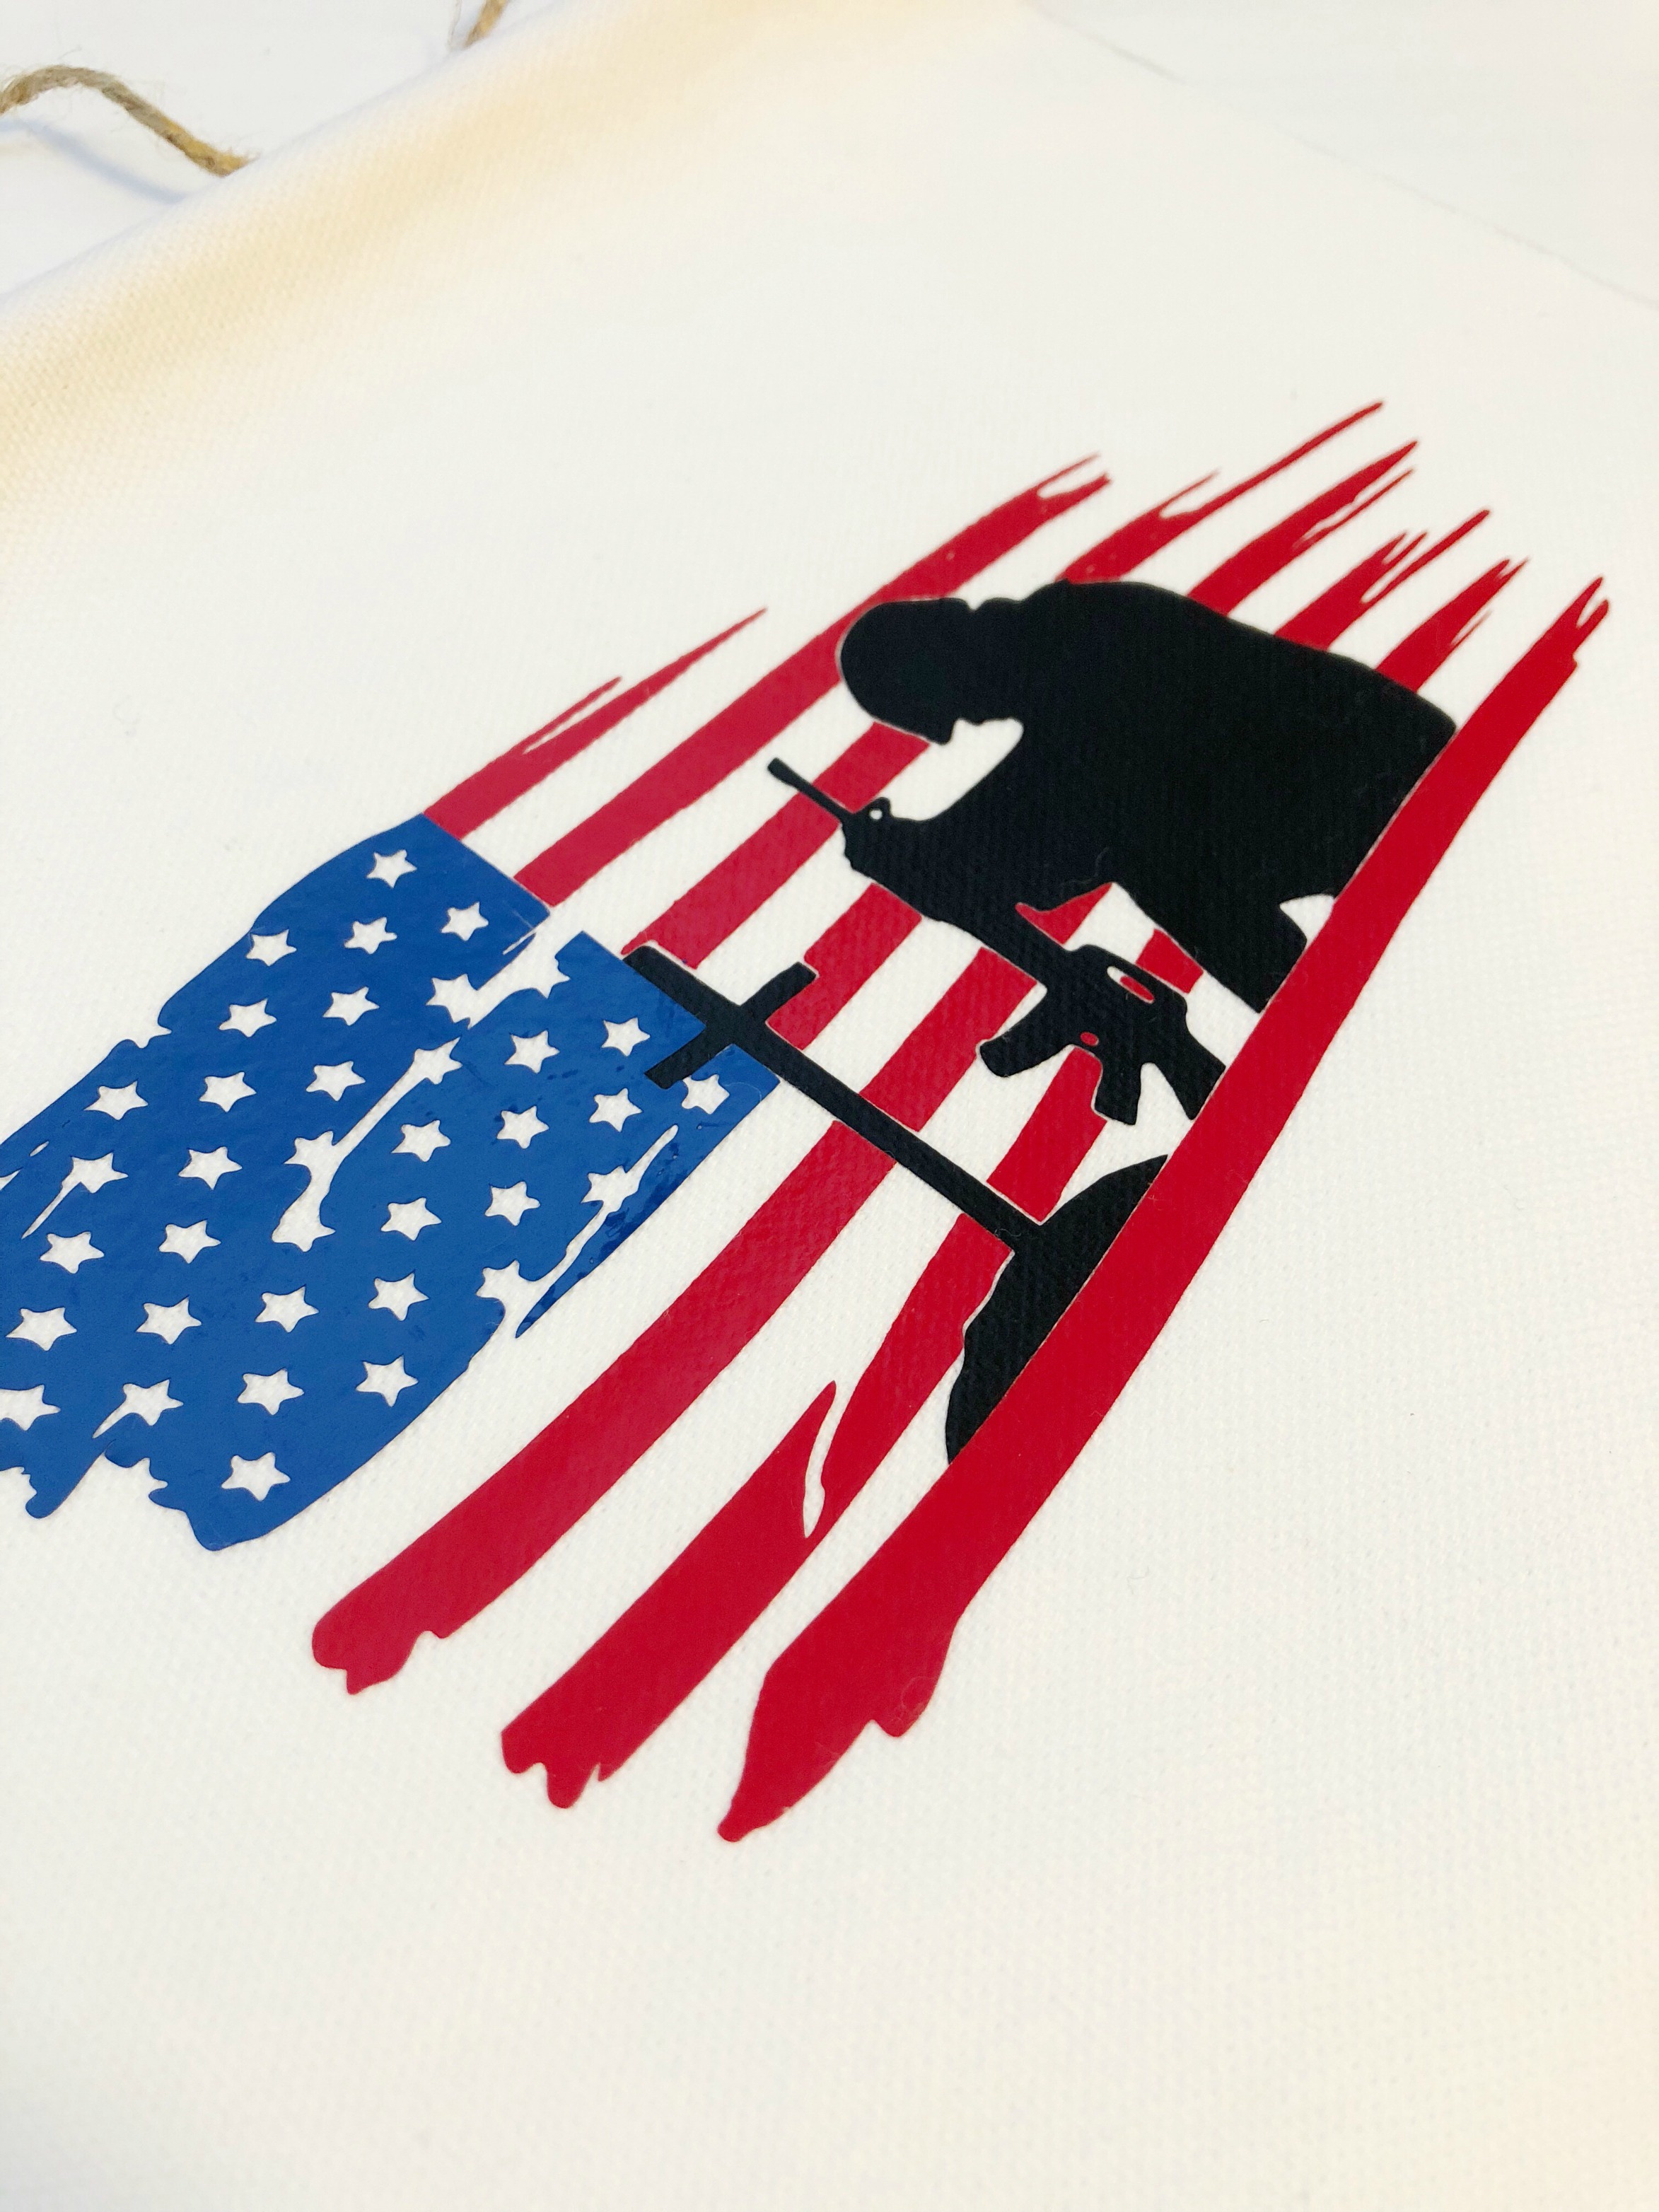
Step 5: Carefully peel off clear carrier sheet, and take your next color and place it onto the design. You see here that there's a perfect spot for the soldier to fit inside the flag. This is layering, without having to actually layer HTV on top of of each other.
![]()
Step 6: Repeat Step 4 by placing thin cloth over design and pressing for 10-15 seconds. Then repeat for the remaining colors.

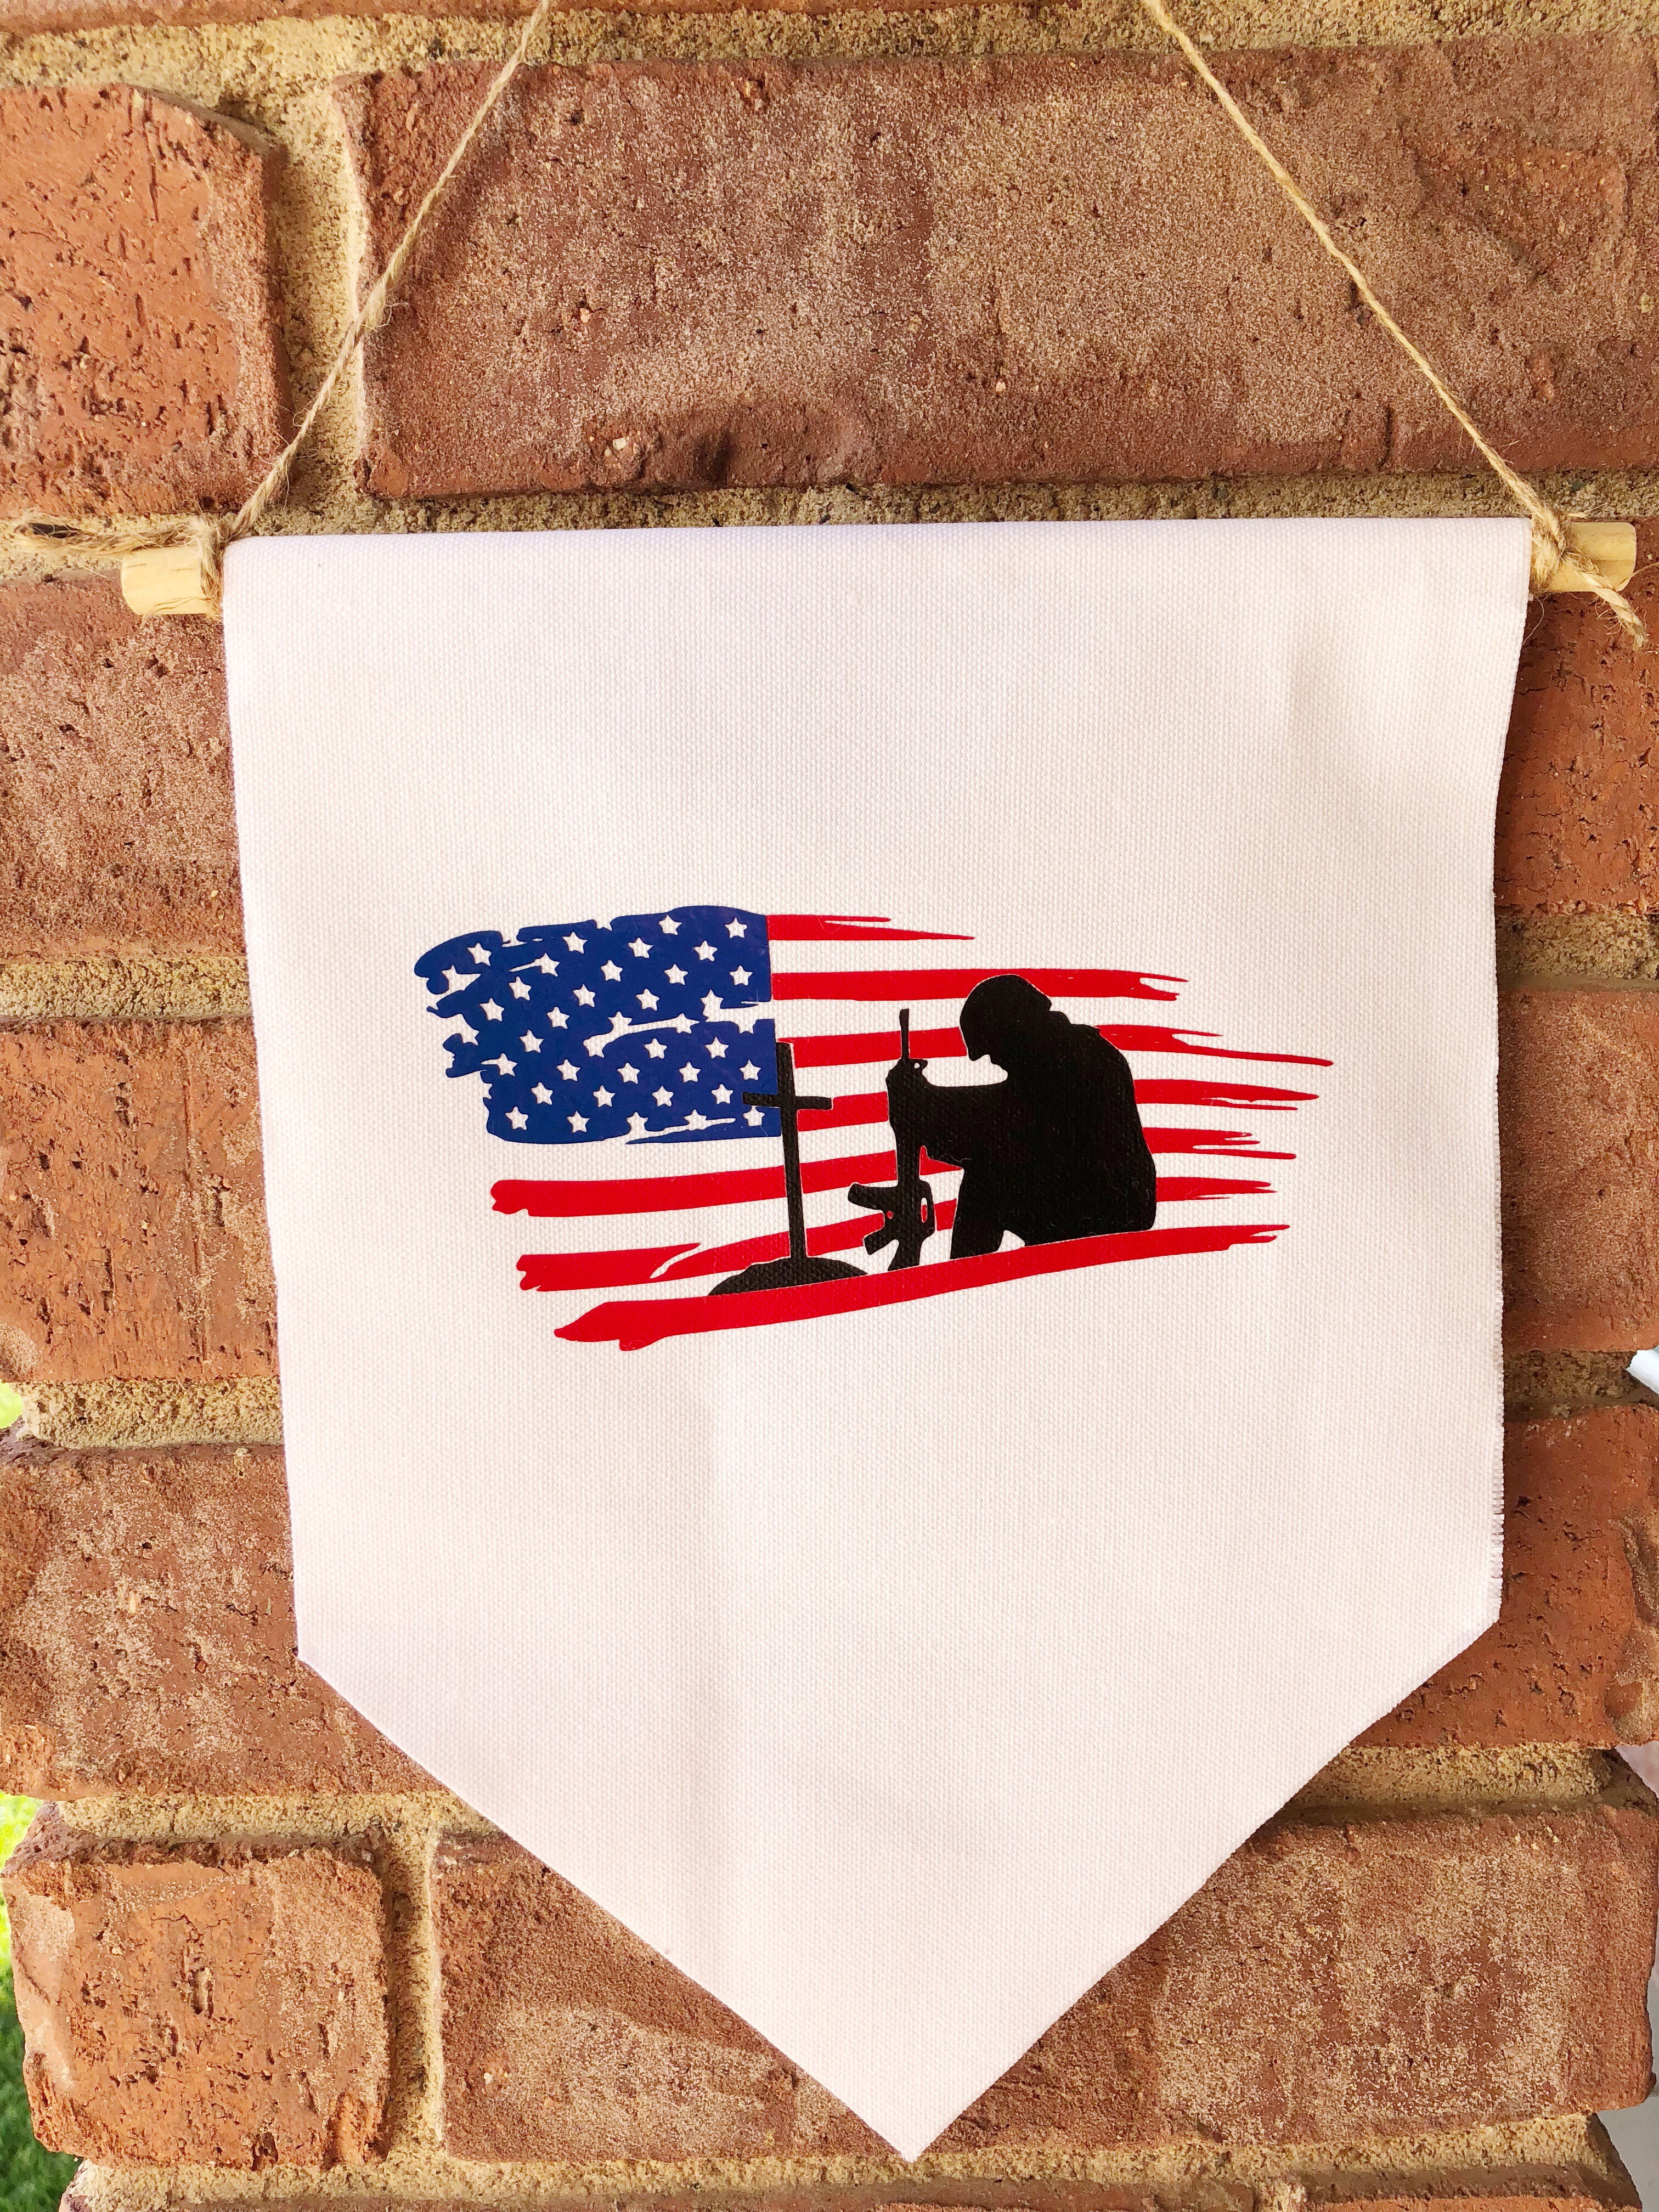
Step 7: Once you've pressed all the colors, give your banner one last good ironing (with the cloth on it!) and your fun festive banner is ready to be hung..and ready to remind you of the real reason we celebrate our freedom!
Hope you enjoy your fun Memorial Day celebrations, I know I definitely will!
Until next time! --Aubrey @projectsilhouette
Recent Posts
-
NEW Holographic Eclipse Heat Transfer Vinyl
April 15th, 2024 3 Ways to Use the New Holographic Eclipse Heat Transfer Vinyl from Siser …Apr 29th 2024 -
Hop into Spring with Cute Easter Vinyl Crafts
Do you love our Vinyl? Sign up for Vinyl Club today to get FREE vinyl and save big! …Mar 28th 2024 -

Fixing Wrinkles and Bubbles in Vinyl
How do you get air bubbles out of vinyl? There are a few different ways to ensure a flawless …Mar 26th 2024