
Silhouette portraits with vinyl
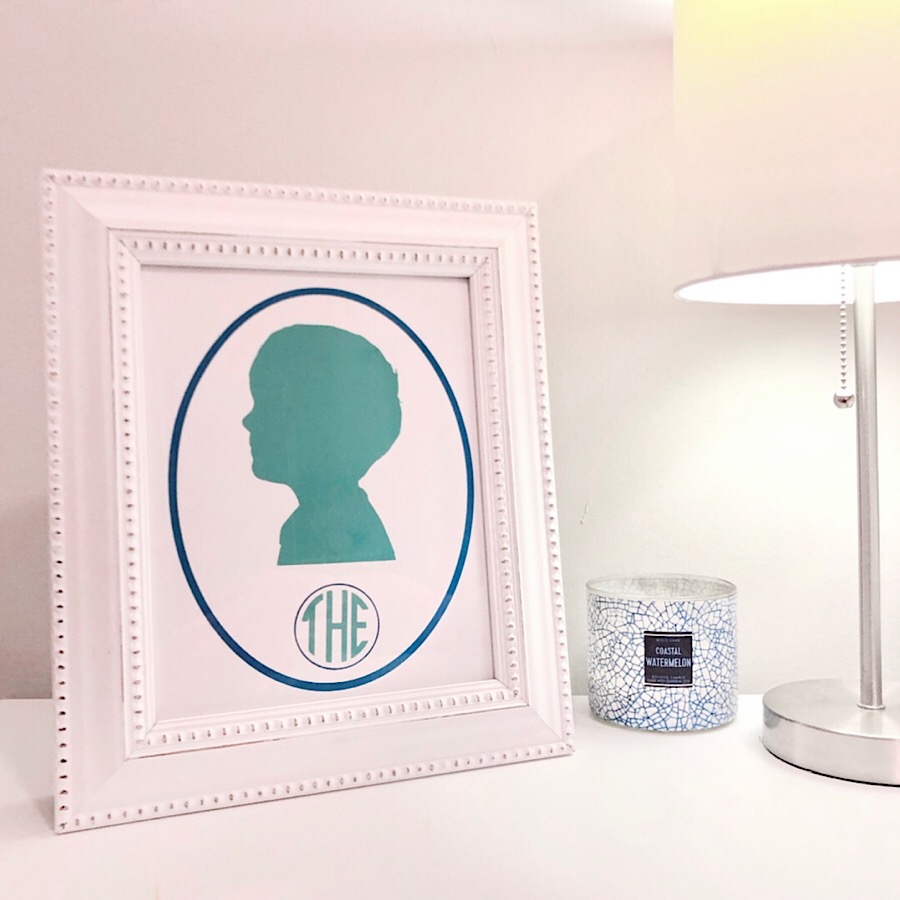
Silhouette portraits are so classic and make for a wonderful keepsake. They could also be given as a meaningful gift! This project is easy as pie and the end result is something that you can treasure for years to come.
Here's what you will need:
- Silhouette Cameo or similar machine
- Cardstock
- Various colors of Oracal 651
- Transfer tape
- Picture of a side profile shadow--this can just be taken with your phone!
- Cutting mat
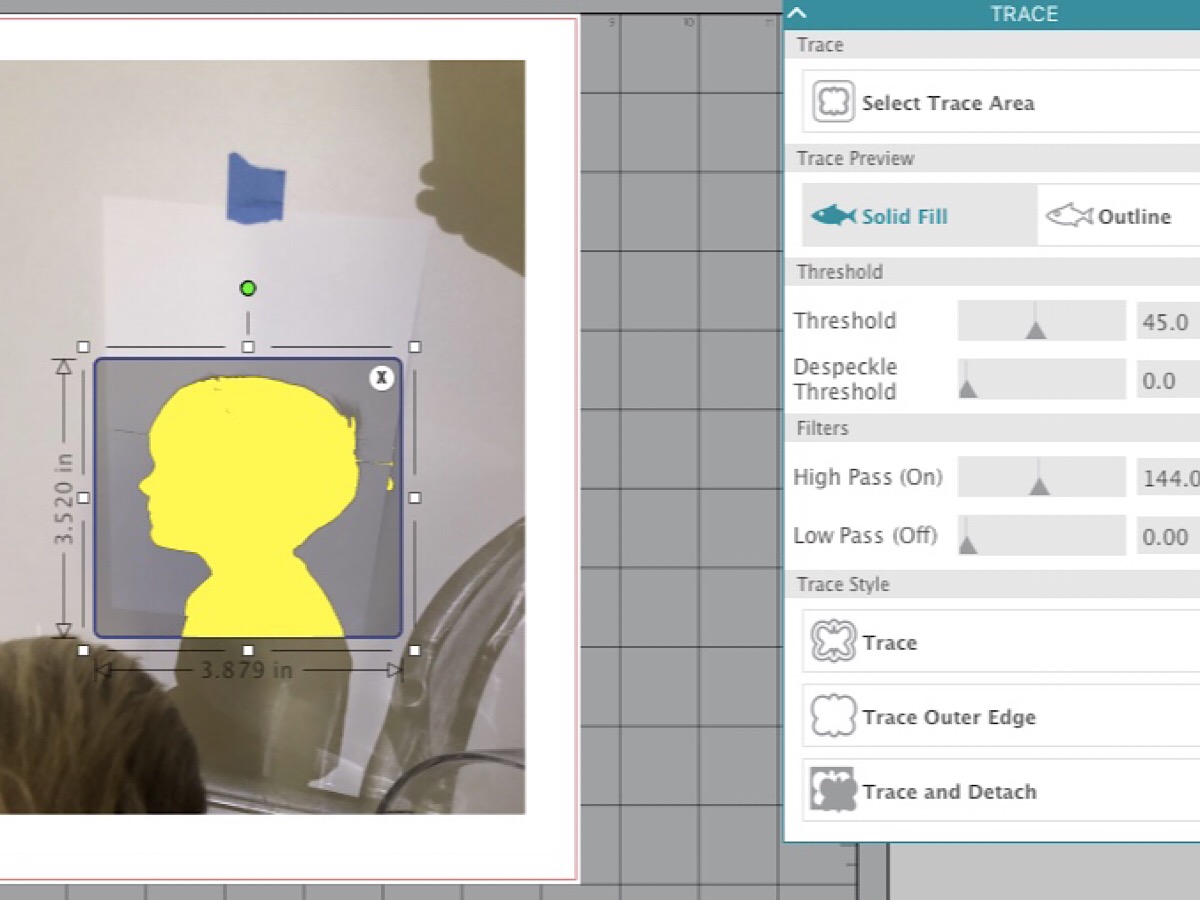
I remember having a silhouette portrait done as a child and having to sit super still while someone traced the outline of my face onto a piece of paper. I initially tried that method with my kids and it was a FAIL! SO, I tried just taking a picture of the shadow against a solid wall and it worked perfectly! It is much quicker to snap a pic than it is to try to convince a toddler to sit still.
Take your picture, email it to yourself and then use the Trace tool in the Silhouette Studio.

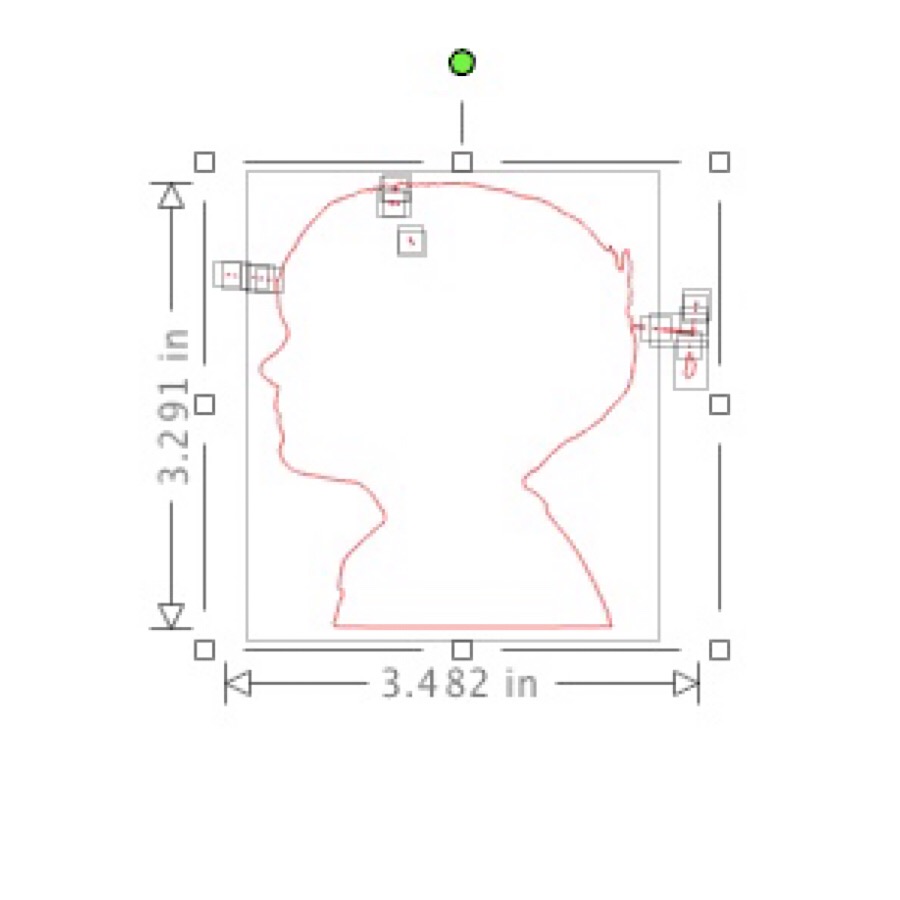
Once you have traced your image and you have your silhouette outline, highlight over the entire area so that you can delete any extra little pieces that might have been captured when you traced.
Once I was happy with my silhouette outline, I went ahead and used the shape tool to draw an 8x10 outline (or as close as I could get it) so that I could cut my cardstock to a size that would fit in a frame. Only select to cut the box outline.
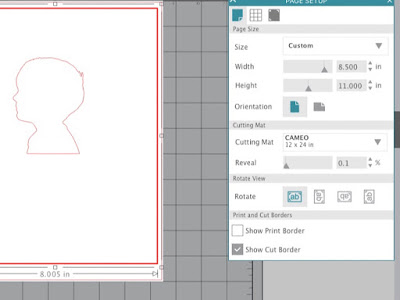
Load your cardstock on your cutting mat, cut your 8x10 piece and set aside.
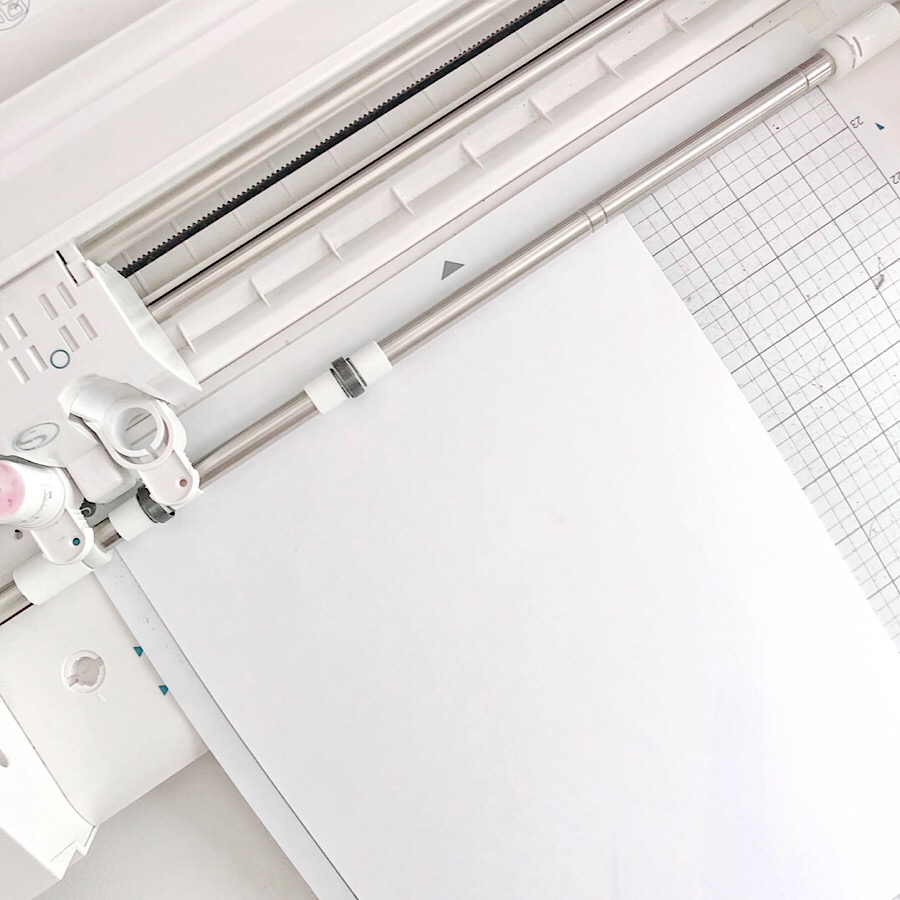
Now, you can either size your silhouette outline to fit the 8x10 just as it is, or you can add embellishments! I wanted to make these really cute and fun so that I could put them in my kid's rooms. Using my go-to monogram app, I created a simple monogram, emailed to myself, drug into the Studio and traced. Then, using the shape tool, I drew an oval to outline the silhouette and a small circle to outline the monogram.
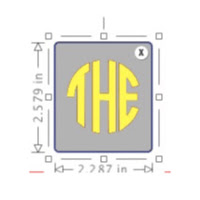
When your design is all setup, you are ready to cut! I used two colors so I selected the oval and circle to cut from my first color. Make sure that you select to "cut edge" so that you get a thick line for the shapes.
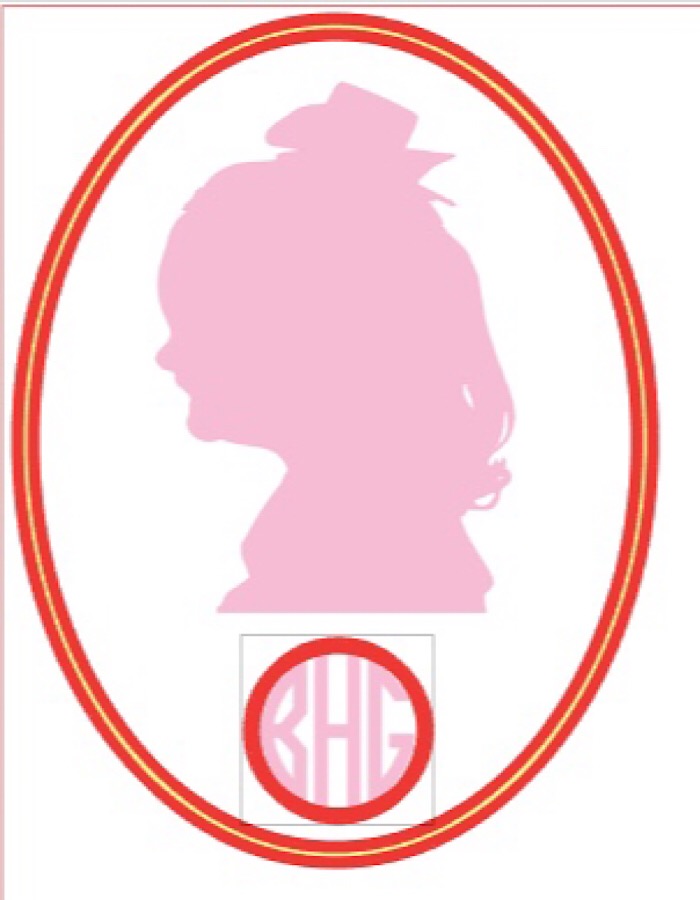
Load your first color onto your cutting mat and make your cut. Then, go back and turn the oval and circle to "no cut" and the silhouette and monogram to "cut edge." Load your second color and complete the cut.
When your vinyl pieces have been cut, weed away any excess and grab your transfer tape. Cover the oval and circle portion of your design and carefully transfer to the cardstock. I initially tried using contact paper, as pictured below, and found that the cardstock started to rip when I pulled the contact paper away.
![]()
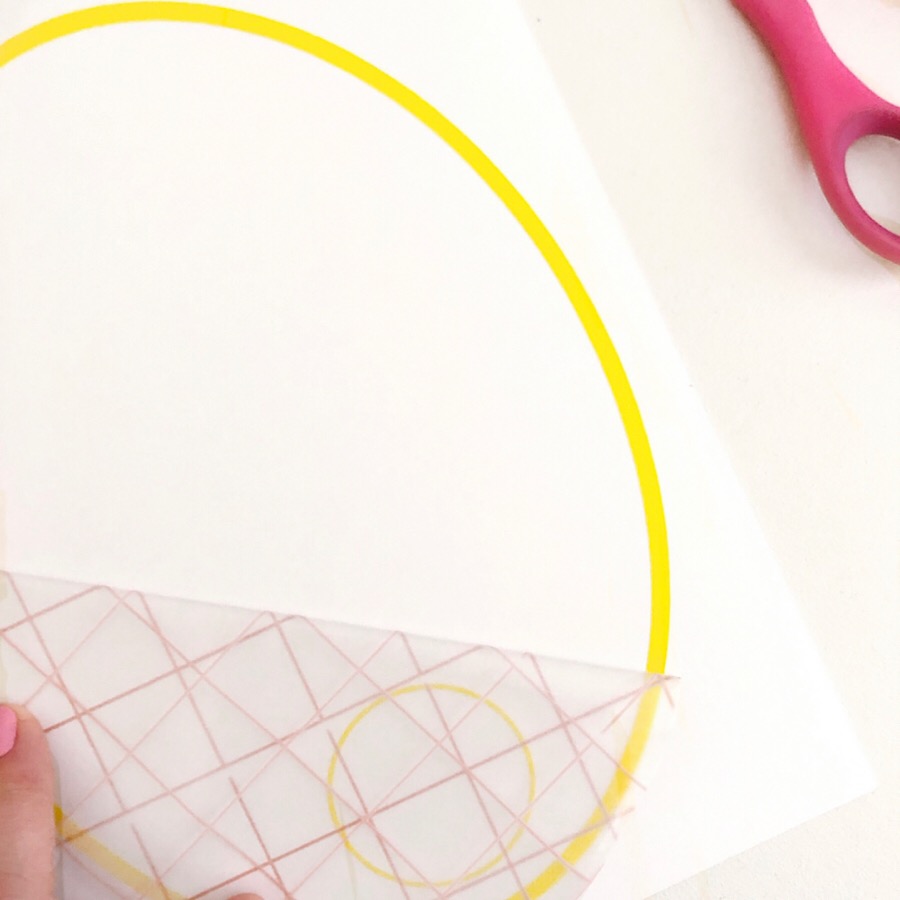
Thankfully, I had a roll of transfer tape on hand and that worked perfectly! I thought contact paper would be less sticky than the transfer tape, buuuut it wasn't. Yes, I had to cut another 8x10 piece of cardstock and re-cut the oval and circle, but that takes no time! Just repeat the above when you make your new cuts.
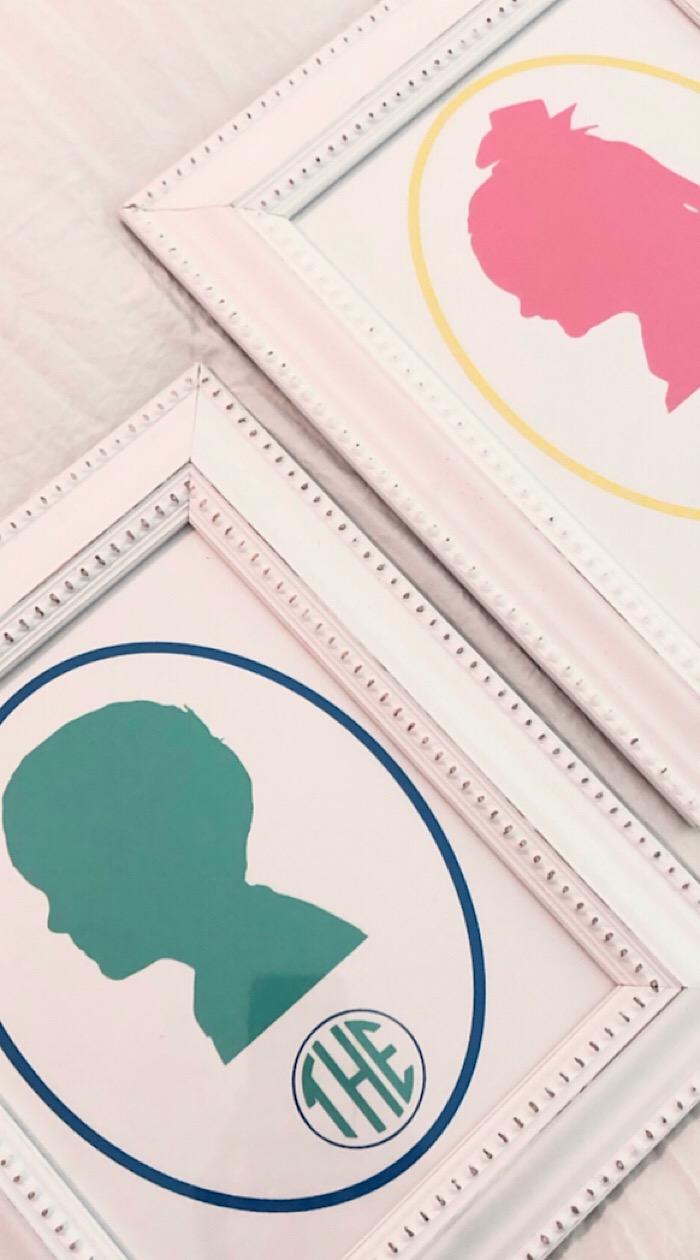
Then, add your silhouette and monogram to the inside of the oval and circle.
![]()
I like to share my whole process--even the mistakes and trial and error--because I think that whether you are a beginner or a seasoned vinyl user, you will run into something that causes you trouble from time to time, but you shouldn't let that discourage you! It is just part of the crafting process and you can learn from what didn't work.
If I am being entirely honest, I rarely have a project go exactly as I envision it with the very first try, and when I was starting out, I would get very discouraged and shy away from trying different materials. Now, I just roll with the punches and try other methods until I can make it work. Don't give up and just know that everyone is probably facing similar problems, they just aren't always necessarily documented.
We are all in this together!
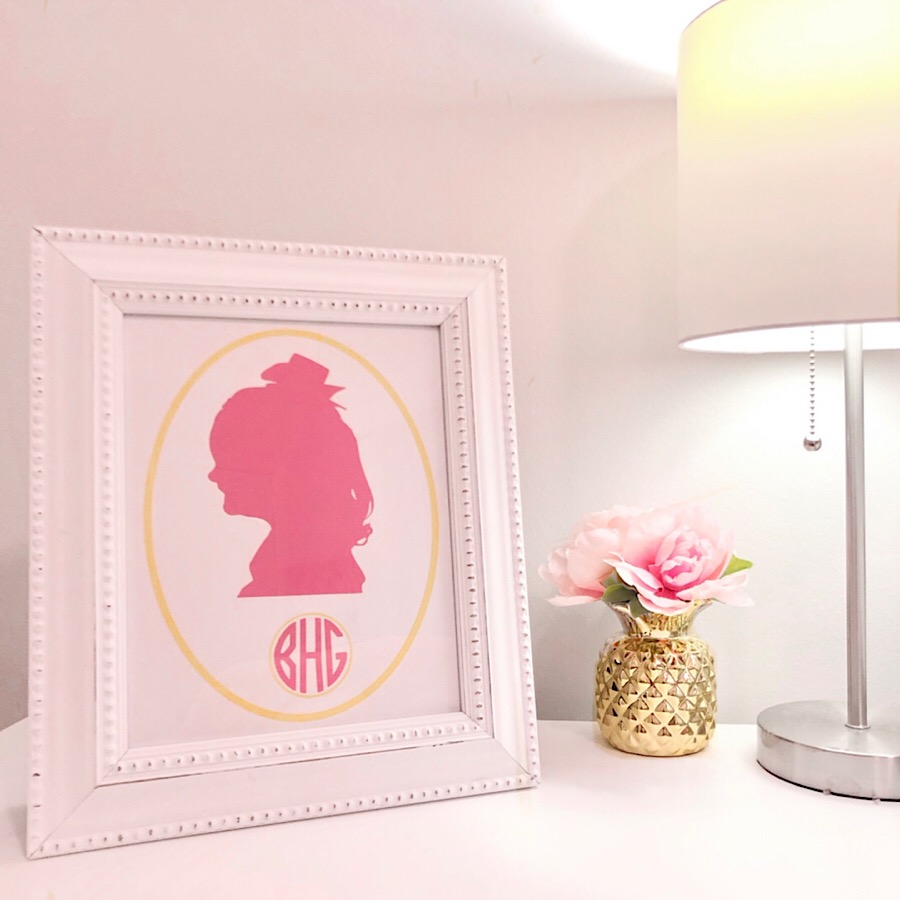
There are so many options for how you can take a simple silhouette and make it something really special. I grabbed some cheap frames at TJ Maxx and now my kiddos have the cutest personalized decor for their rooms. It is also great that the initial legwork is done and I can use the silhouettes in a variety of ways now!

If nothing else, I hope you are inspired to grab some vinyl and explore the many ways that it can be used. There are so many options offered at Expressions Vinyl, so let your imagination run wild! How cute would this be with patterned vinyl?! I might have to try that next.
Happy crafting!
xoxo,
Recent Posts
-
NEW Holographic Eclipse Heat Transfer Vinyl
April 15th, 2024 3 Ways to Use the New Holographic Eclipse Heat Transfer Vinyl from Siser …Apr 29th 2024 -
Hop into Spring with Cute Easter Vinyl Crafts
Do you love our Vinyl? Sign up for Vinyl Club today to get FREE vinyl and save big! …Mar 28th 2024 -

Fixing Wrinkles and Bubbles in Vinyl
How do you get air bubbles out of vinyl? There are a few different ways to ensure a flawless …Mar 26th 2024