
Using multiple colors of vinyl
Cutting and layering multi-colored designs can seem like a daunting task to a newbie. Today, I'm breaking it down into (hopefully) easy to understand steps for you. Once you get the hang of it, you'll be an old pro in no time. Well, maybe not an old pro, just a pro! Let's jump right in--
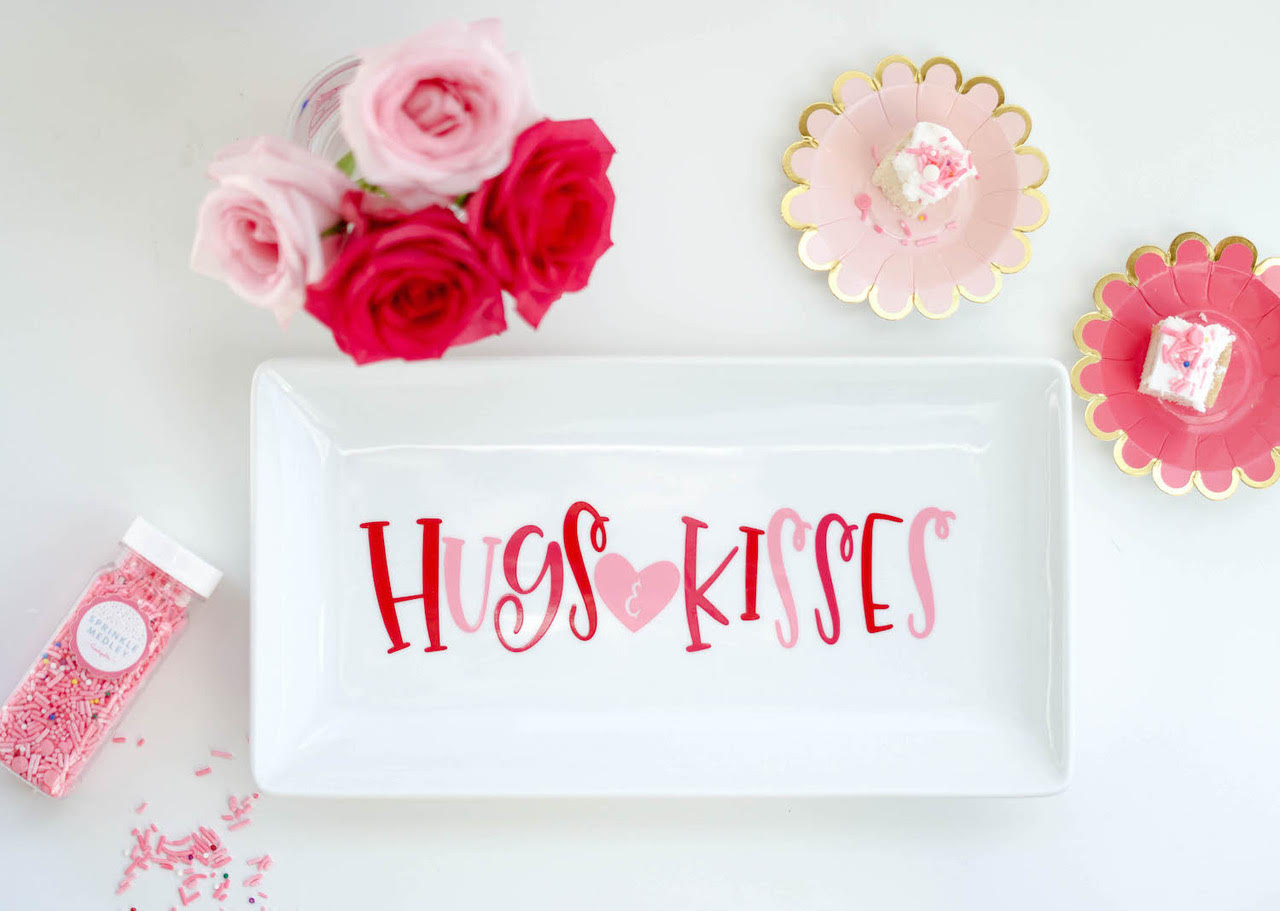 For the vinyl I'm using Oracal 651 in Red, Pink and Soft Pink. The Hugs & Kisses file is by Holly Pixels.
(1) Uploading the PNG
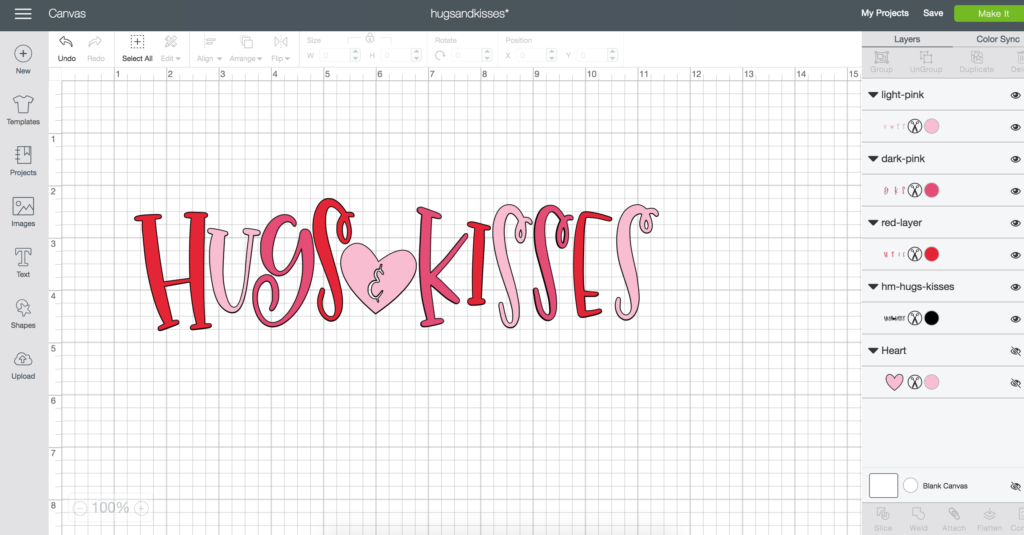
The very first thing I do is upload the entire design. You can see in the far right of the image above that I uploaded the hugs and kisses PNG as a whole.
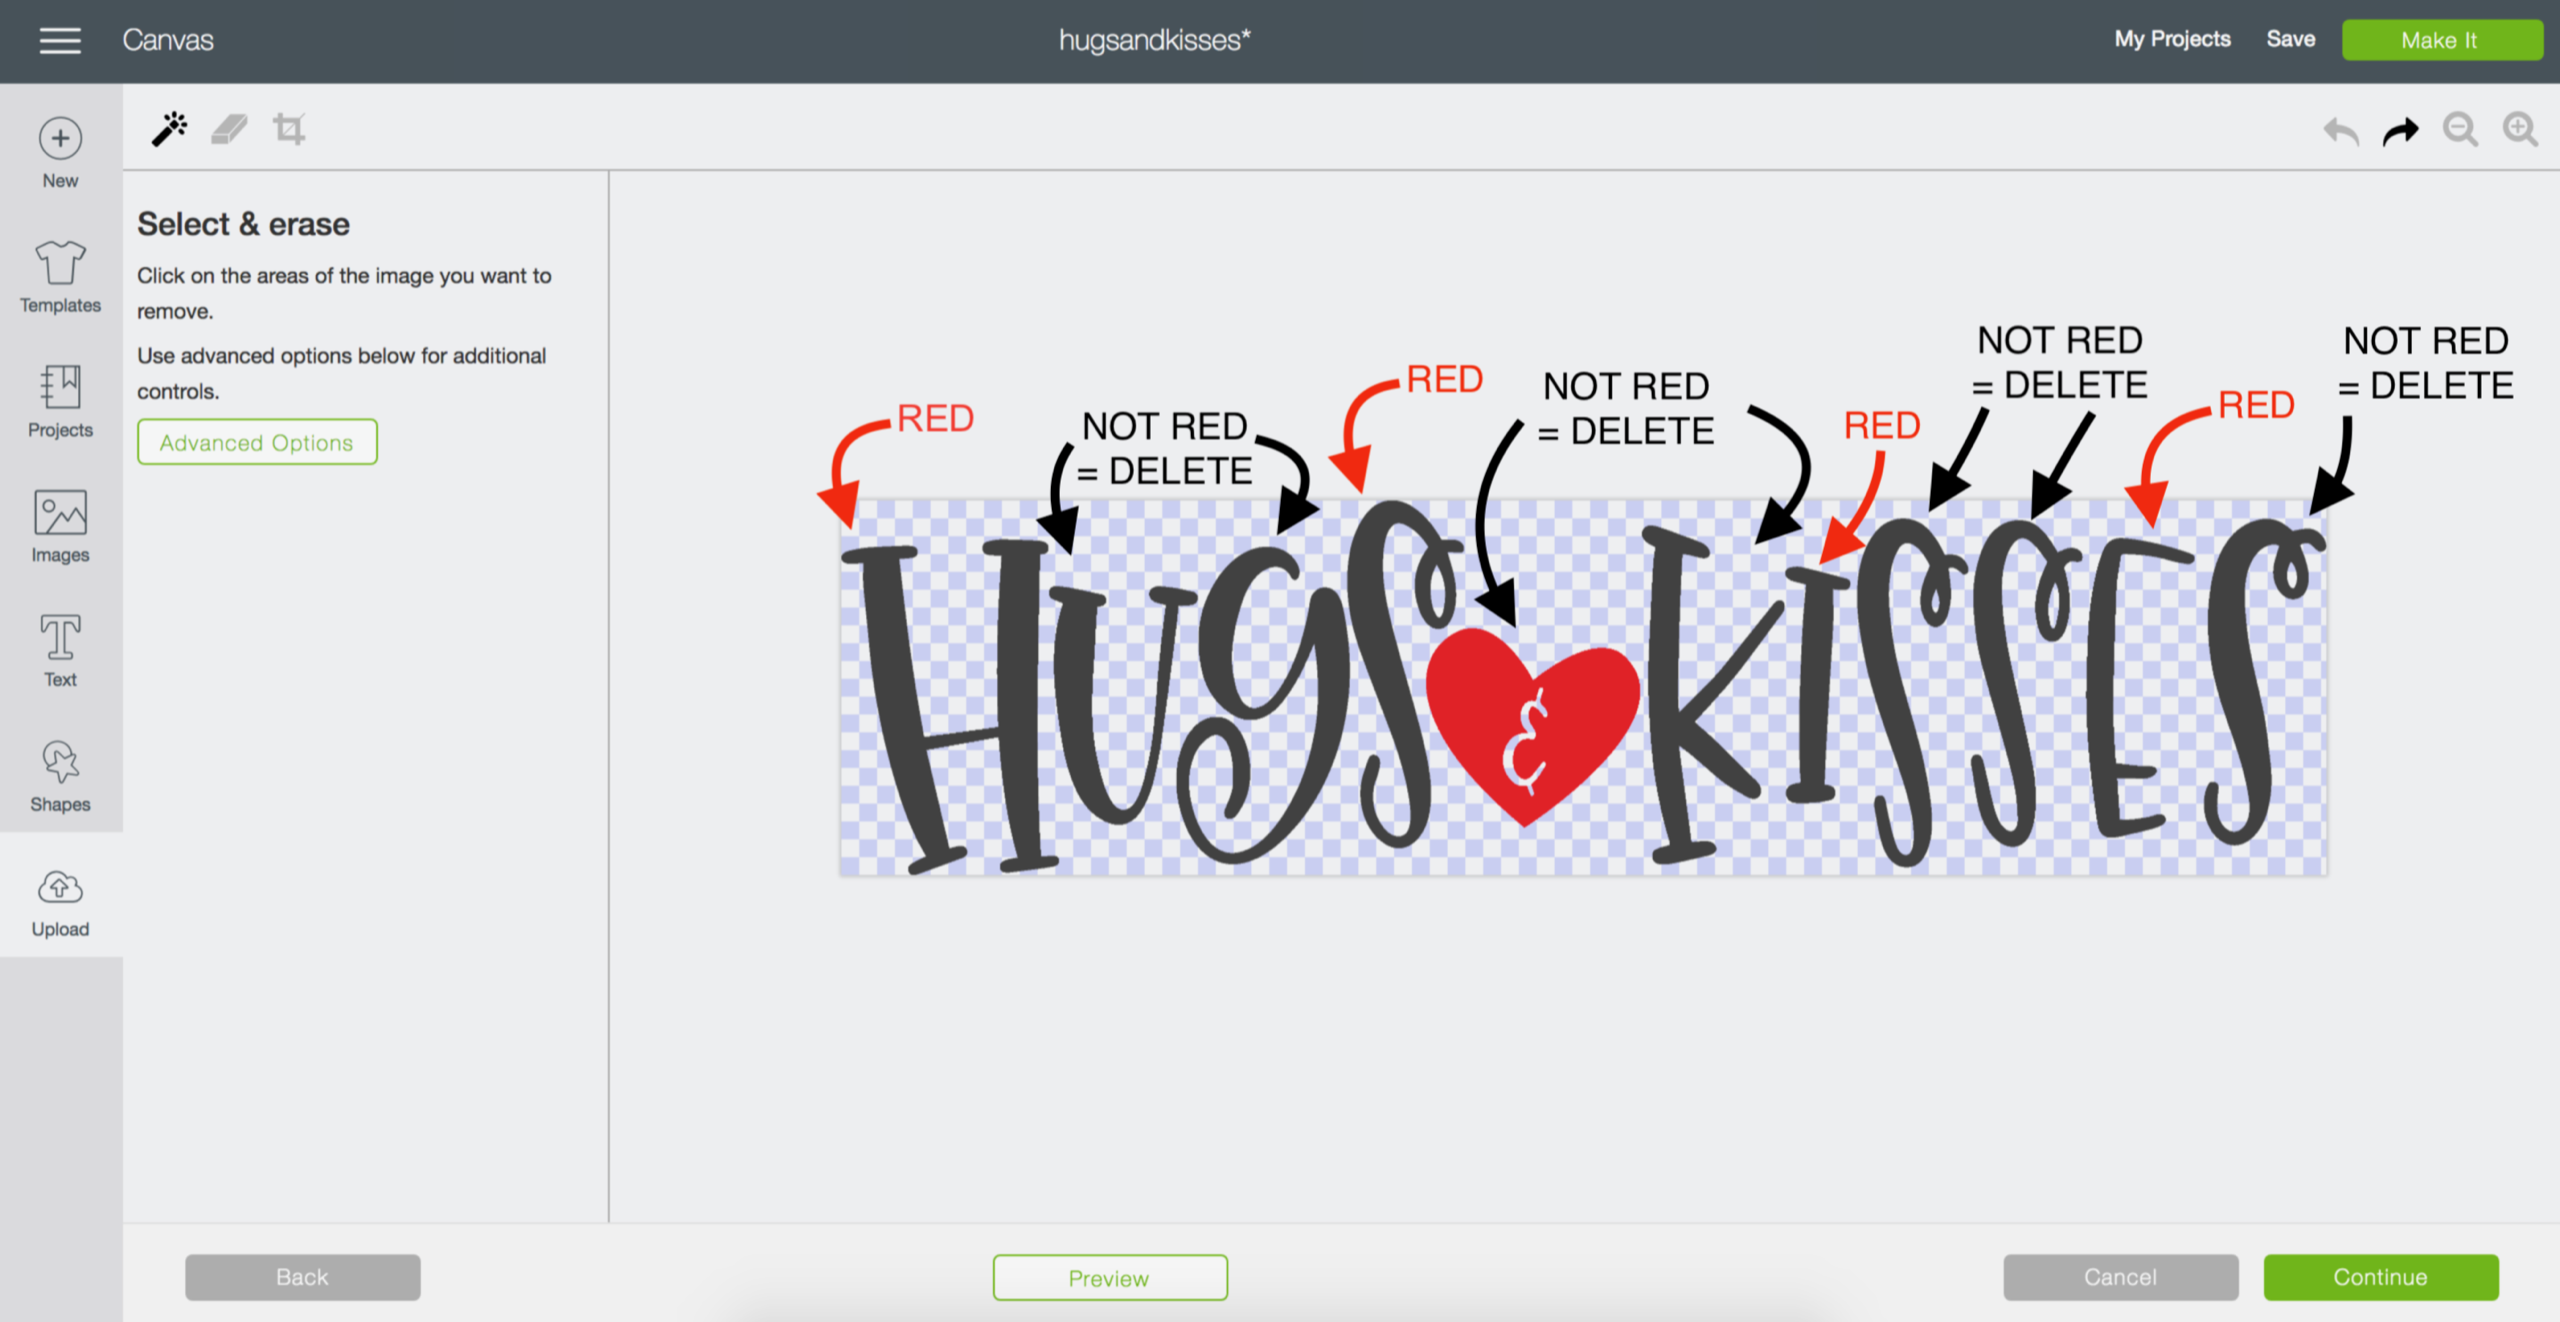
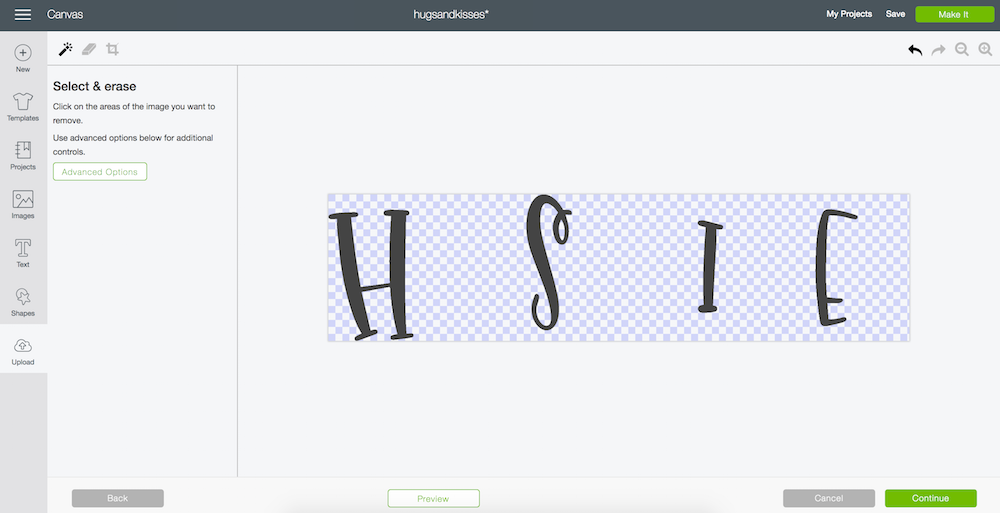
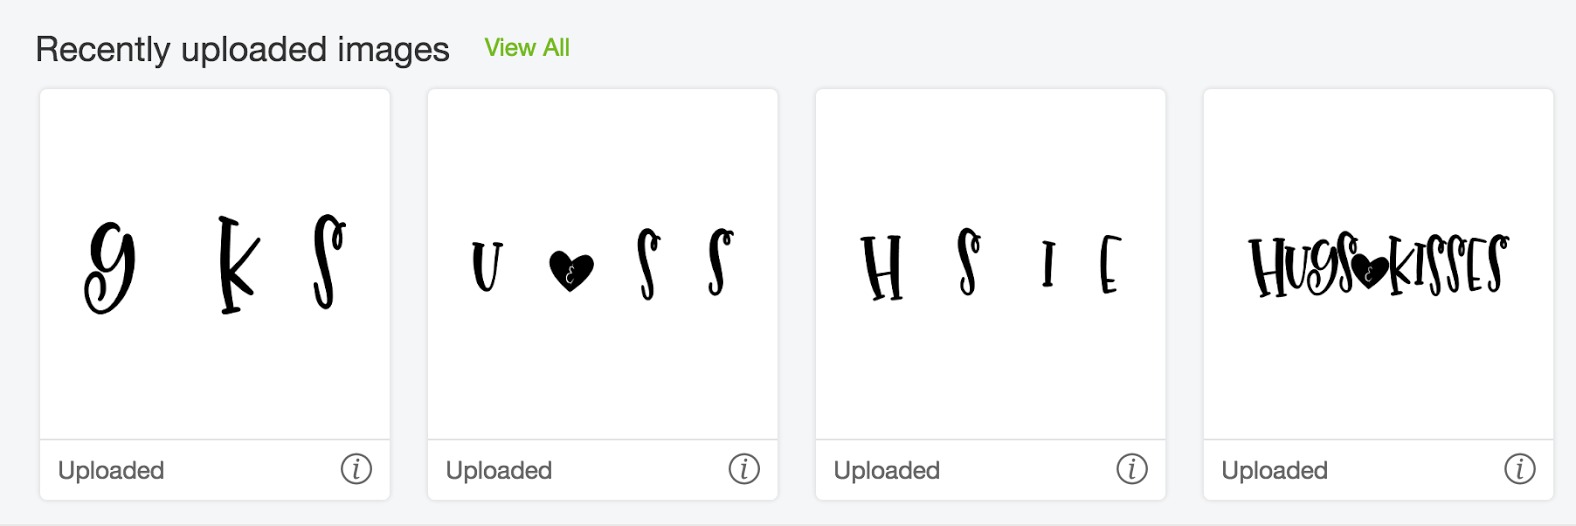
Next, I go back to the upload window and upload the design again, but this time I only keep the letters that I know I want to be red. So, since I know I'm using 3 colors in my final project I skip count by threes and delete the letters that will not be red. Do this for all three different colors.

Once you're finished you'll have 3 files that look like a hot mess. That's perfect! You're doing this right, I promise. Just name each of the files with the corresponding color. So, in the photo above I have a red, dark pink and light pink file for cutting.
(2) Color, Align and Resize

Open all 4 of the files onto the canvas and color them to match your choice of vinyl. Leave the full design black, this will be how you line up your other 3 files. Just drag to resize until every letter is the same size and in the same place as it is on the black design.
Once it's all lined up you can delete the black layer by clicking on the layer then clicking delete.
(3) Create Registration Mark
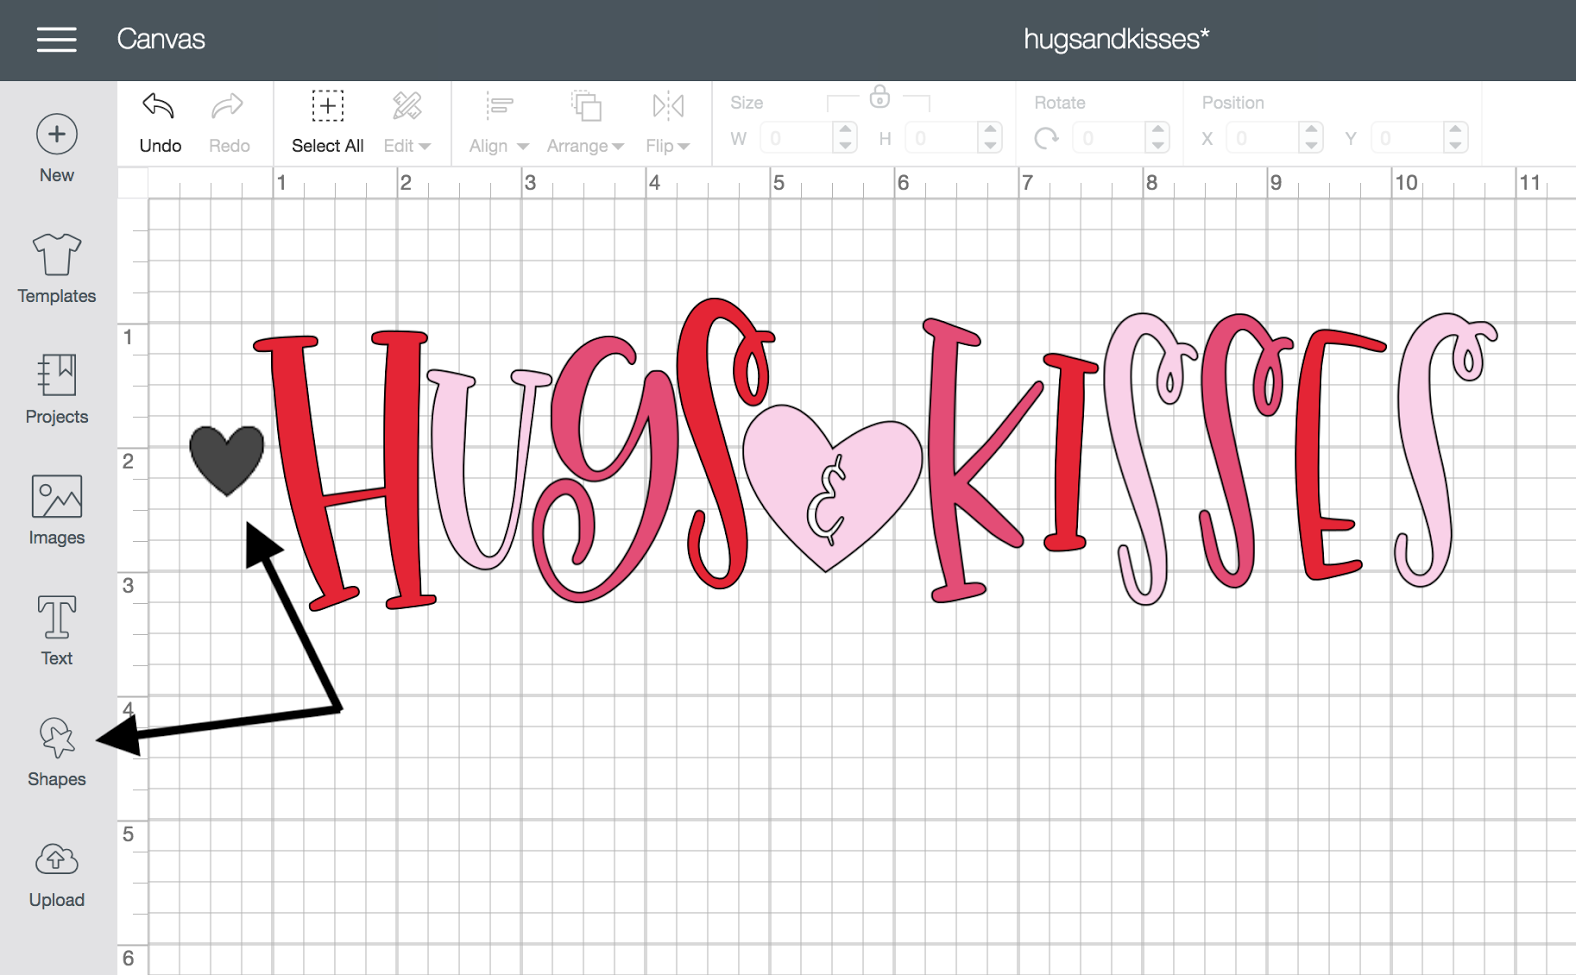
Go to the shapes panel and insert a shape onto the canvas. I'm using a heart in this example. Place it wherever you feel it would be easiest to line up.
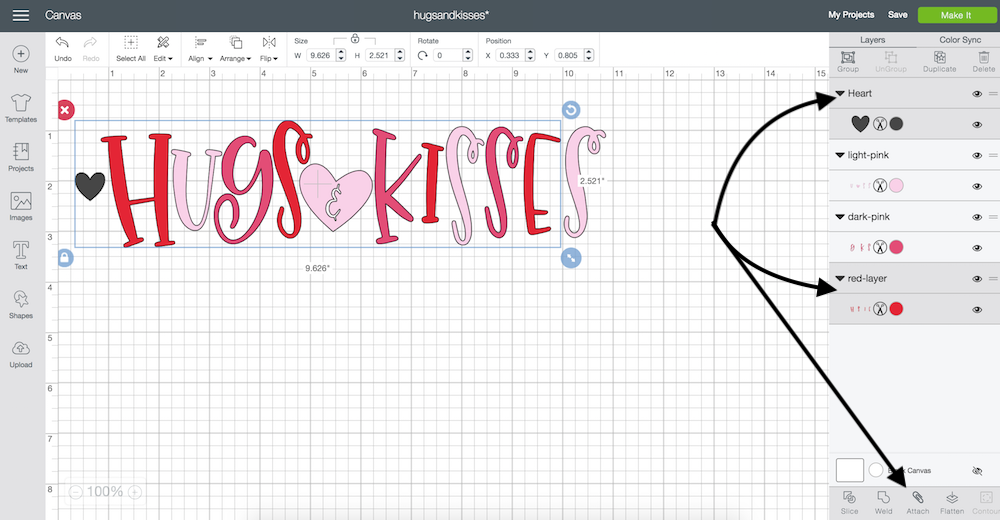
Now, select both the heart shape and the first layer (red) and then click attach. This will attach the two layers together as one.
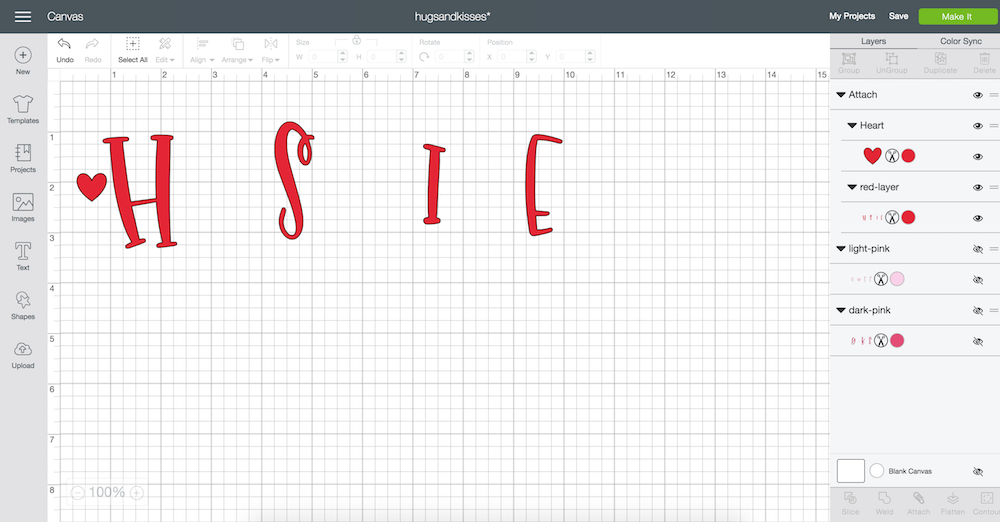
Click the eye next to the dark pink and light pink layers to hide them while you cut the red layer.
Repeat these steps for the dark pink and light pink layers.
(a) Detach the heart from the red layer first and without moving it, attach it to the dark pink layer and hide the red. Cut the dark pink.
(b) Detach the heart from the dark pink, attach it to the light pink and hide the dark pink layer again. Cut the light pink.
When all of the cutting is complete you should have three sheets of different colored vinyl all with a heart in the same spot.
(4) Weed and Layer

Weed all of the layers and begin layering them by lining up the heart on each layer. You can either layer directly onto your item or do the layering on the vinyl backing.
(5) Transfer Design
 Remove the hearts that were being used as registration marks and transfer the design to the tray!
It sounds complicated now that I've put it all into words but it really isn't! Give it a shot and you'll see.
How do you layer multi-colored designs in Design Space? I'd love to learn!
Recent Posts
-
NEW Holographic Eclipse Heat Transfer Vinyl
April 15th, 2024 3 Ways to Use the New Holographic Eclipse Heat Transfer Vinyl from Siser …Apr 29th 2024 -
Hop into Spring with Cute Easter Vinyl Crafts
Do you love our Vinyl? Sign up for Vinyl Club today to get FREE vinyl and save big! …Mar 28th 2024 -

Fixing Wrinkles and Bubbles in Vinyl
How do you get air bubbles out of vinyl? There are a few different ways to ensure a flawless …Mar 26th 2024