
Layering Heat Transfer Vinyl: Step-by-Step Instructions
Hi, it's Jessica with Expressions Vinyl, and today I'm going to show you what you can layer with heat transfer vinyl, or HTV. We're going to tell you what you can and can't layer, what holds up the best, and how to apply multiple layers.
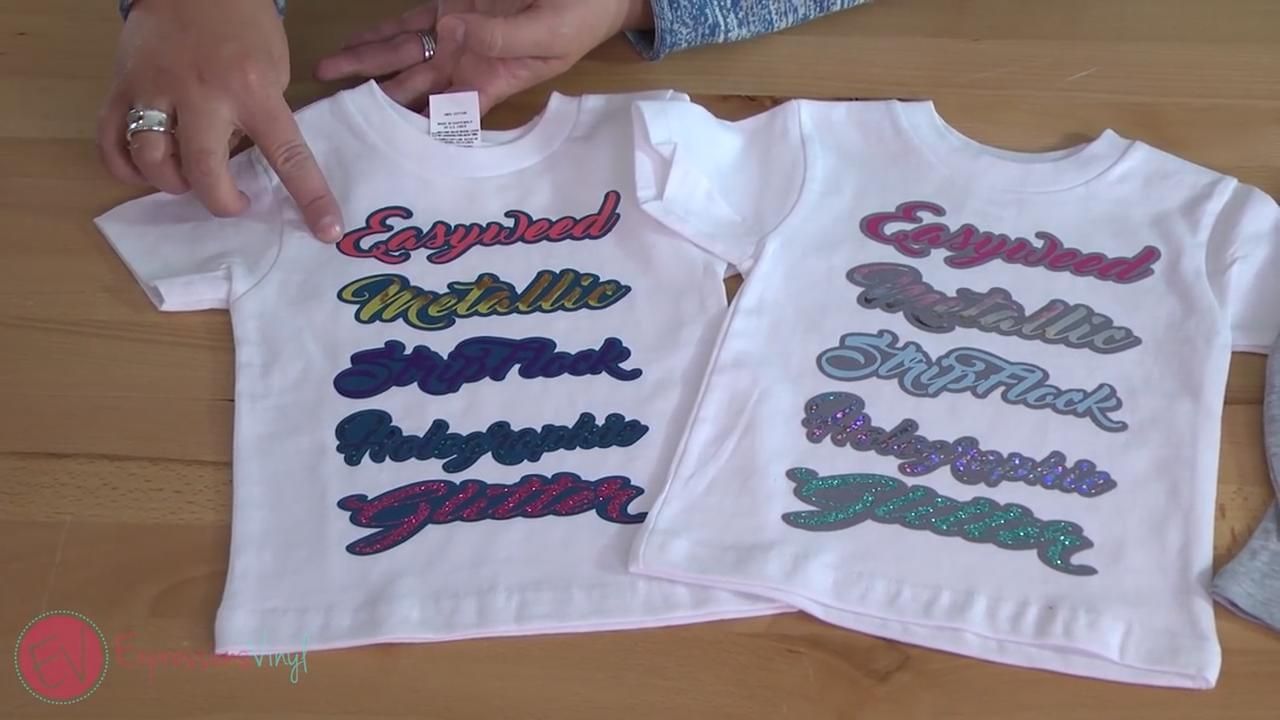

The images above show all the different layers you can do. The shirt on the left has EasyWeed as the base layer (the turquoise layer on the bottom) and then layered on top are EasyWeed, Metallic EasyWeed, StripFlock, Holographic and Glitter vinyls, respectively. The shirt on the right has a layer of grey Stripflock for the base layer. I know a lot of you are going to say, "StripFlock! You can't layer on Stripflock." With Siser StripFlock you can!
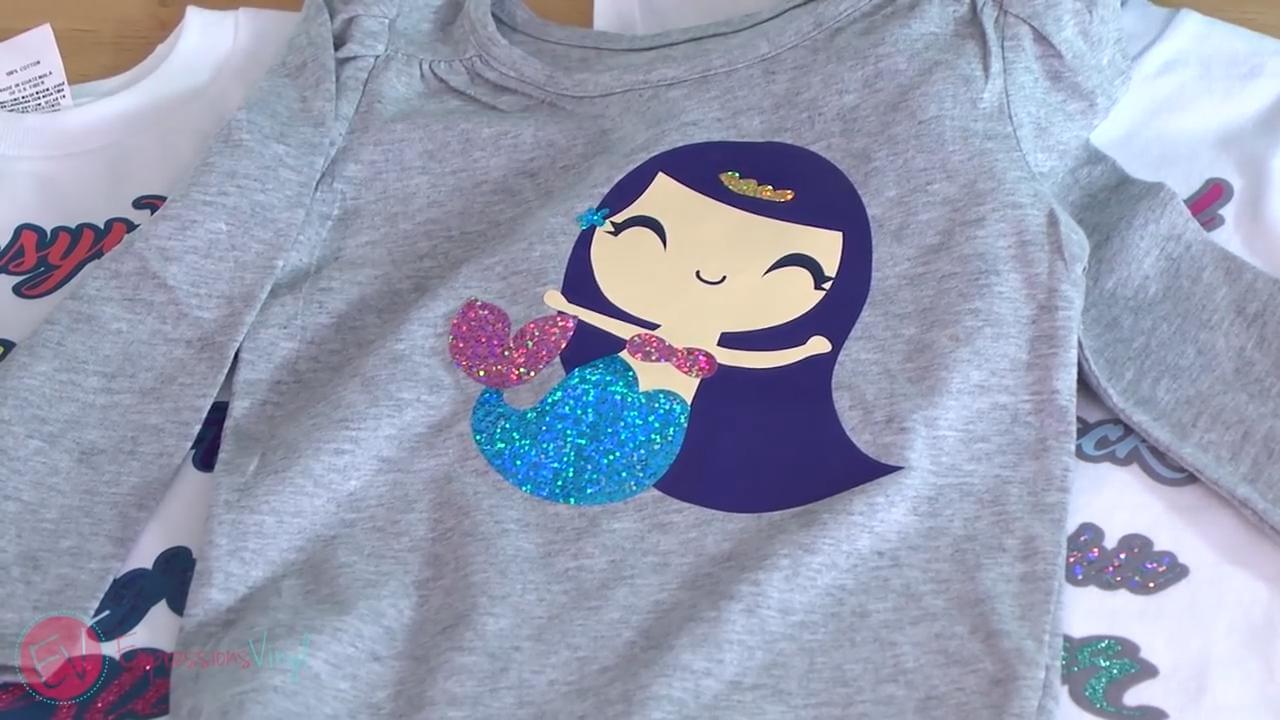
Now with the glitters, you don't want to layer glitter on top of glitter because tit will affect the adhesive. You can get it to stick, but with washing and wear, it's not going to hold up as long as it would if you layered EasyWeed on the bottom and then Glitter on the top. The same goes for Holographic, and the Metallic, you always want those to be your top layers. I have a shirt here that I have layered different pieces with. I've got Easyweed on the bottom, Easyweed for her eyes and nose, and then the Holographic is on top for the little accents.
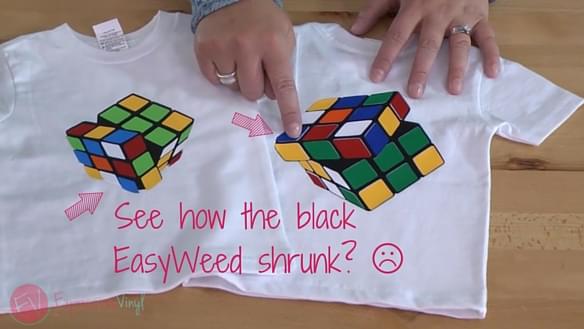
Okay, so I'm going to show you an example of a project I had a lot of trouble with. This bottom layer, the black, is Easyweed. It's such a big solid piece that when I laid that on first, it shrunk up. You can see that these layers here are sticking out because my bottom layer shrunk up so much. Then over on the right, I tried to pop out the middles of the black, and then center these inside. If I were to do them individually I think I could have gotten it to work, but I was doing the blue layer, the red layer, then the green layer. It was kind of tricky, and the black shrunk up again.
So today, I'm going to show you a little trick, and we're actually going to make this shirt, and I will show you how to layer this many layers and it not have it shrink up on you.
I've got all my layers here and as you can see I have quite a few . The trick to not having your bottom layer shrink on you is using Stripflock. It has a fuzzy texture, and like with all heat transfer materials, you'll mirror it before you cut it out. Then when you weed it's going to leave the carrier sheet a little fuzzy. Don't worry, that won't transfer onto your shirt because the adhesive is on the vinyl not the clear sheet.
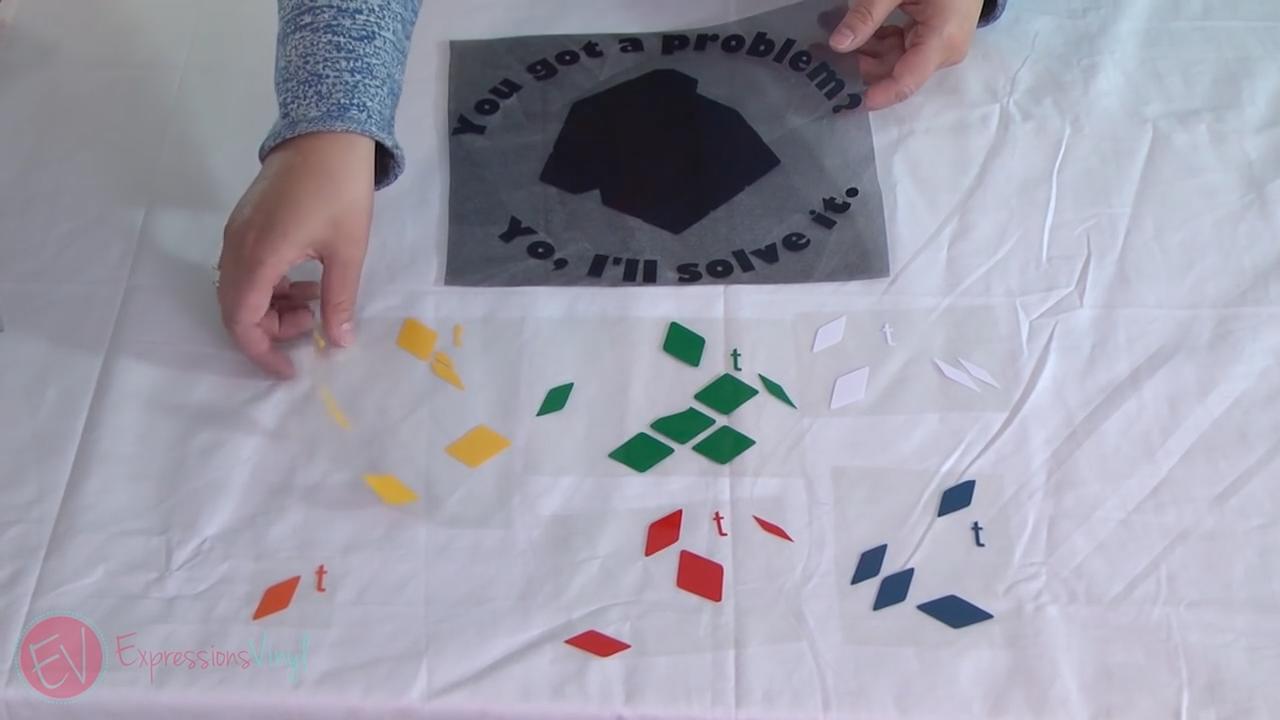
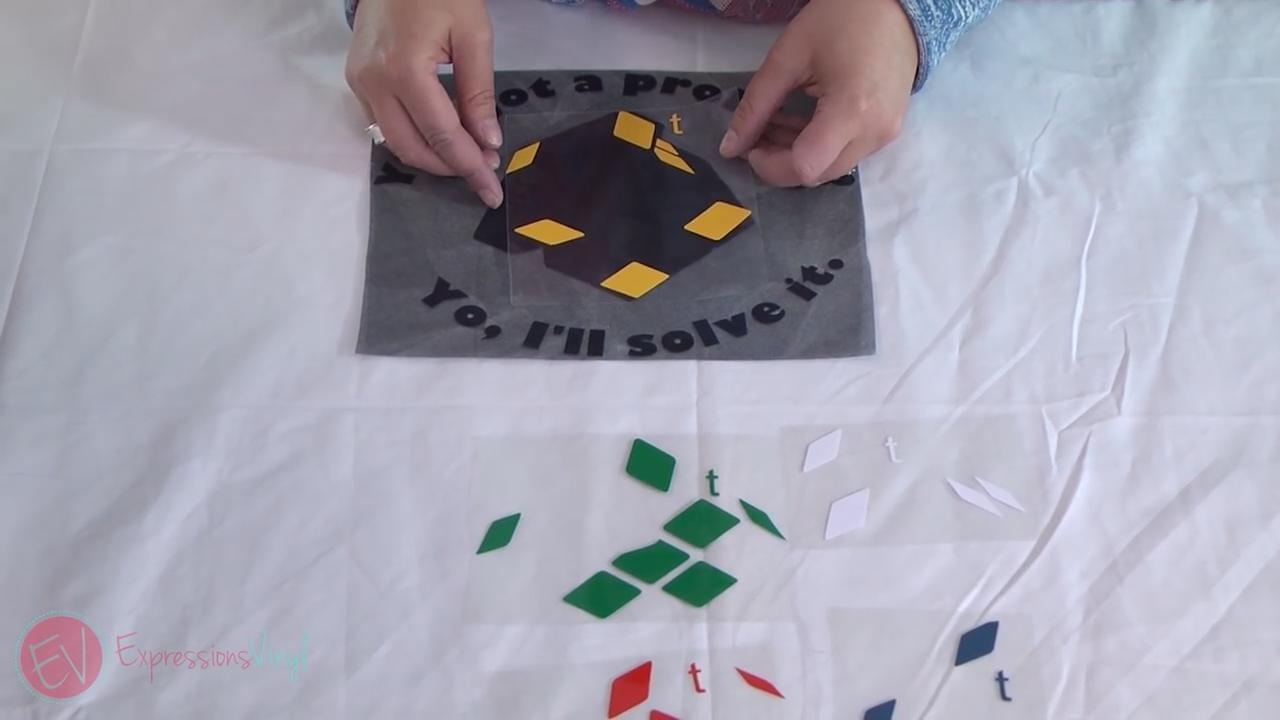
I've got these all laid out, notice I have a T on each one. That's just to show me that this section is the top, so when I'm layering I know where I'm at with each piece. I then layered some of my colors before pressing just to preview what it would look like. :)


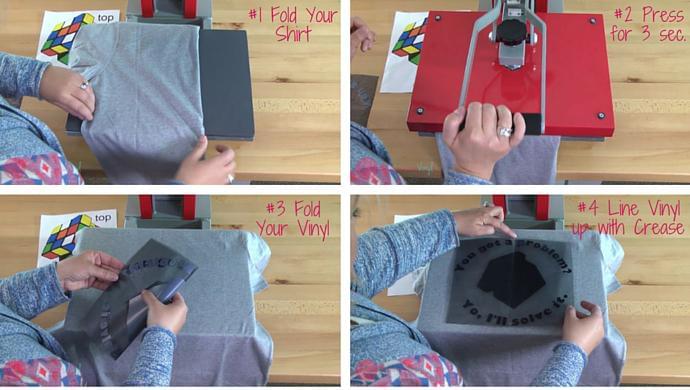
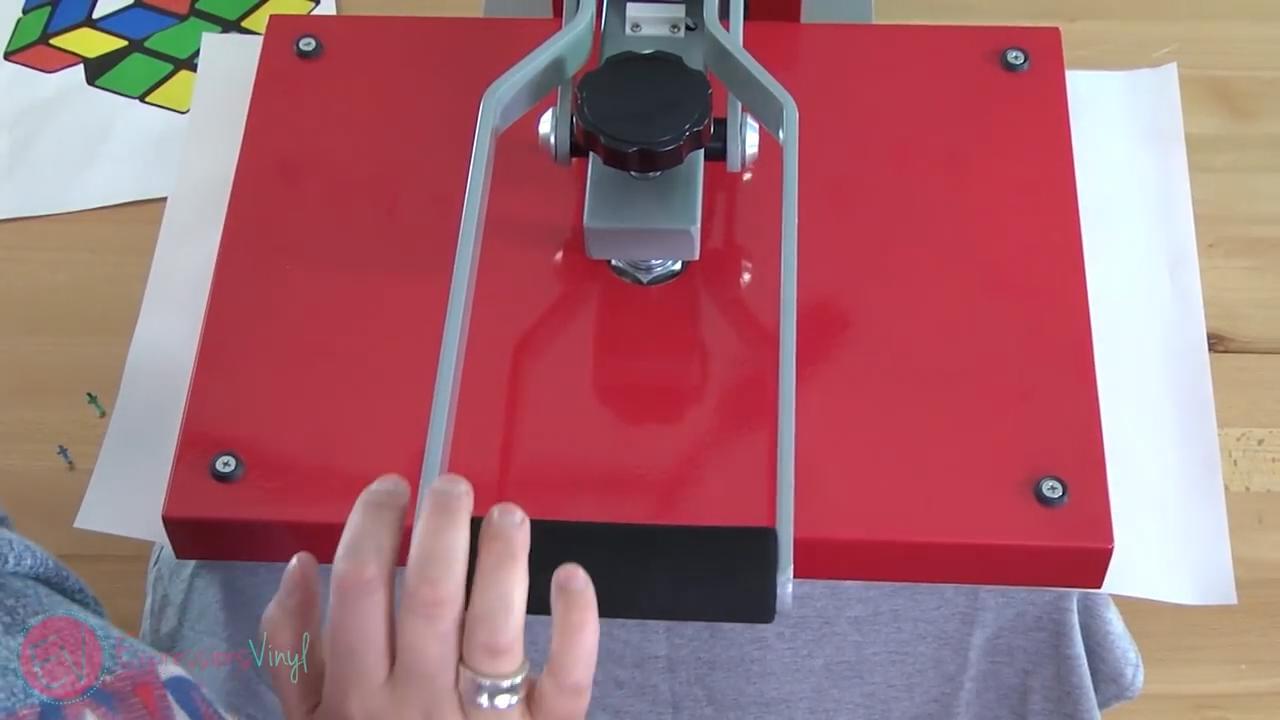
Okay, now I'm going to show you how to line up your image on your shirt. You want to make sure all your tags are taken off, and you don't have anything left on the shirt. You can pre-shrink it if you want, just don't use a dryer sheet or fabric softener because that will affect the adhesive on your shirt.
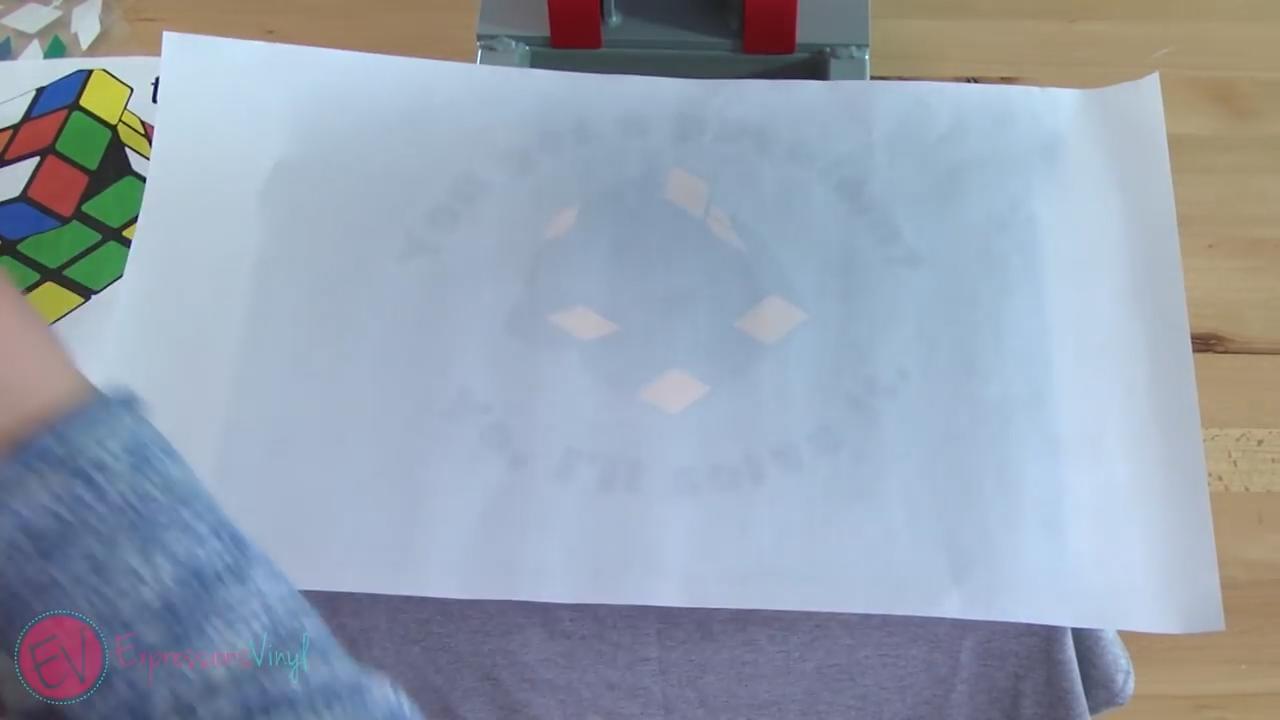
I like to do this trick: I take the shirt and fold it in half so it gives me a crease right down the middle. Then I press it for just a few seconds, just to give me that line so I know right where the middle of my shirt is. Then I take my first layer, which is the StripFlock, and I fold that in half. When I was creating it I put a box around it so when I weeded it out, I had nice straight lines to cut around. Vinyl is very forgiving, so you can fold it right that and it's going to press out.
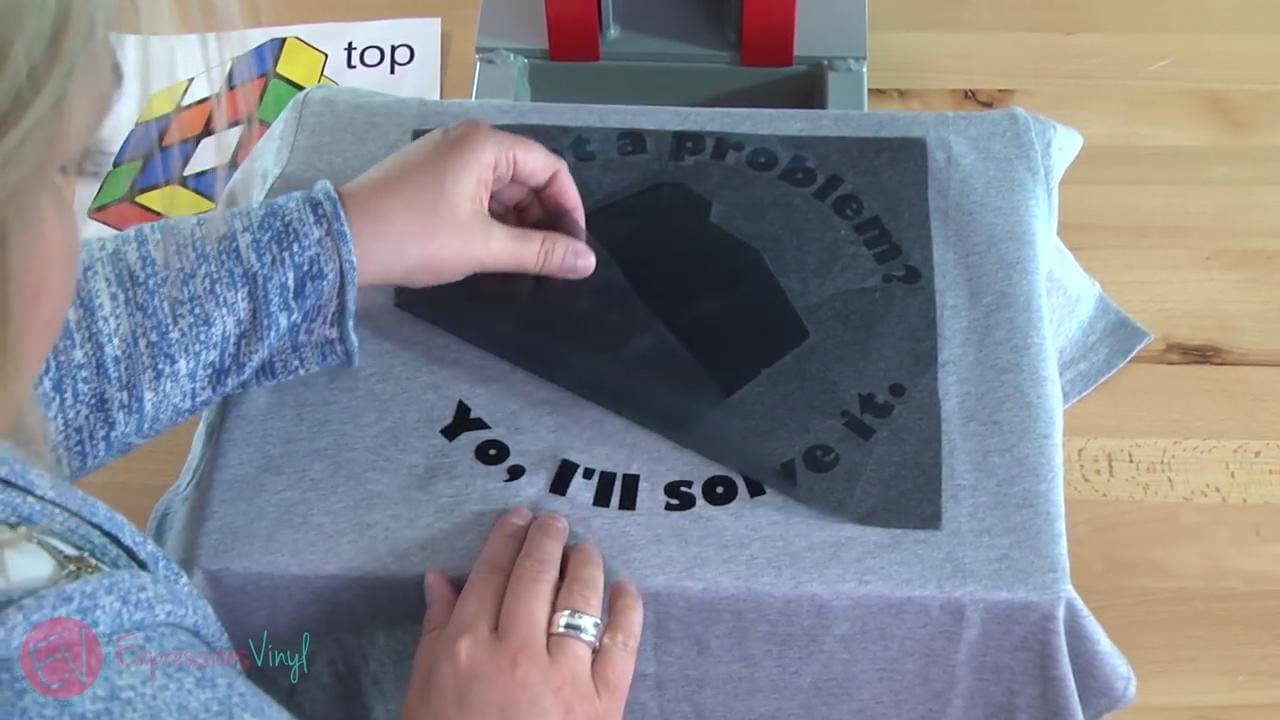
As I mentioned before, this is Stripflock. The temperature you usually want to press it at is 320F for 15 to 20 seconds. However, since I'm layering it so much, and this is the first layer, I only pressed this one for 5 seconds. I also have my temperature set at 305F because the rest of my layers are going to be Easyweed, and Easyweed should be applied at 305F. Another thing about Stripflock, is that it is a cold peel. If I were to peel the carrier sheet off immediately, the vinyl would come up with the transfer sheet, and I would be sad.
Now if I were to take this and wash it, it would probably come up because I didn't transfer it long enough, but where we're going to layer, we're going to get it nice and set.
I've got a little cheat sheet that I printed off of how my layers are going to go and I wanted this because not all the lines are equal. Some places I need to leave a little thinner line, and others it's a little thicker. I just used this to kind of tell how far apart my lines need to be so I could get everything to line up really well.
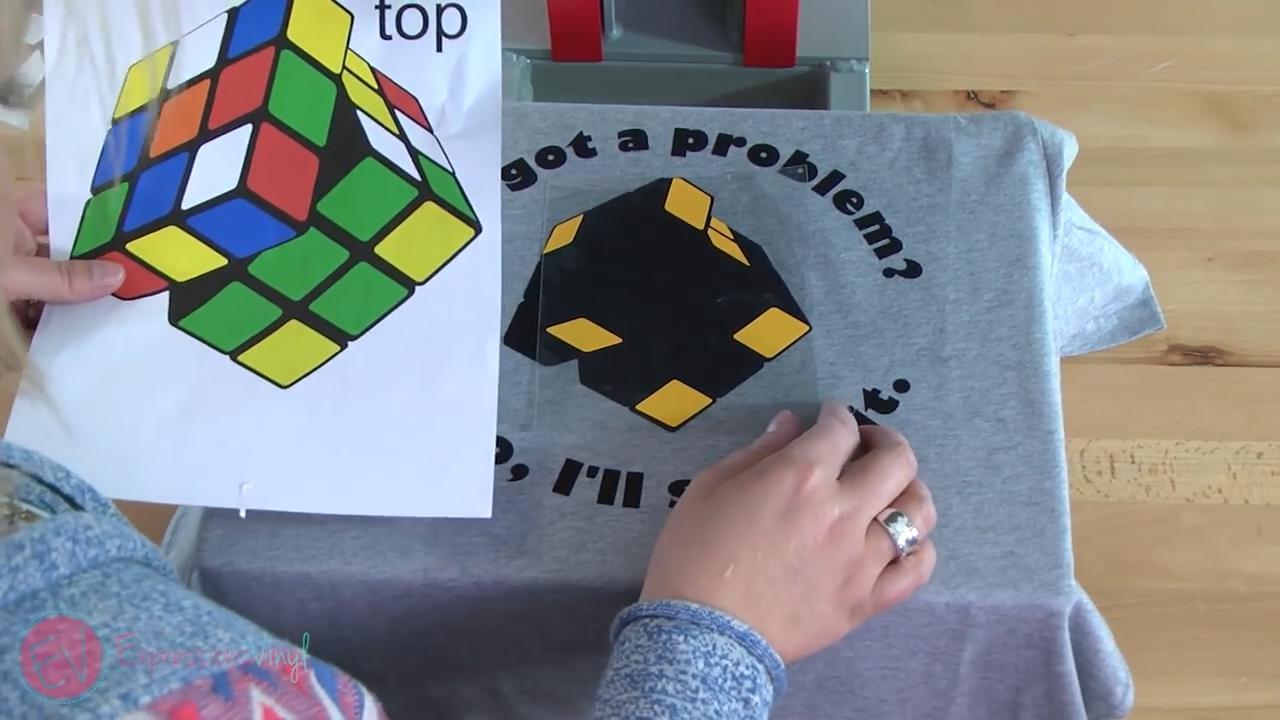
My first layer I did was the yellow because it's had my corner pieces. As this is the first layer, if this layer is messed up the rest of it's going to be off a little bit. Just check back with your cheat sheet to make sure everything is where it should be. I've got my carrier sheet for the yellow, but I had some parts of the words sticking out so I used some of our Multi-Use Paper to protect them from the top of my heat press.
Press this layer for about 2 seconds, this layer is Easyweed, so it likes the hot peel. Again, the adhesive isn't going to be set, so if we were to wash this it wouldn't stick. With all of our other layers combined, we will get a full set.
I continued with each color, each time only pressing for 2-3 seconds.

Each time I used the Multi Use Paper to protect the vinyl.
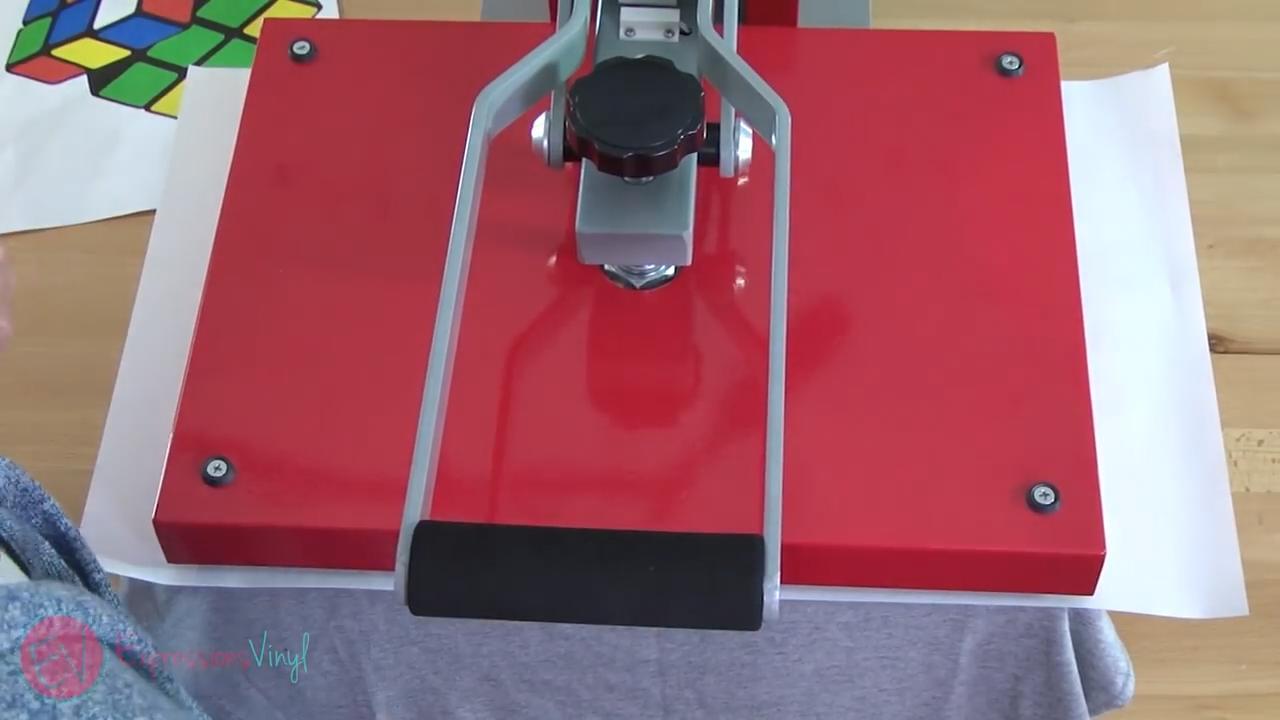
You could totally do this with an iron, but it would take a lot of pressing... and it would take a while. If you use a heat press it it makes layering easier! Buy one at our website!
Almost done...
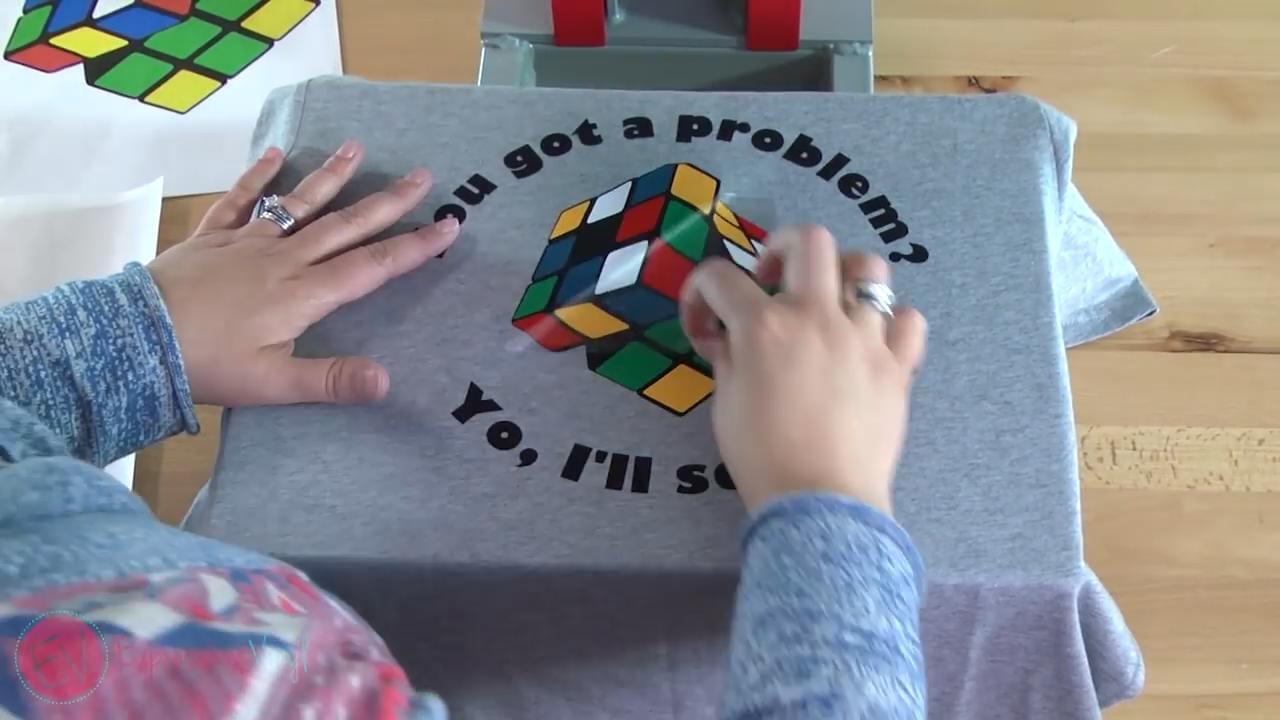
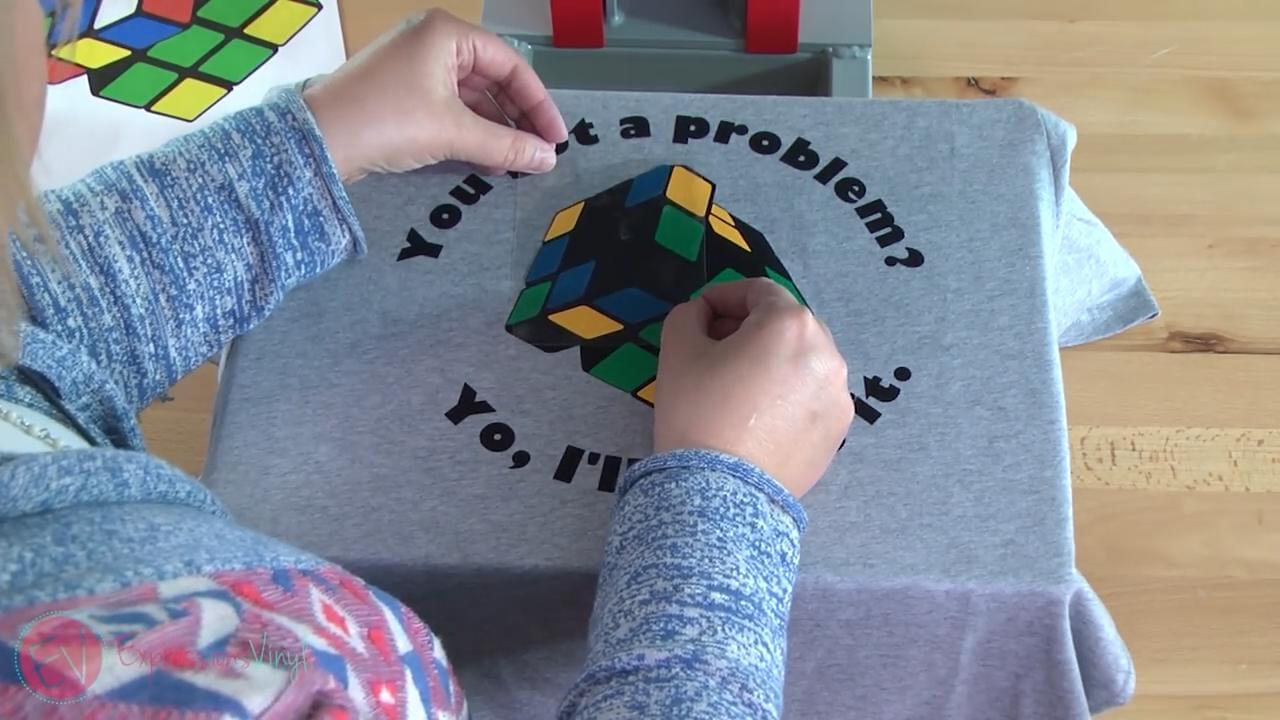
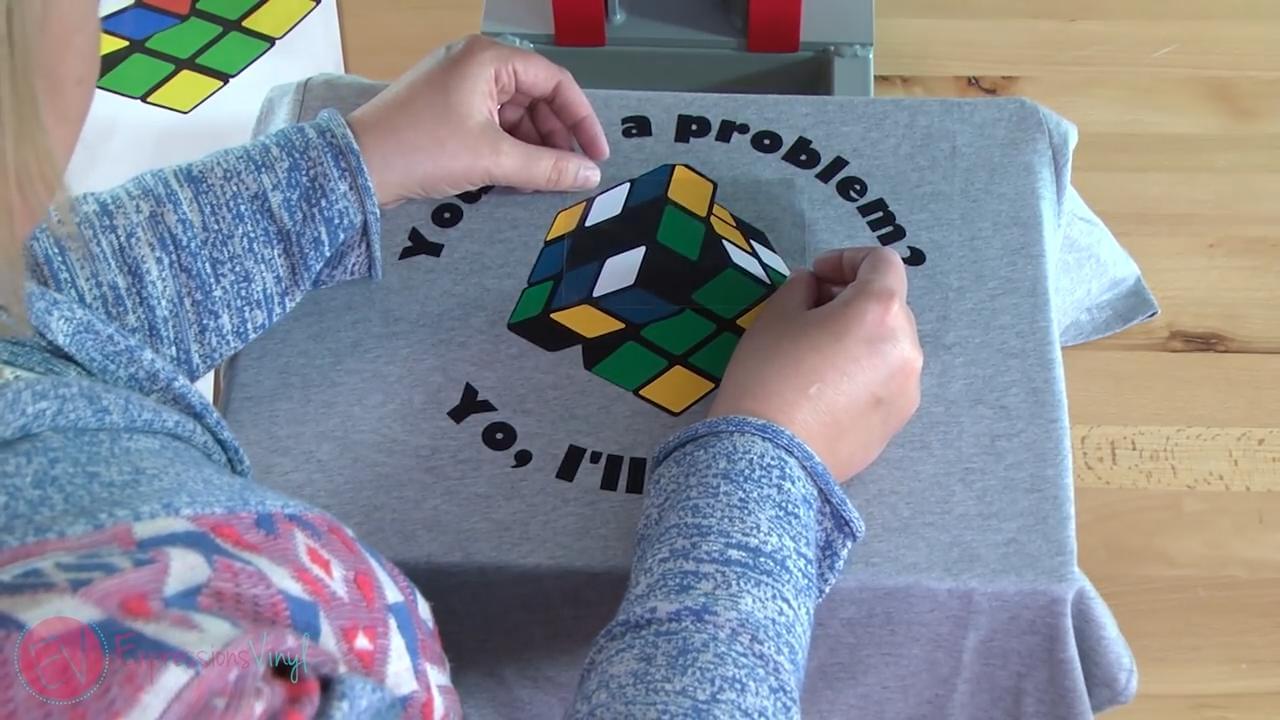
My last layer was orange, so after that one was nice and lined up, I did my last press. This one I did for ten seconds, because each layer only got a couple seconds. Except our first layer, the yellow layer has gotten the most exposure. Doing it for ten seconds will just make sure everything's nice and set, and everything gets a full press.

After removing the last little carrier sheet from the orange vinyl square, it's all done!
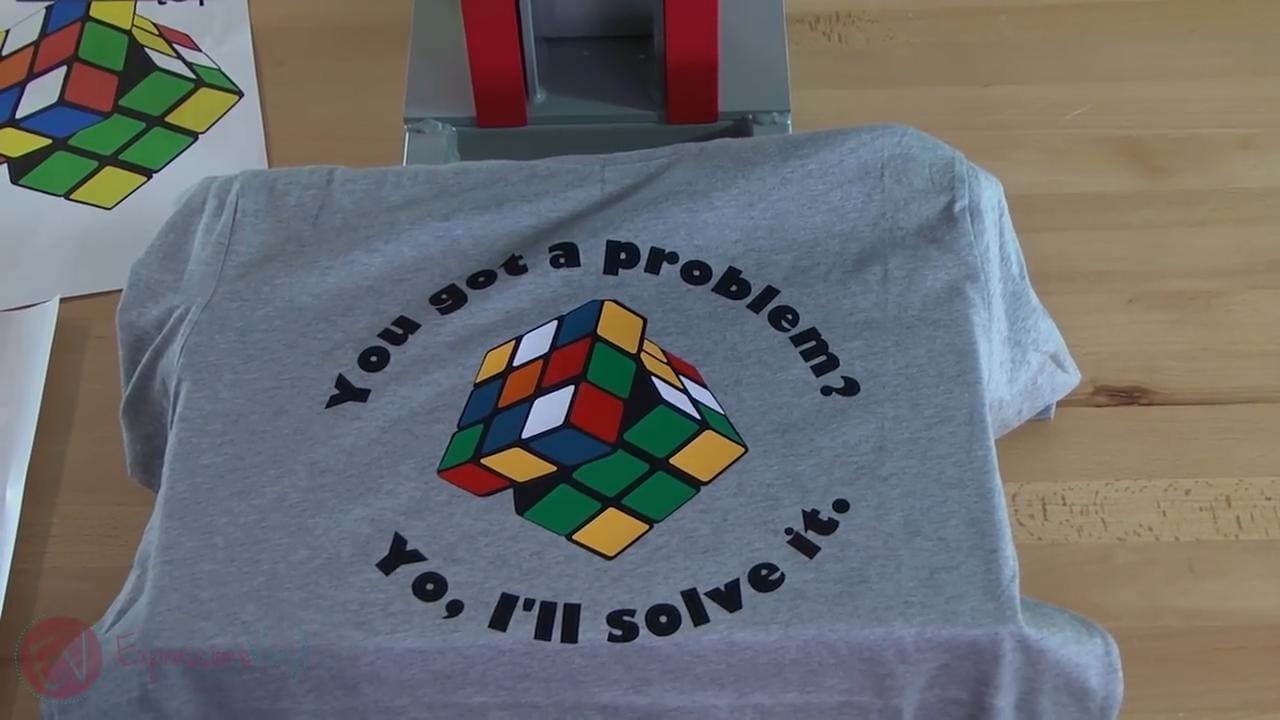
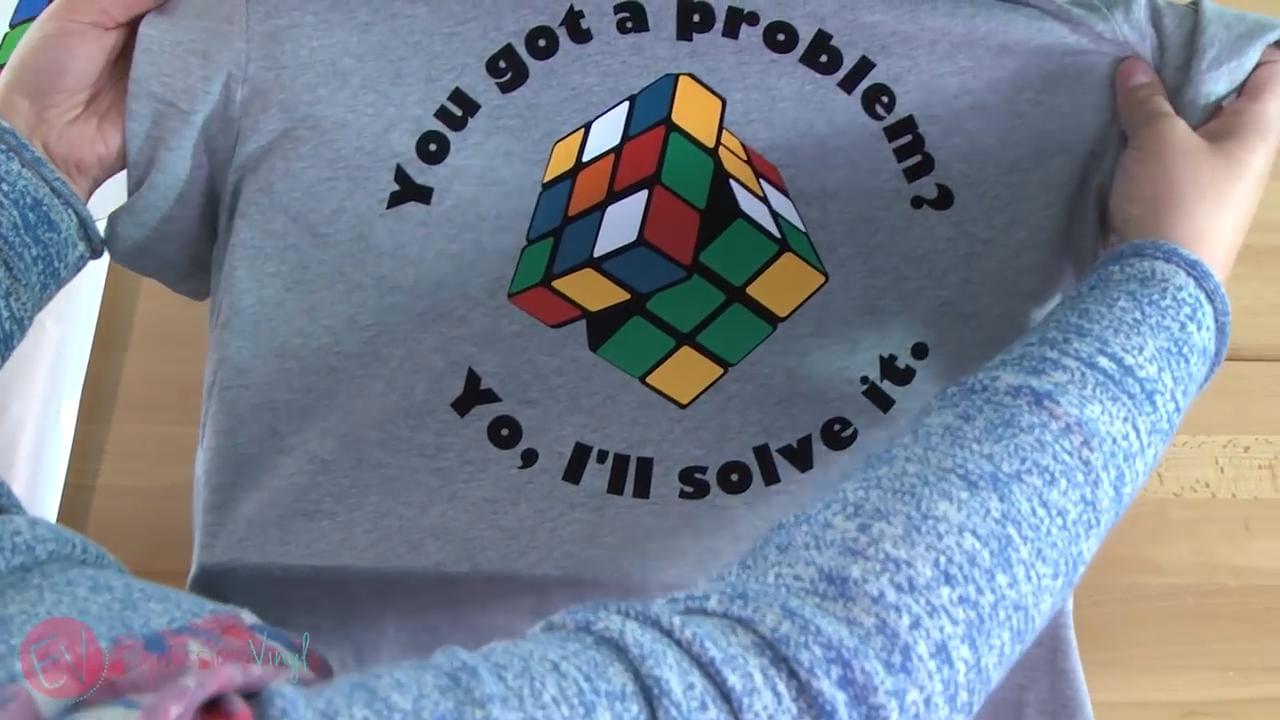
See?! It took a little bit of time and patience, but it was super easy and well worth it!
Recent Posts
-
NEW Holographic Eclipse Heat Transfer Vinyl
April 15th, 2024 3 Ways to Use the New Holographic Eclipse Heat Transfer Vinyl from Siser …Apr 29th 2024 -
Hop into Spring with Cute Easter Vinyl Crafts
Do you love our Vinyl? Sign up for Vinyl Club today to get FREE vinyl and save big! …Mar 28th 2024 -

Fixing Wrinkles and Bubbles in Vinyl
How do you get air bubbles out of vinyl? There are a few different ways to ensure a flawless …Mar 26th 2024