
Diy Personalized Toddler Stool
Happy Friday to you all!
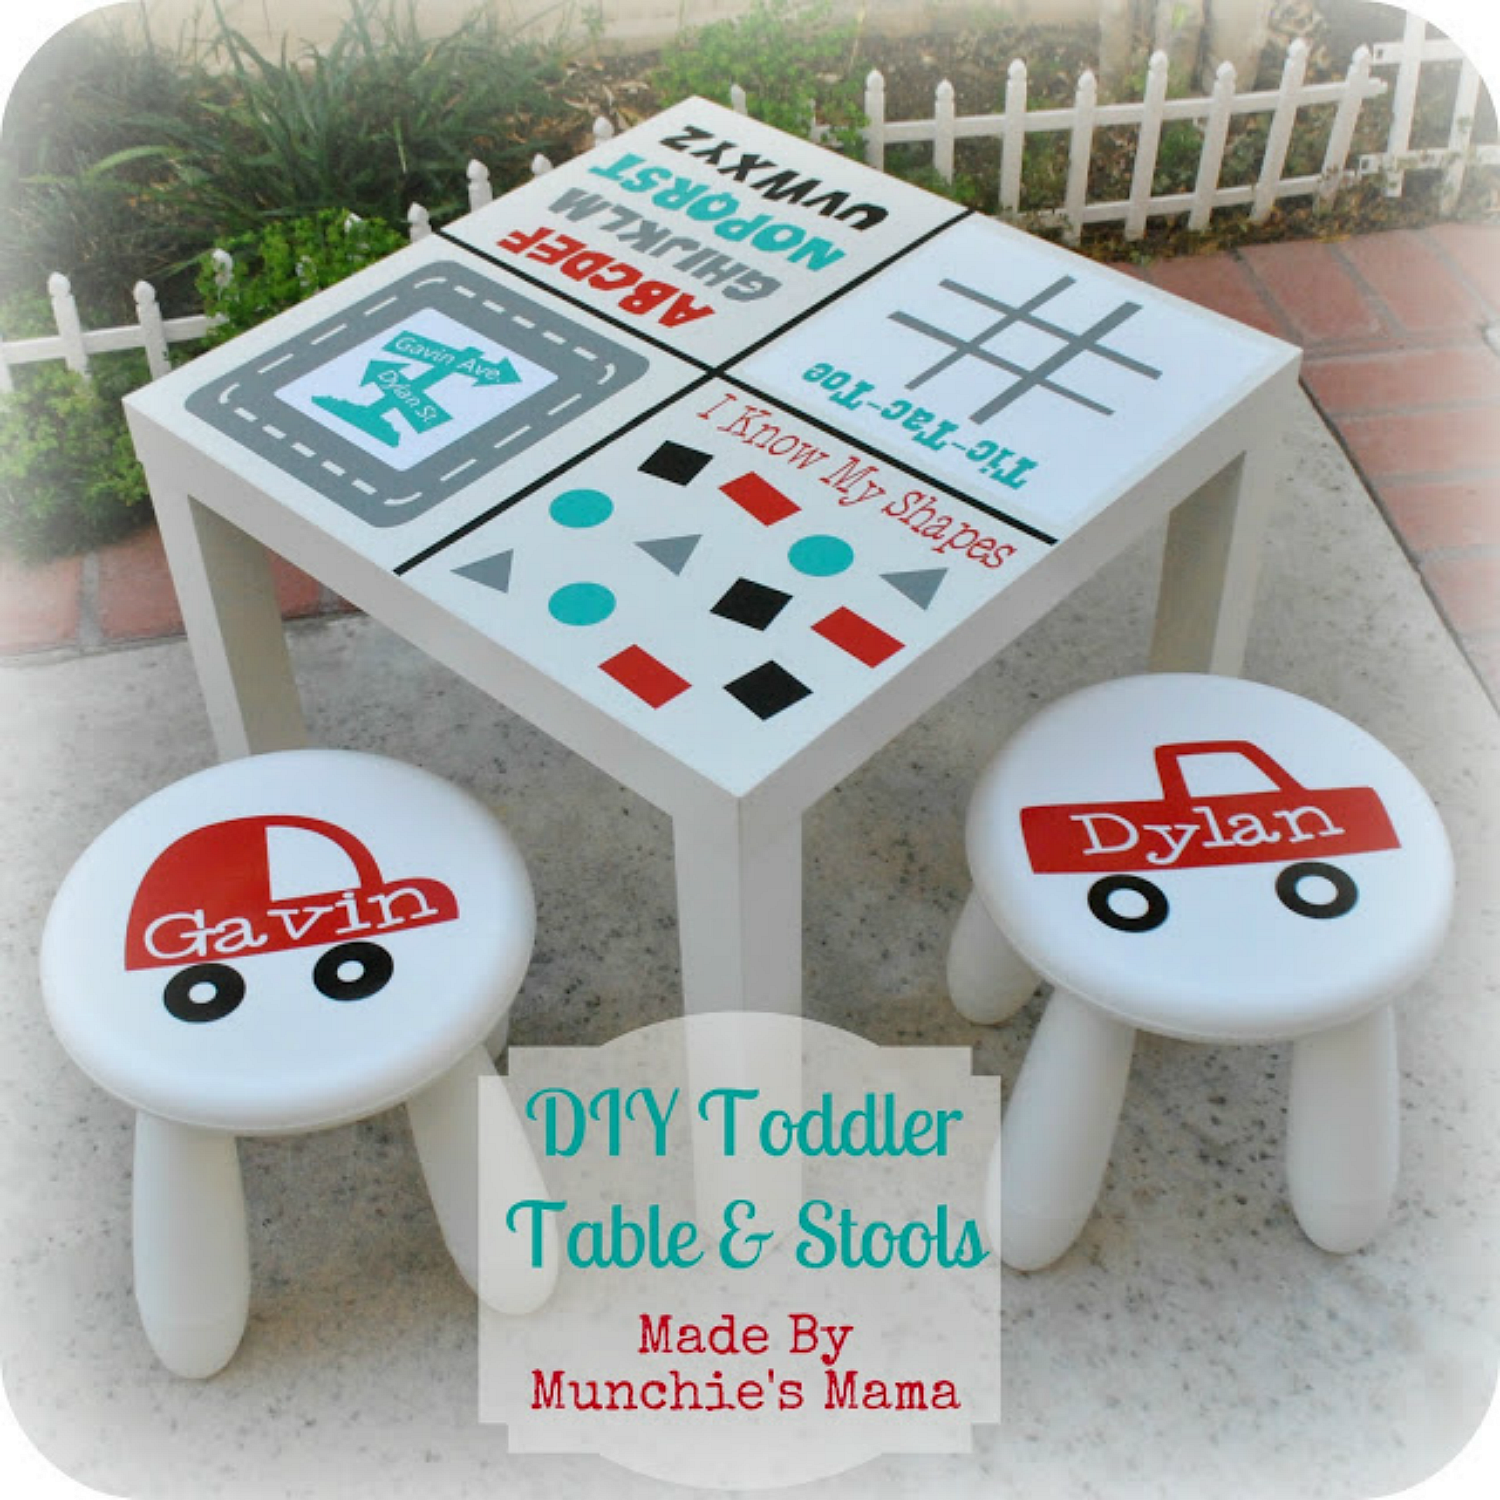
I'm Summer from Made By Munchie's Mama and in March I shared this tutorial showing how I created a personalized toddler activity table for my boys. Well, today I am showing you how to create the matching stools for the table.
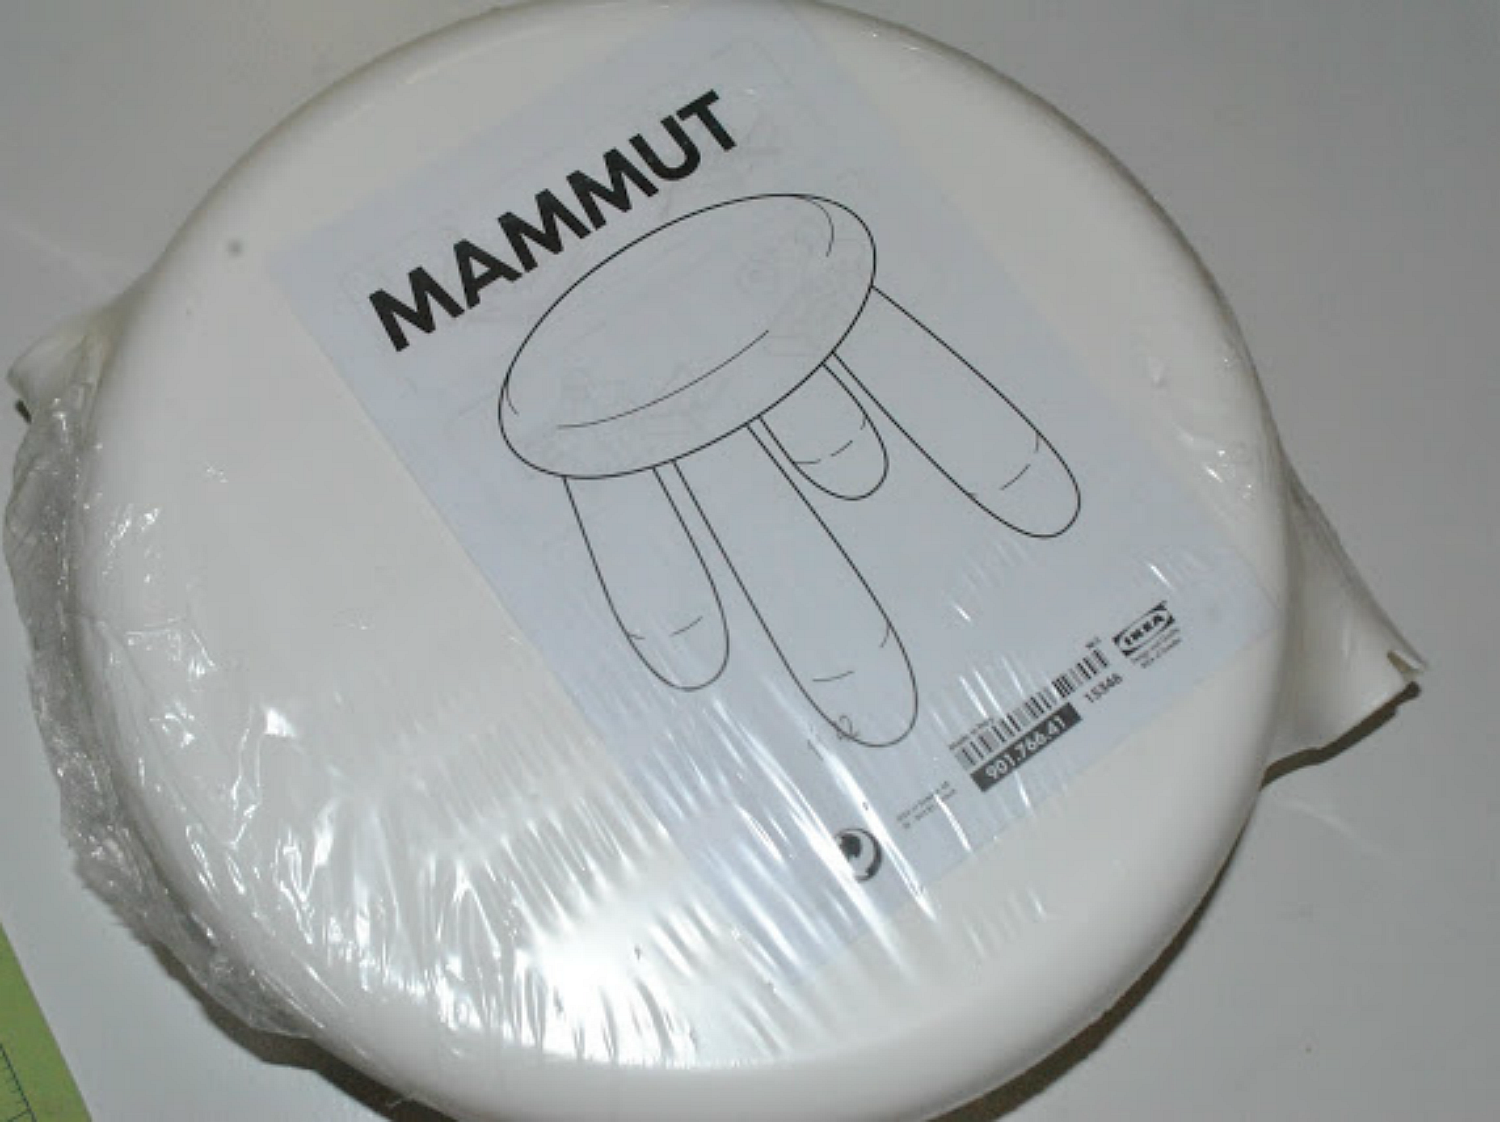
I purchased these stools for $7.99 from Ikea on a whim.
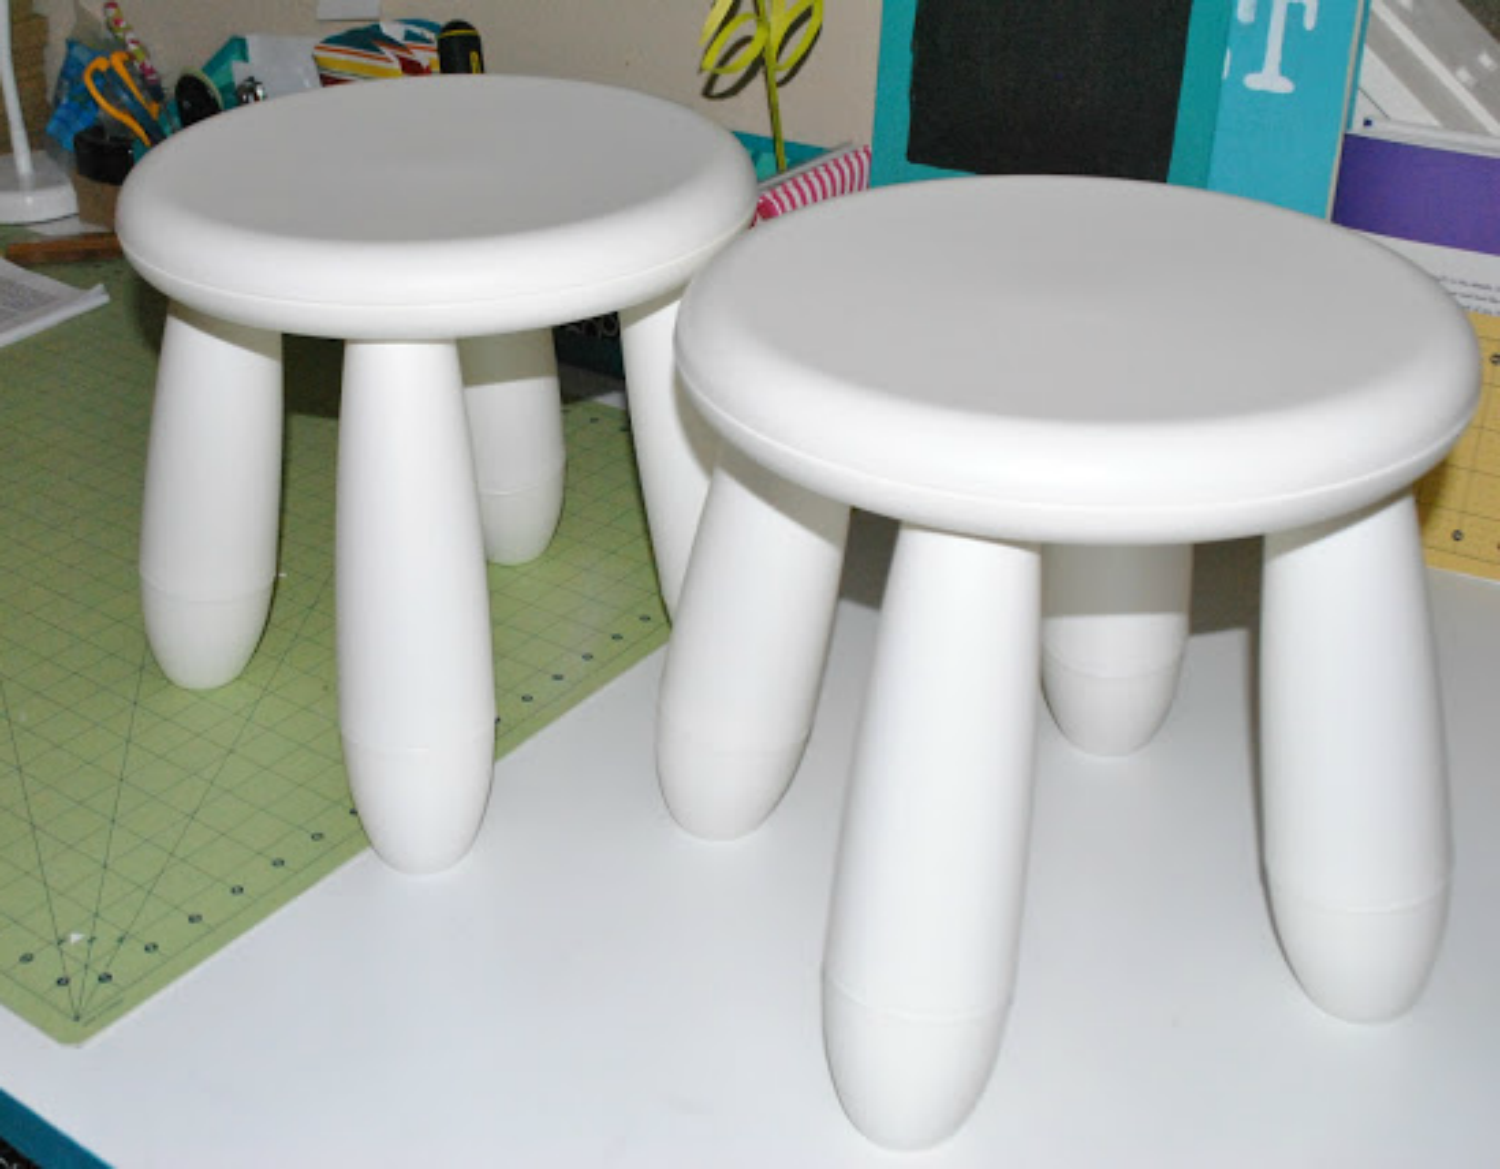
They took seconds to put together, just snap in the legs and they are ready for a cute little diapered booty.
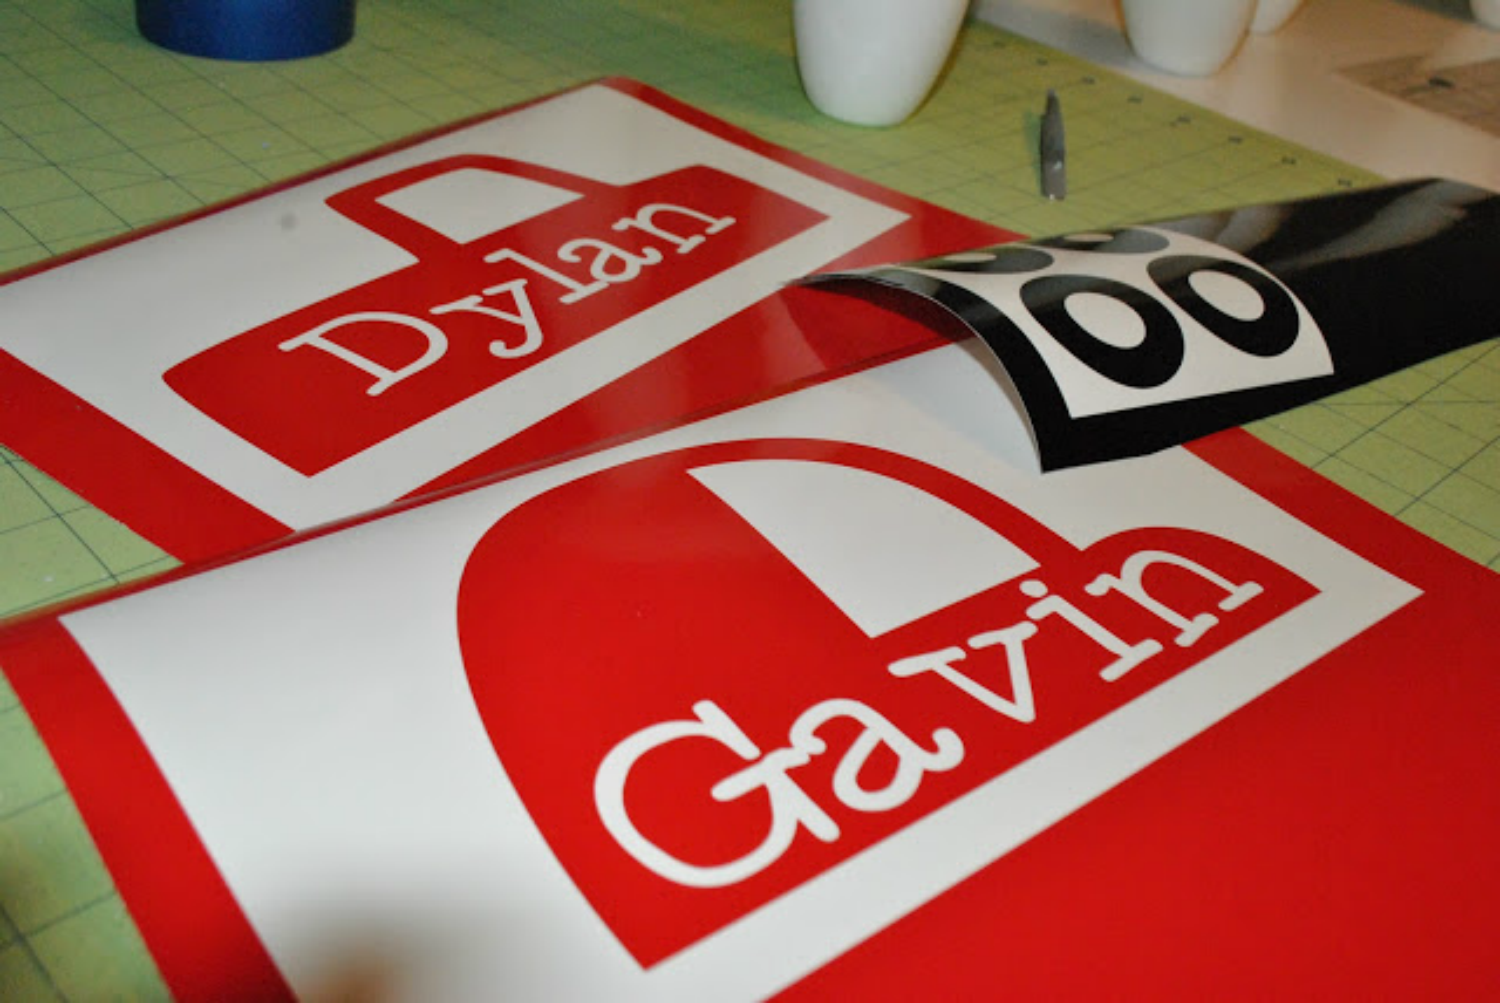
I decided to do car shapes since the table and chairs will be going in the boys' transportation themed bedroom. I added their names into the shapes and separated the car parts by colors, cut and weeded them.
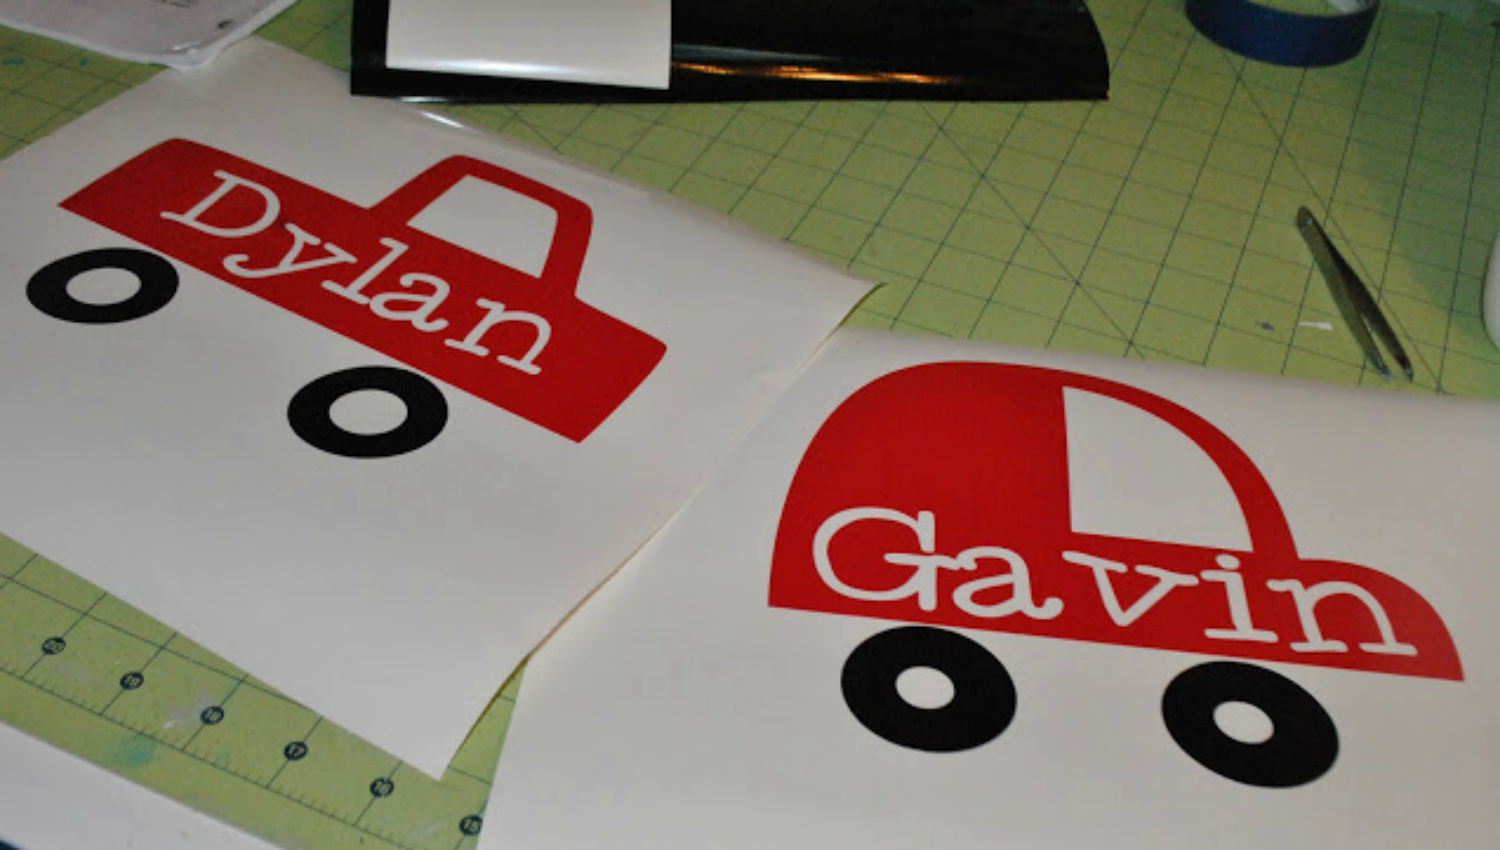
You could apply the different colors separately, but I just peeled off the tires and stuck them on with the red decals.
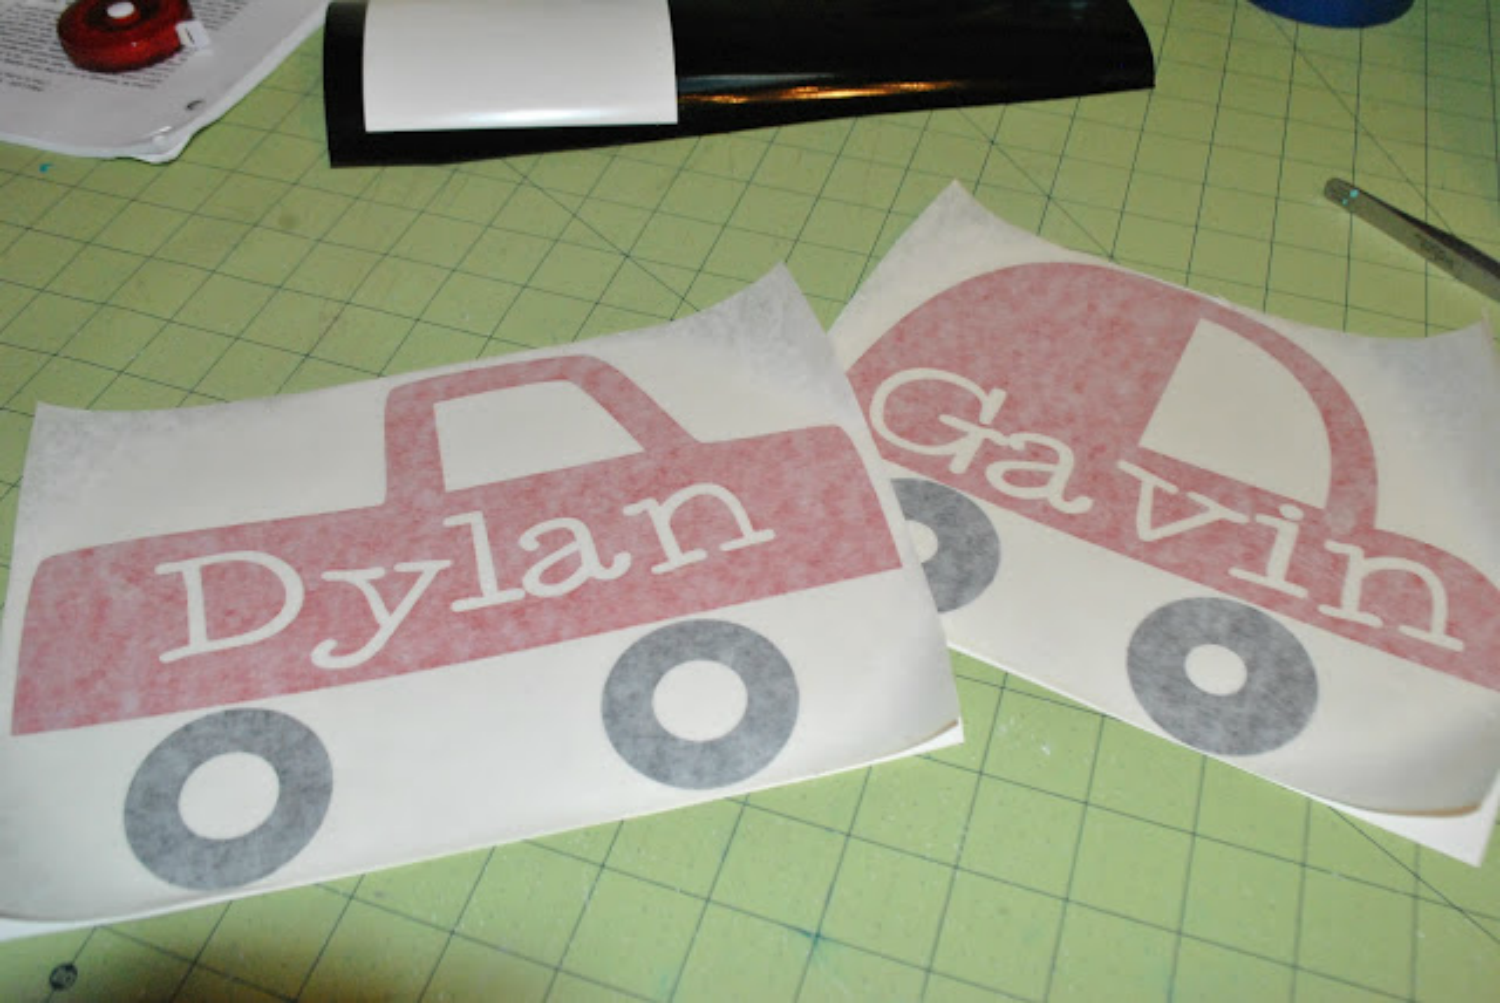
Apply transfer tape and cut out.
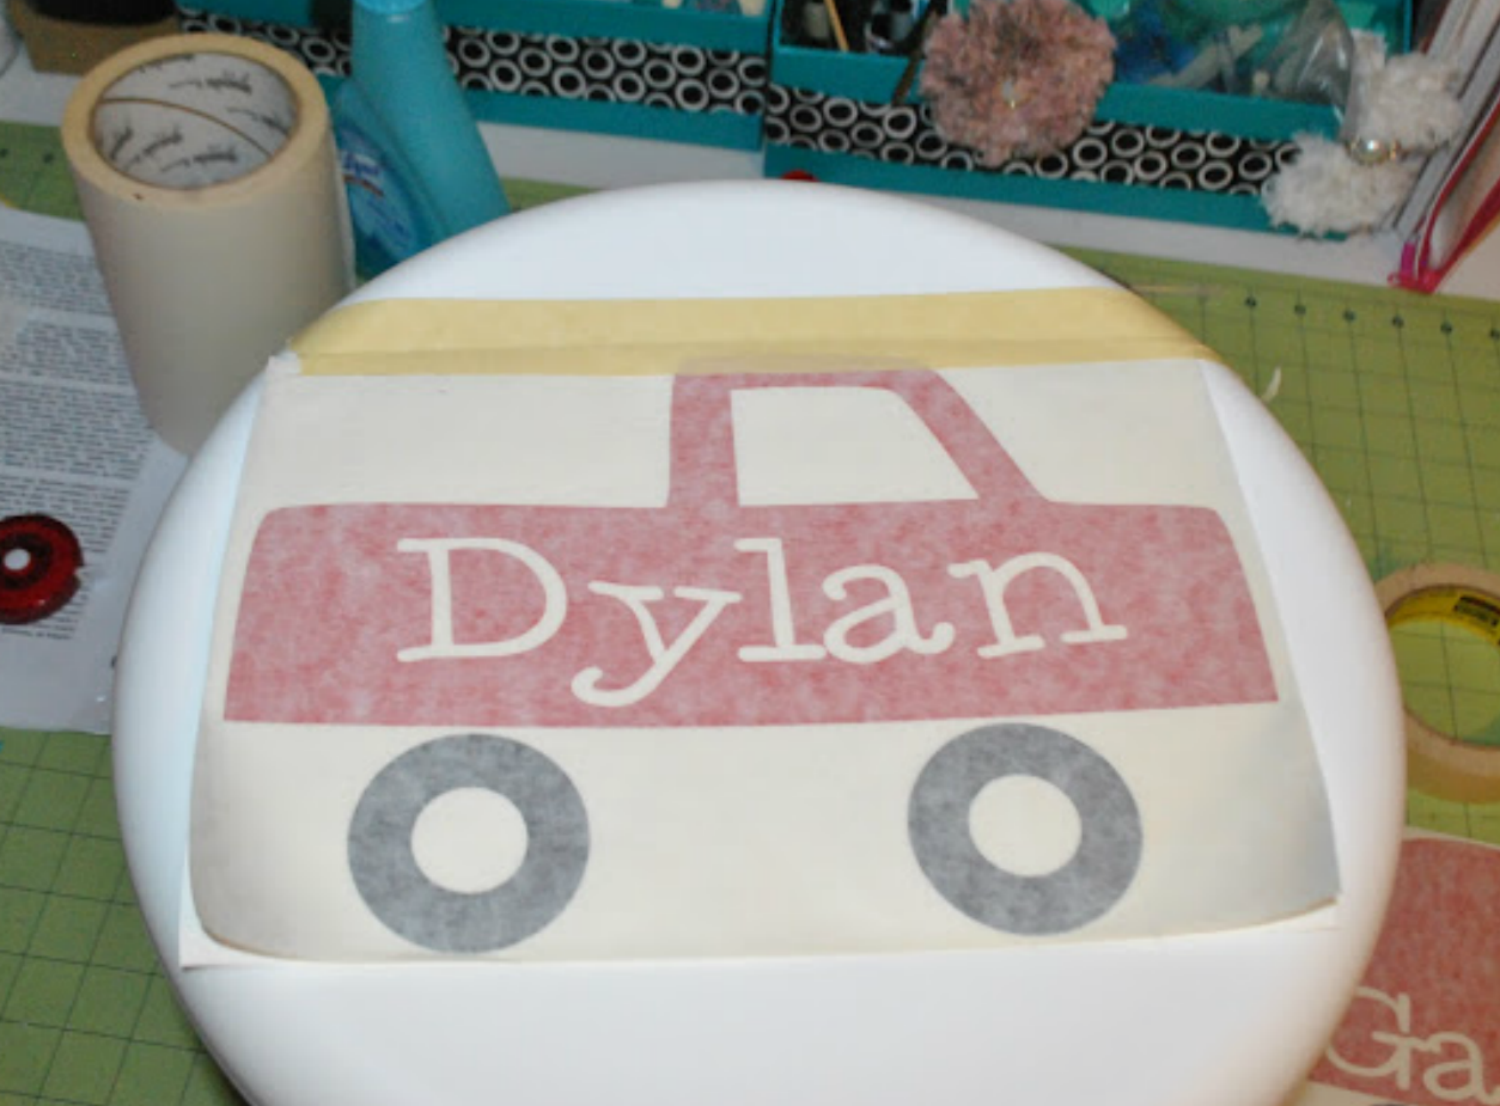
Now comes the super secret tip to keep those pesky little air bubbles from finding their way into your otherwise perfect project. Step #1: Tape the top of your sticker down using masking or painters tape.
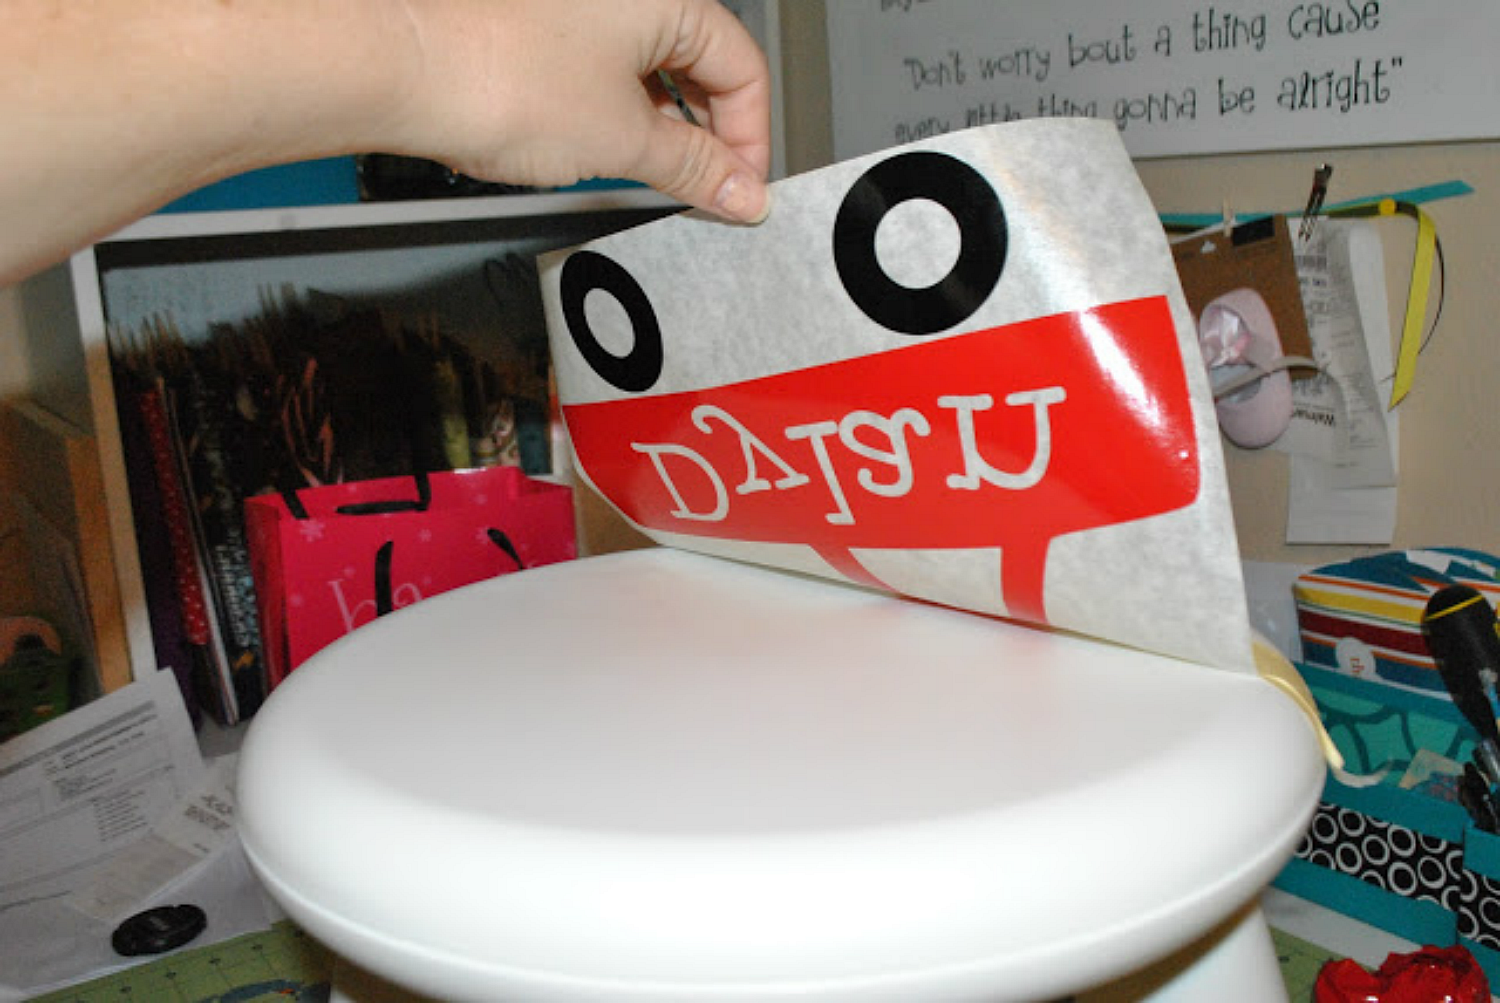
Step #2: Lift the sticker and peel the backing off of it.
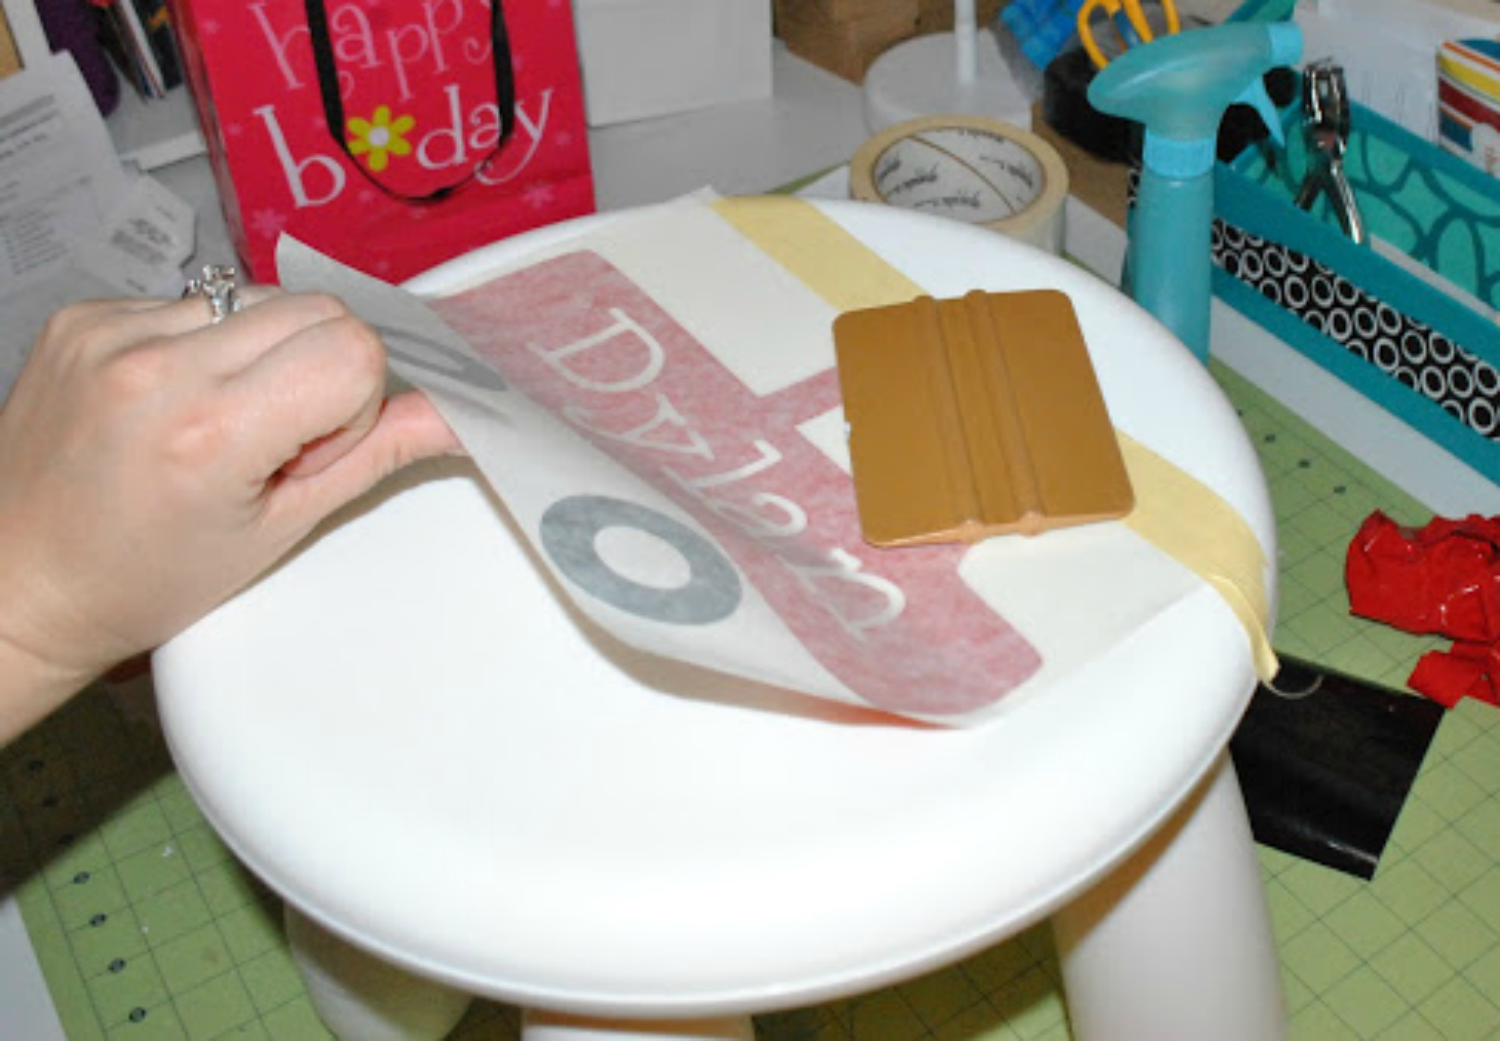
Step #3: SLOWLY use your application tool and working your sticker down from the taped edge till it is completely applied. If I had 3 hands, the 3rd one would have been holding the application tool showing you how to do this, but you will have to use your imagination for now. Just think of how you squeegee the sliding door after you shower.
Slowly peel off your transfer tape and Wha La! Perfectly personalized toddler stools.
Feel free to stop by my blog and follow me on Facebook or Twitter!

Recent Posts
-
NEW Holographic Eclipse Heat Transfer Vinyl
April 15th, 2024 3 Ways to Use the New Holographic Eclipse Heat Transfer Vinyl from Siser …Apr 29th 2024 -
Hop into Spring with Cute Easter Vinyl Crafts
Do you love our Vinyl? Sign up for Vinyl Club today to get FREE vinyl and save big! …Mar 28th 2024 -

Fixing Wrinkles and Bubbles in Vinyl
How do you get air bubbles out of vinyl? There are a few different ways to ensure a flawless …Mar 26th 2024