
DIY Toddler Activity Table
Hey, there Expressions Vinyl Blog readers!
I am Summer and I blog over at Made By Munchie's Mama.
Today I am going to show you how I turned an $8 Ikea side table into this toddler activity table.
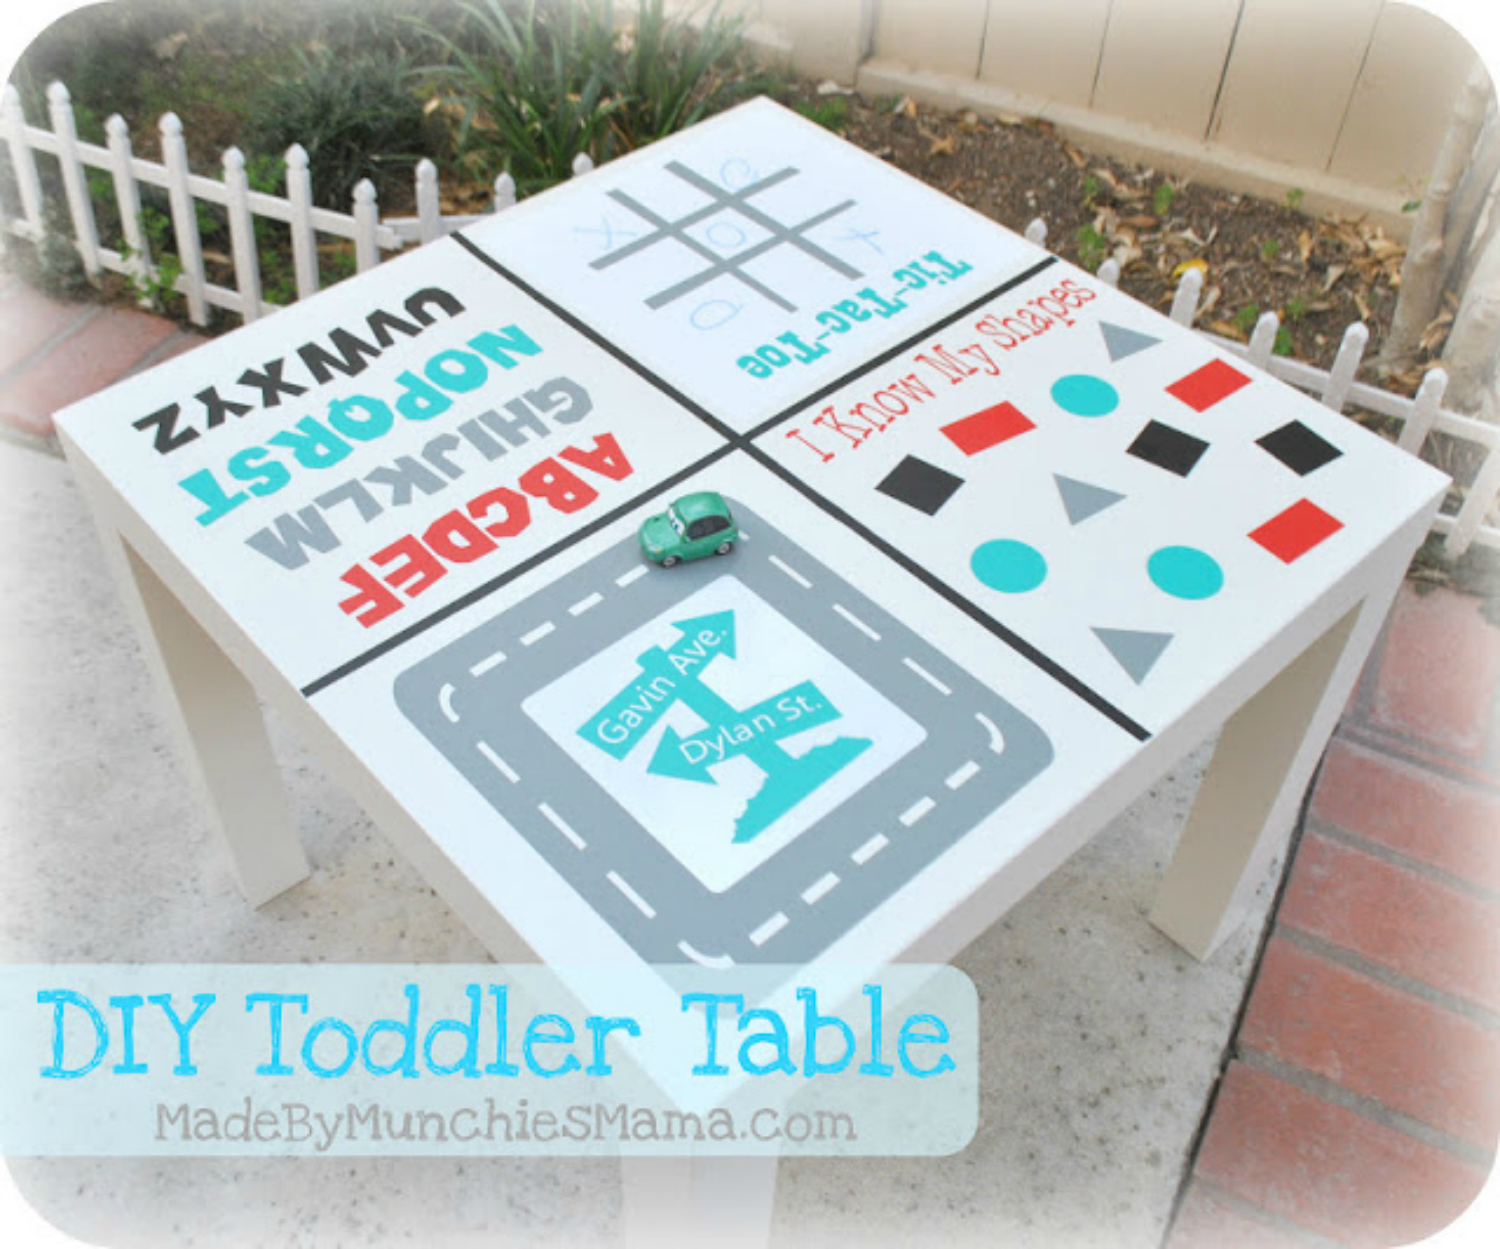
And away we go!!!

Supplies: $8 Ikea side table and Expressions Indoor Vinyl {I used indoor so that I could easily remove it and add new activities as my sons grow}

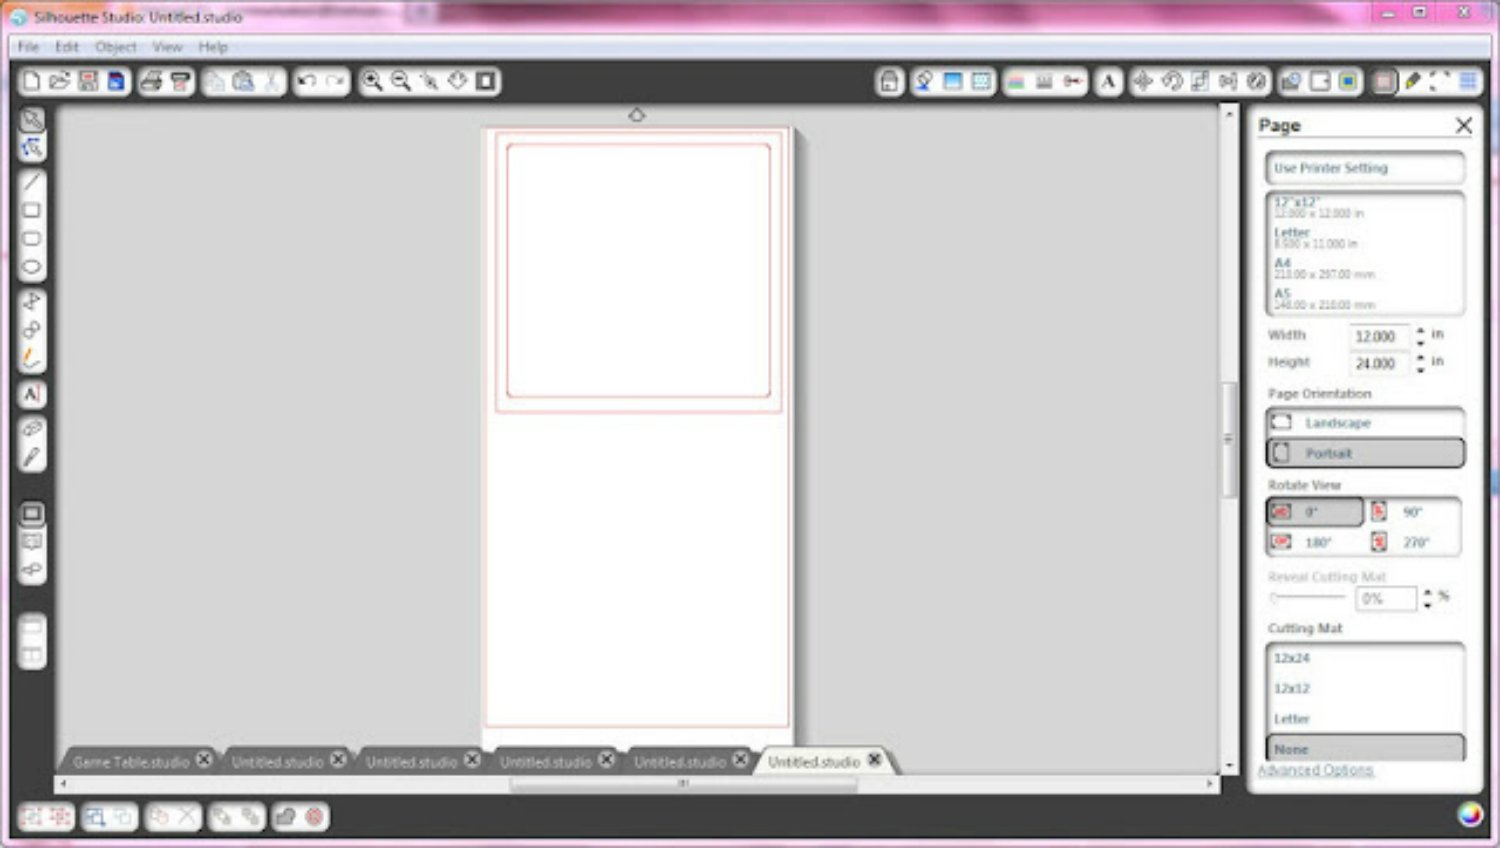
I used the Silhouette Studio to design the table decals. I measured the actual table and then set the page measurements accordingly. The Cameo only cuts 12 inches wide and the table is 21 inches wide so I after I got the colors and sizes just how I wanted them, I copied and pasted all the decals on a page for each color. Here is what that looked like:
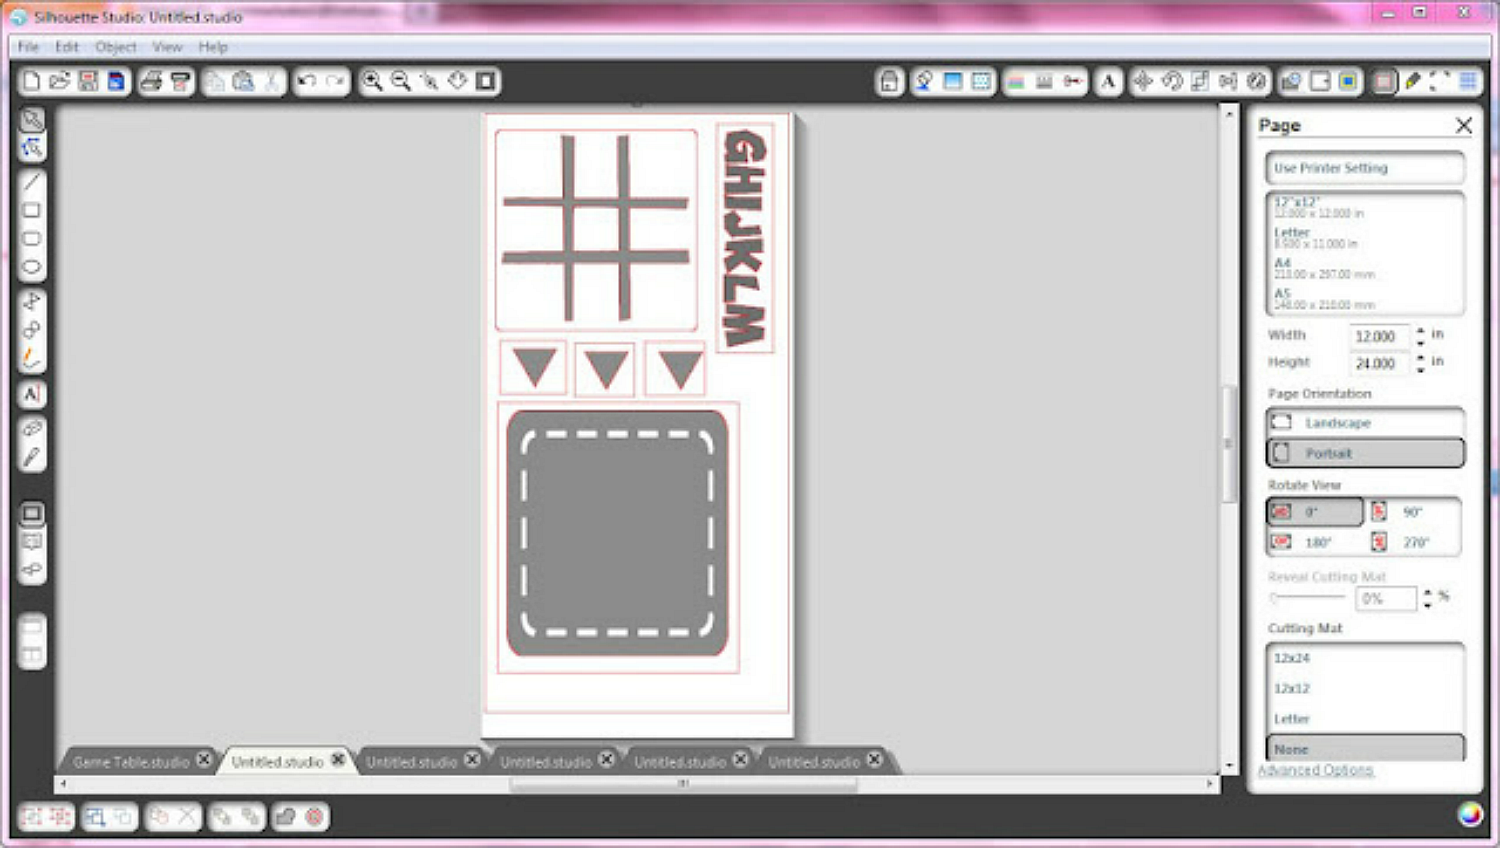
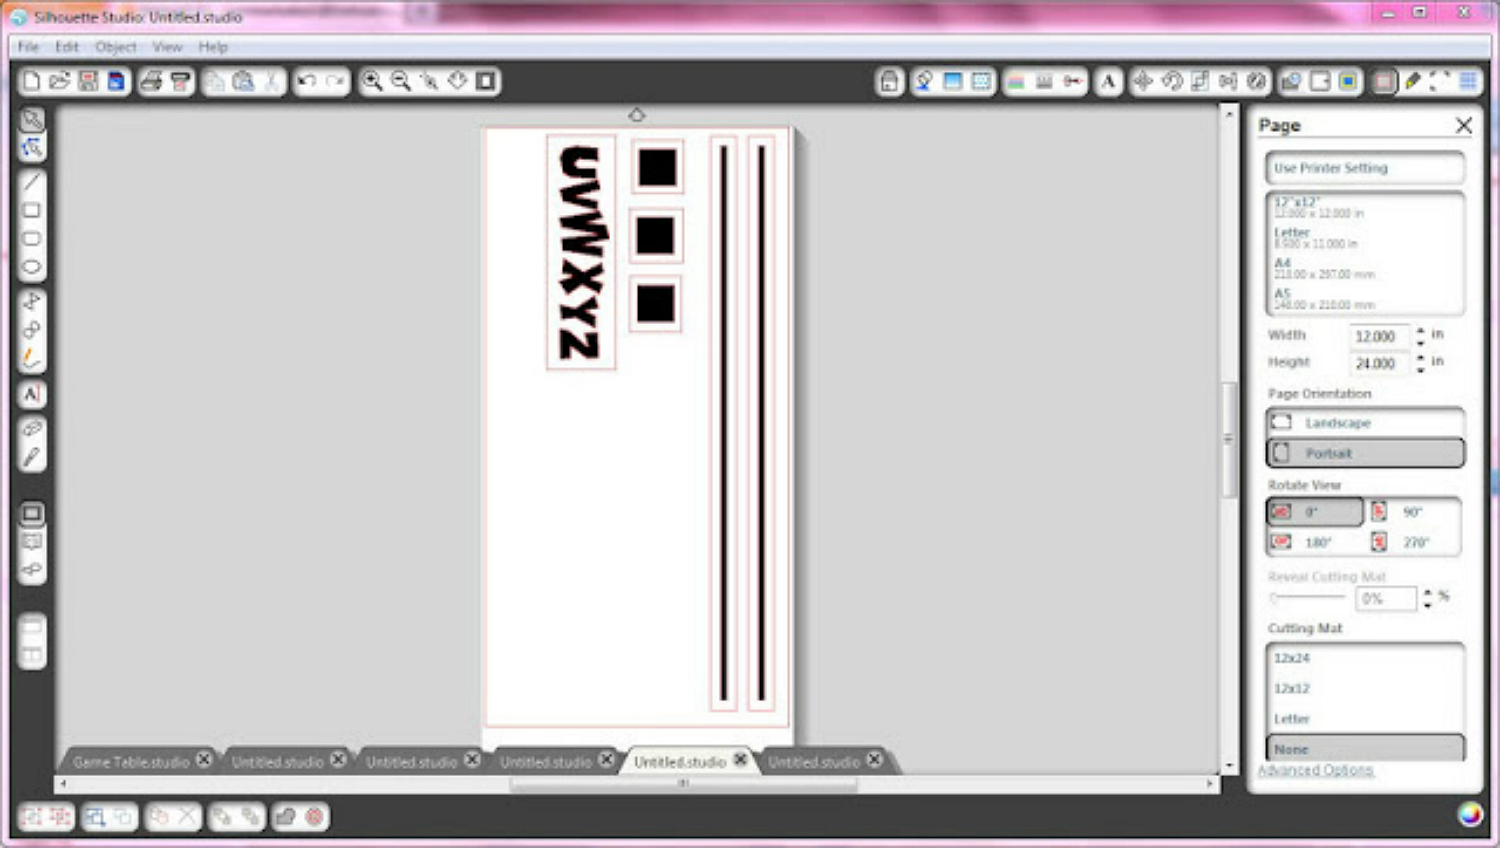
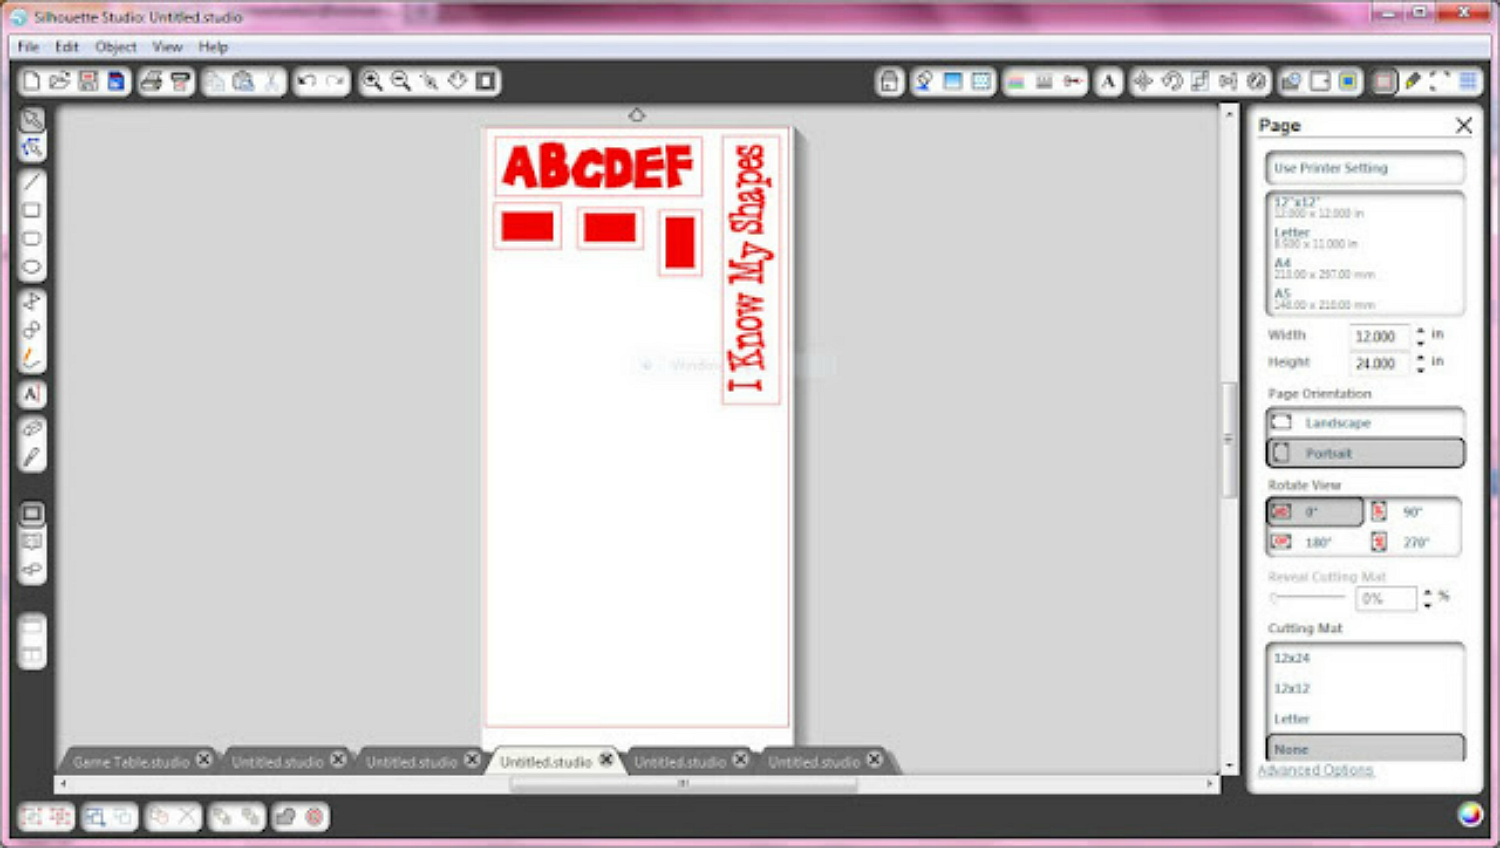
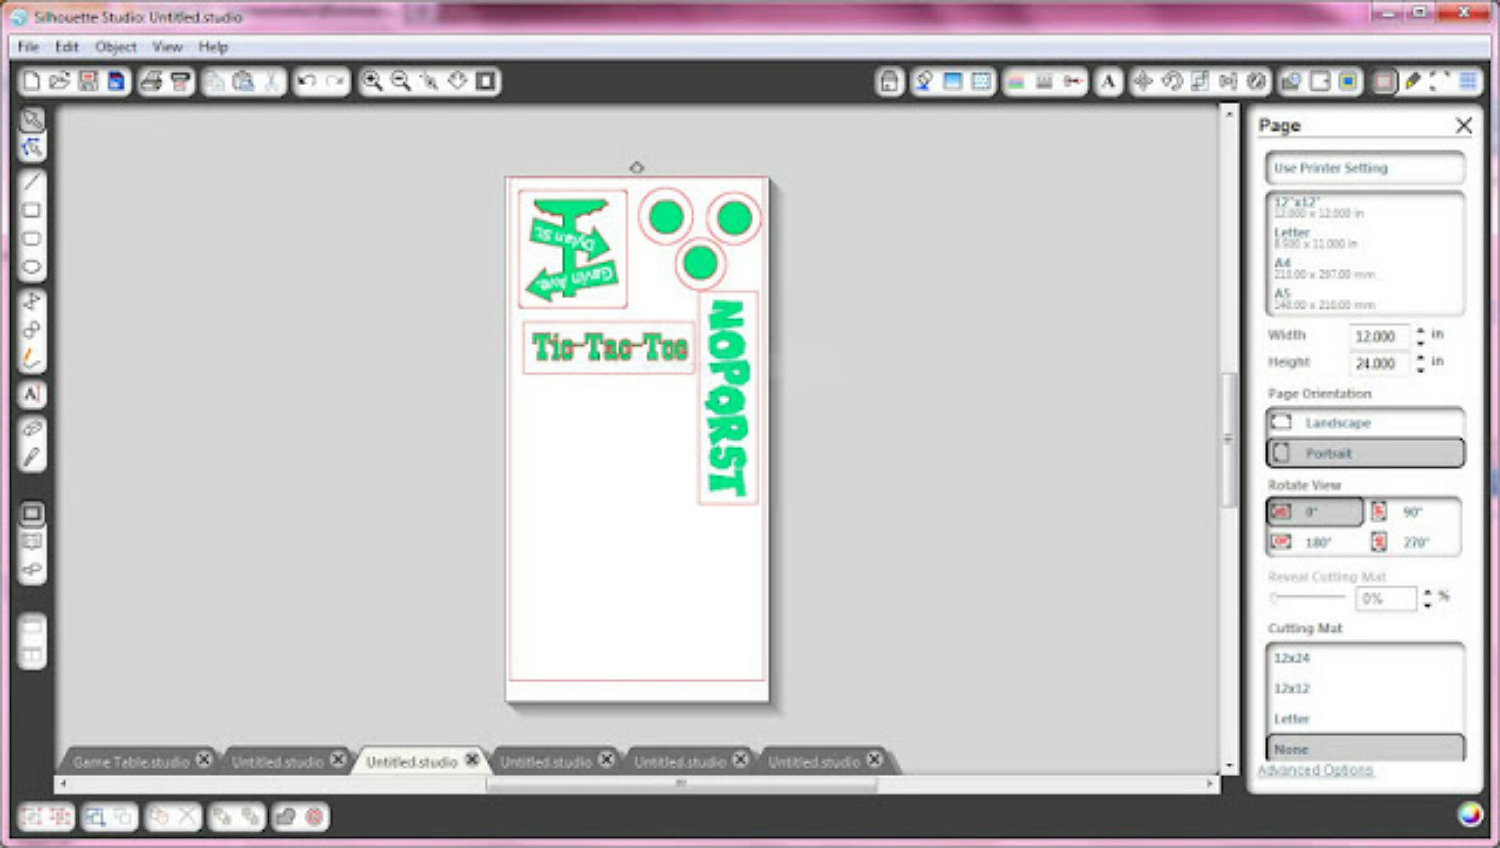
TIP: You will notice that there are red lines outlining each of the decals. I just made a square or circle around each item. This will help make weeding the unwanted vinyl much easier!
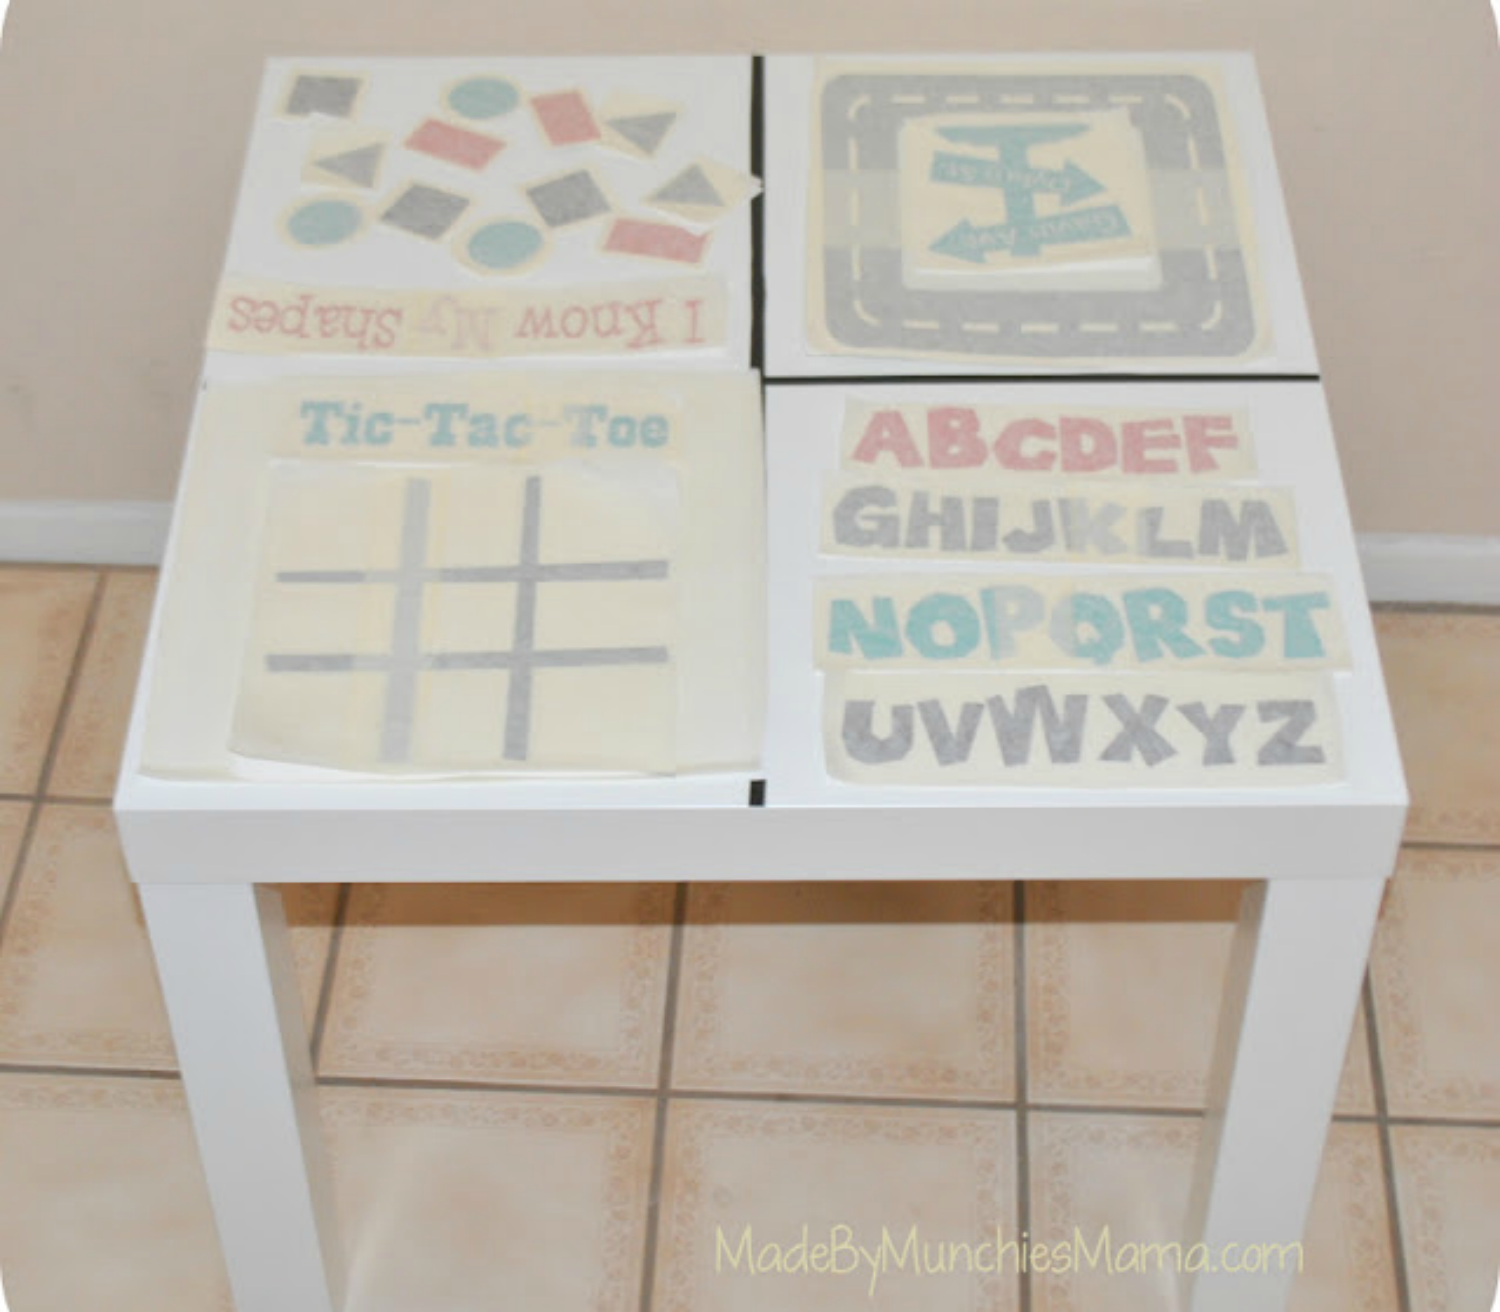
When you finish cutting, weeding, applying transfer tape and cutting each decal out they will look like this.
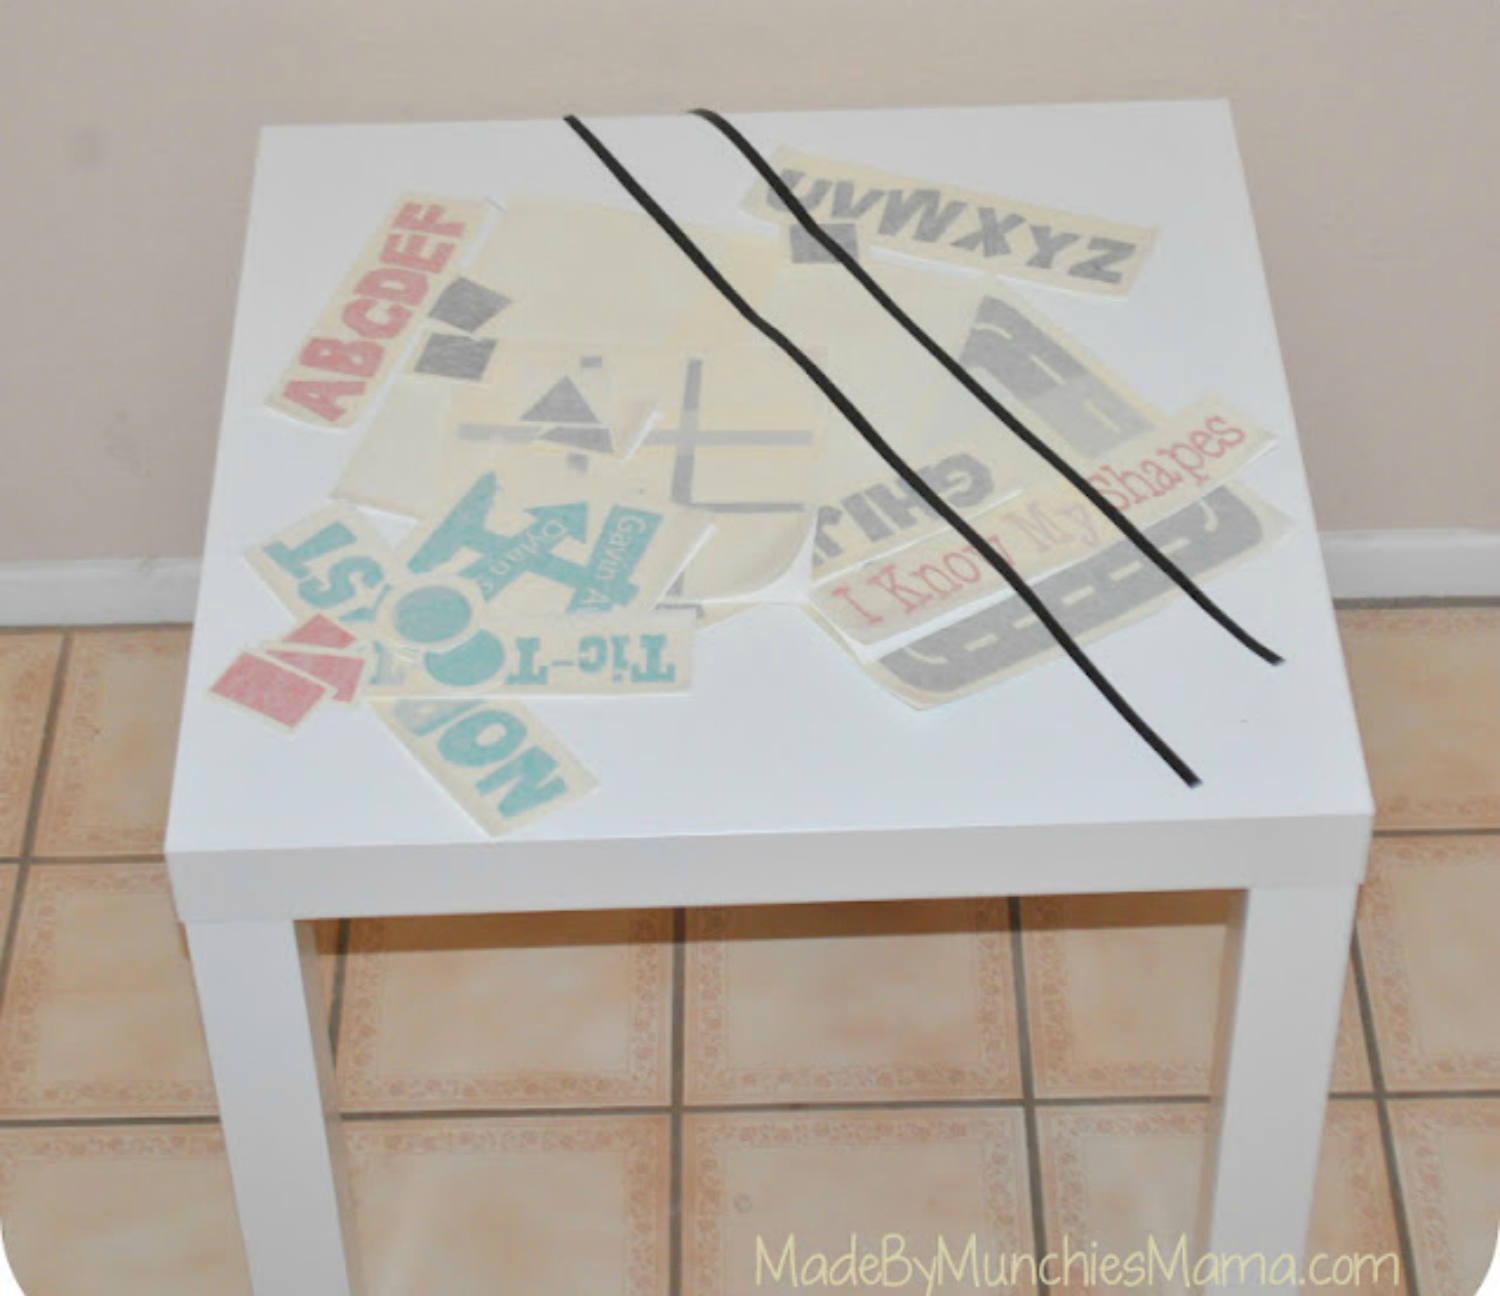
I applied the black dividing lines so I could get the individual sections spaced evenly, then I laid out the rest of the decals and just started applying.
TIP: If you get air bubbles under your vinyl, take a straight pin and poke a little hole then use your squeegee to work the air out...you won't even see the little pin hole and your air bubbles will magically be gone!

Recent Posts
-
NEW Holographic Eclipse Heat Transfer Vinyl
April 15th, 2024 3 Ways to Use the New Holographic Eclipse Heat Transfer Vinyl from Siser …Apr 29th 2024 -
Hop into Spring with Cute Easter Vinyl Crafts
Do you love our Vinyl? Sign up for Vinyl Club today to get FREE vinyl and save big! …Mar 28th 2024 -

Fixing Wrinkles and Bubbles in Vinyl
How do you get air bubbles out of vinyl? There are a few different ways to ensure a flawless …Mar 26th 2024