
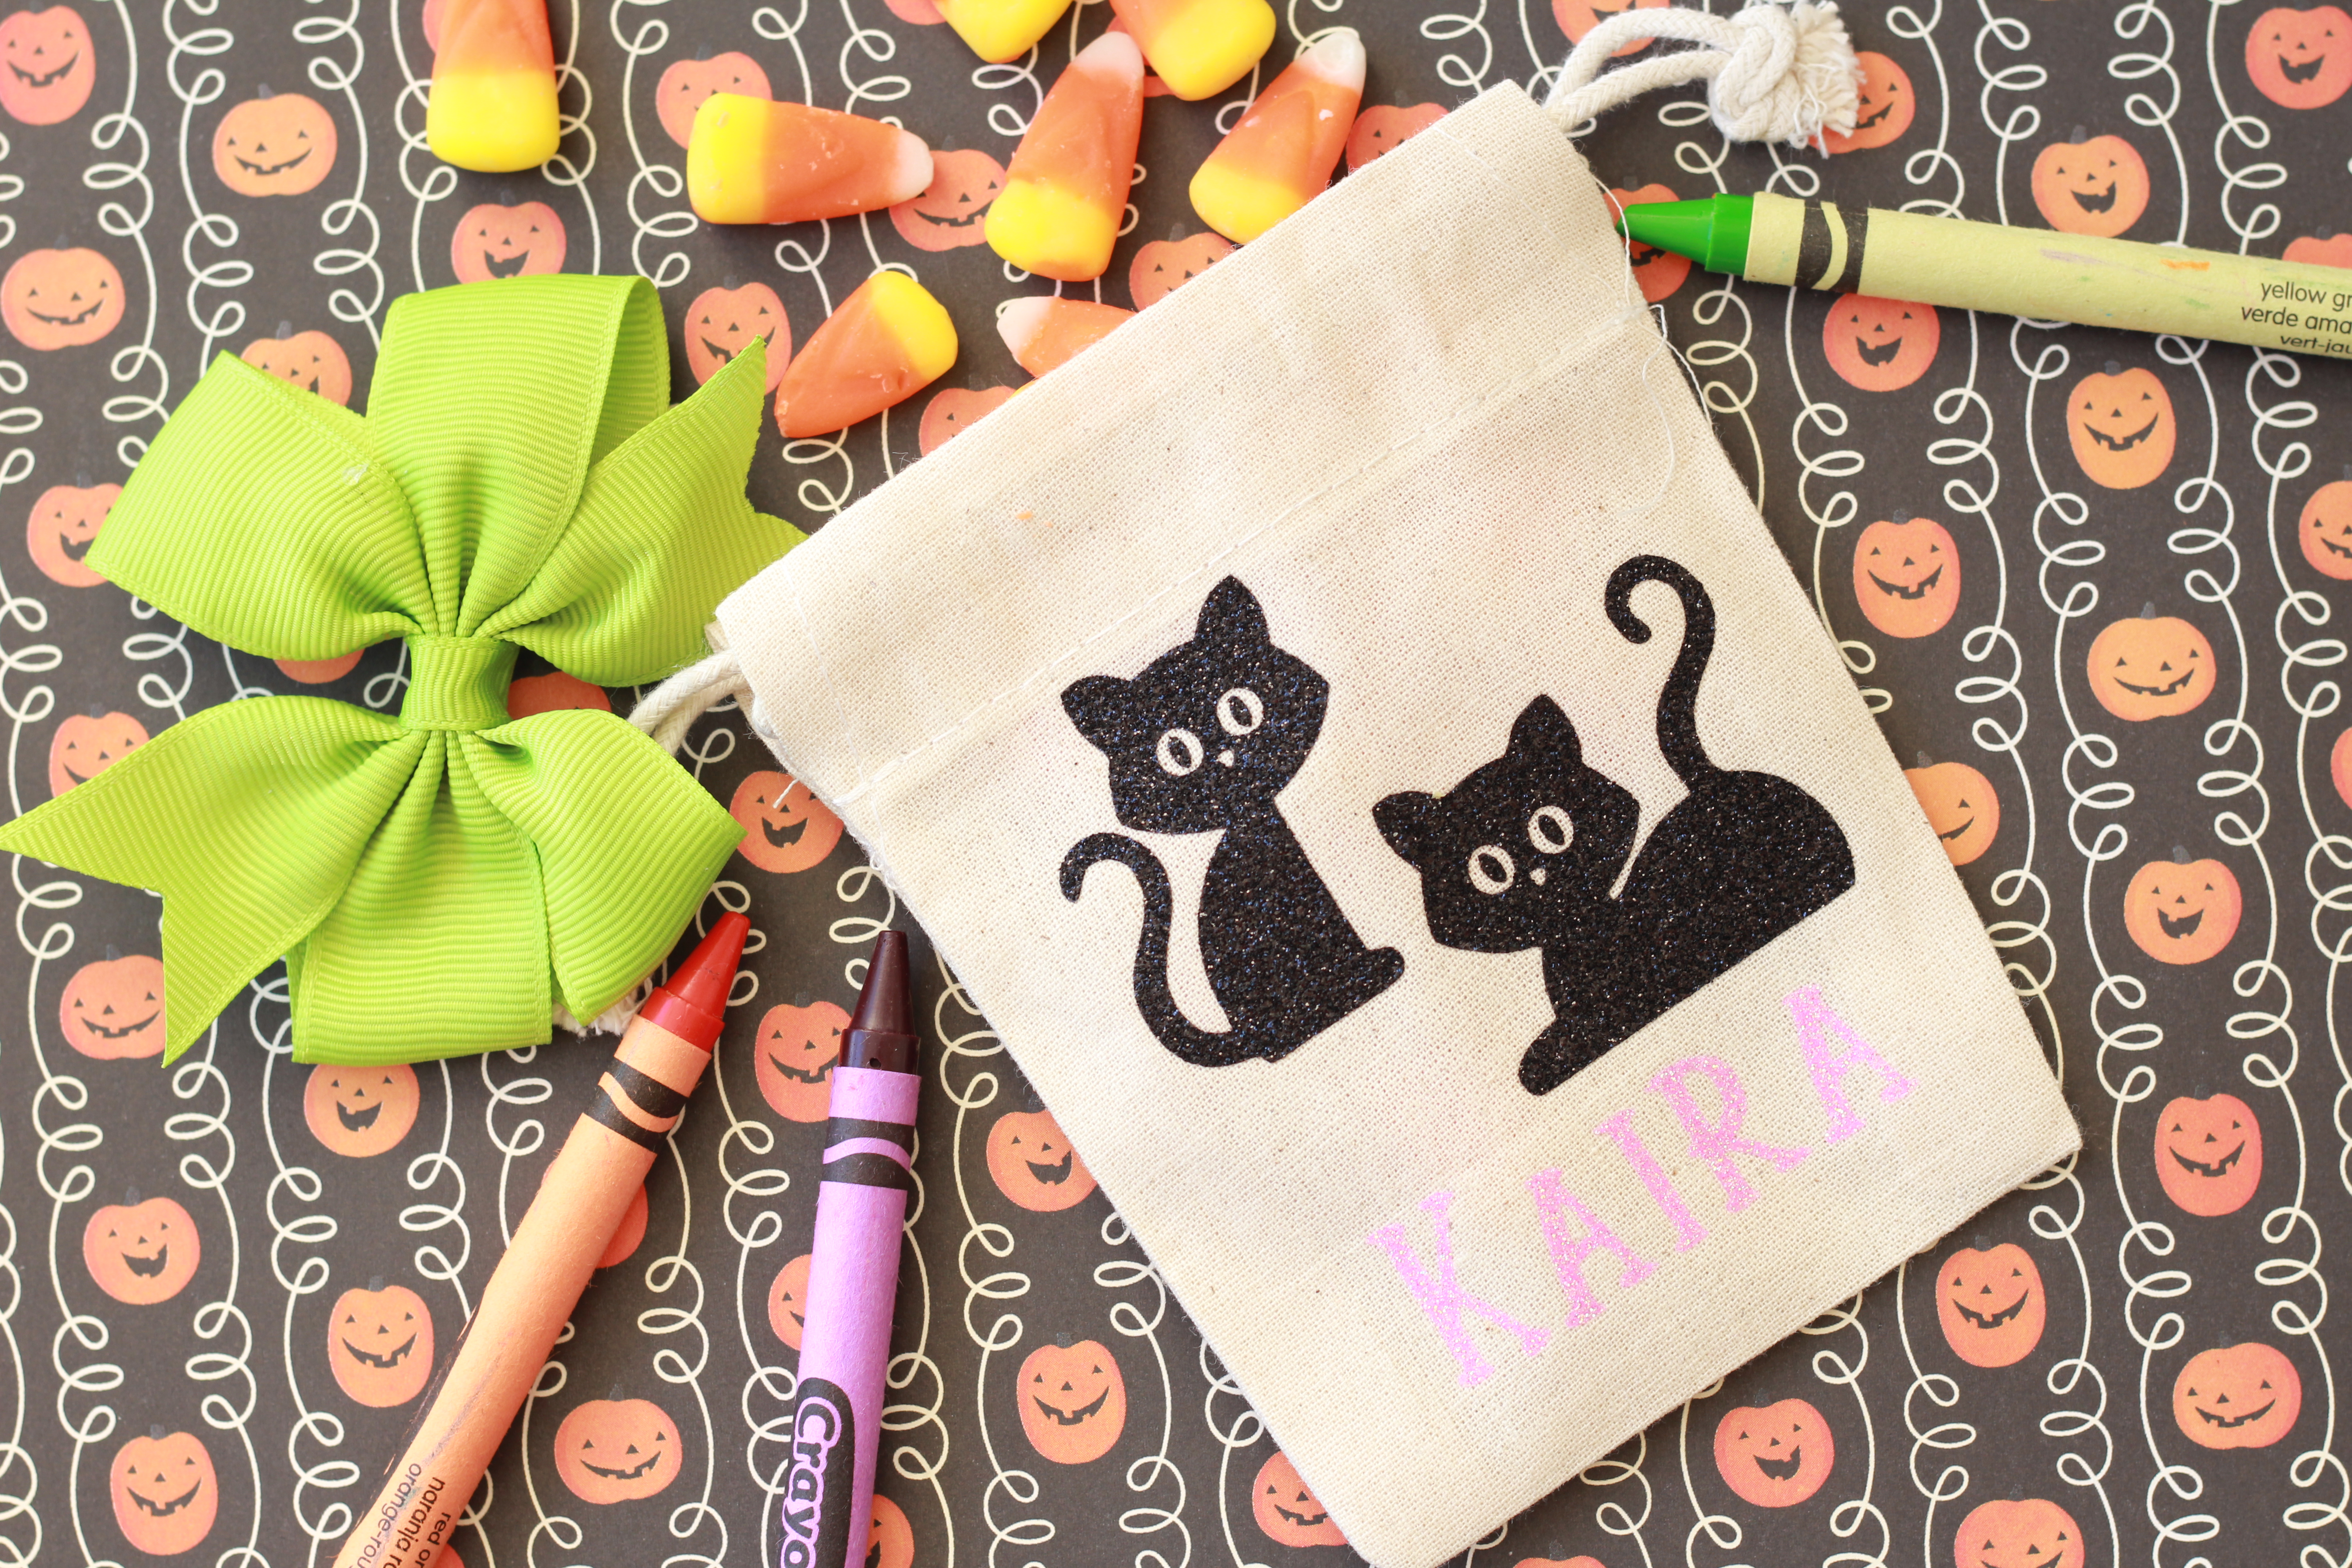
Halloween goodie bag with Heat transfer vinyl
Hi friends! Connie here from Kutie Kaira Designs showing you how to make some adorable mini Halloween treat bags using canvas draw-string bags and heat transfer vinyl...glitter of course! I love these bags because they are reusable and although they are mini, you can fit a lot of goodies in there. My daughter loves to put little toys and rocks and blocks in bags/bins, so I figured this would be a great little baggie for her, even after Halloween!
Things you will need:
-Cutting machine (I use a CAMEO 3)
-Glitter HTV in black and neon purple
-Canvas drawstring mini bags (found online or any craftstore)
-Iron or heatpress
-Goodies to fill the bags
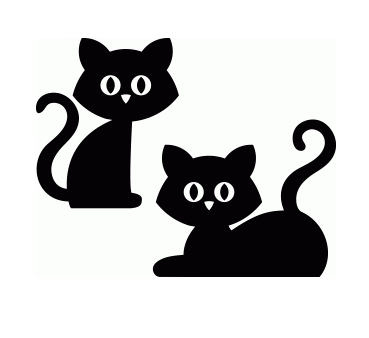
Step One: Design Your Image and Cut
In real life, I don't really like pets *gasp I know* but I do think these little cats are super adorable and Halloween-y!
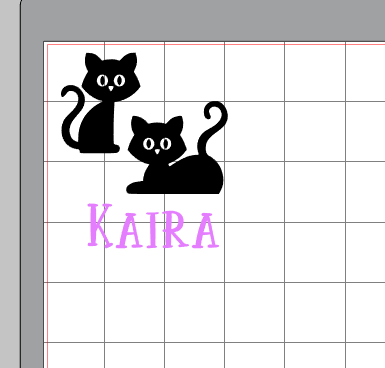
Next, write the name of the recipient right below the image. The bag is about 3.5 x 3.5 inches so just make sure to size it down so that it will fit on the bag. My entire design when grouped was approximately 3.3 x 2.8 inches.
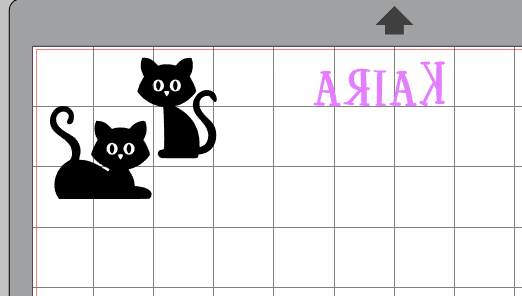
Ungroup your design based on the colors. I am cutting the cats in black and the name in neon purple. I like to color the images on the software to help me visualize and organize the cuts I need to make. Don't forget to mirror your image when cutting any type of heat transfer vinyl.
Pro Tip: When cutting like-materials, you can cut them all at the same time if you place the corresponding colors of HTV on the mat lined up the same as the software. Use the grids on the screen and on the mat as a guideline.
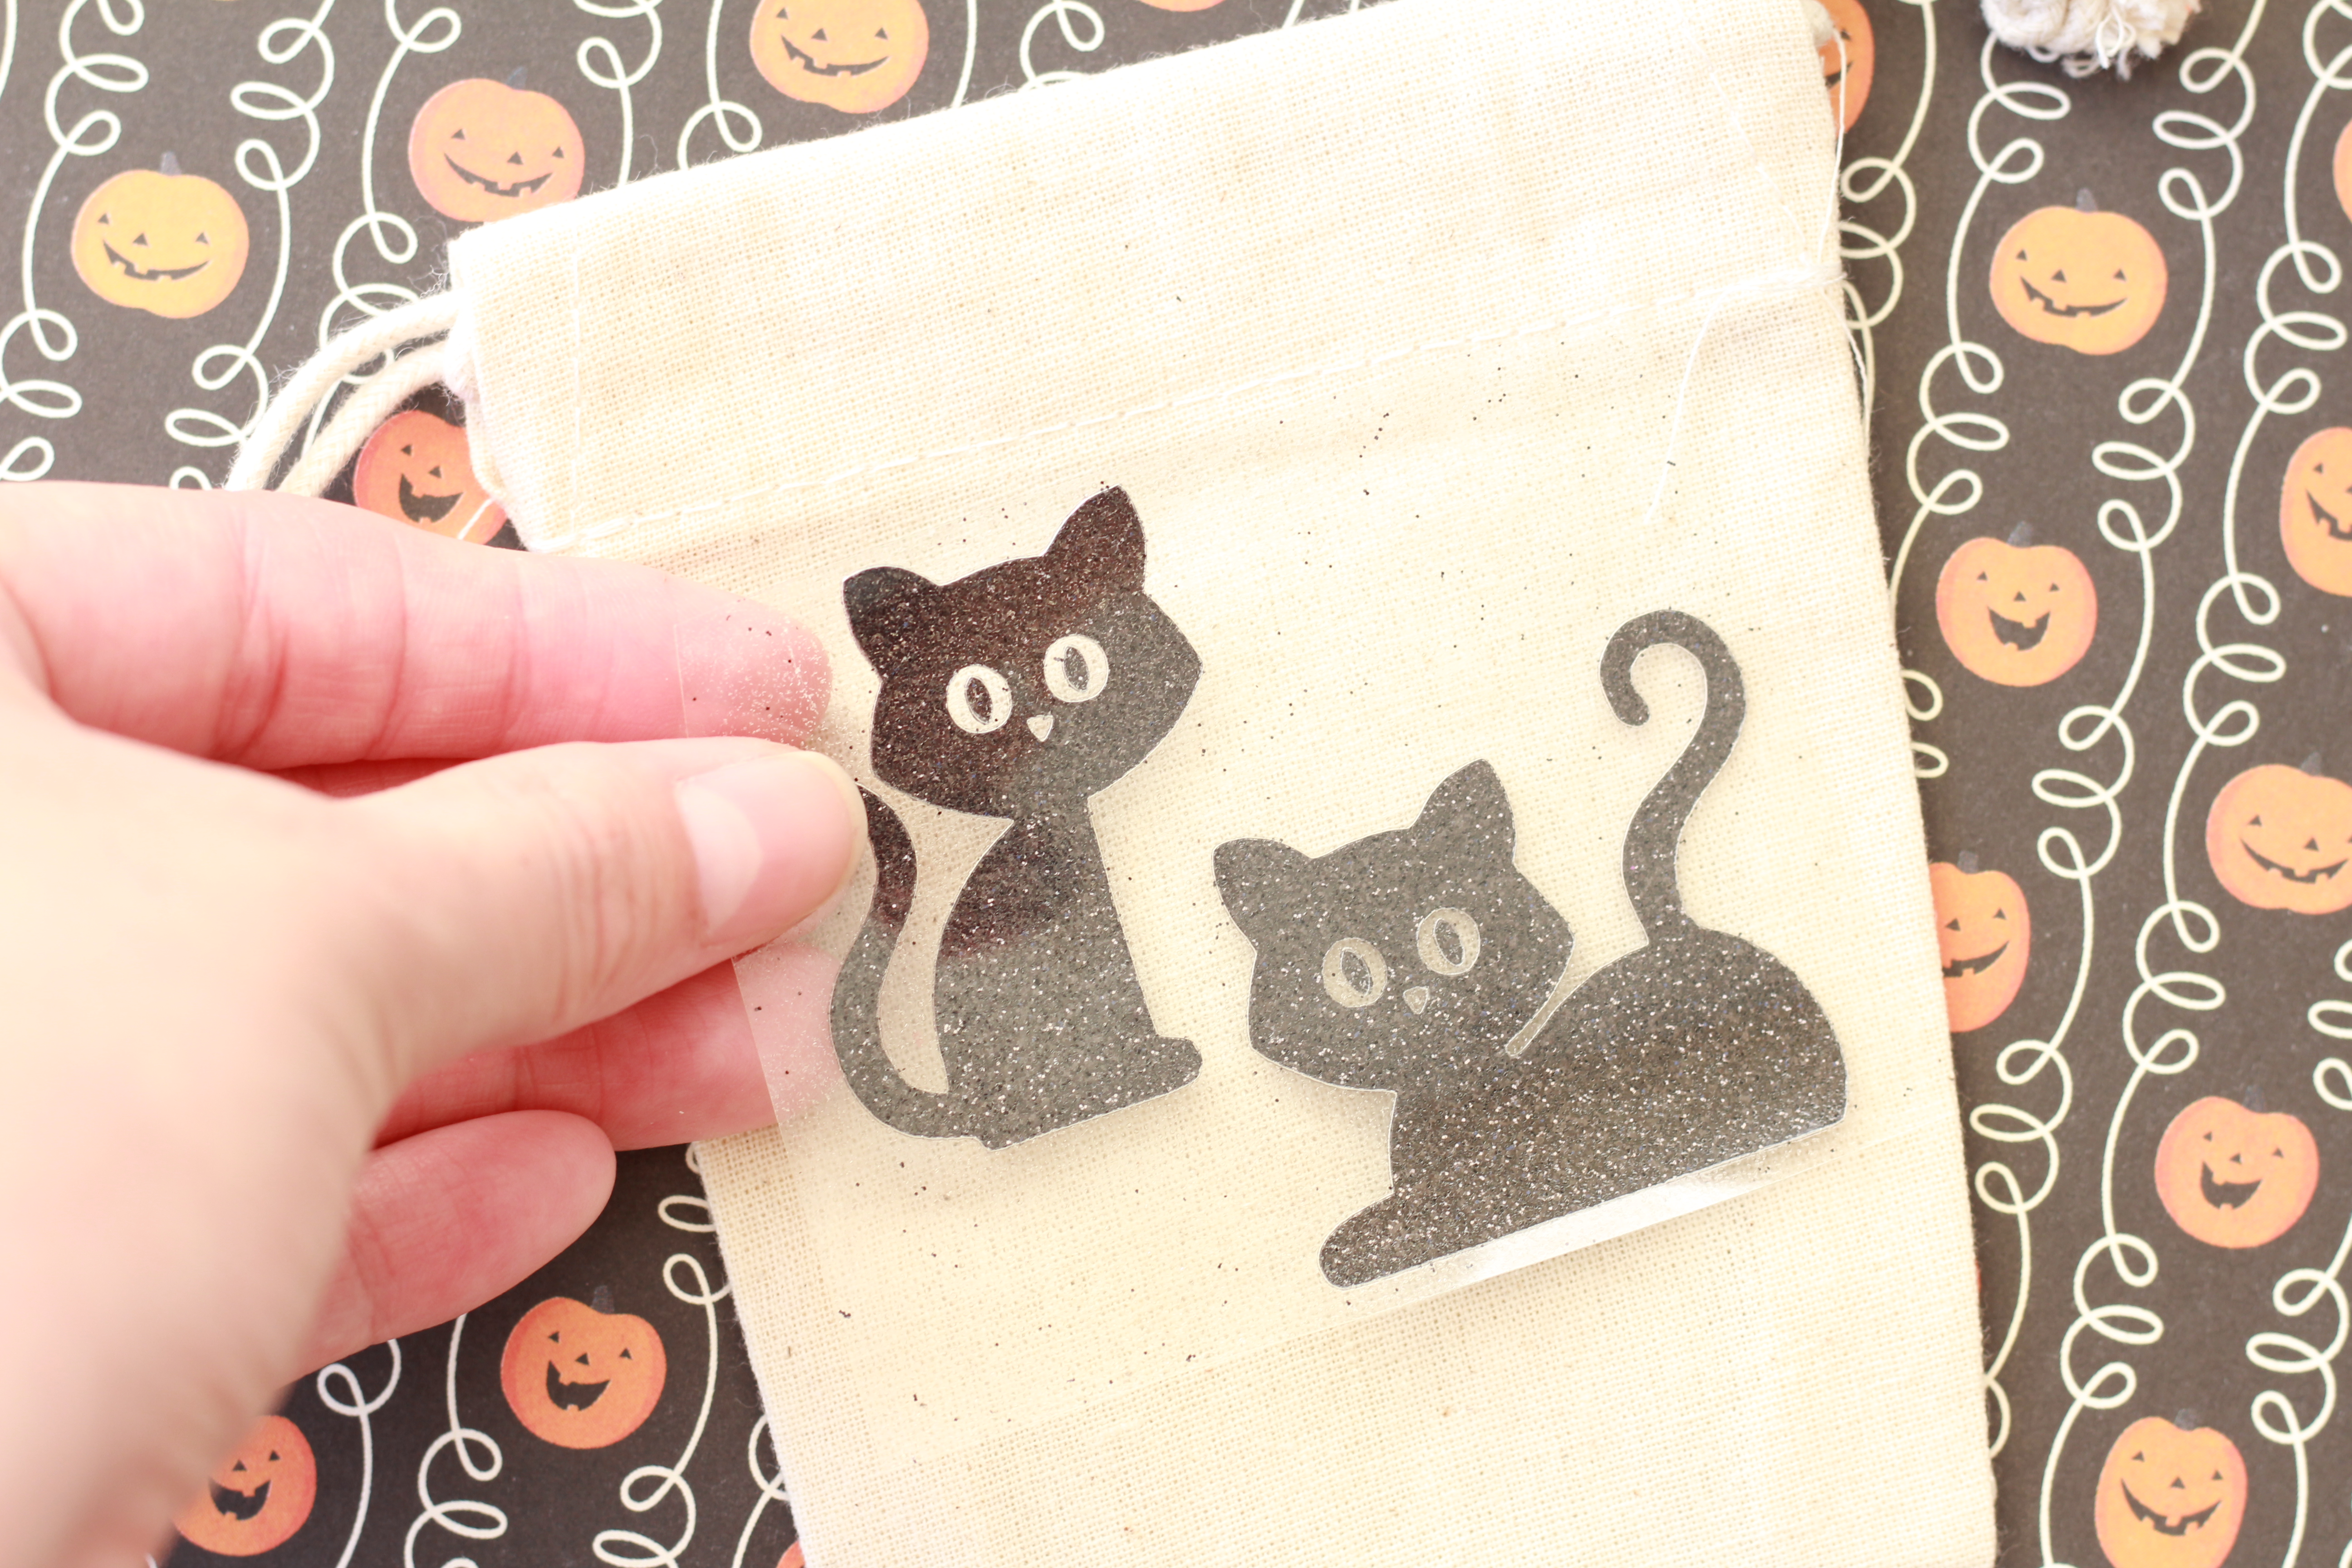
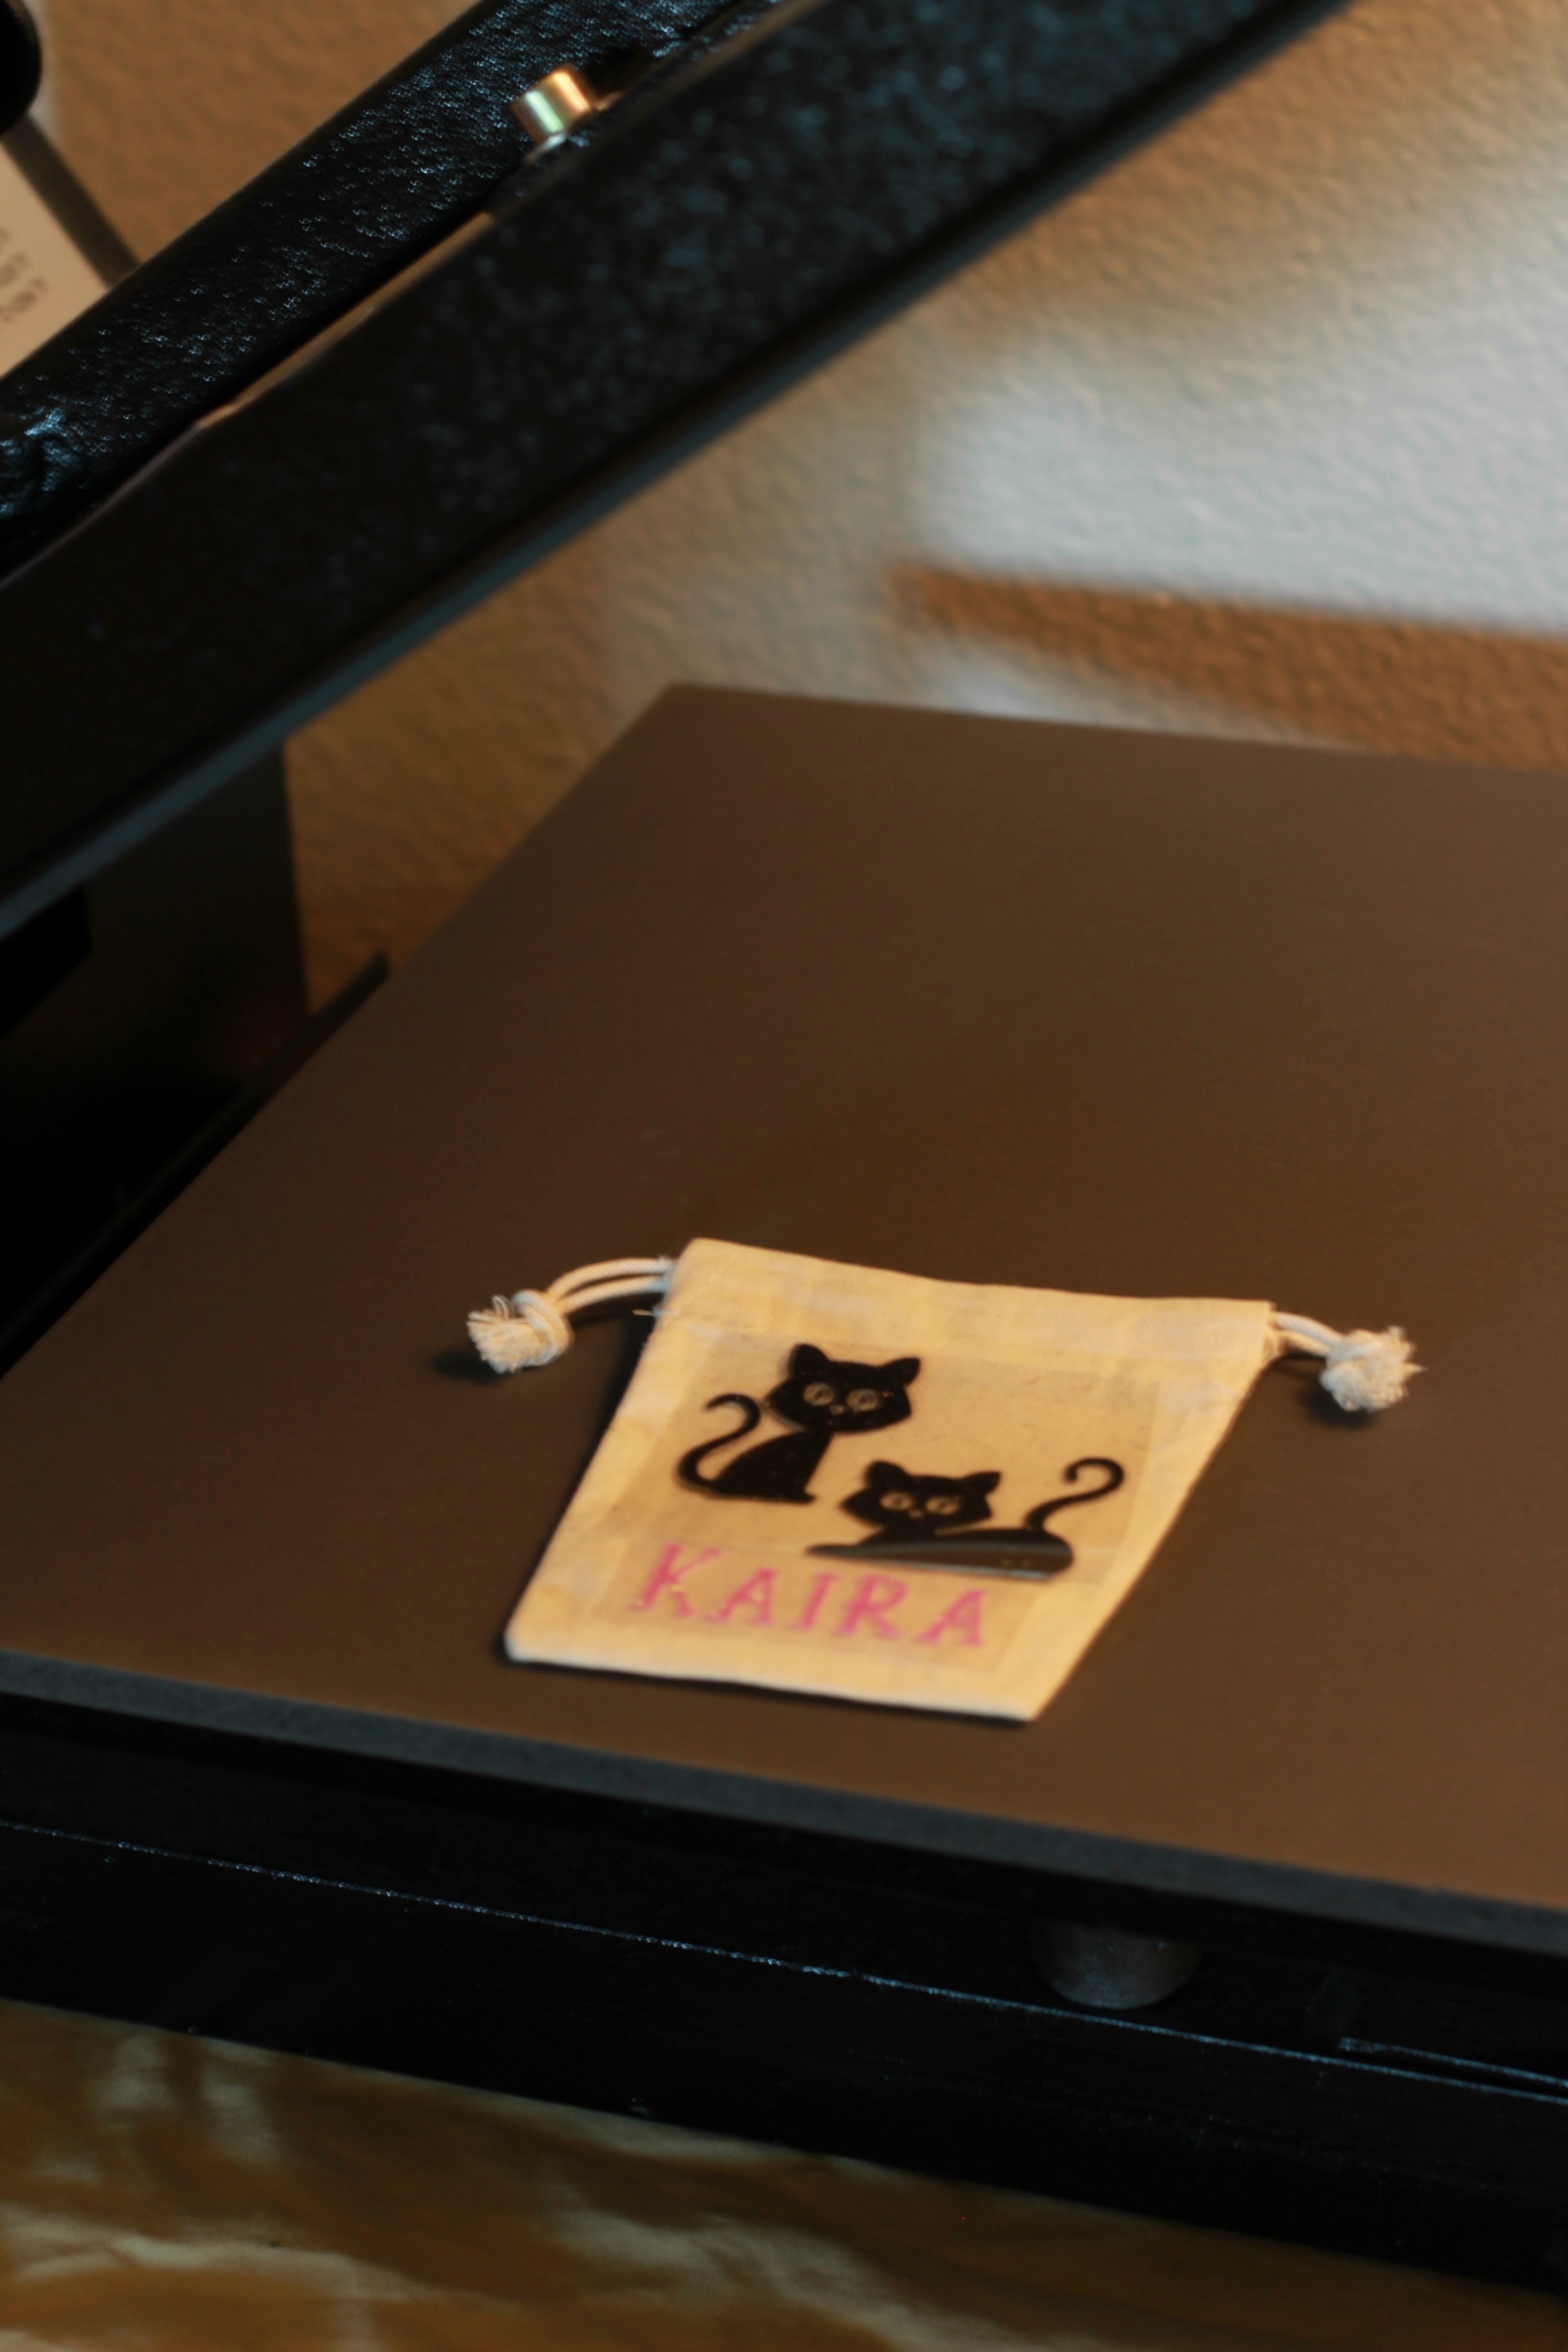
Step Two: Place Vinyl Pieces On Bag and Press
Once you cut your images, weed them out and place them on the bags. I always love this part because if you do the math correctly, it fits perfect every time! No surprises in math :)
Use an iron or heat press to press the image onto the bag. I used a heat press with the settings at 320 degrees, which is the setting for the glitter HTV. Check out this awesome chart that Expressions Vinyl made to remind you of what temps to use. It's amazing. I use it every single time!
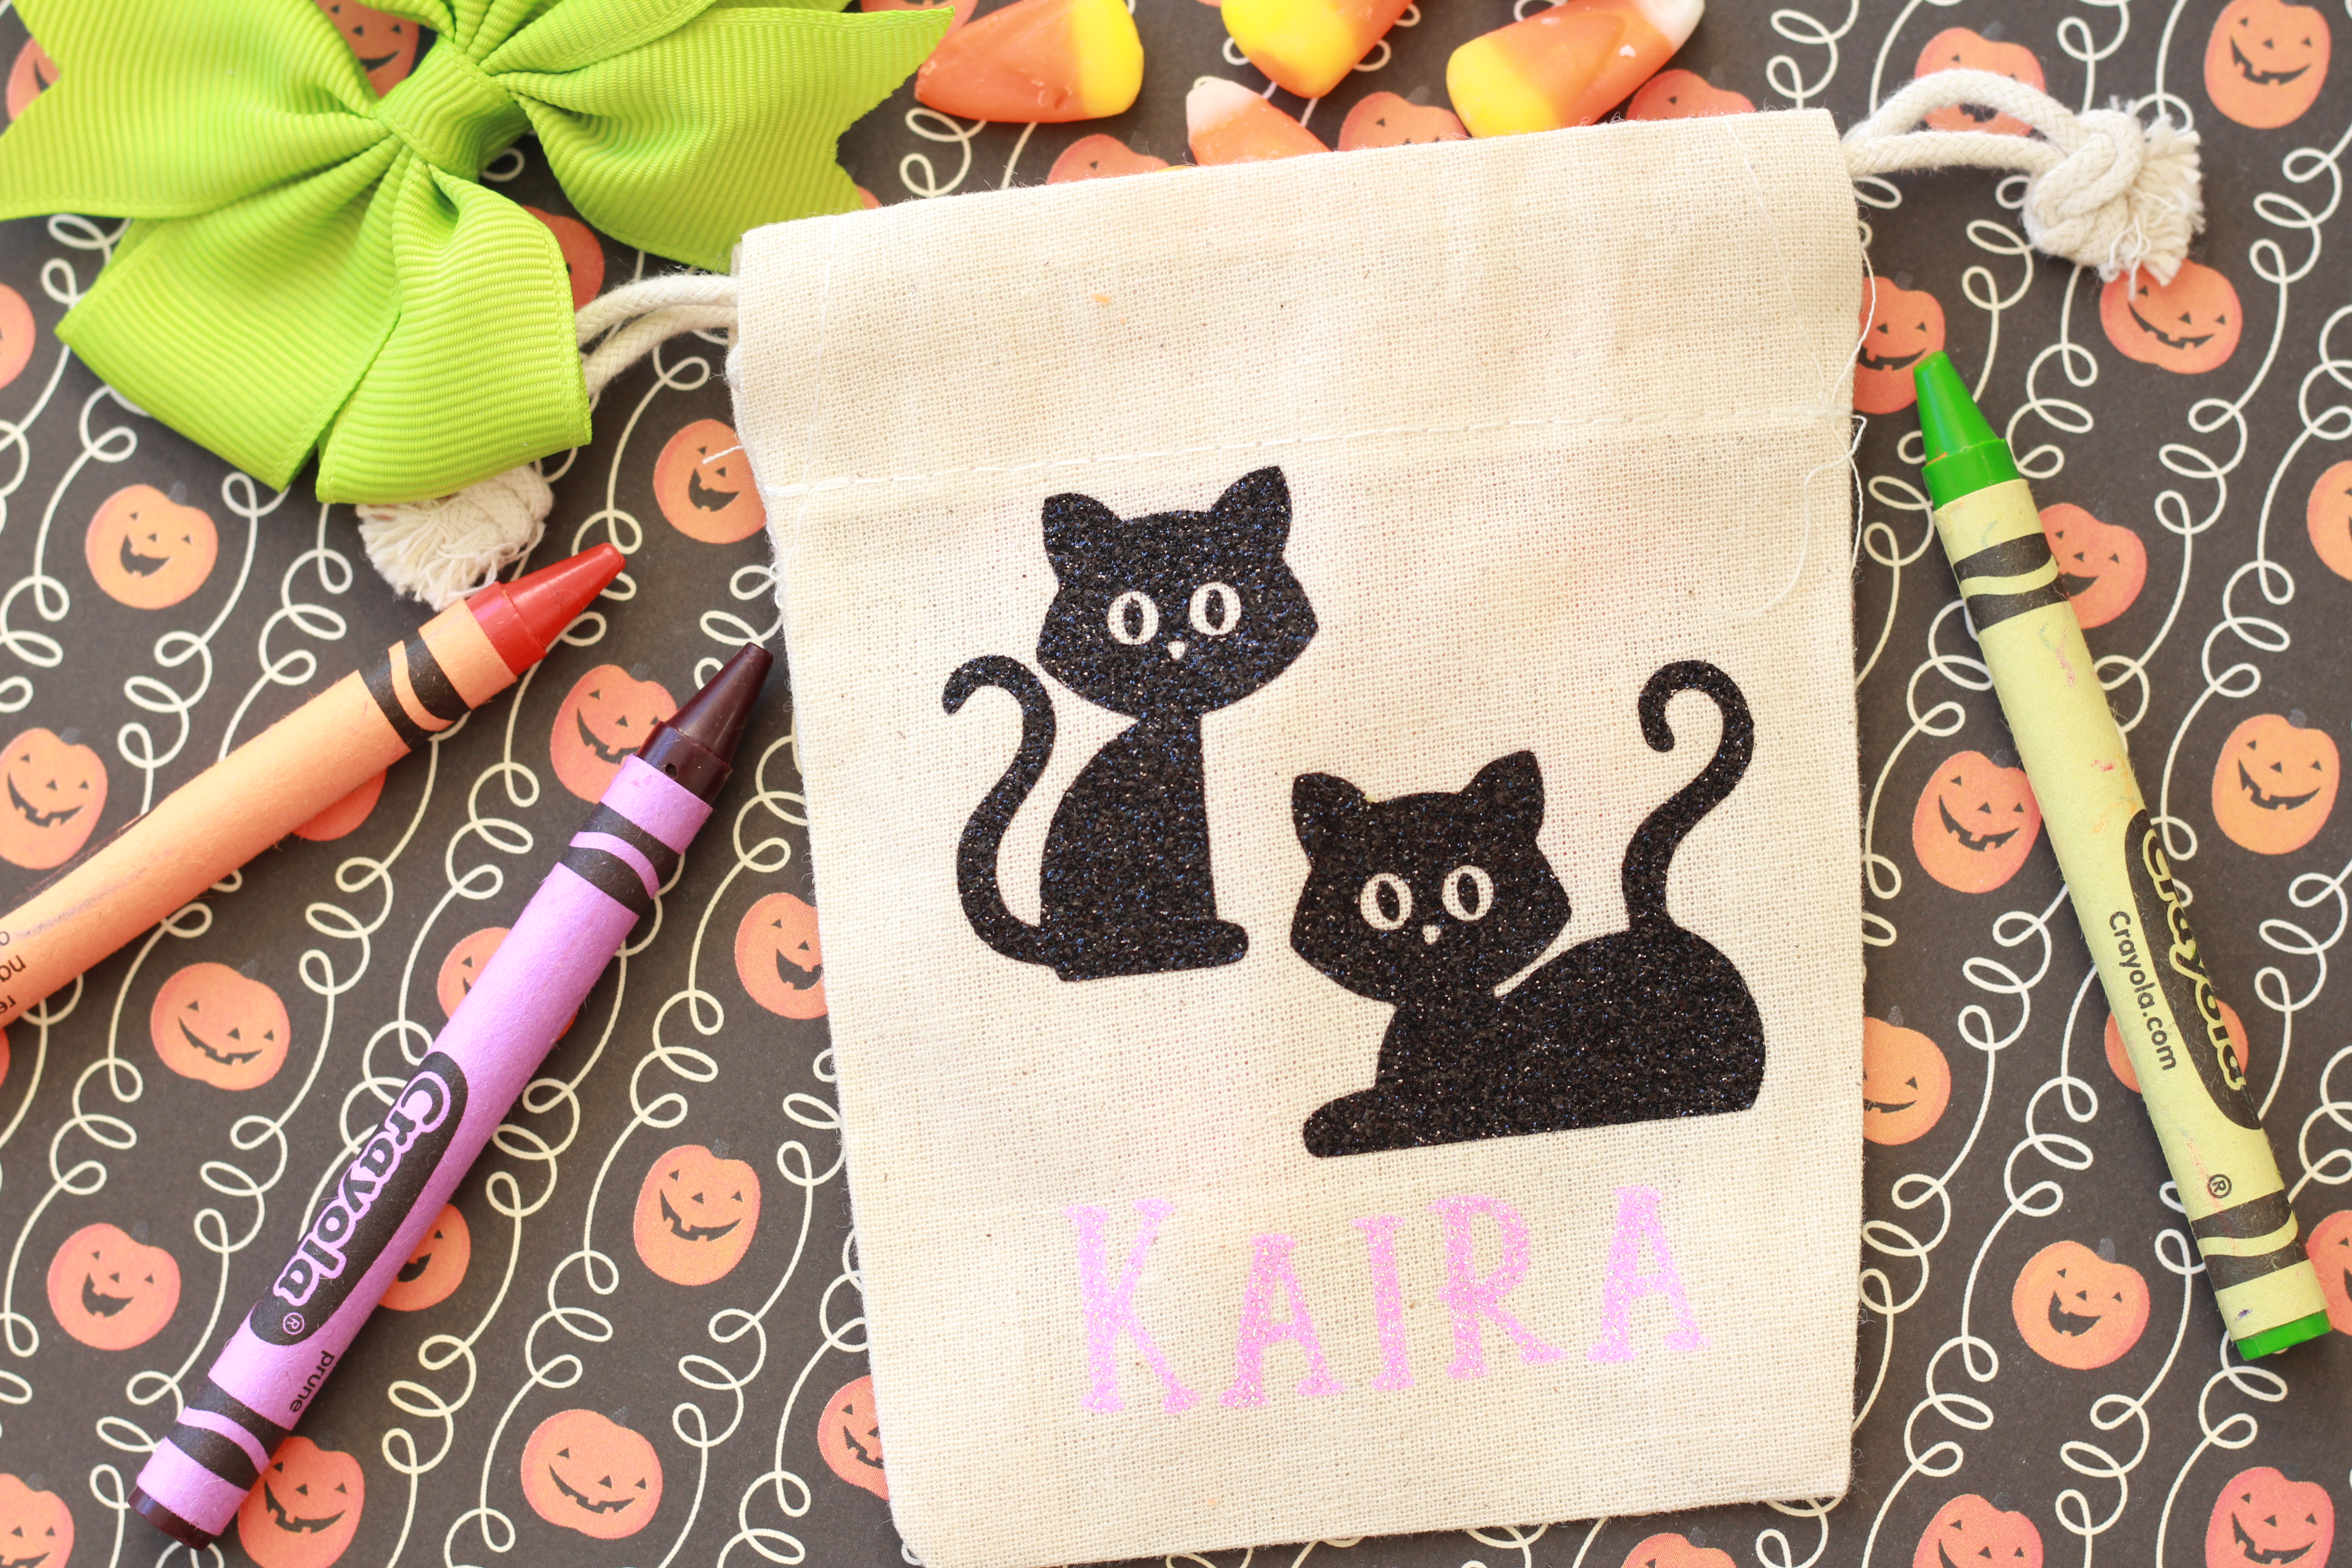
Last Step: Fill Your Bag
Now the fun part! My daughter loves candy, coloring and finally leaves bows in her hair so I decided to fill hers with all these things. Get creative with it! I can't wait for her to be in a classroom so I can make little goodie bags for all her friends!
If you create your own bags, be sure to tag me on Instagram @kutiekairadesigns so that I can see your beautiful creations.
Happy crafting and Happy Halloween, friends :)
XOXO, Connie
Recent Posts
-
NEW Holographic Eclipse Heat Transfer Vinyl
April 15th, 2024 3 Ways to Use the New Holographic Eclipse Heat Transfer Vinyl from Siser …Apr 29th 2024 -
Hop into Spring with Cute Easter Vinyl Crafts
Do you love our Vinyl? Sign up for Vinyl Club today to get FREE vinyl and save big! …Mar 28th 2024 -

Fixing Wrinkles and Bubbles in Vinyl
How do you get air bubbles out of vinyl? There are a few different ways to ensure a flawless …Mar 26th 2024