
How to Layer Vinyl
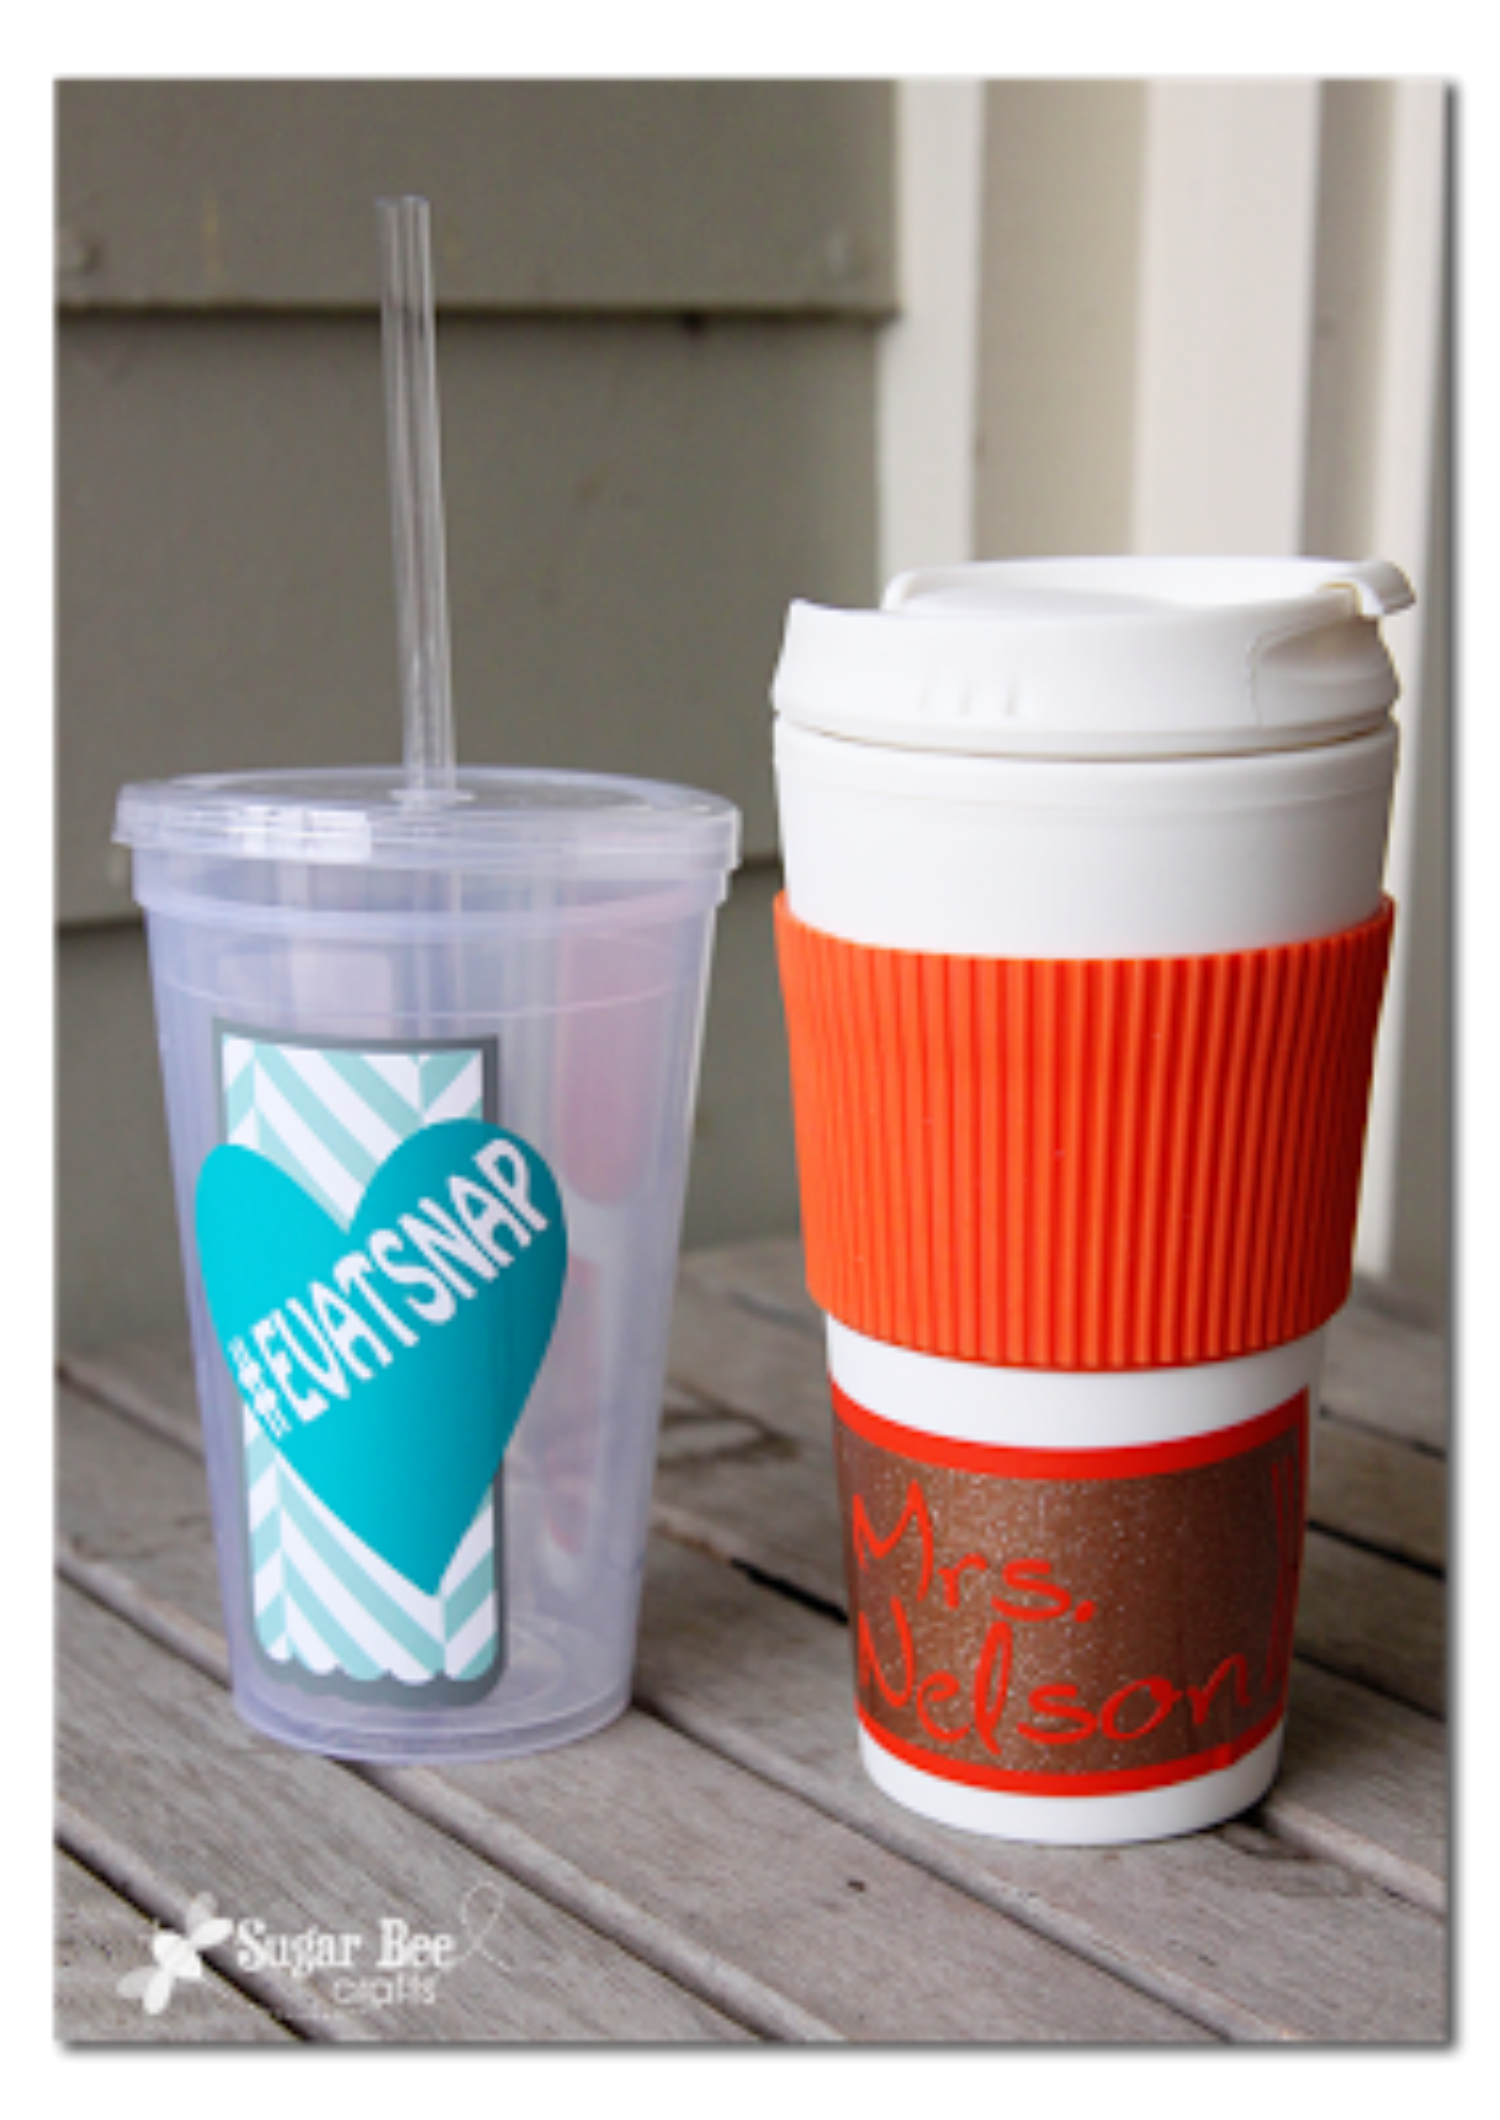
Hi Everyone! It's Mandy, from the Super-Awesome Sugar Bee Crafts (be sure to check out all the fabulousness over there). Today I'm going to show you a fun trick on how to Layer Vinyl. The Expressions Vinyl Team used this super-smart method in their booth at the SNAP and I thought I'd share it with you. The one I made at SNAP is on the left, the one I made for this tutorial, is on the right.
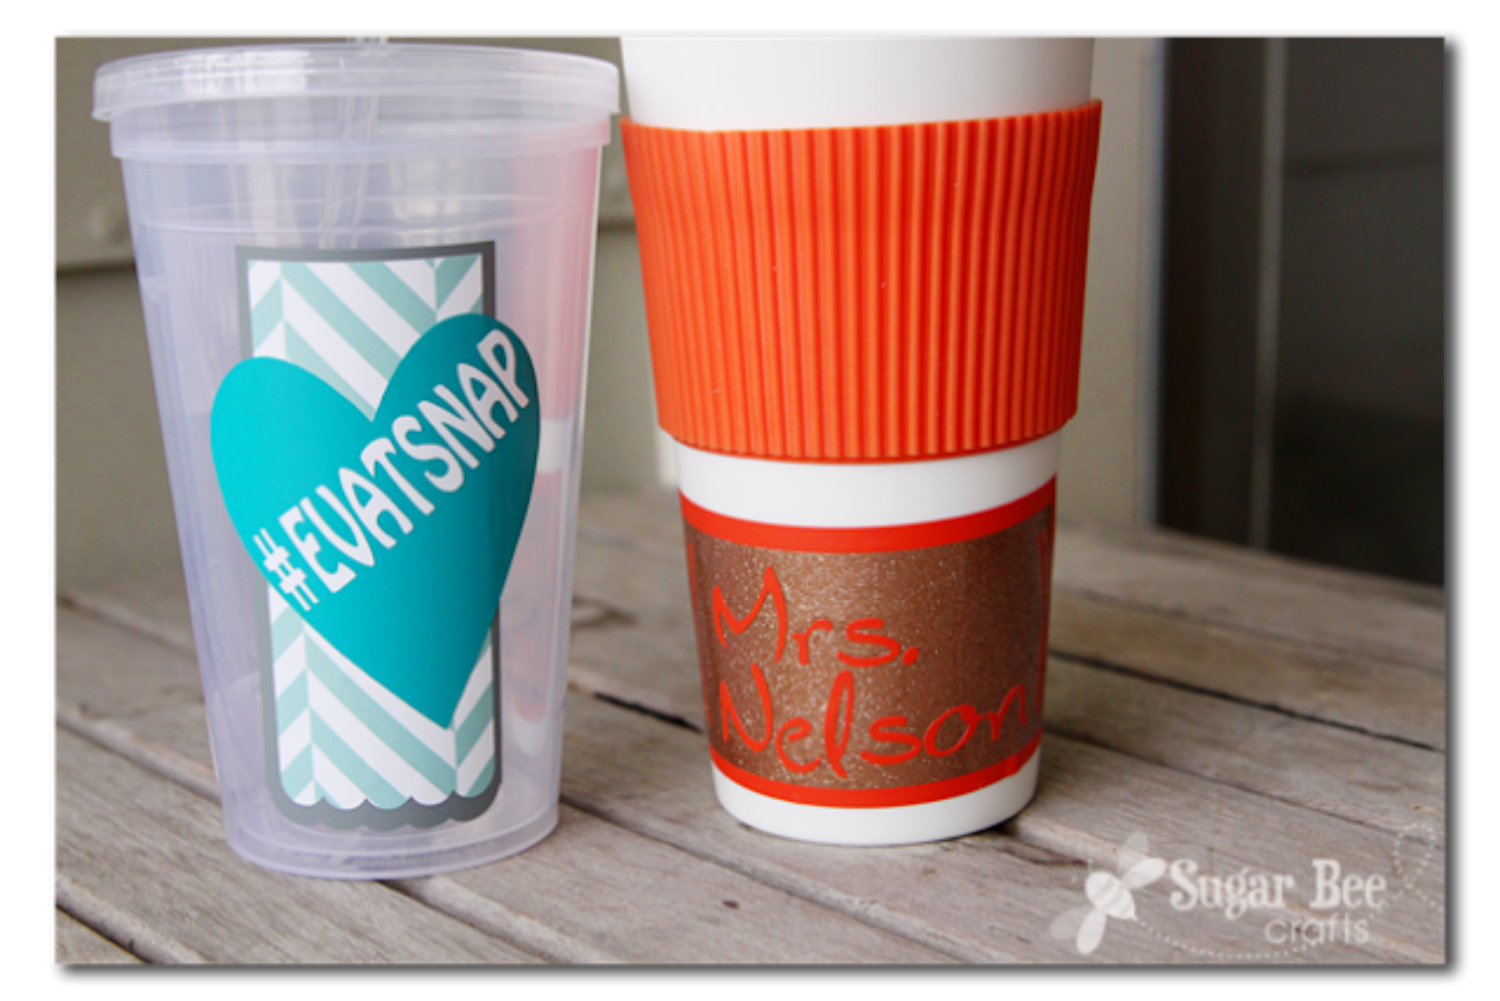
And reminder - - Teacher Appreciation Week is coming up! Personalized gifts are always a hit (I found that insulated cup on the right at the Dollar Store, yep, just $1).
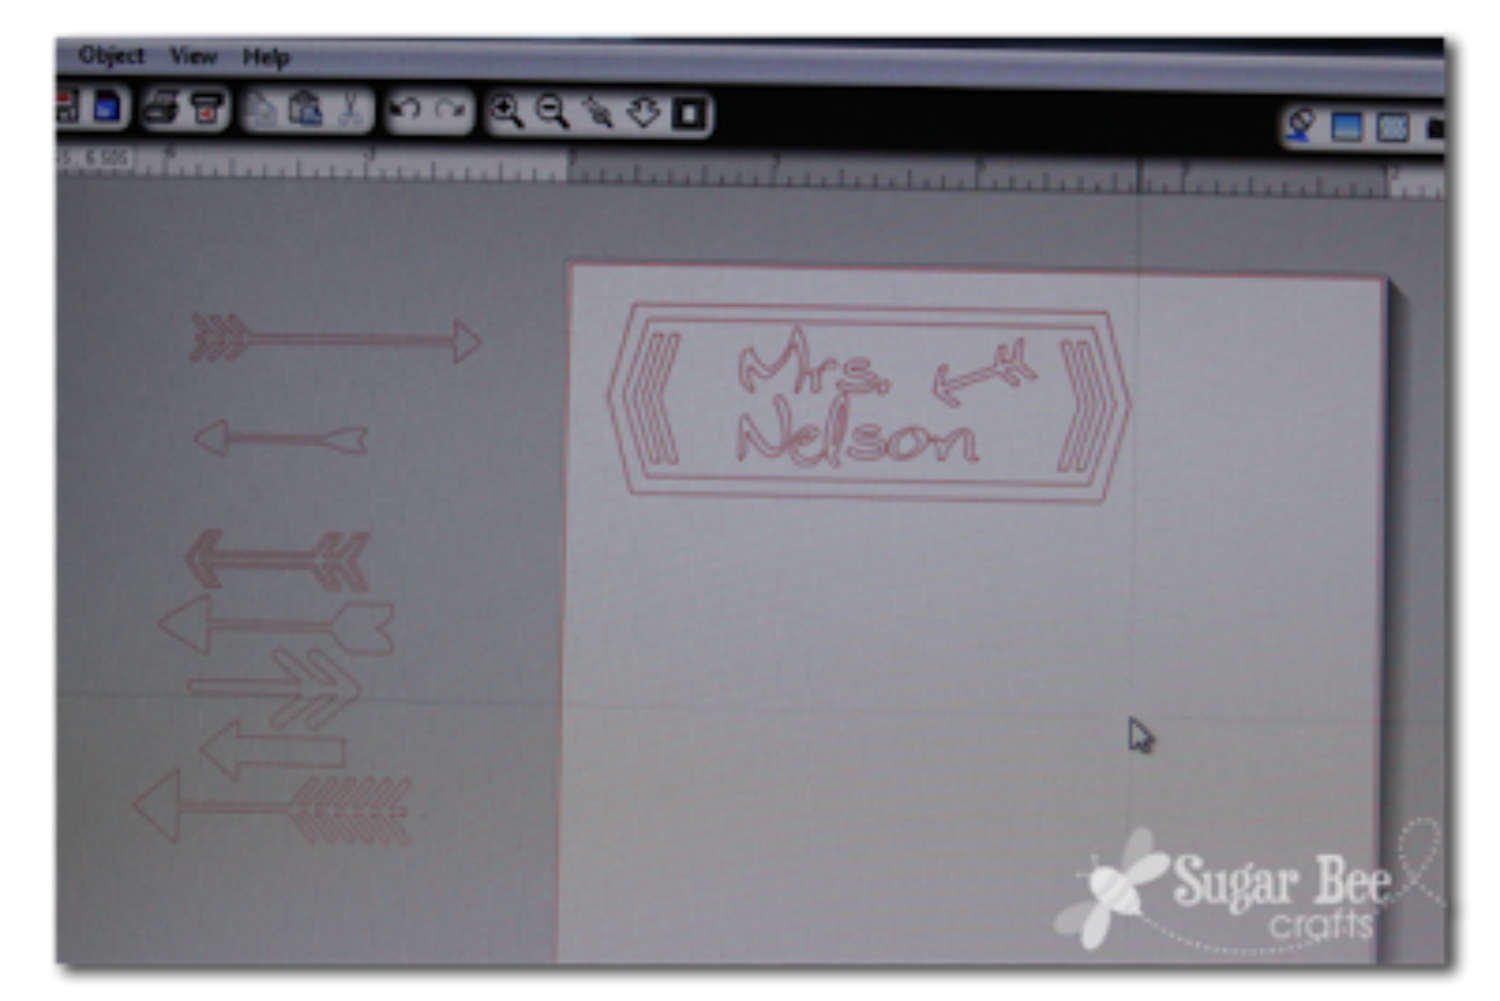
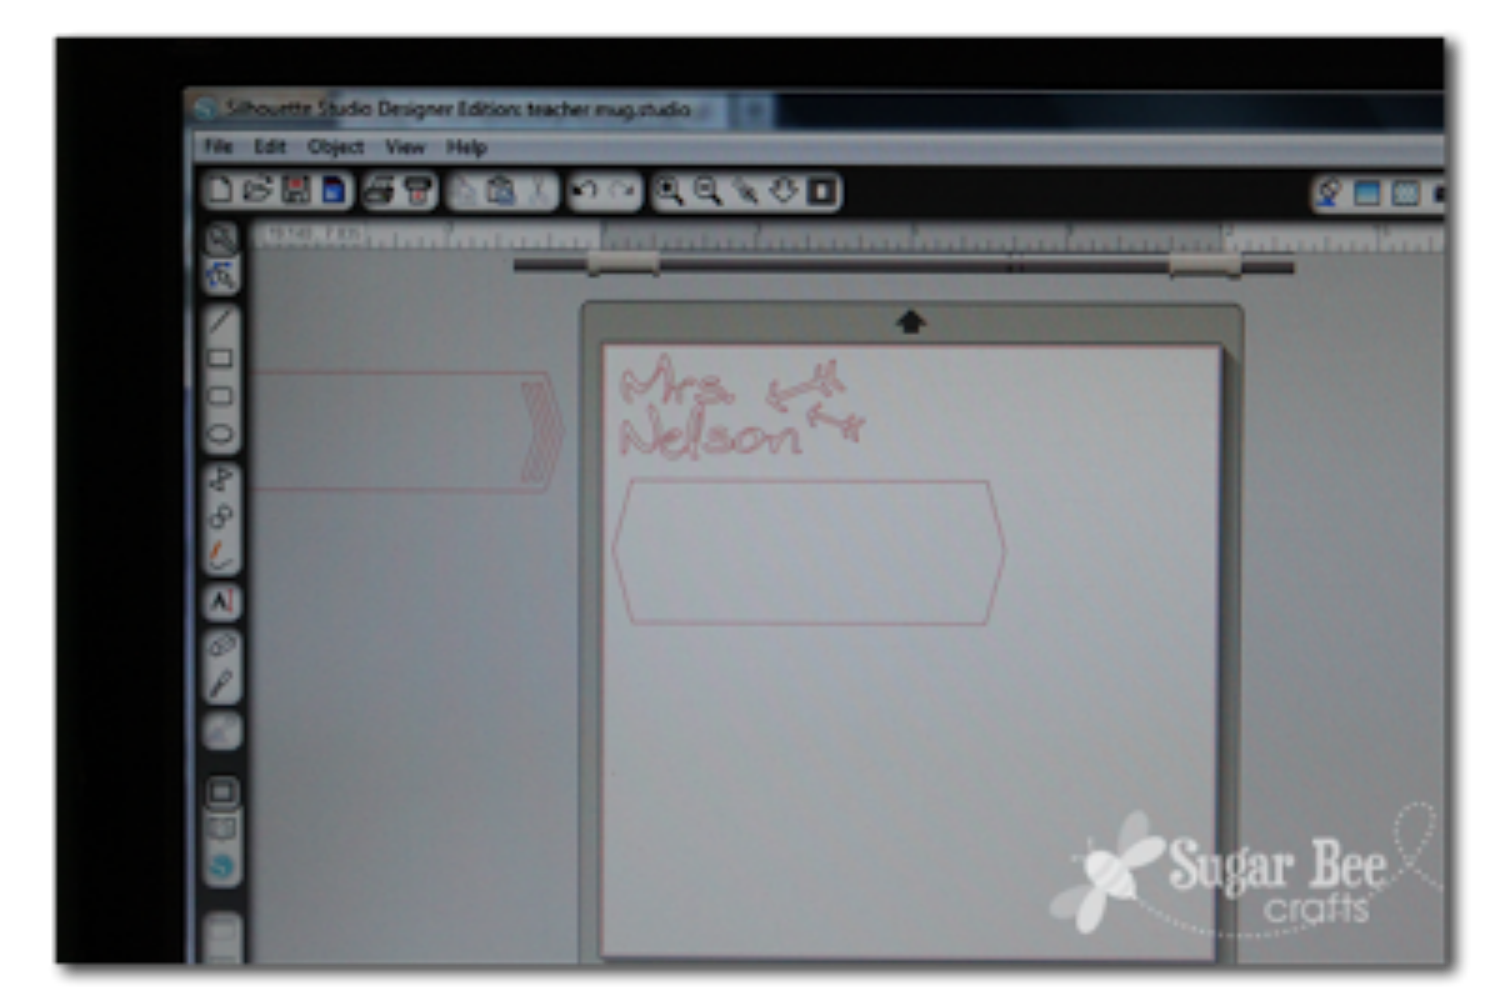
So here we go - - design your image:
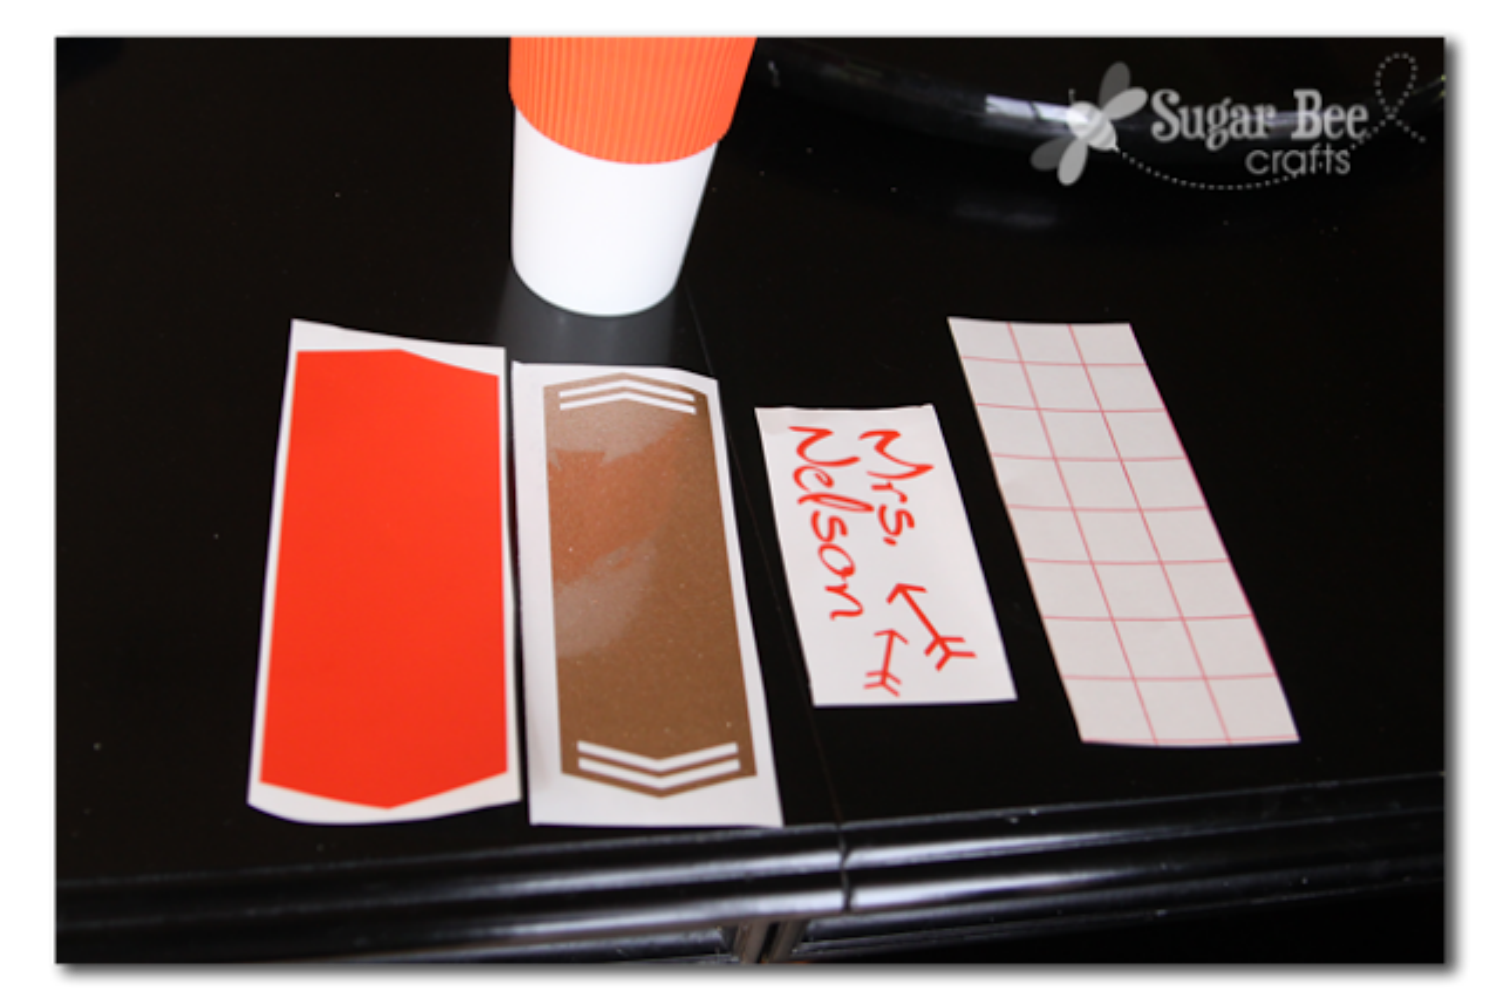
Then cut the pieces separately:
And so you're here, ready to apply - - I have the name that will sit on top of the gold that will sit on top of the orange, so the orange will look like a border:
I think it's instinct to stick the bottom layer to the cup and build up, but the trick I want to show you is the opposite - starts with the top layer. Really - I'll show you...
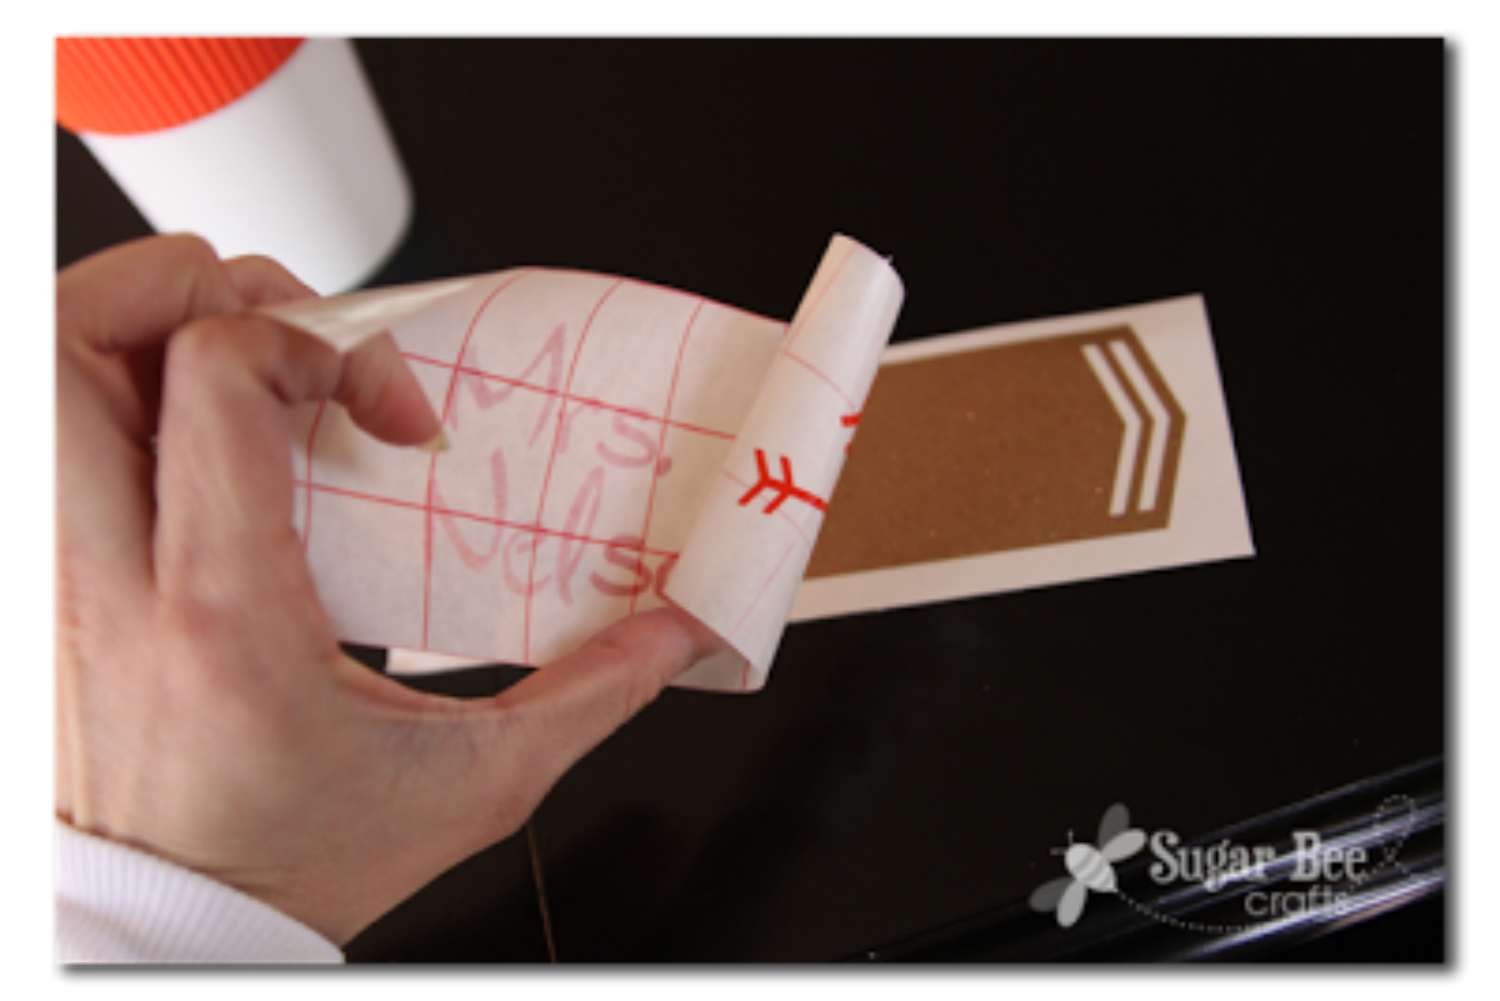
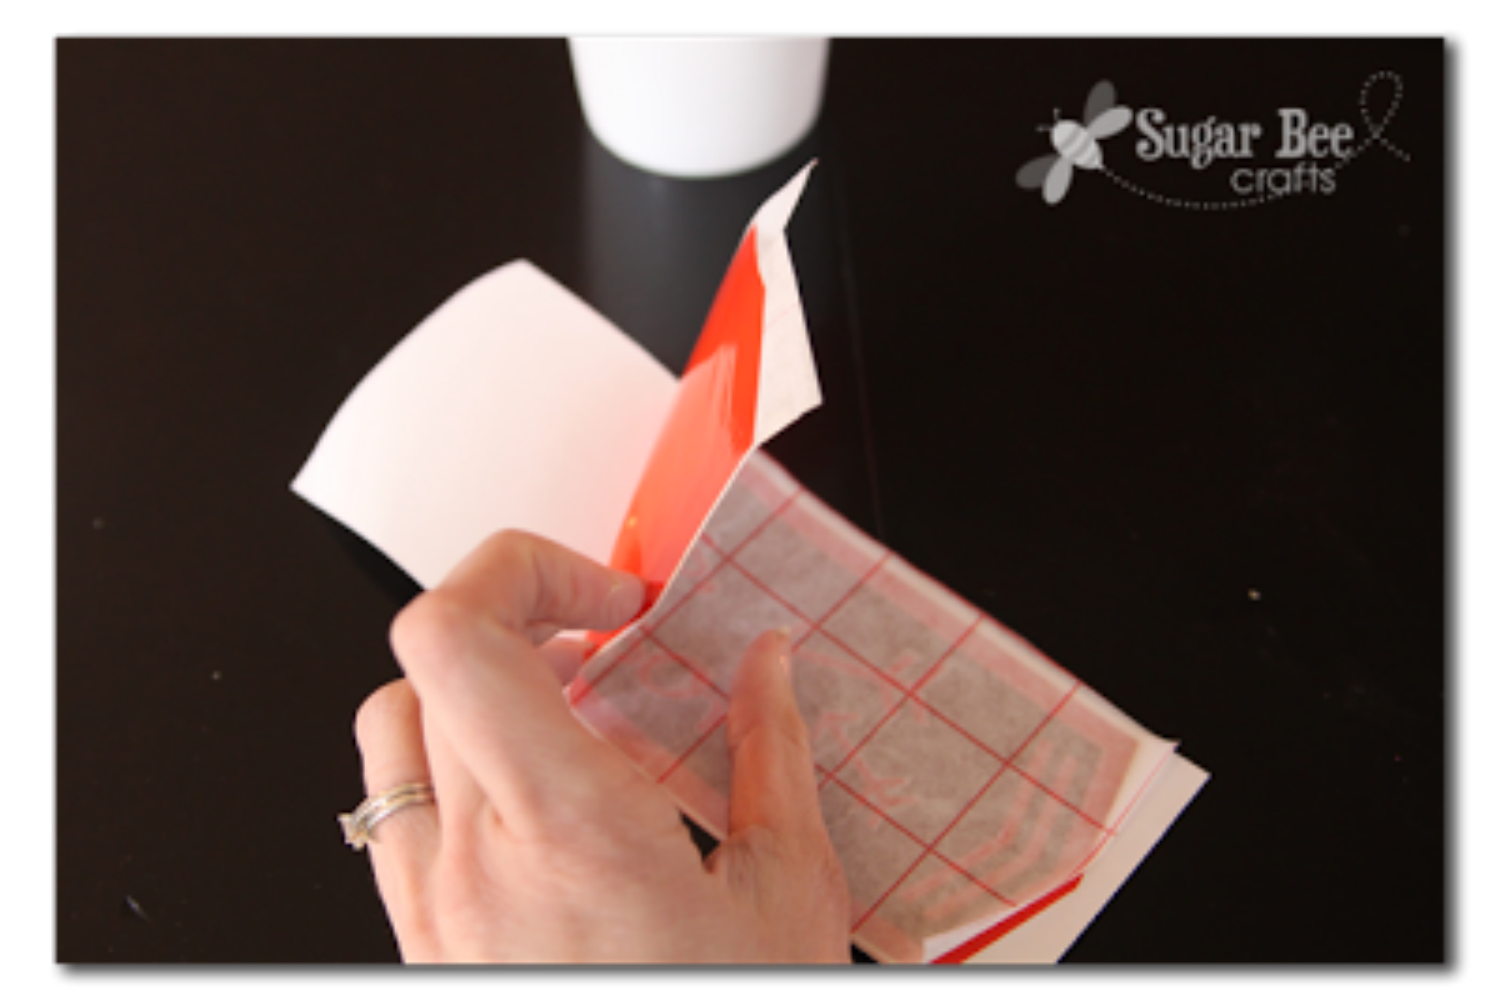
Put your transfer paper on the top layer and then remove that layer's backing:

Then take that and put it on the second layer:
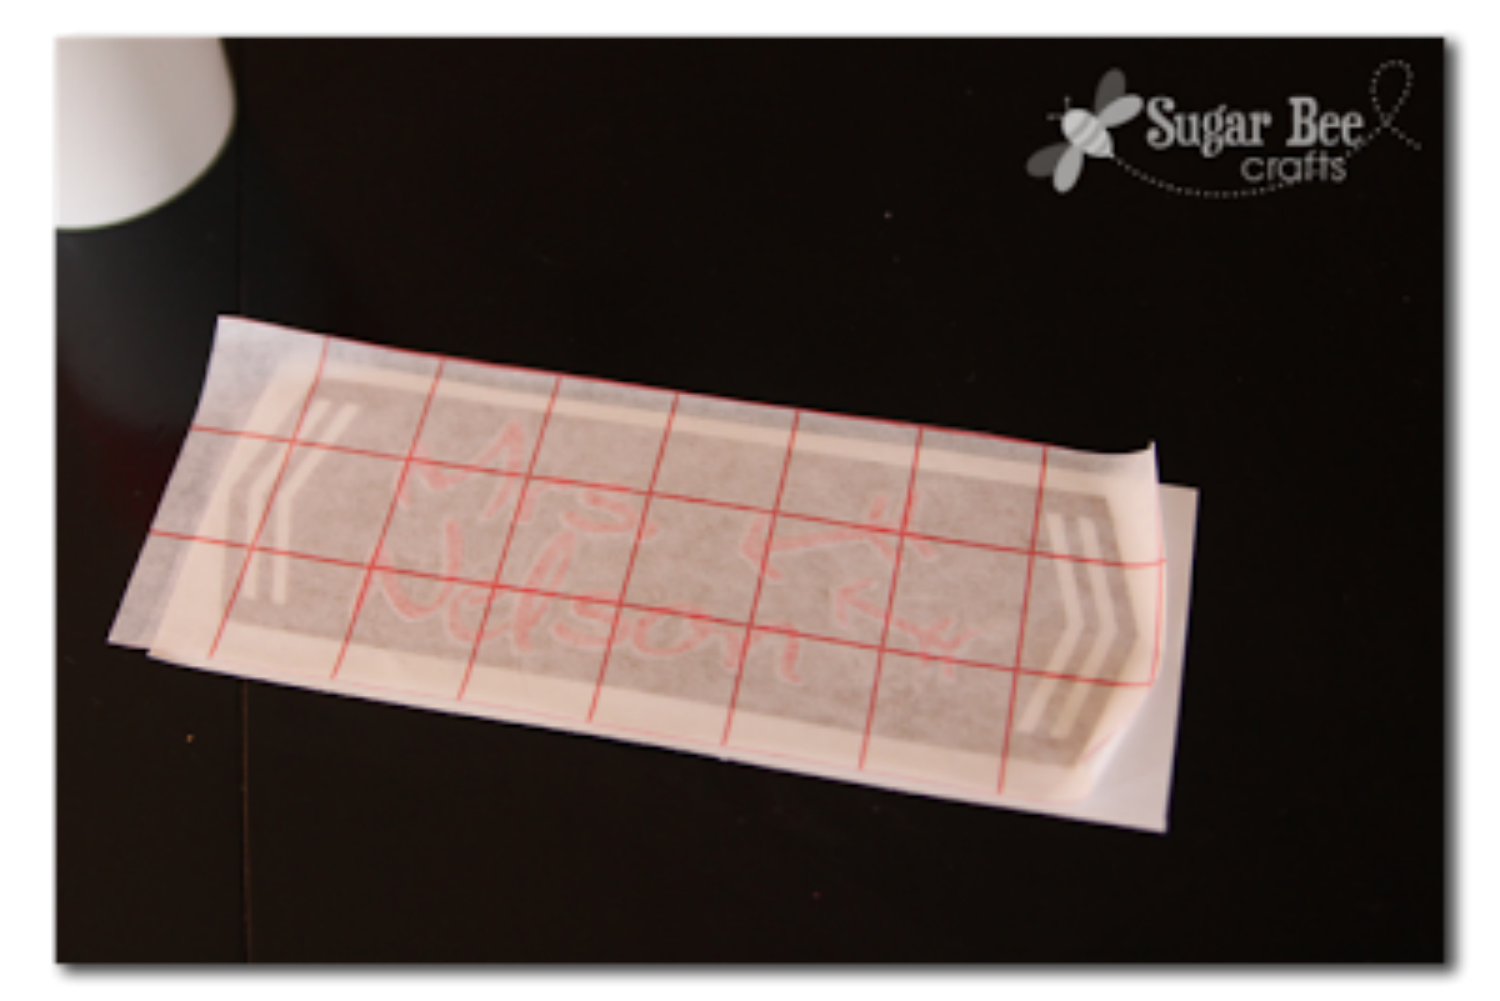
As shown:
Then remove the second layer's backing:
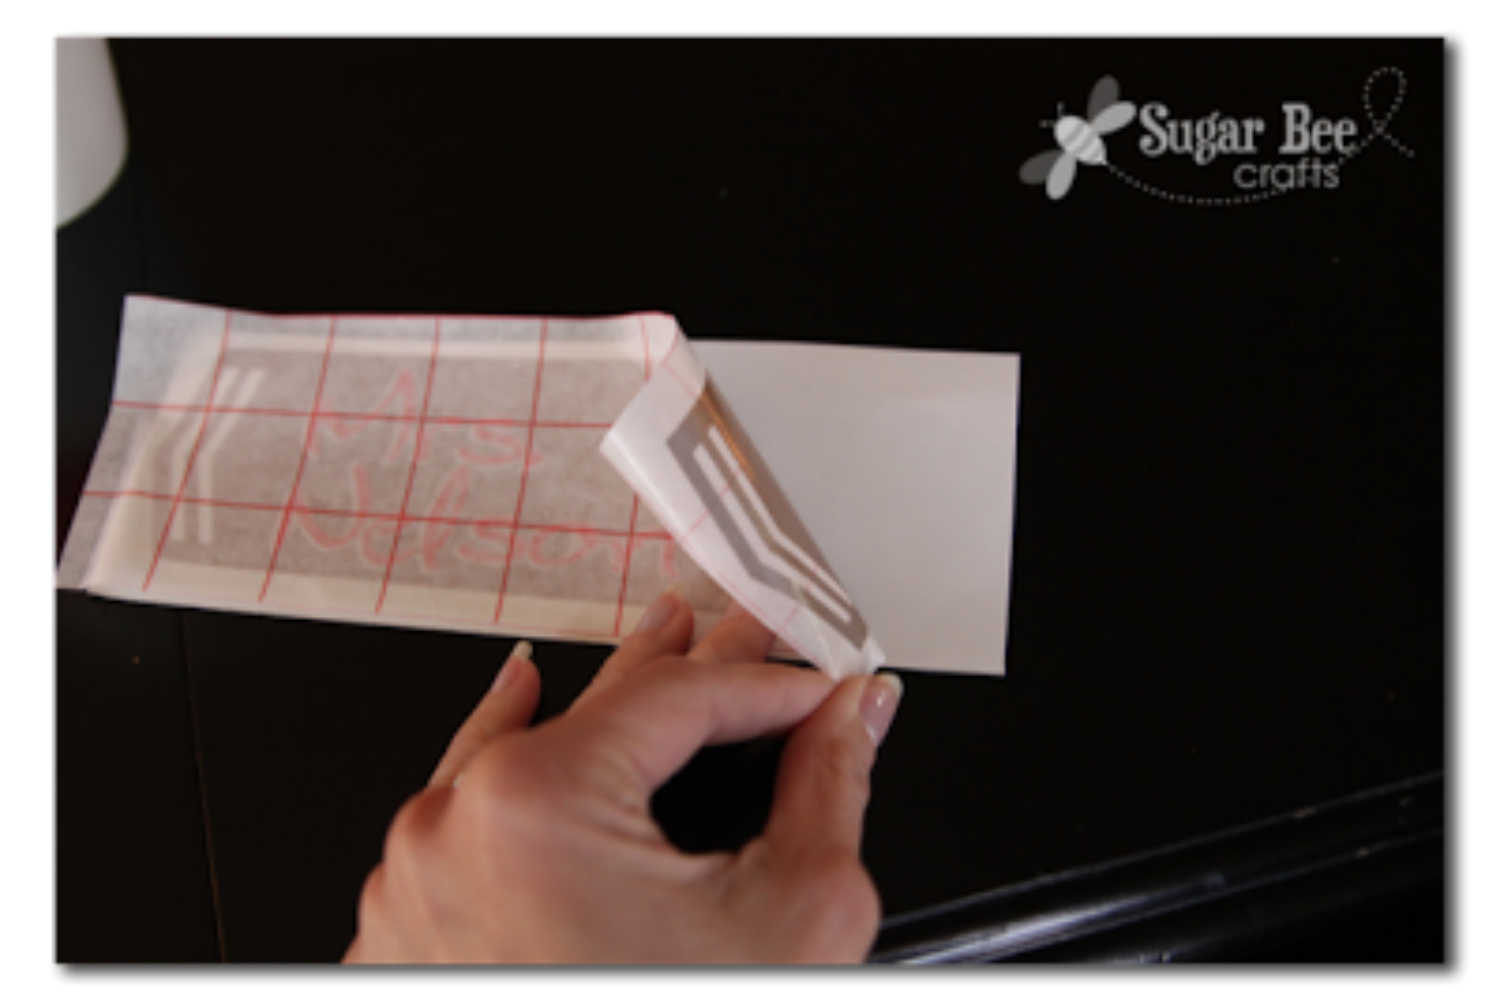
And put that onto the third layer:
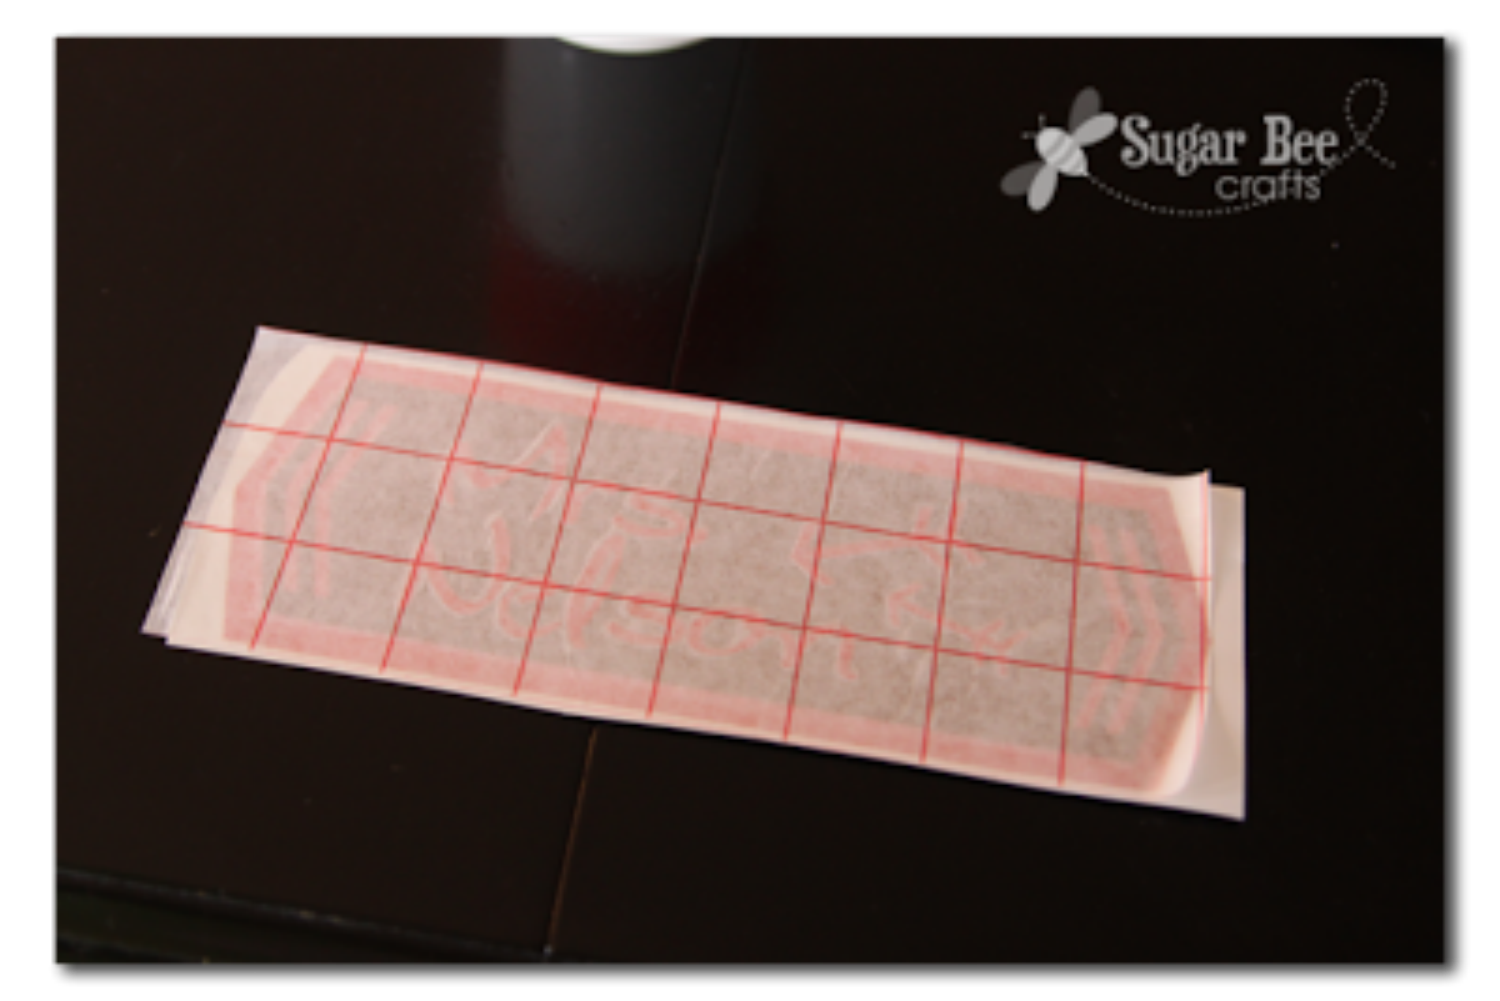
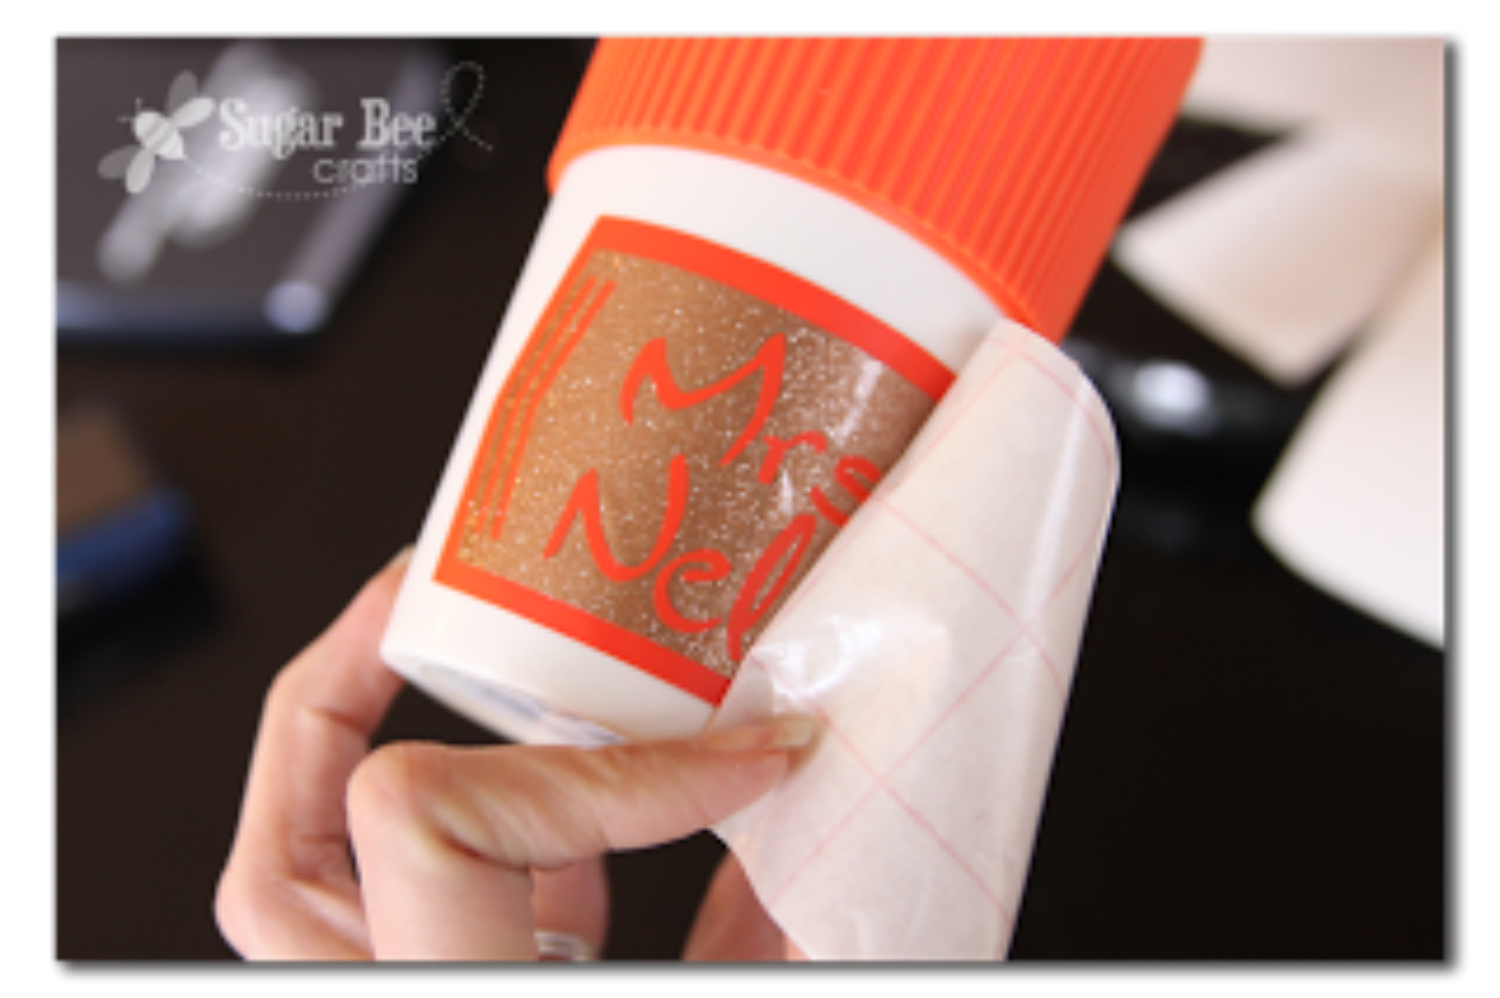
And then everything is stacked on top of each other - - just peel the final backing off:
And attach the stack of cut vinyl to your item - - that's it!

This trick saves you from using a bunch of pieces of transfer paper - or from trying to use and reuse the transfer paper. Smart, right?!
Voila - - ready to roll:
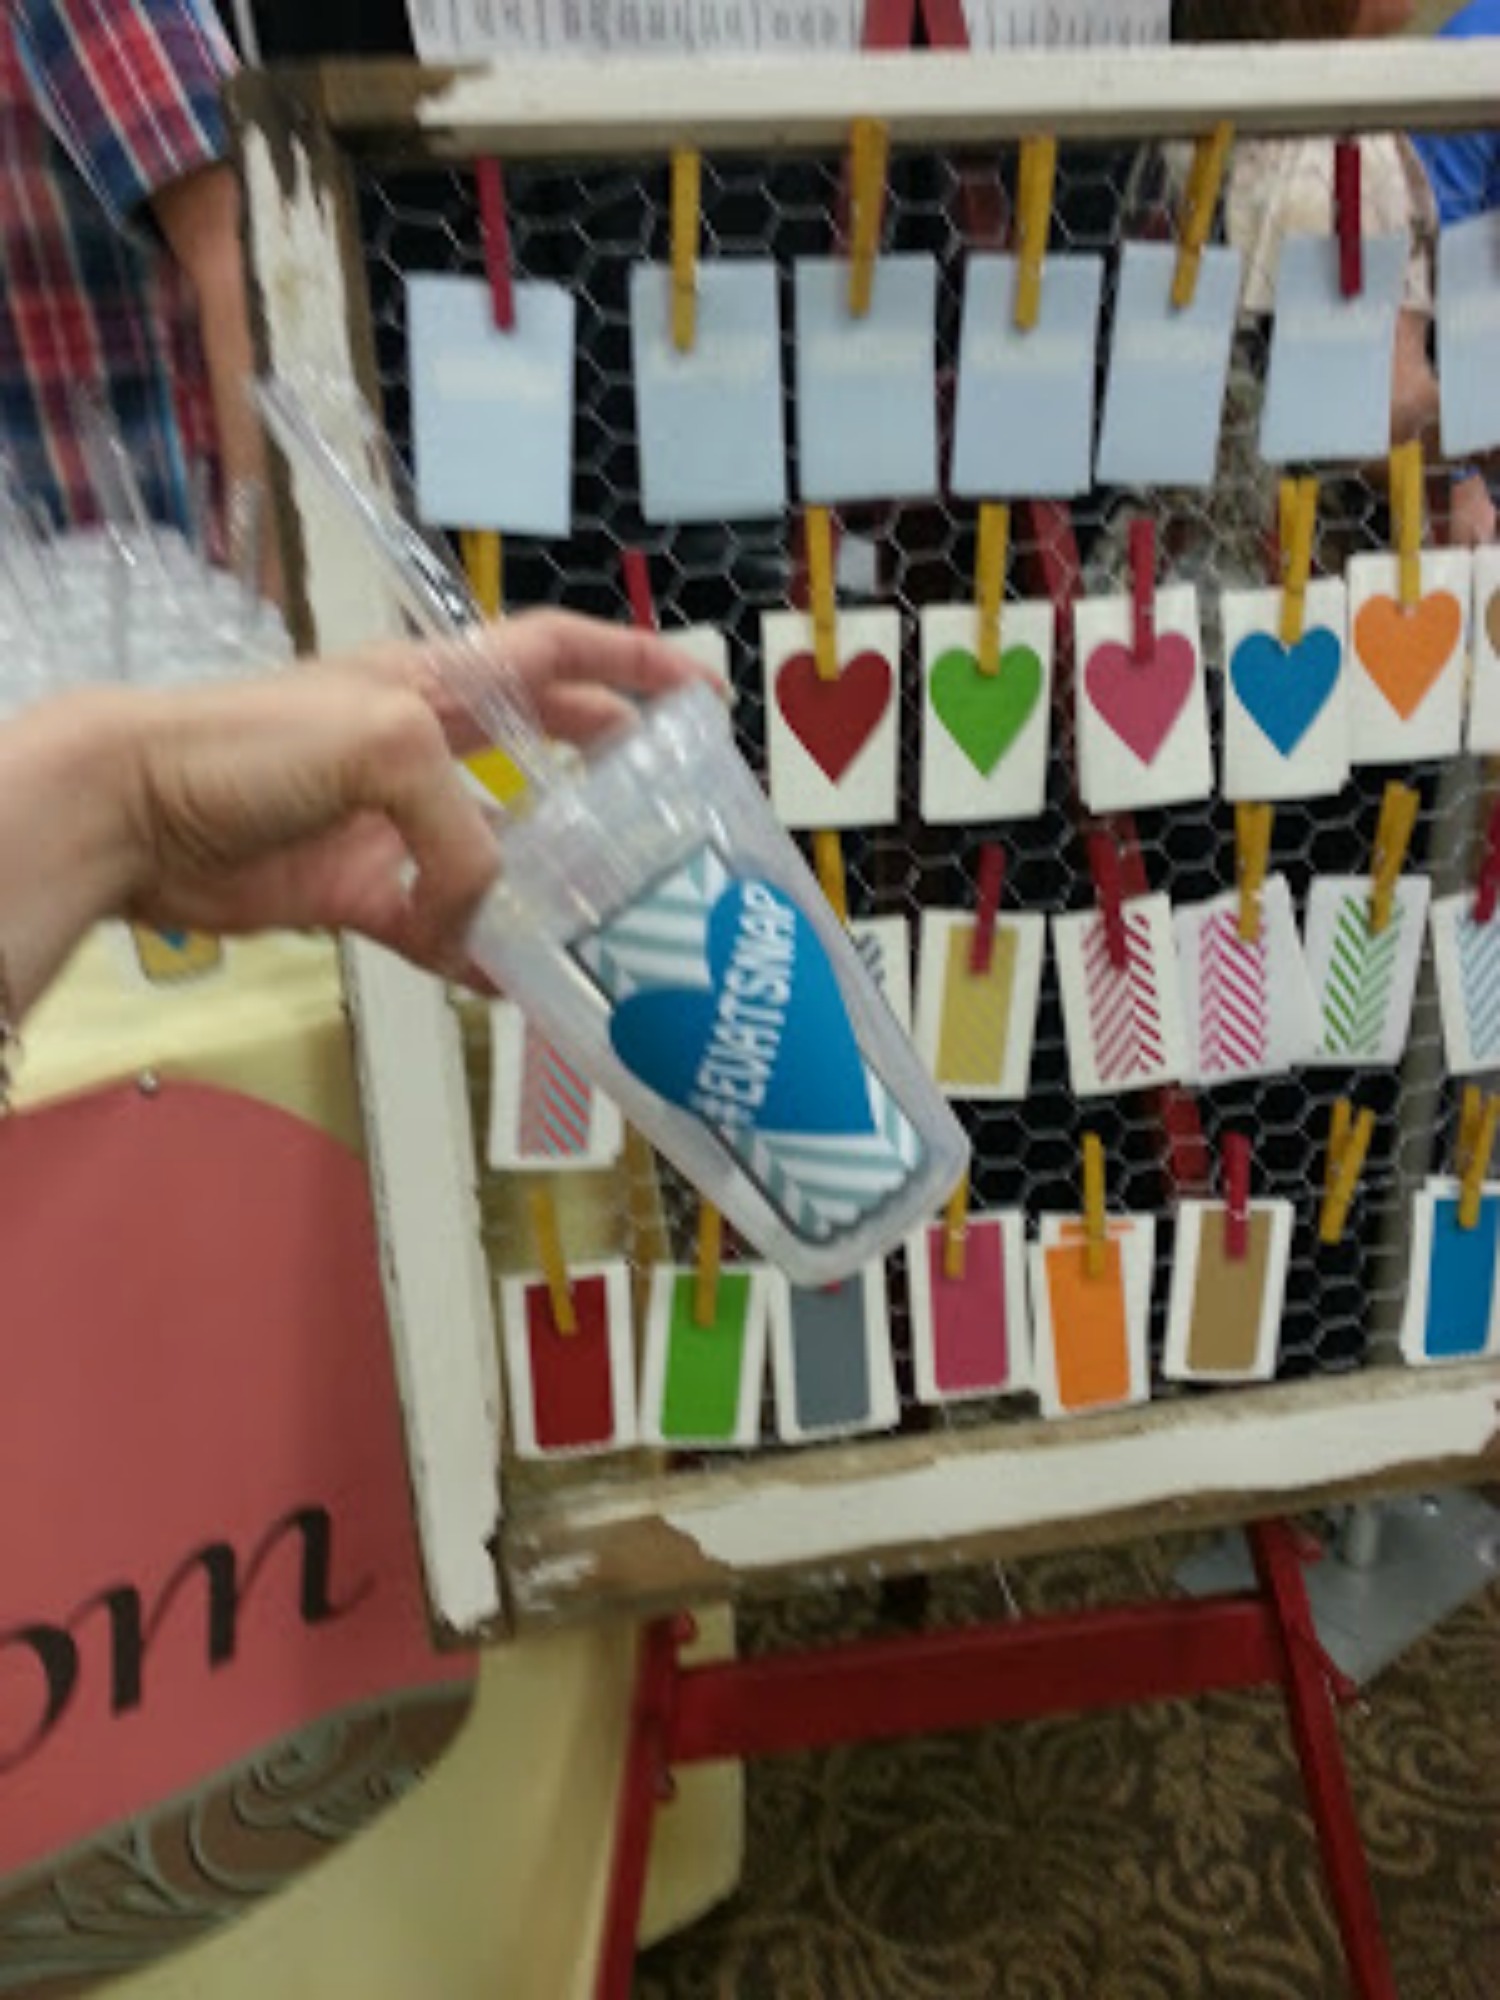
Expressions Vinyl had an awesome booth because they prepped it all - and you can kind of see in this picture the fun selection of vinyl that they have. I'm super into their patterned vinyl right now, so be sure to check that out!
You can find more of my ideas on projects with my Silhouette, including tons of vinyl projects, here: Silhouette Projects and Ideas.

Recent Posts
-
NEW Holographic Eclipse Heat Transfer Vinyl
April 15th, 2024 3 Ways to Use the New Holographic Eclipse Heat Transfer Vinyl from Siser …Apr 29th 2024 -
Hop into Spring with Cute Easter Vinyl Crafts
Do you love our Vinyl? Sign up for Vinyl Club today to get FREE vinyl and save big! …Mar 28th 2024 -

Fixing Wrinkles and Bubbles in Vinyl
How do you get air bubbles out of vinyl? There are a few different ways to ensure a flawless …Mar 26th 2024