
Silhouette Mint 101
Hey guys, It's Jessica with Expressions Vinyl and today we are going to talk about the Silhouette Mintmachine. The Mint machine is a stamping machine that you can use to create your own stamps.
We have some samples right here (below). You can use any font or image that's on your computer.
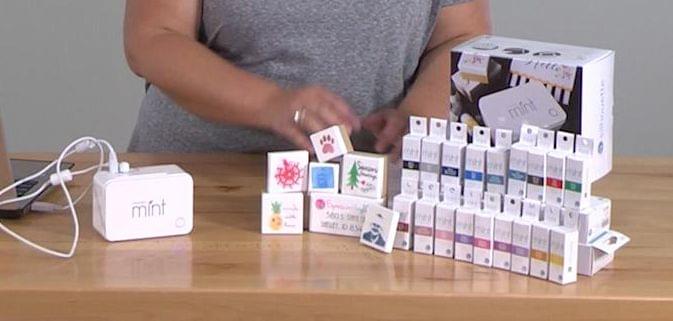
So out of the the box, it comes with the little machine, and then it also comes with some ink and some stamps to get you started. You can go and download the software. You can also purchase additional inks. There's all sorts of colors you can get and different sizes of stamps. So if you want a big one or a little one you can get any size you want. They also have little refill kits.
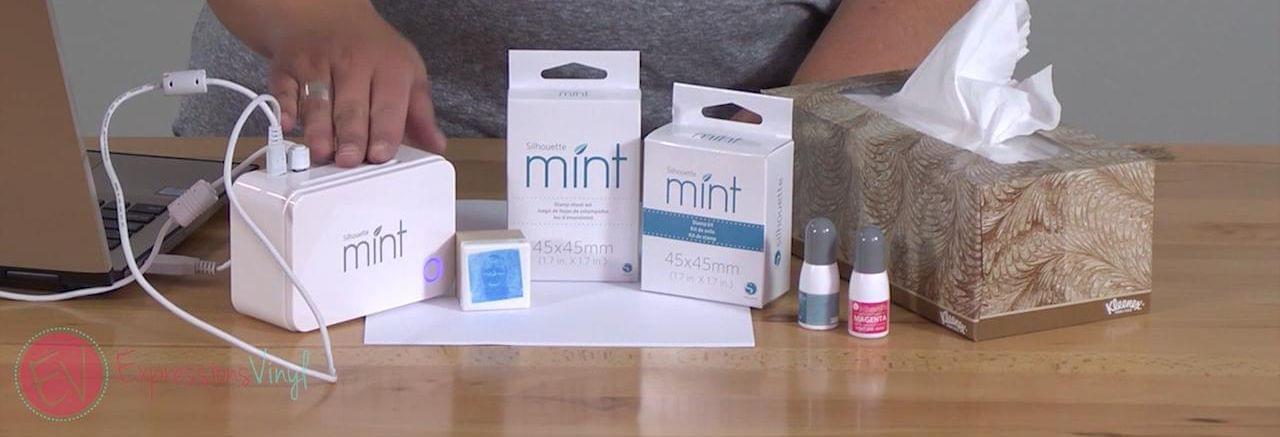
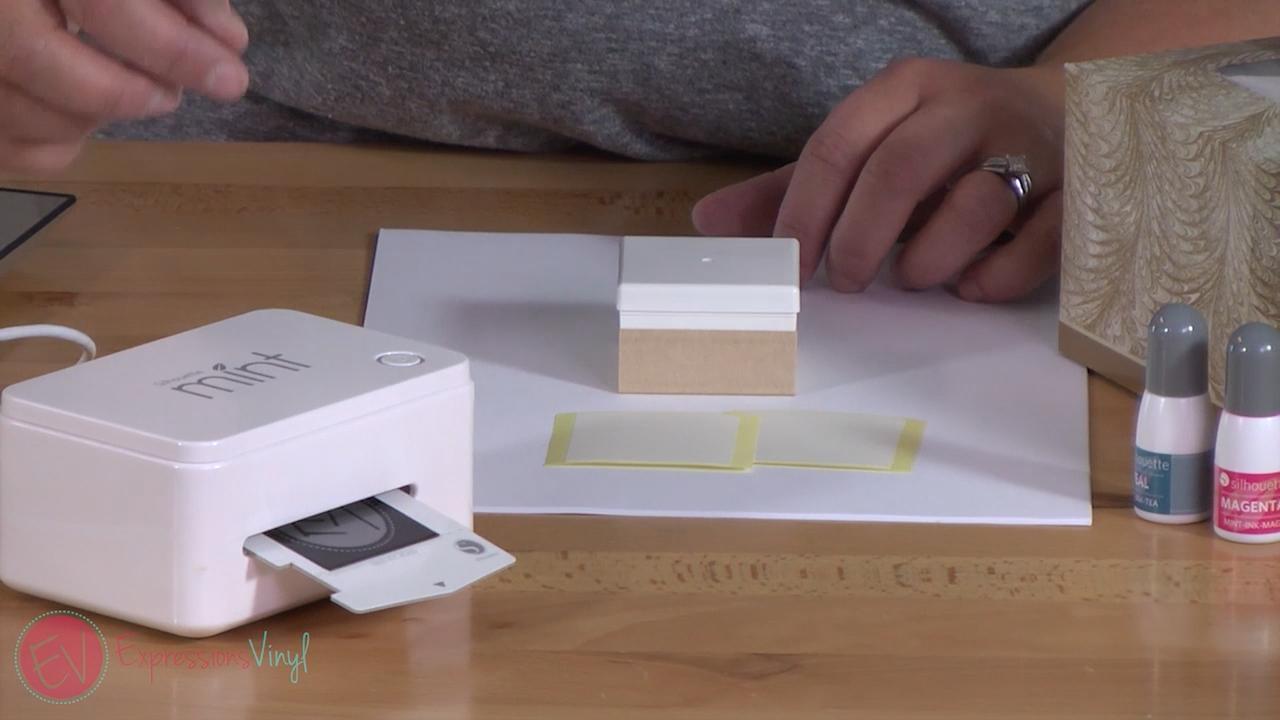
So now let's show you how to make one. We have our machine, paper (just copy paper, even scraps will work), our stamps, ink, and then we also need some tissues. So let's get started.
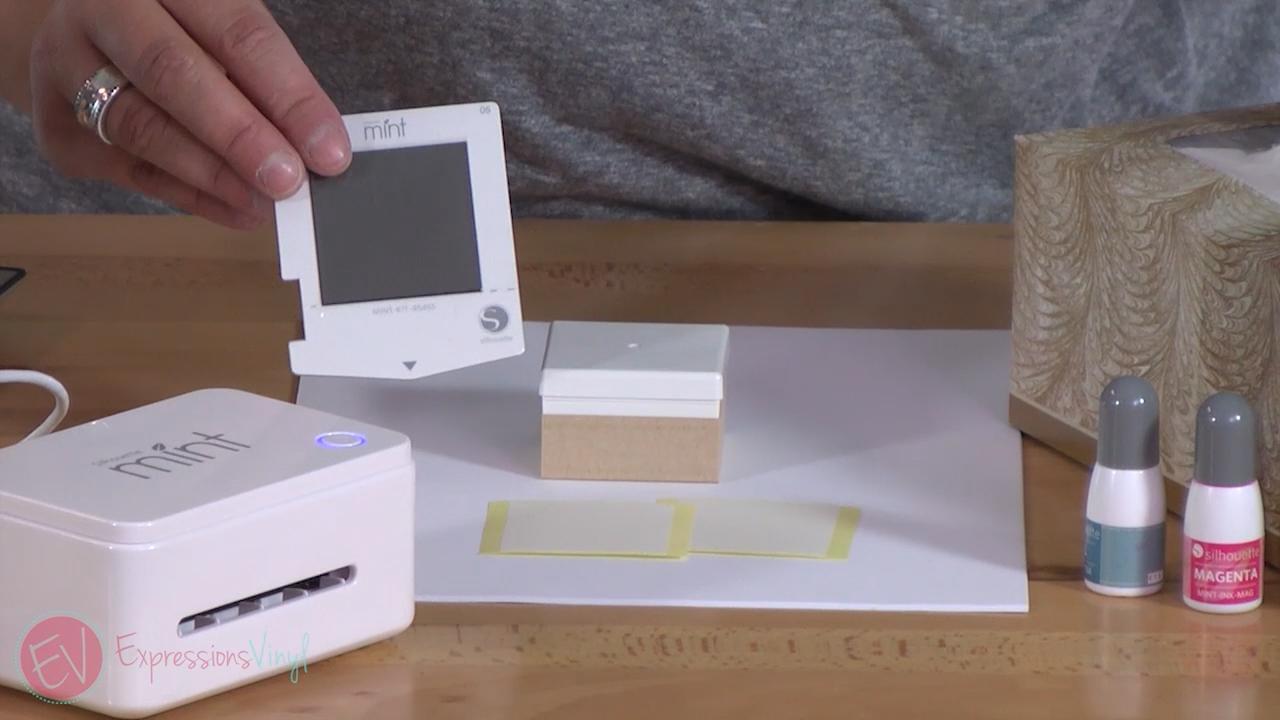
I have my machine hooked up to my computer. We've got one cord that is the power cord and one cord that the USB is going into my computer. You can download the Silhouette Mint program for free and we have our little stickers that are going to go on top of our stamp to show us what it is. Then we have our actual stamping material that's going to go in our machine. Set those aside, and once it's all set up and go over to the software and push "Start Mint".
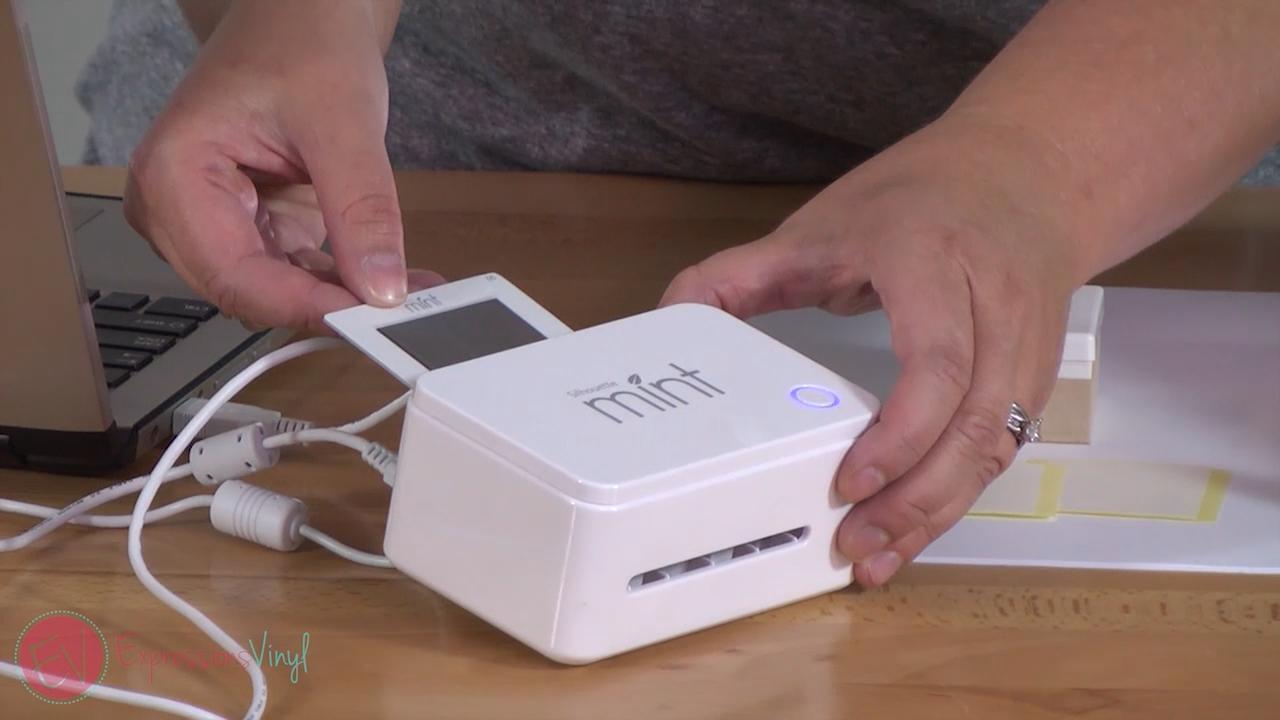
Then pop in my stamp, if you notice, there's a clear cover on it, you want to keep that on there. Once it's placed into my machine, the light blinks, and it will take it in. It also detects the size. So if you've got it set up on your software to do a 45 by 45, and you grab a 15 by 15 stamp on accident, once you put it into your machine it will detect that it's the wrong size and it won't do anything, it'll tell you that it's the wrong size.
It takes just a couple of minutes for that to come out. An awesome thing about these stamps is you can re-ink them as many times as you want, and you can also re-ink them with a different color so if you've started with blue you can re-ink it with pink later on if you want to. So you can see our stamp's coming out there and it just takes a few minutes for it to print,
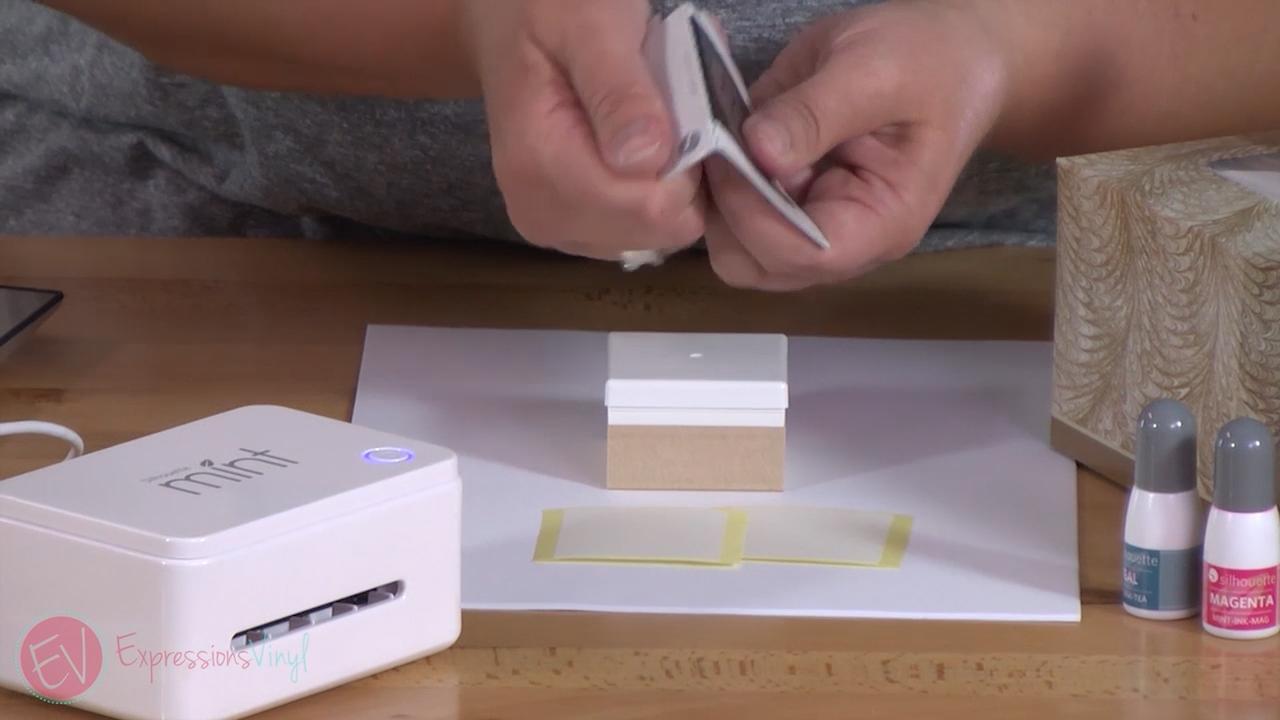
It has perforated edges, we just want to pop that off and tear it. We still want to keep that plastic sheet on top of our stamp because we're going be handling it with our fingers. We don't want to tear that off until we're ready to ink. So just pull that outta there and then we're gonna open up our stamp and this is where our adhesive is.
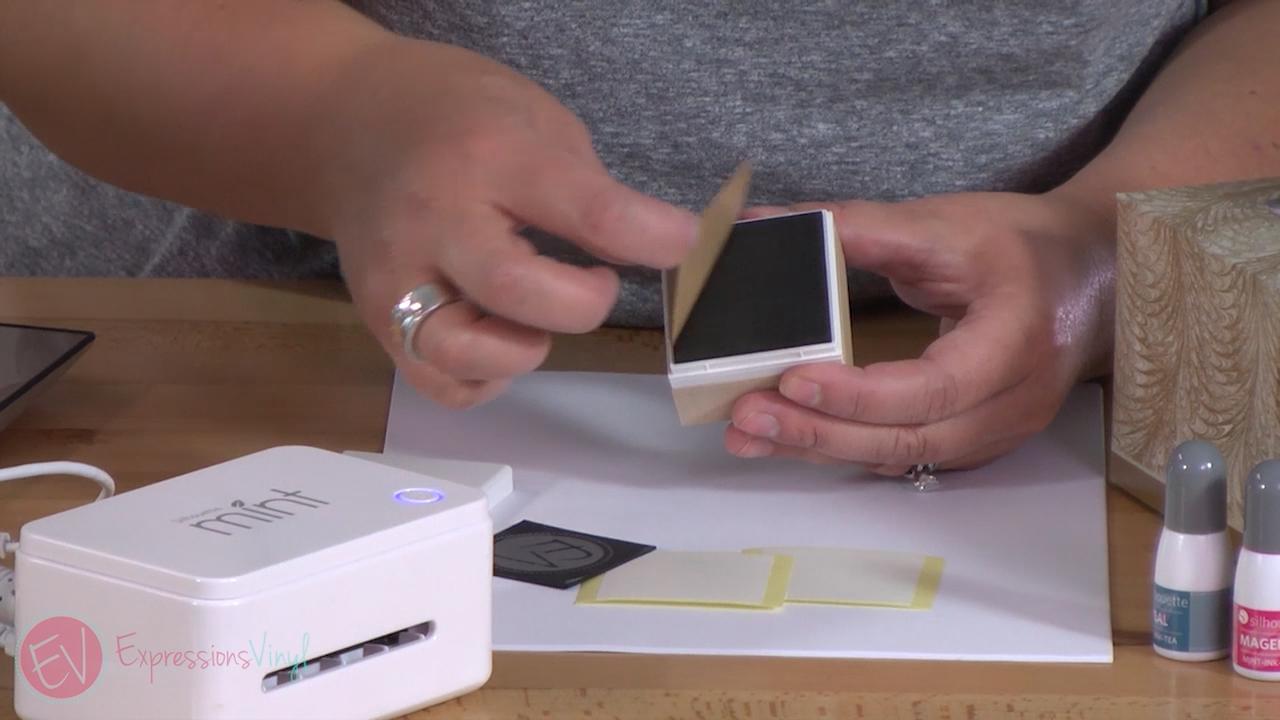
So we're gonna peel that off and then we're gonna place our stamp on top of the adhesive here to make the block. Push that down really good and here is where we will peel off that little film off of the stamp.
And now we are ready to ink.
This part gets a little bit messy. You want to have some tissues available. I'm going to do two colors. As you can see, the gray part where it has made the image, that is where I want to place my ink. And since I'm doing two colors it's only going accept the ink where that gray part is, and I only want do this inner circle. The outer circle I'm going to do in turquoise so it matches our logo. It starts so soak right in once your ink hits the stamp.
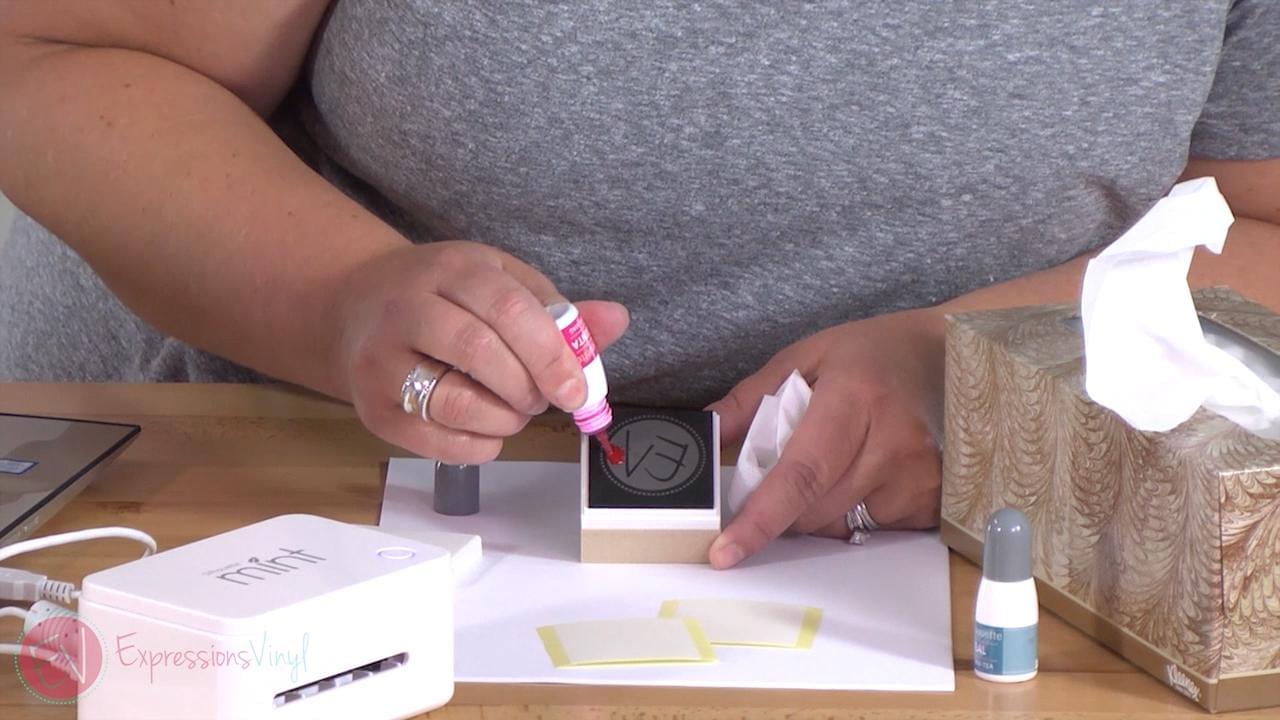
After letting the ink set in for a few minutes, you're going to want to take that scrap piece of paper and press your stamp quite a few times to get the excess ink off. You're just going to stamp straight down a few times until it starts to look like a stamp. ( It looks like I got a little bit of the turquoise mixed in with the pink, I wasn't careful enough. Oops!)
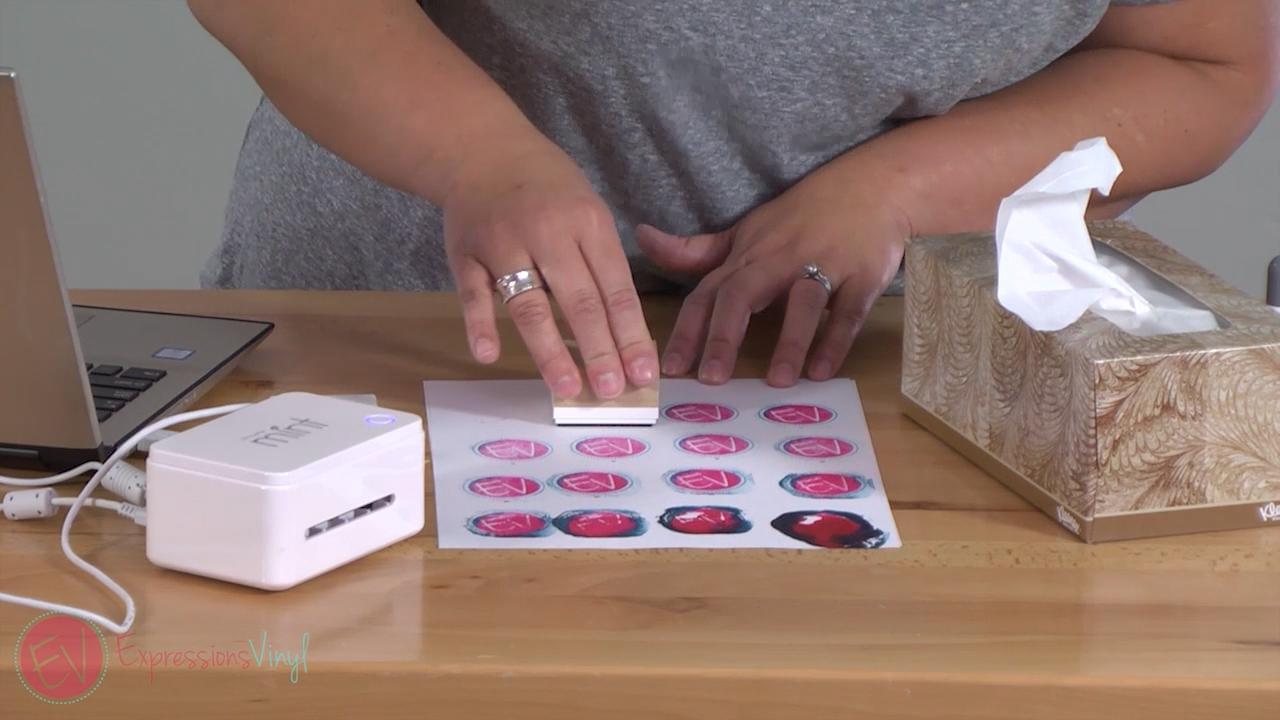
I needed to use another sheet of paper, and stamped about 15-20 times until the ink off good.
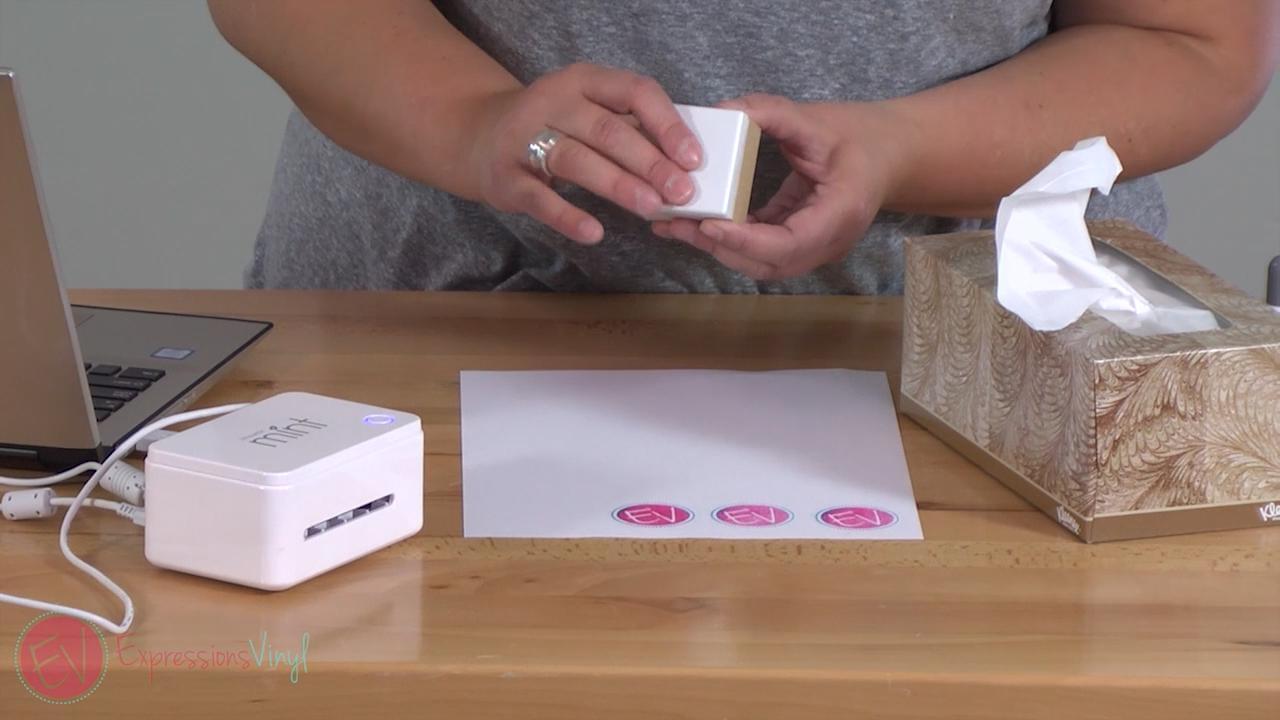
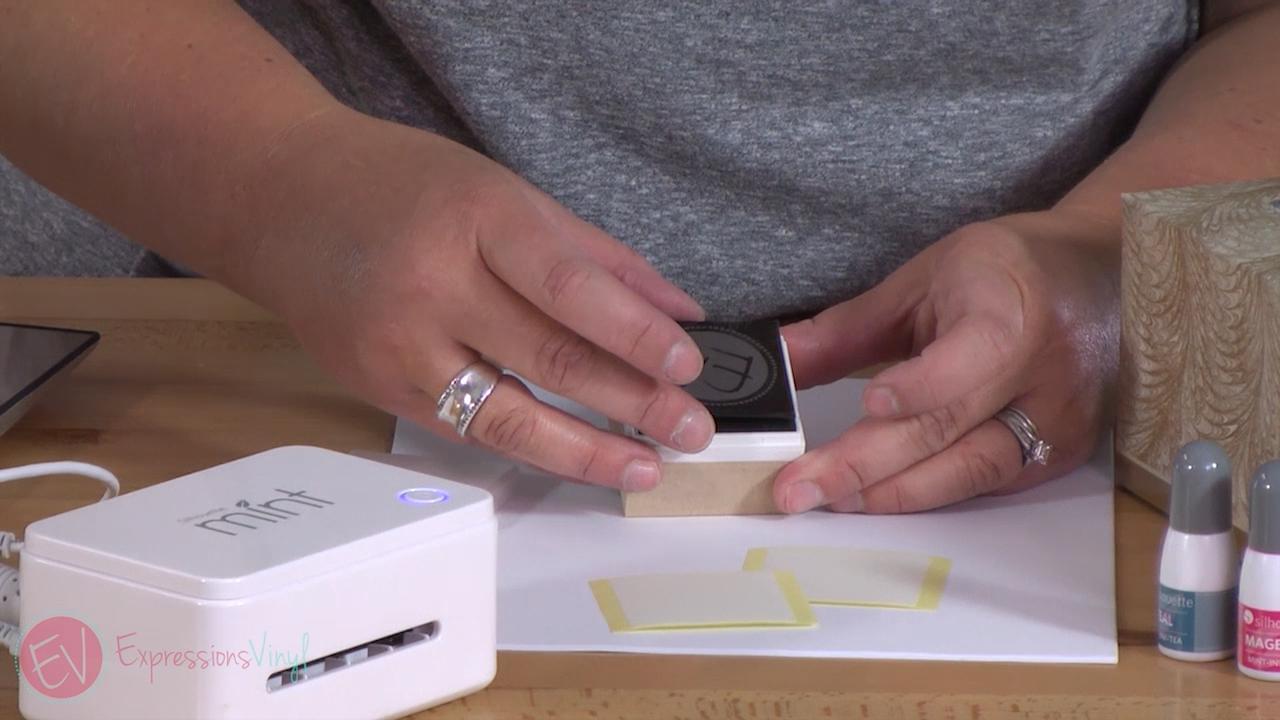
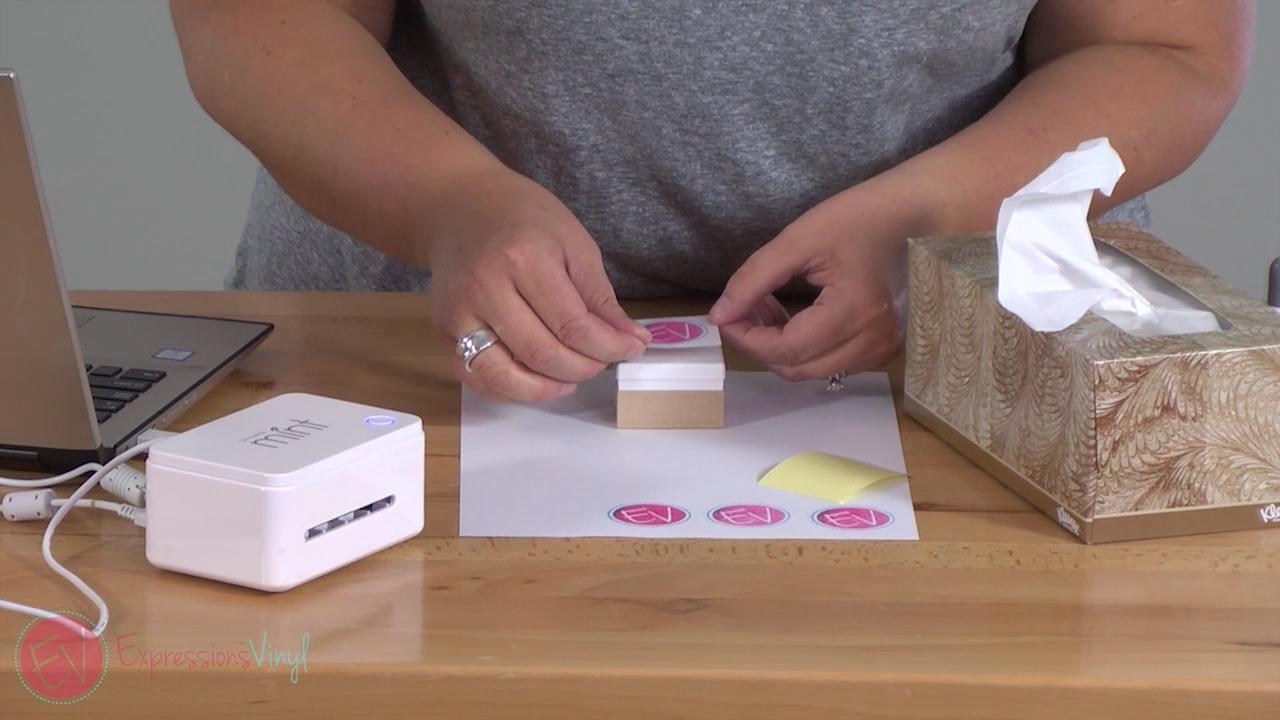
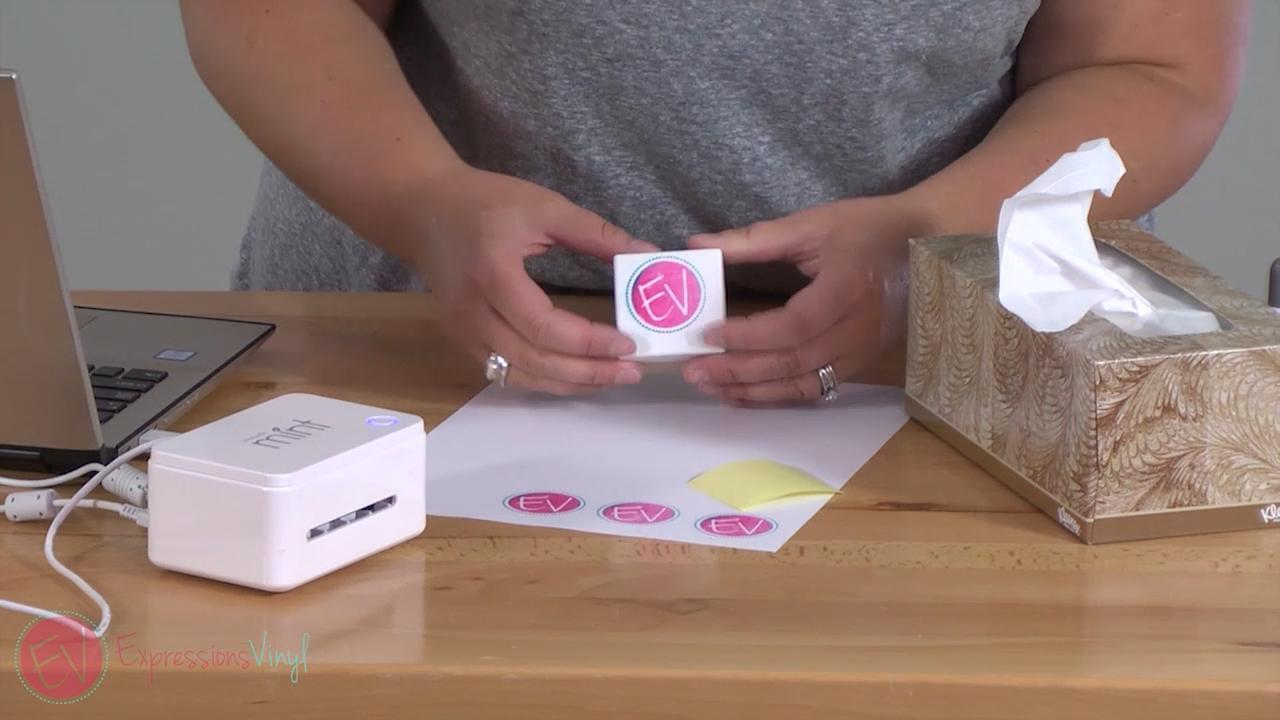
Now that our stamp is all made, and the excess ink blotted off, we just need to make the sticker for the top of the stamp to show us what the stamp is.
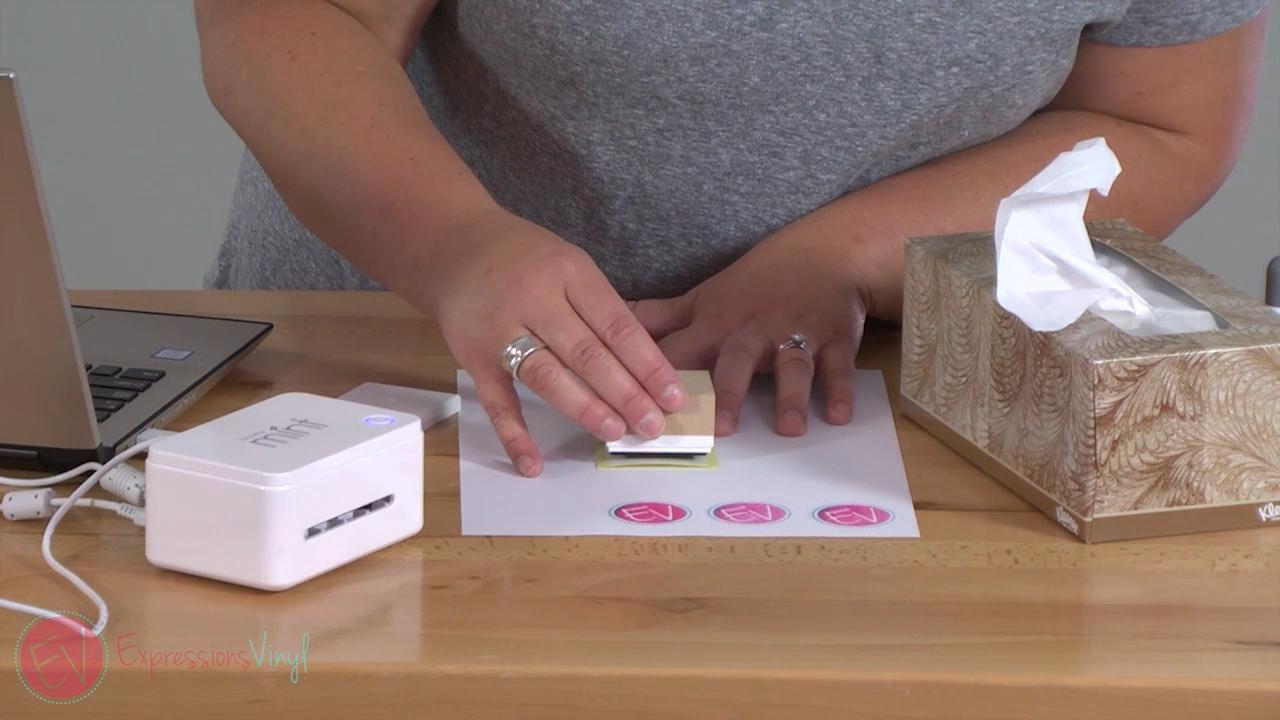
Just stamp right on top of your sticker...
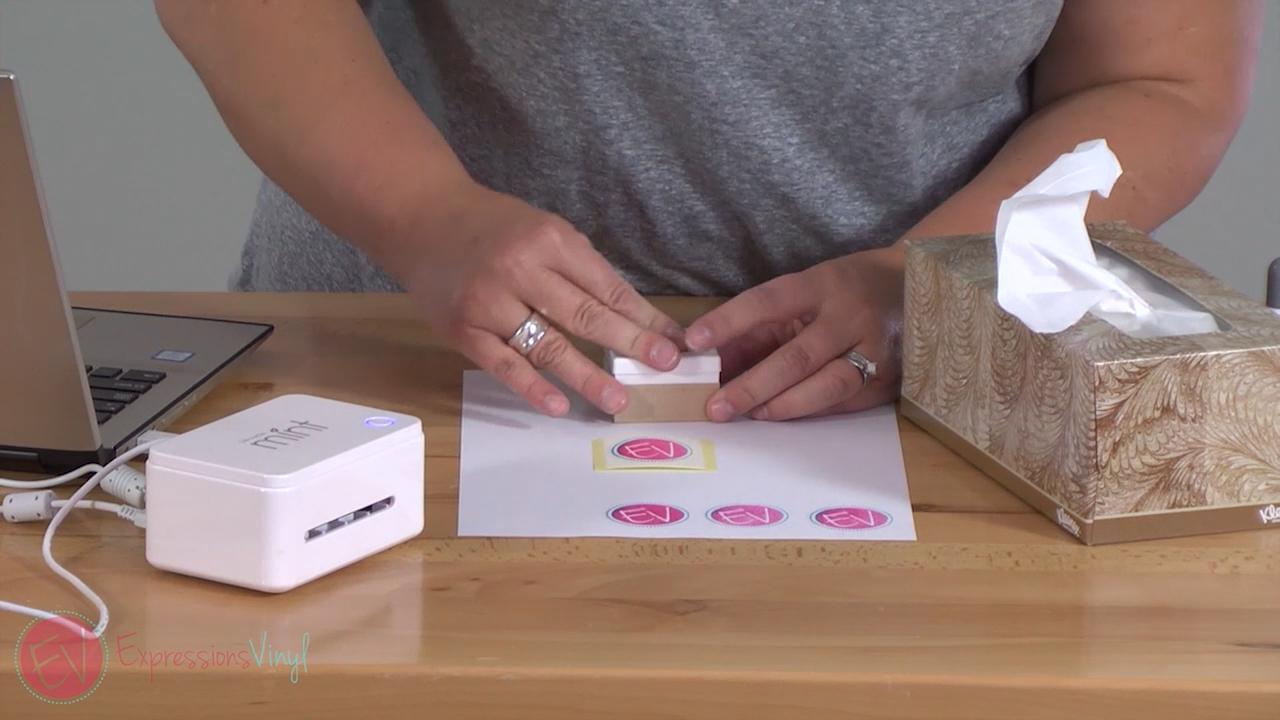
And place the sticker right on top.
And there you go! In no time at all you have a custom stamp that can be used over and over!
If you have any questions or comments, please let me know in the comments below. And make sure to watch the full video of these tips here!
Recent Posts
-
NEW Holographic Eclipse Heat Transfer Vinyl
April 15th, 2024 3 Ways to Use the New Holographic Eclipse Heat Transfer Vinyl from Siser …Apr 29th 2024 -
Hop into Spring with Cute Easter Vinyl Crafts
Do you love our Vinyl? Sign up for Vinyl Club today to get FREE vinyl and save big! …Mar 28th 2024 -

Fixing Wrinkles and Bubbles in Vinyl
How do you get air bubbles out of vinyl? There are a few different ways to ensure a flawless …Mar 26th 2024