
Step-By-Step Guide: Best Adhesive Vinyl For Mugs
Supplies
- Siser Weeding Tool
- Transfer Tape
- Application Tool
- Mug (any store)
- Polished Metal Orange
- Glitter FX Purple
- Transparent Glitter Rosy
- Ultra Glitter Green
- Series 51 Sky Blue
- Oracal 651
- Bernard MT Condensed font from Dafont
- When in Doubt Travel by Sophie Gallo ID#193171
One of the simplest and most useful skills in the craft of craft vinyl: How to apply adhesive vinyl on a mug. It’s one of the most common types of materials to apply vinyl to, but which adhesive vinyl works best? Well, there are two types of adhesive vinyls: removable and permanent. When it comes to mugs, permanent is always the best way to go because it can withstand washing (dishwashing or washing by hand). Not to mention, permanent adhesive vinyl has a higher tact than removable. Ready to learn the how to? Let's get started!
An example of removable vinyl is Series 31. This type of vinyl has a matte finish.
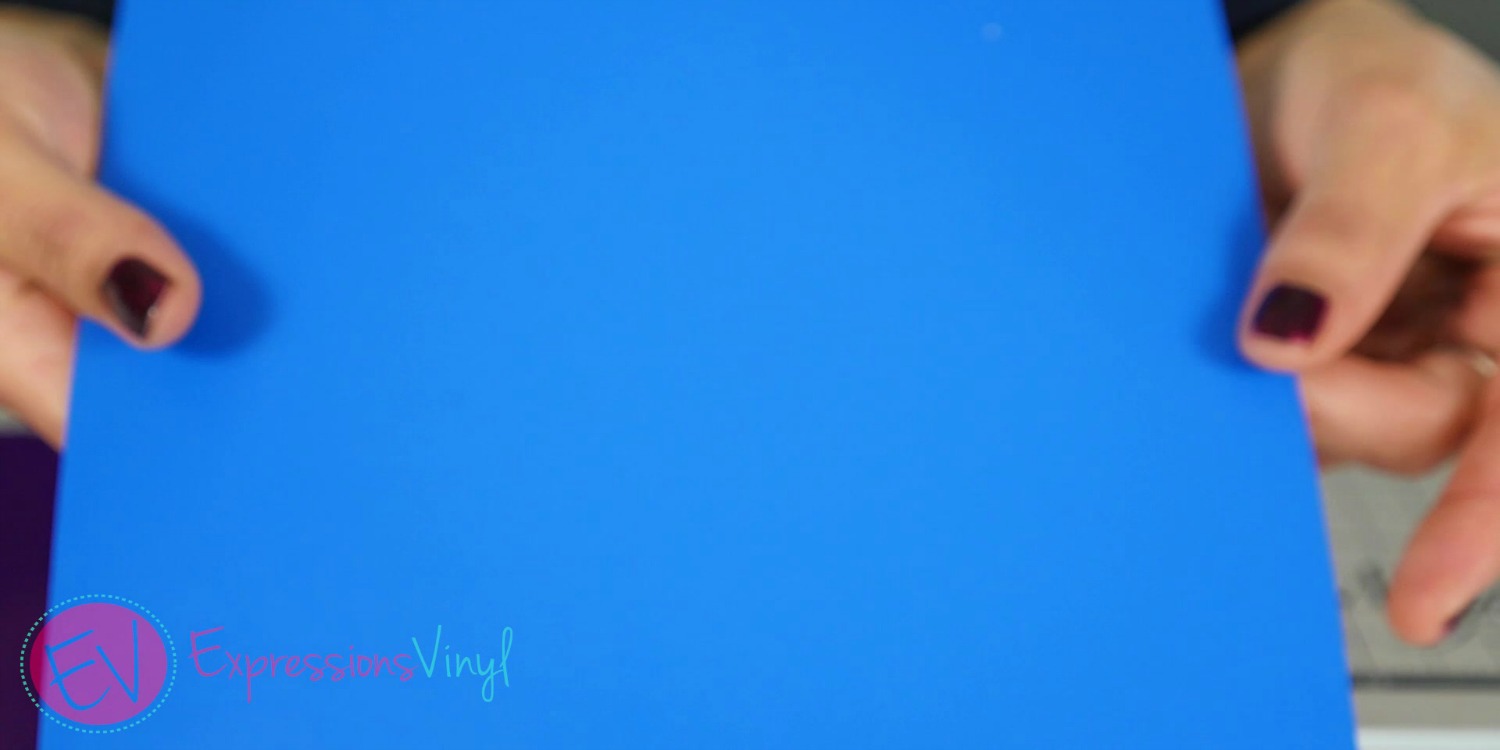

An example of permanent vinyl is Series 51. This type of vinyl has a gloss finish.
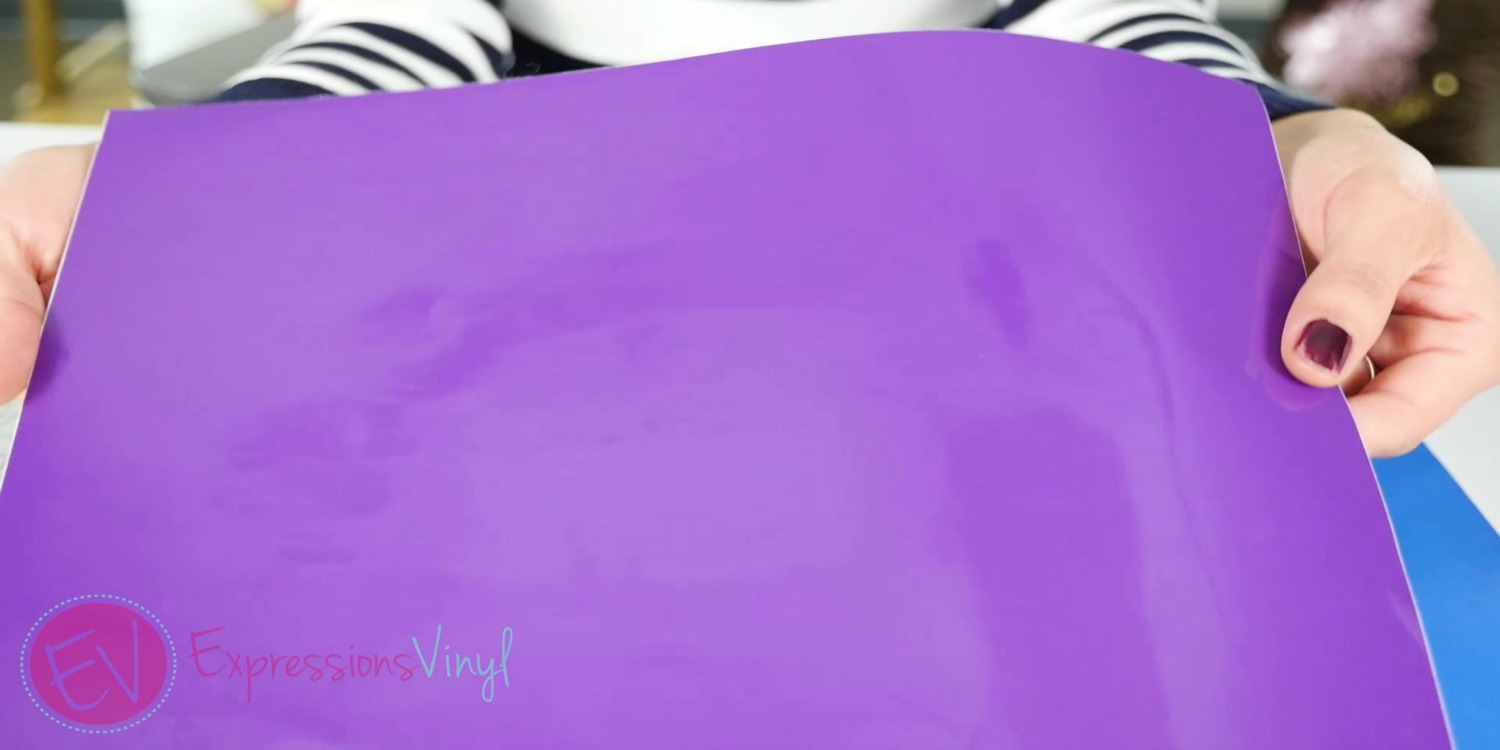

However, we do carry a lot of other permanent vinyls. Check them out: Series 51, glitter FX, polished metal, Oracal 651, ultra glitter, and transparent glitter.


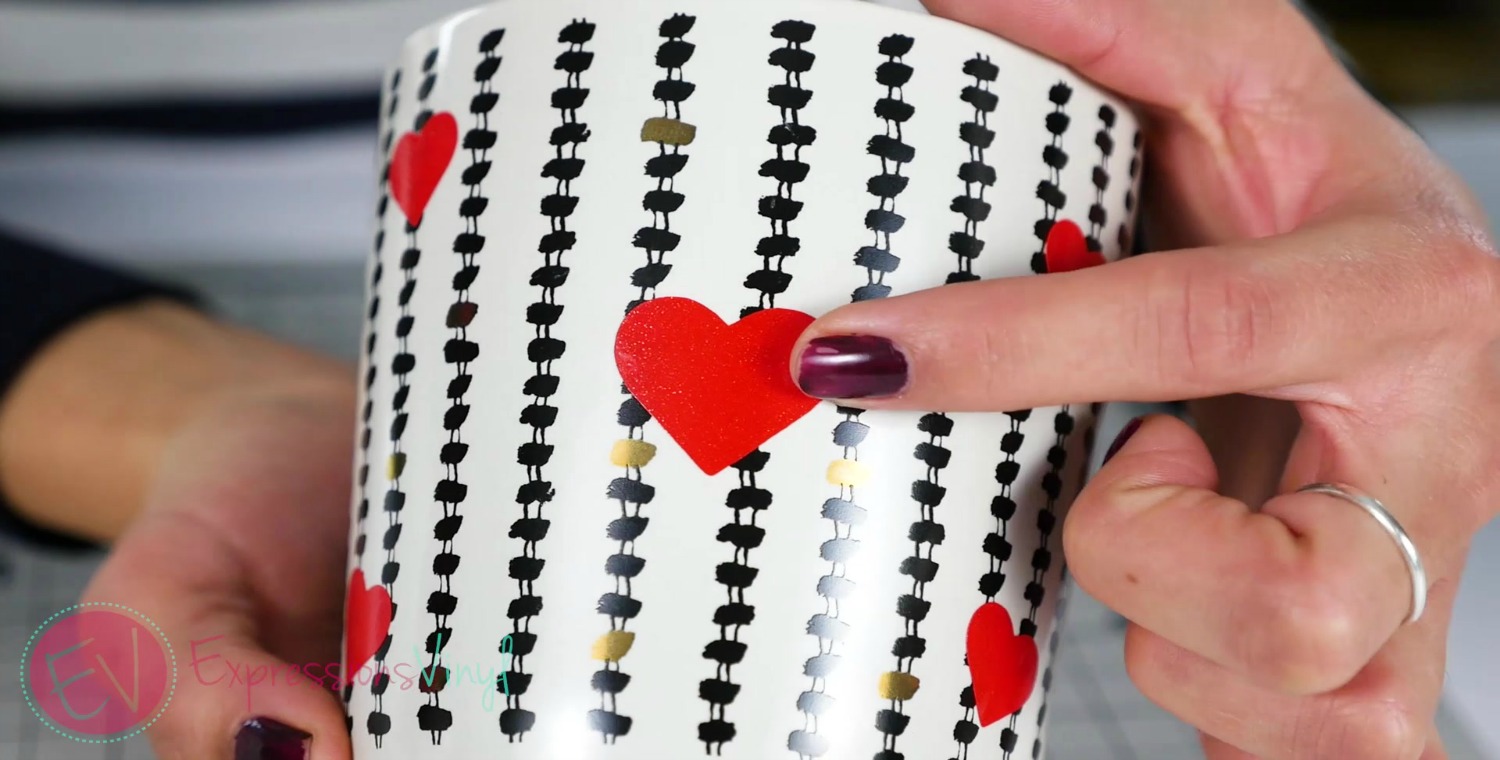
Next, I want to talk about a variety of mugs that are out there. The first one is a patterned mug. With this one I added hearts in glitter vinyl. It has a fairly straight shape but slightly narrows at the bottom. Still, it’s a great mug to apply vinyl to without any issues.

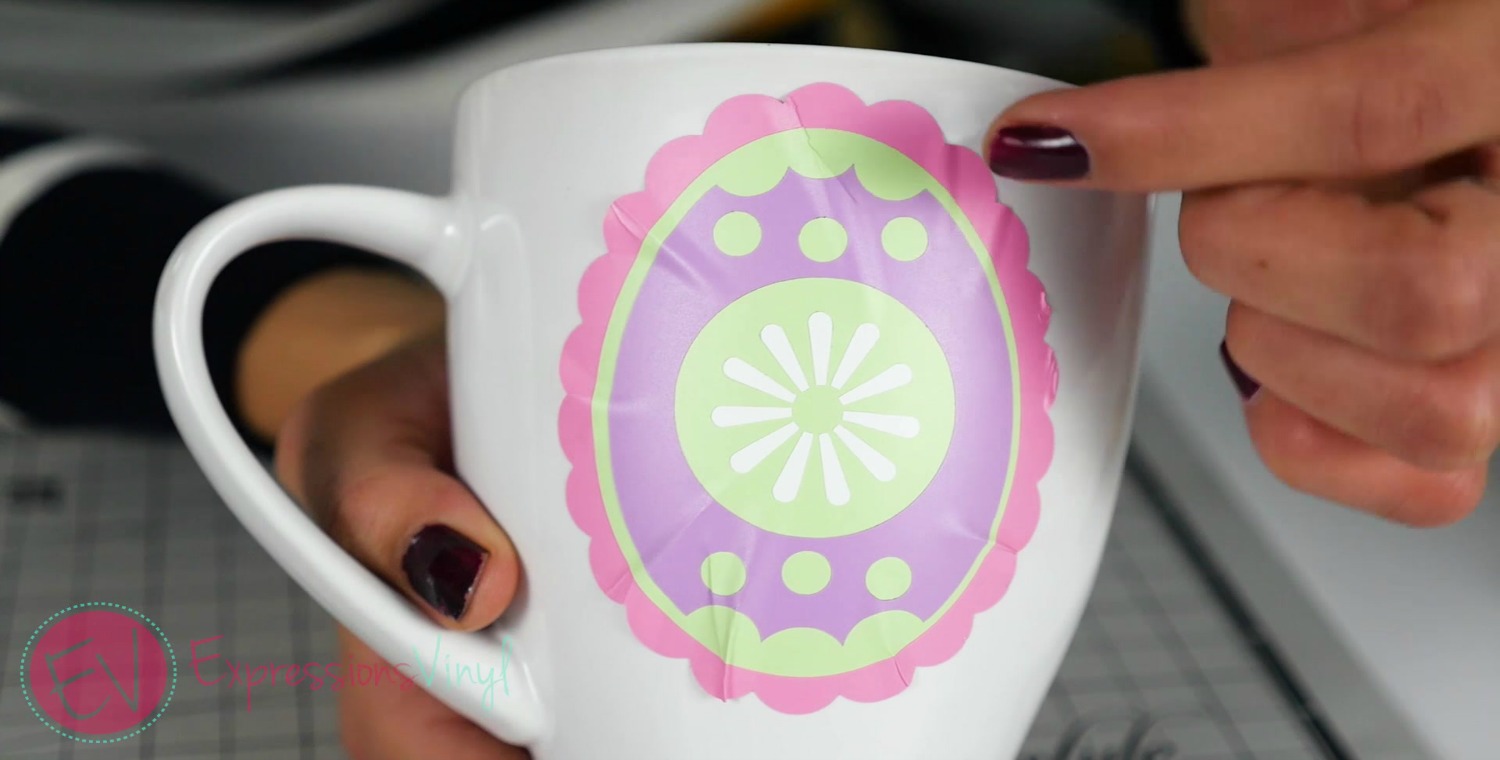
This next mug is not my favorite because it narrows a lot towards the bottom. So I would have to make my image smaller. I would also have to work my image more on the narrowed part. This image is also a bad example of what not to do. One reason being is that it’s a solid circular shape. Secondly, it’s too big for the mug and that is why it wrinkled and bubbled.

This third mug is solid! It’s the same size top and bottom so I don’t have to worry about it narrowing at the bottom. So I will show you how to apply vinyl using this mug.


And now the application process, start by cleaning your mug. I used rubbing alcohol and wiped the area down. Make sure the mug is dry before applying the vinyl. I’m going to show you two methods of applying adhesive vinyl. The first one is the hinge method. Once you cut, weed, and apply transfer tape on your image you will apply a strip of transfer tape to one side of your image. I usually put it near the middle then tear off the backing paper from the left side.
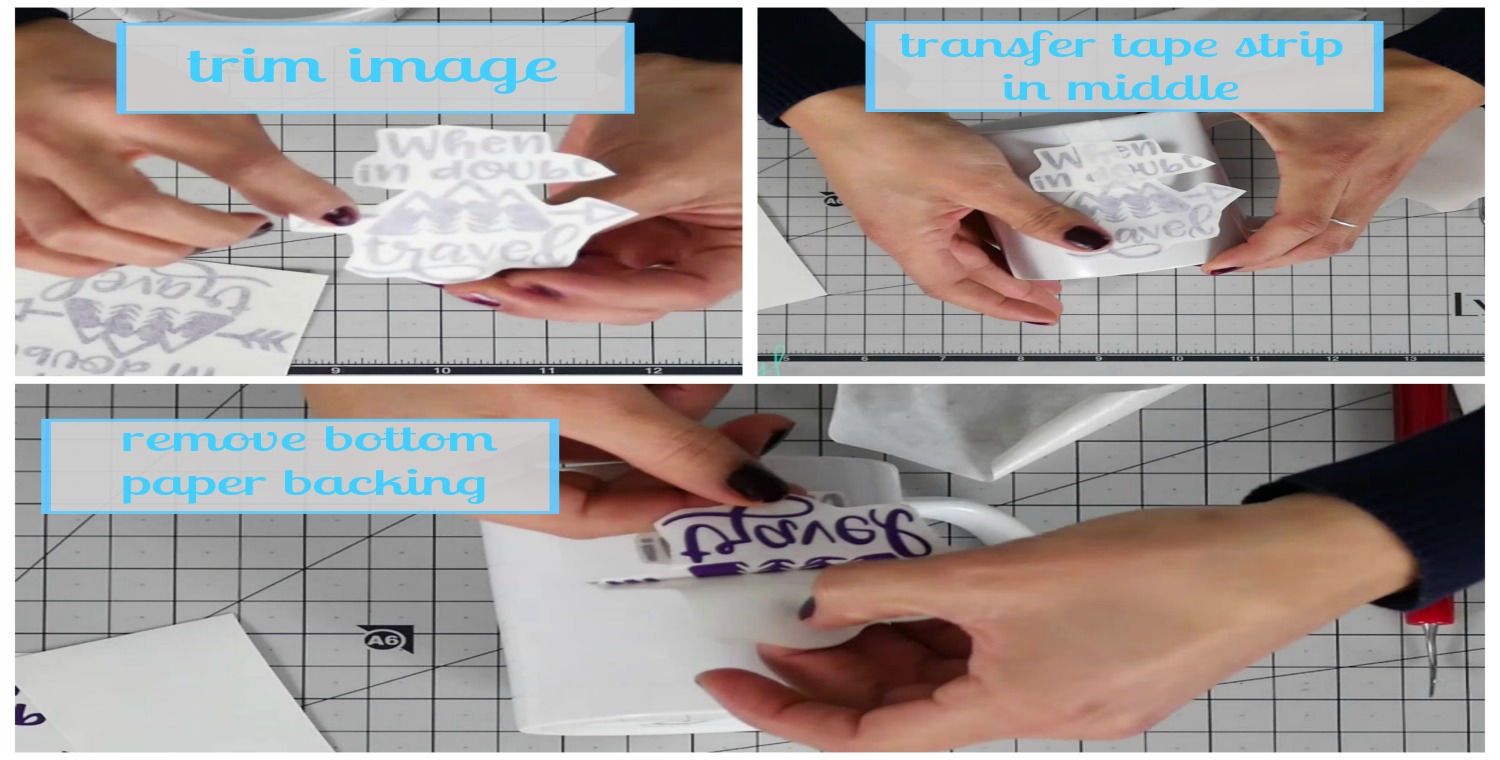

After the backing paper it torn off, rub down the vinyl with
an application tool or fingers and then remove the right side and repeat. Once
those steps are done, remove the transfer tape.


The other methods is to trim out as much empty space as you can. So that means, cutting close to the letters or image to allow better flexibility for application. Then again, it helps to hinge one side, remove the backing paper from the other side, and then rub down the vinyl.

Move on to the other side. Remove the transfer tape that is
holding it and begin by removing the backing paper. Rub down the vinyl and
remove the transfer tape.


The final step is the easiest! That is letting your mug
“cure.” Put it off to the side and don’t disturb it for a good 24-48 hours.
Then you can use it and wash it. This is actually a critical step and can make
or break whether or not the vinyl sticks to the mug long term.
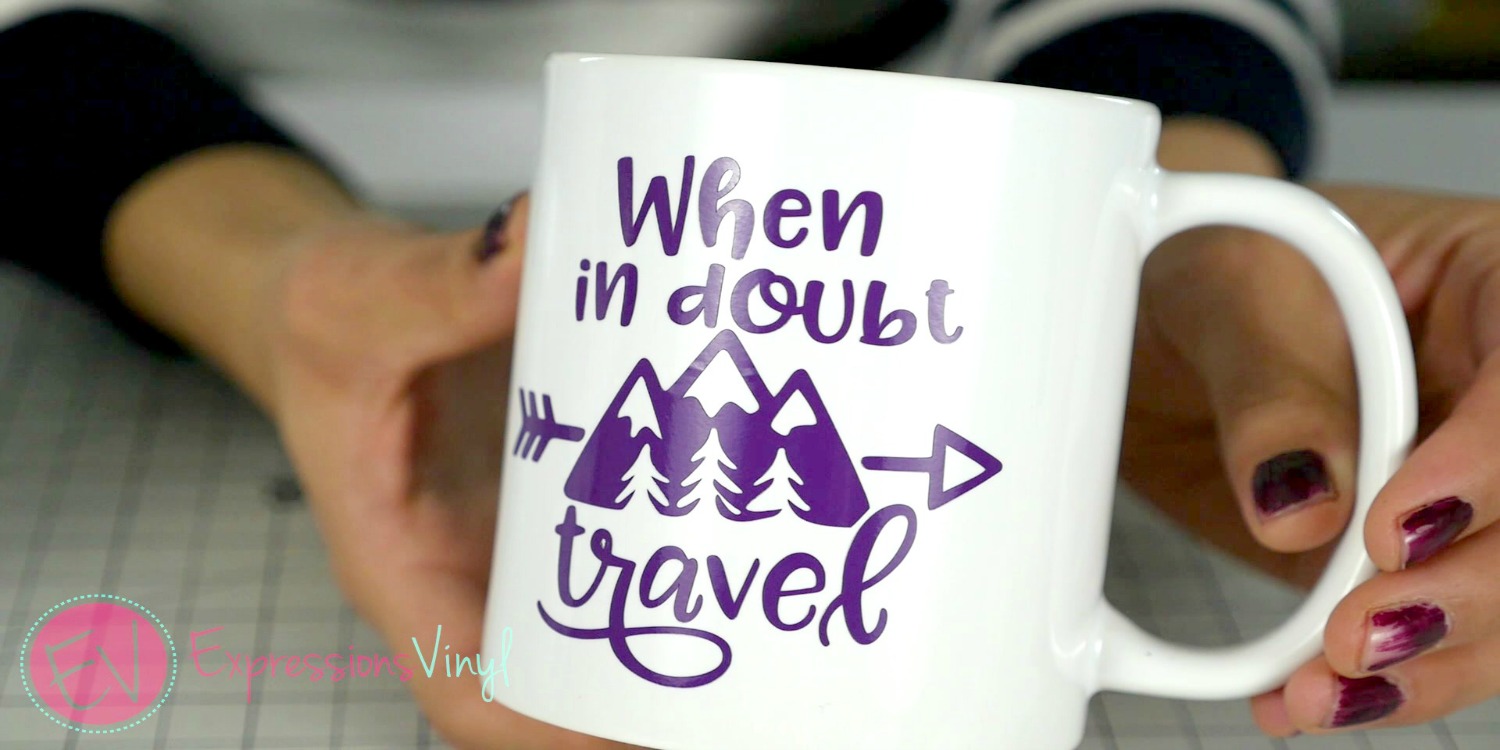
How easy was that??? It does take practice so don’t get discouraged the first couple of times. The application process will always vary depending on the size of your image and what shape your image is.

Recent Posts
-
NEW Holographic Eclipse Heat Transfer Vinyl
April 15th, 2024 3 Ways to Use the New Holographic Eclipse Heat Transfer Vinyl from Siser …Apr 29th 2024 -
Hop into Spring with Cute Easter Vinyl Crafts
Do you love our Vinyl? Sign up for Vinyl Club today to get FREE vinyl and save big! …Mar 28th 2024 -

Fixing Wrinkles and Bubbles in Vinyl
How do you get air bubbles out of vinyl? There are a few different ways to ensure a flawless …Mar 26th 2024